
I'm starting Wicked Wandas and right out of the gate have a problem translating the directions. I even put them under a magnifier to make sure of what i was reading even though it doesn't make sense to me. The instructions say to edge glue the 5/64 stock to the walls. If I'm reading right  here's a pic of what I've done. Doesn't seem right to me. Help me if you can..

Attachments

Images (1)
  • P1010766a
Original Post

Replies sorted oldest to newest

You're spot on!  ...And should be flush with the back of the siding.

While I haven't done Wicked Wanda's, I've built several Bar Mills O (and HO) kits using the same procedure.  Dennis is right....it's the corner trim.  

But, Matt is also right in that Art Fahey's instructions should also recommend inside-wall reinforcement....but with different (larger x-section) square stock (often provided....or whatever you may have in your scrap box.  This will keep the walls flat....especially important if you use acrylic (water-based) paint.  Looks like you've primed the siding....also excellent and typically per Art's recommendation.

Be sure to show us the finished structure when done!

KD

Last edited by dkdkrd

Bar Mills and I recommend applying reinforcement strips on the inner edges of adjoining walls so that the inner edges of the clapboard outer walls just touch each other when the walls are assembled. This also helps to keep the walls flat and at right angles when they are joined and painted. The picture below shows how I apply reinforcement strips (usually 1/8-inch or 5/32-inch square) to both adjoining walls before gluing them together. This leaves a square gap at the outer edges of the joined walls which is then filled by the corner boards (usually 3/32-inch square strips) shown in your photo. These should be installed only after the two adjacent walls have been joined and their glue has dried. Although I use a reinforcing strip on both adjacent walls, this can be done with only one reinforcing strip if you prefer. I usually wait to install the corner boards after all exterior walls of the building have been assembled and painted. The corner boards can then be painted a contrasting trim color before attaching them to the model.

MELGAR

MELGAR_WALL_EDGE_CONSTRUCTION

Attachments

Images (1)
  • MELGAR_WALL_EDGE_CONSTRUCTION
Last edited by MELGAR
DennisB posted:

I believe you are correct. This is the corner trim. The edge stock is added to the corners--each side wall will abut that piece at the front and back corner. If you try to put the walls together without the corner piece, you'll have a raw edge on each wall.

Thanks Dennis. Another forum member sent me a link that pretty much shows the construction step by step. The strips are edge glued and trimmed to match the floor and roofline. I only work on this for a few minutes every couple of days so I don,t expect to finish anytime soon.

Joe

 Doberman, sometimes the instructions on these kits can be overwhelming. A lot of reading and trying to comprehend what they mean. As well as identifying the correct pieces. I've often taken your approach. Work on it maybe a half hour when I have time. A few steps at a time and put it aside and let the glue dry. Put it back on the workbench re read the next few steps. Sort through and find the correct pieces and get a little more done.

Having built many of BarMills structures, I can say the instructions are usually well thought out. However, if you have any questions you might try reading ahead to see how it it fits in context. I often find that a light goes on regarding the question I had when I read a later section. Still have questions, call or email Art Fahie at BarMils and he or one of his staff is sure to answer. He's one of the best in the business. 

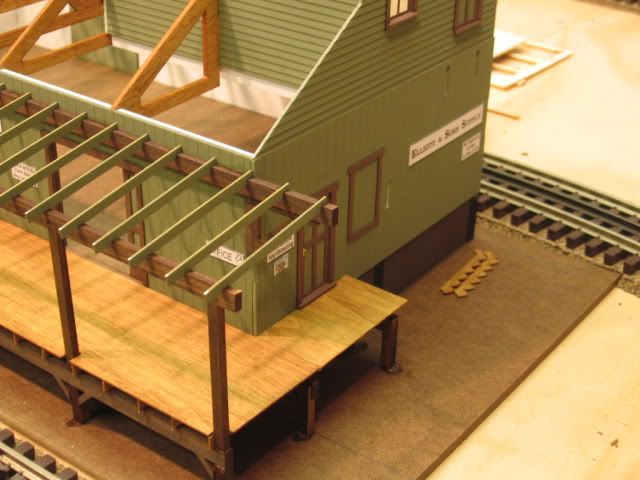
A little construction knowledge,  1:1 often helps.  Lintel, purlin, jambs, sills, joist, rafter, double hung (window), Terms that are part of assembly instruction, that would have little meaning to a novice builder.   

(1.) Start with a relatively small simple kit and work to larger projects.  

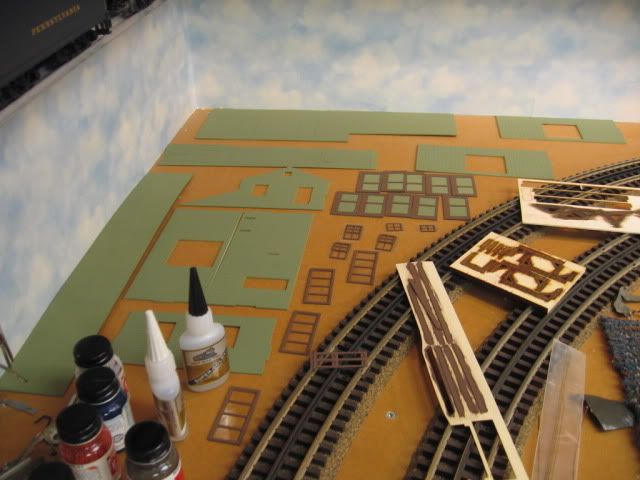
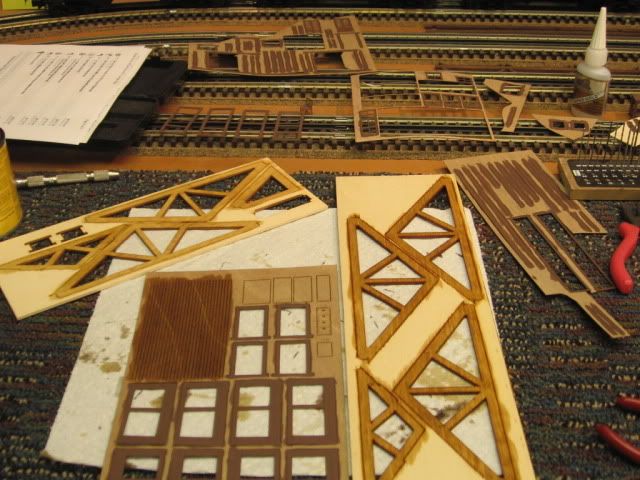
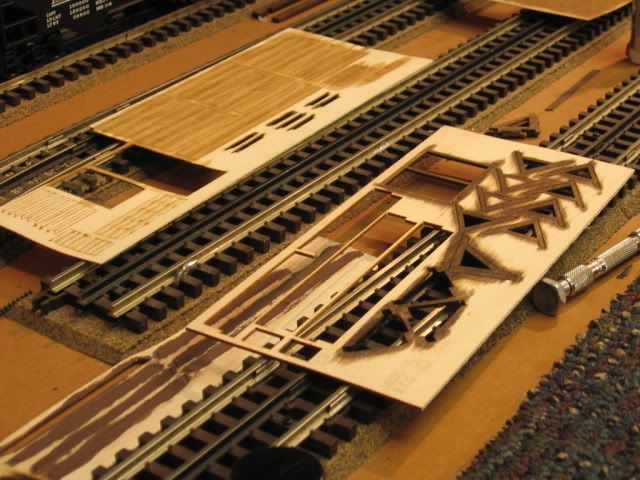
(2.) Relatively large assembly area, where you can lay-out (all) the parts. 

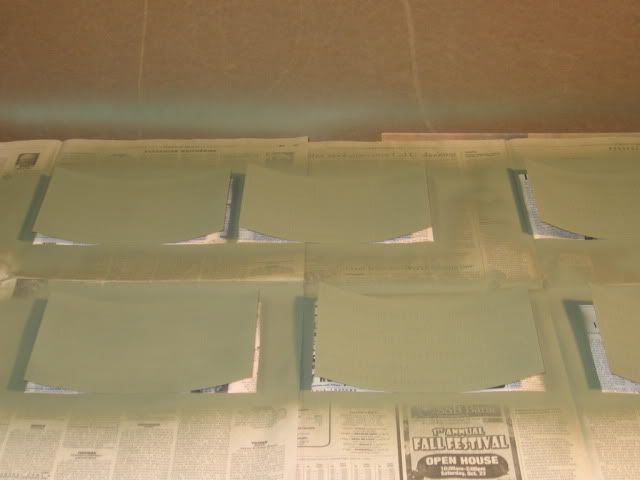
(3.) Paint on both sides of laser cut wood wall/ceiling/roof panels is a must. Different colored stains also work well with laser cut models.

(4.) My personnel preference, is a very good base for the model, in most cases not included in the kit.

(5.) Pre-painting before assembly is an option.

(6.) A couple of different types of adhesive may be required.

(7.) Time, take your time, as has been mentioned.

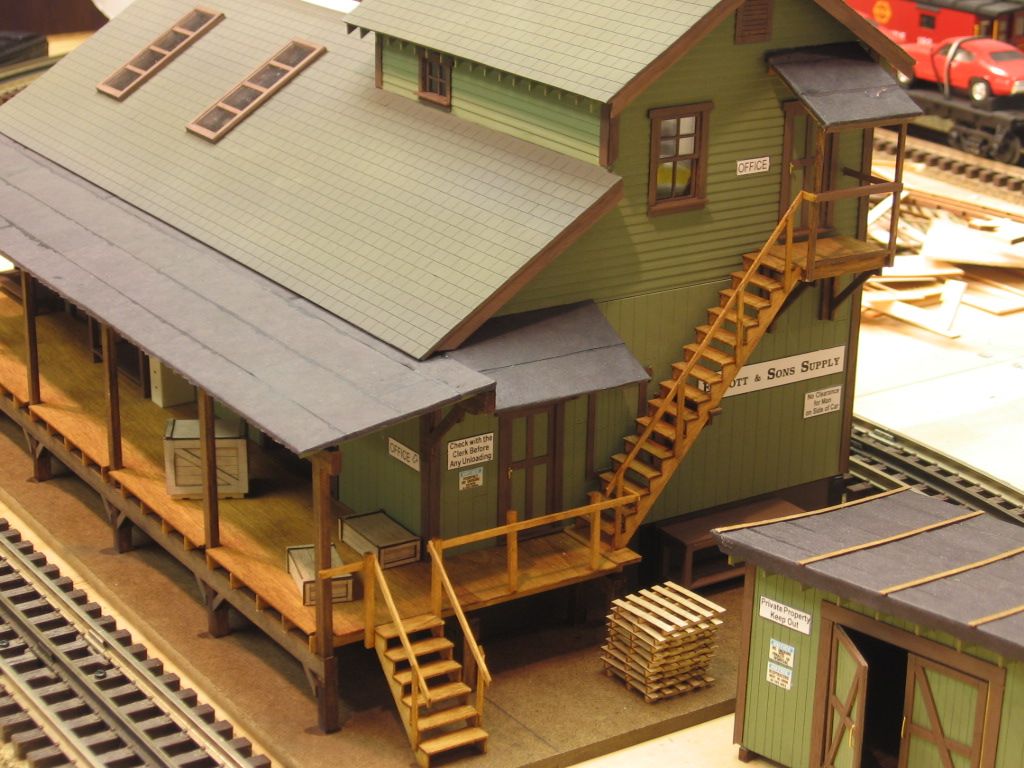
(8.) Note the base, 3/16" Masonite.

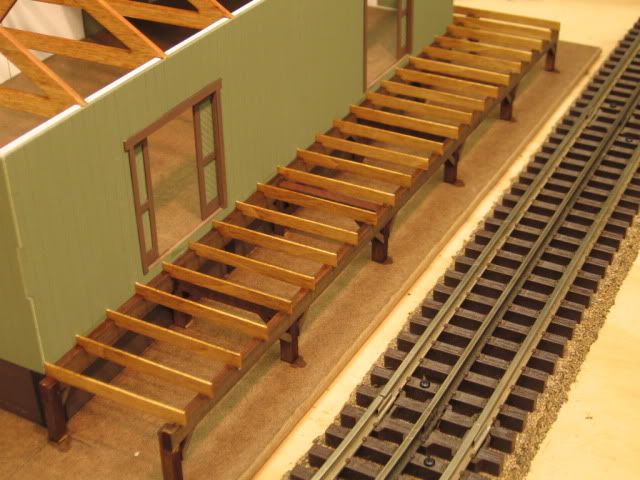
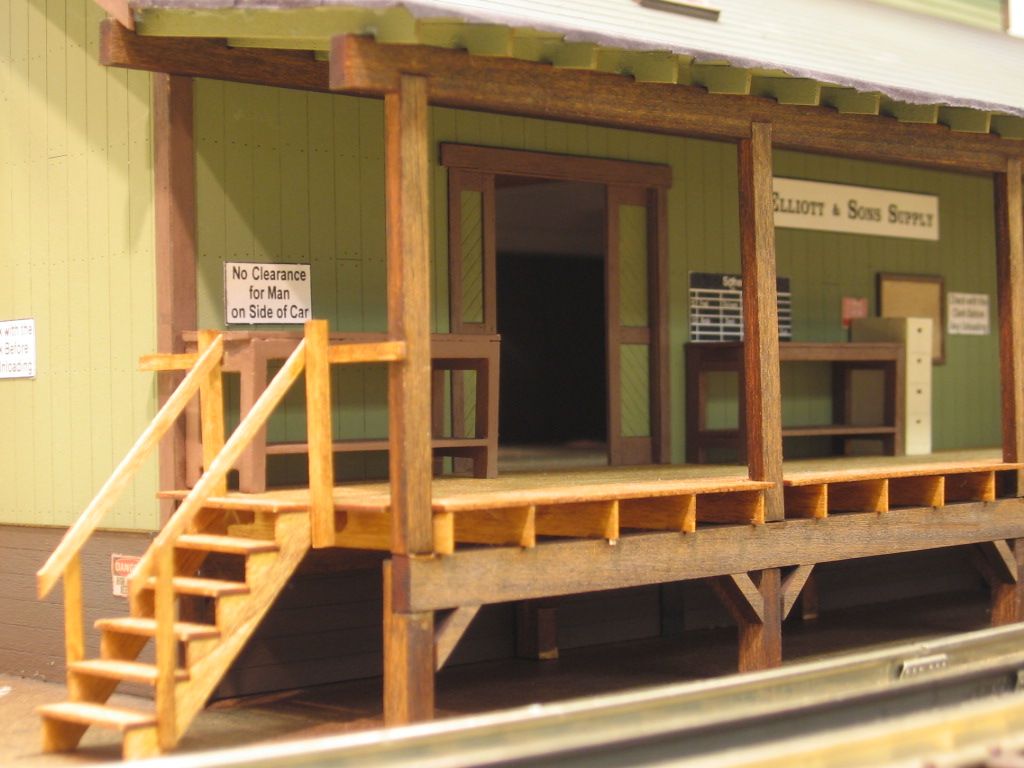
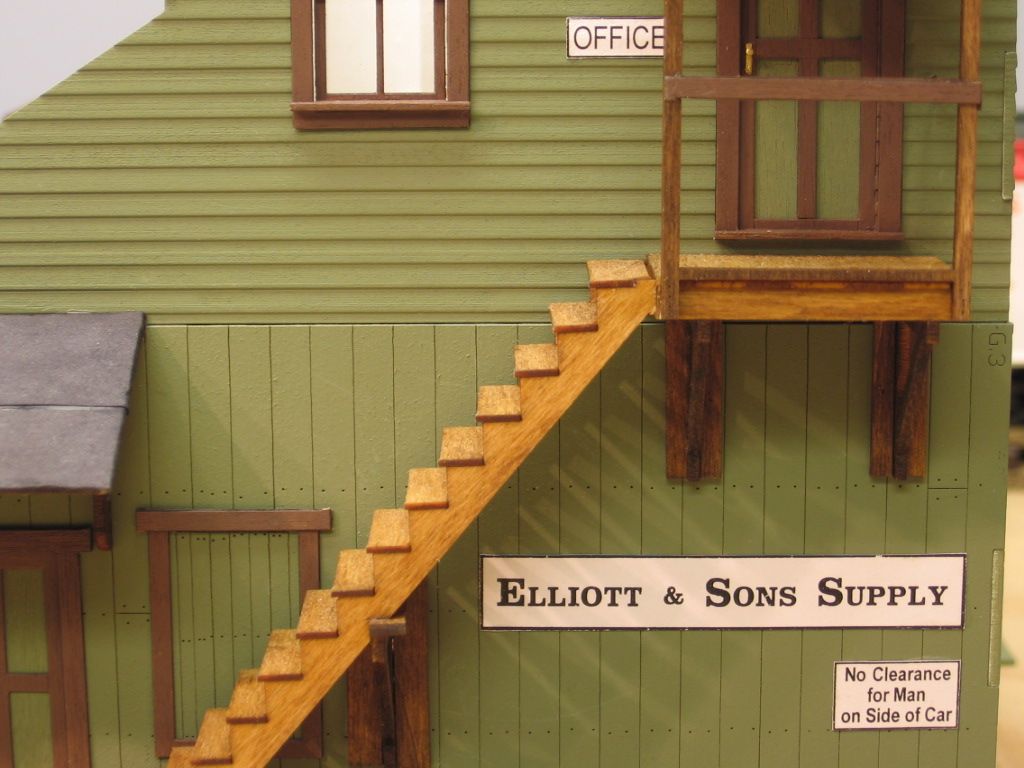
Stairs are often delicate, and require special fit.

Two different colored stains, oak is the lighter, walnut darker.  Polyscale brown trim paint and the base panels were painted with Krylon spray can paint, interior is white.  A lot of white glue, that dries clear, and CA on occasion for a quick set or fix. Most all painting was done before assembly, many times the parts are not removed from the cards, until painted/stained.

Paint

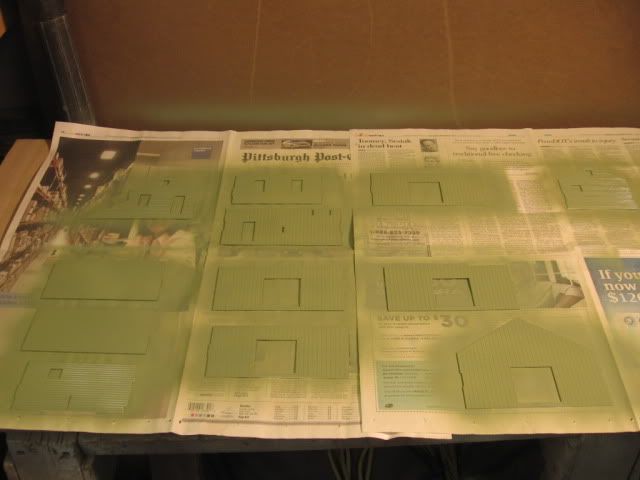
Paint and stain work.

Even the self-stick shingle cards get painted.


Last edited by Mike CT

Add Reply

Post

OGR Publishing, Inc., 1310 Eastside Centre Ct, Suite 6, Mountain Home, AR 72653
800-980-OGRR (6477)
www.ogaugerr.com

×
×
×
×
Link copied to your clipboard.
×
×