
IMG_3575Toying with the idea of building a small layout, simple, roughly 4x8ish... I have a bunch of lightly used gargraves (I think) flex I picked up years ago... I've seen the video on gargraves site on bending the track, and was wondering... can I effectively bend this down to O-3X curves?

Attachments

Images (1)
  • IMG_3575
Original Post

Replies sorted oldest to newest

Technically, GarGraves makes O32 sectional curves. However, I once asked them how tight I could bend their flex track because I wanted something larger than O31/O32, but couldn't fit O42 at the time. I was told that all their sectional curves begin as flex track and are manually bent using the techniques in their video. If you look at photos of their sectional track vs their flex track though, you'll see that what Pete calls "ribs" are added to the sectional curves at some point in the manufacturing process. As I understand it, when bending tight curves, the key is to bend them a little tighter than you need in order to reduce the pressure to bend back. You'll probably need to fasten the track in more places too for the same reason. Mike CT is the resident expert on bending GarGraves, but I don't believe he bends it that tight. Let us know how it works.

Last edited by DoubleDAZ

Relatively large curves. (Edit/ADD, 1/21/21: O-90, relatively easy, less than O-90 more difficult).   I used a large compass to do the curves.  I screwed the track every 4" to 5" with the tip of the ball point pen on the center rail.

Takes some time, obviously the inside rail will be shorter than the other two.  The wooden ties need to be re-positioned as you work the bend.

Curve center.

Two modules butt together, note the cut on each of the (4) tracks.

Last edited by Mike CT

Experimenting once using sections of 027 track as a template I formed curves on the inside of several sections of 027 to create a tighter trolley line curves.  I don't know what i ended up with but everything I wanted to run on it ran just fine.  Patience is key.  My thoughts however when it comes to GG track is if I ever build another layout rather than going with fixed radius curves I would plan on using easements, the flex track is ideal for that.

Steaming Jon posted:

IMG_3575Toying with the idea of building a small layout, simple, roughly 4x8ish... I have a bunch of lightly used gargraves (I think) flex I picked up years ago... I've seen the video on gargraves site on bending the track, and was wondering... can I effectively bend this down to O-3X curves?

I have 12 radius curves. O24.  I use it to turn a snow plow...check out the video!  https://www.youtube.com/watch?v=WXbf05SUnJ0

Last edited by John C.

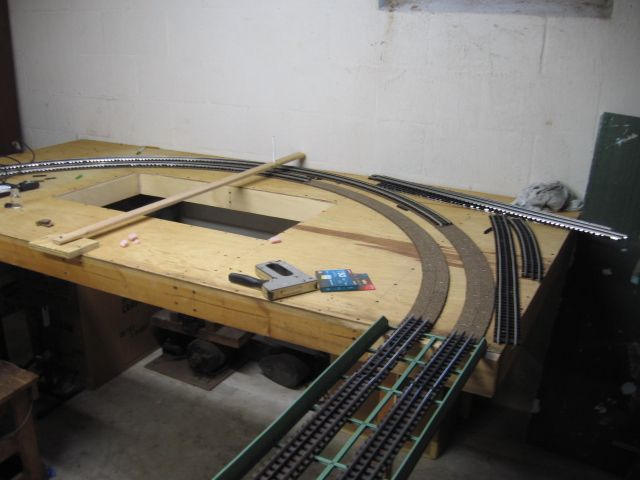
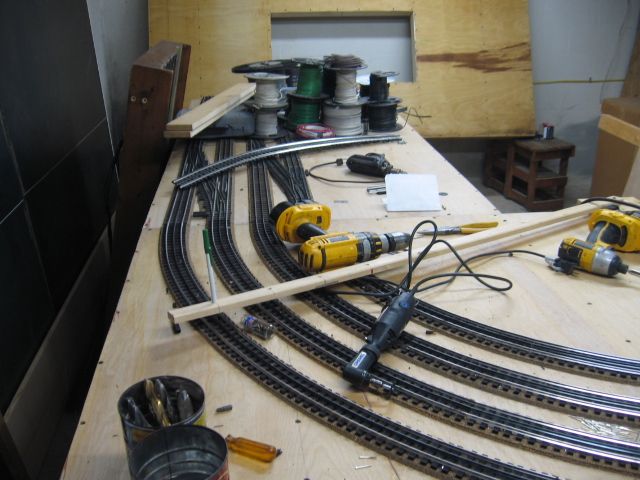
I have used only Gargraves Flex on three layouts since 1992 and follow the same method at Mike CT for marking centerlines except I use an old metal tape with various drilled radi holes swung on a pivot point to mark the curve centerlines and  install cork roadbed to those lines. Then bend the Flextrack until center rail aligns with the cork center line. I typically have wide  curve arcs but have occasionally bent to a 16" R for a friends trolley line. I mark my center lines twice, once on uncovered joist tops so I can pre-wire for electrical sites i.e; lighted structures/accessories, Tortoise motors,  switch stand lanterns,etc. I then remark on my plywood/ foam cover for track laying. On fastening track except for the ends/joints were two screws are used I tend to separate screws by about 8-9 ties. On 054 and tighter I install screws about 4-5 ties apart.

Swinging a Radi, black Sharpie mark is 084, red 072 curve arcs. Other end of ovals 096/084.

100_1239100_1304

100_1243

 IMG_1578

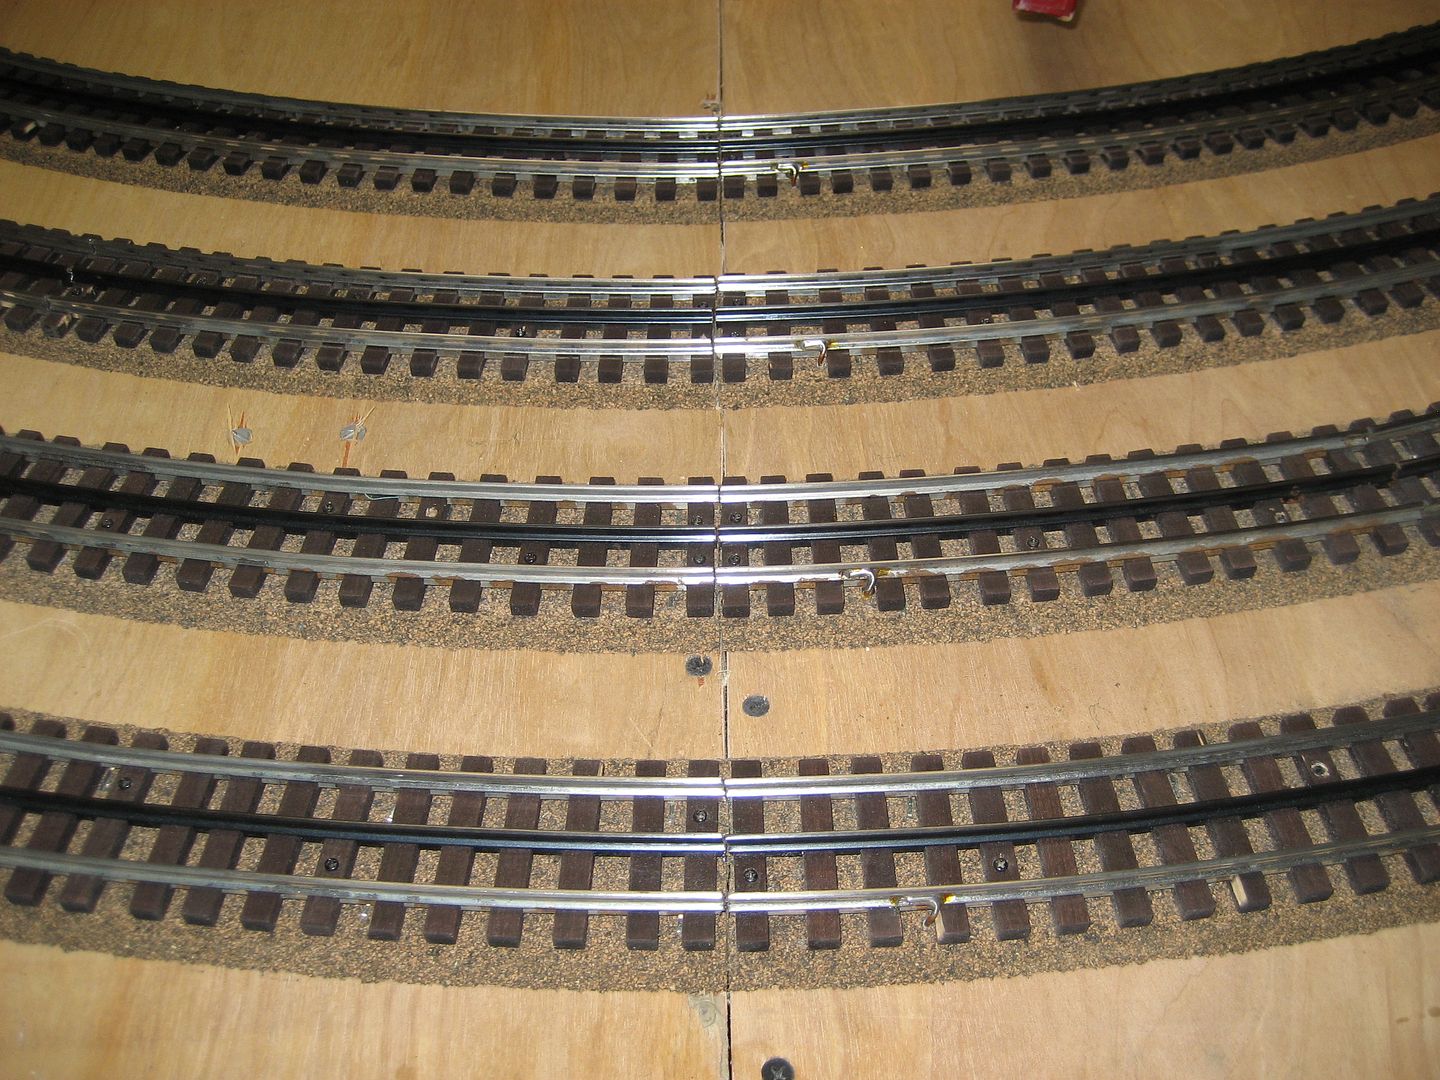
A note on installing flex by bending and fastening every 8- ties apart. As you advance from trailing end joint to leading end, leave screws out about 8 ties back from both trailing and leading ends. Then after bending and screwing every 8-9 ties return to trailing end of partially closed rails where screws are installed only 8 ties back from joint and ease in curve joint with pressure on outer tie ends until precise curve attained. Then install screws 2 ties back each side of trailing joint.  Then return to leading end and drive up center and outside rails as needed to close trailing rail joint, but not jamb tight. Then proceed with same procedure installing next 37" curve section. Remember to remove and space ties as needed  as you advance with installation. A no kinks installation.

Attachments

Images (4)
  • 100_1239: Marking 084  black 072 red curve arcs on joists,spaced 6".
  • 100_1304: Cork laid to marked lines,084/072, earth painted foam over plywood.
  • 100_1243: Pre-wiring rail power bus,Tortoise, Switch lanterns,Bldg.Lights,T-strips.
  • IMG_1578: Running.
Last edited by Dewey Trogdon

Add Reply

Post
The Track Planning and Layout Design Forum is sponsored by

AN OGR FORUM CHARTER SPONSOR

OGR Publishing, Inc., 1310 Eastside Centre Ct, Suite 6, Mountain Home, AR 72653
800-980-OGRR (6477)
www.ogaugerr.com

×
×
×
×
Link copied to your clipboard.
×
×