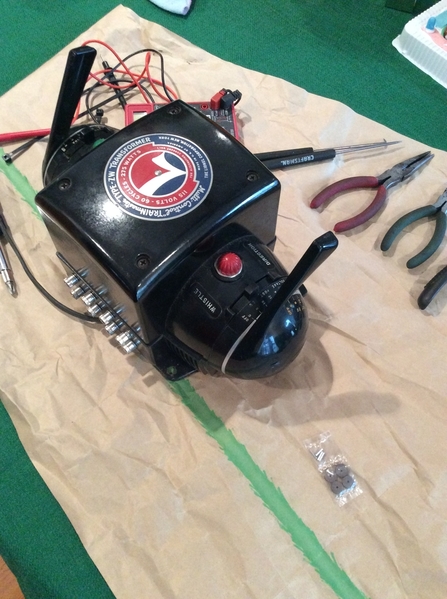
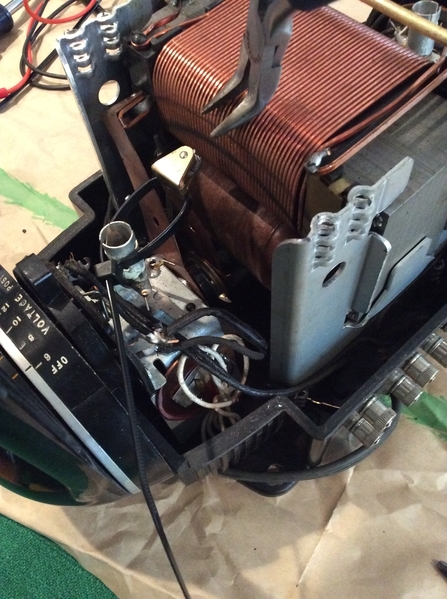
As the old saying goes...cheap usually ends up being expensive. Got a “good deal” on a ZW from our favorite auction site. Two of the posts are dead (One big handle, one little handle) and a few rollers need replacing. 

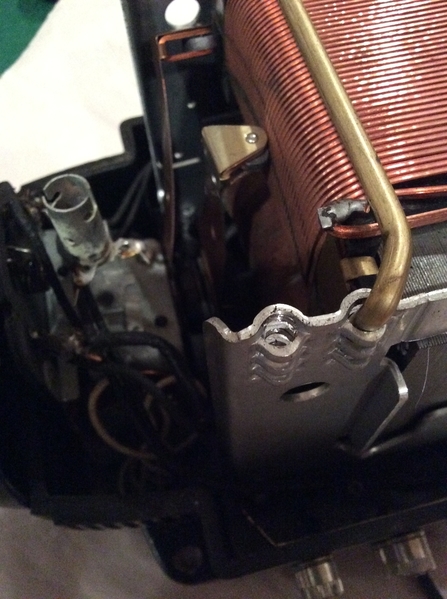
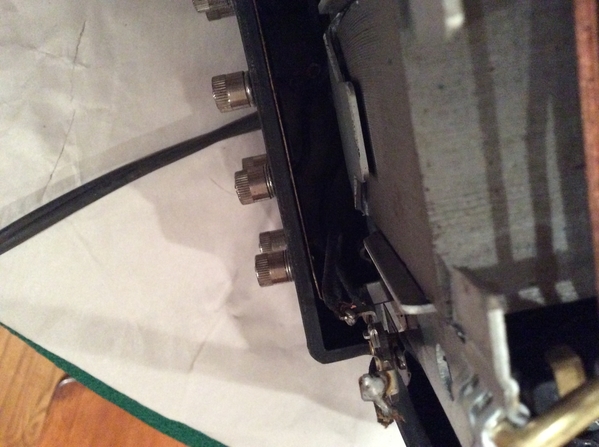
From what I have been able to find online it appears my common buss strip inside the controller is loose. When I use a different ground post the two offending dead posts will come back to life, but only intermittently.

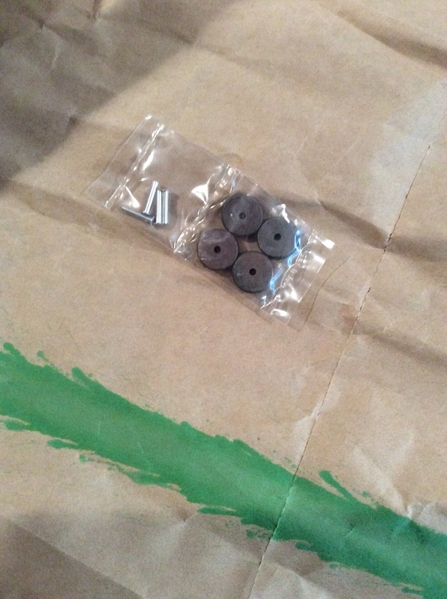
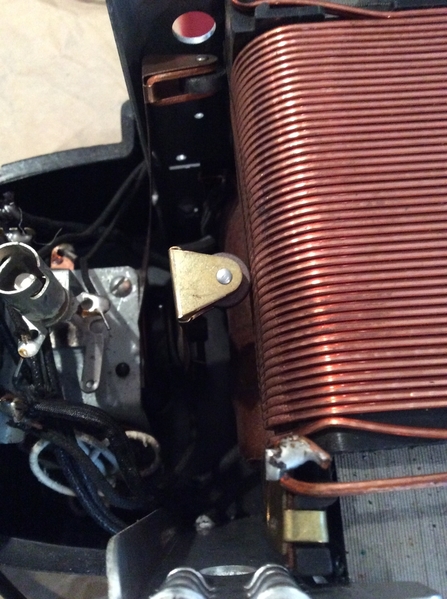
I also have a few rollers that are worn down to a nub. If anyone has a step by step write up they could share with me I would appreciate it. I found a video where the guy crushed the old roller with pliers, cut the old rivet in half and removed it, and then installed new parts and peened the new rivet gently with pliers. Does this sound about right? 

Thank you for any help.

705CDB40-ACD1-4A82-9508-C6AE0E0DE941

The worn out roller.

906C11E3-949E-456D-9E2C-5D30FBB98A8B

looking straight down at the buss strip you can see it is slightly loose in there.

Attachments

Images (2)
  • 705CDB40-ACD1-4A82-9508-C6AE0E0DE941
  • 906C11E3-949E-456D-9E2C-5D30FBB98A8B
Original Post

Replies sorted oldest to newest

I recommend replacement posts for the terminals, they're cheap.  Many times, I simply replace all the terminals if some are loose as they are done in a pretty cheap way on the original.

As for the rollers, do NOT let them get all the way to the windings, the arms will score the windings and the transformer is toast!

I do them this way. 

I use a wire to secure the arm about 1" off the core so I can work on it.  Crush the old rollers with needle-nose pliers to expose the rivets.  Since the original rivets are pretty hard material, I use a Dremel cutoff wheel to slide them between the ears on the wiper arm and remove them.

Clean up the brass on the arms, install the new rivets with the heads facing inward so they won't clash as the arms cross. and just crush the end of the rivet.  I also solder the head of the rivet to the arm as this improves the contact, one less high resistance joint for the current to pass through.  Finally, I use Deoxit D5 on the moving parts to improve conductivity.

Everything GRJ said above, and more. Do all 8 terminals. That way, you only need to go in once. Also, look at the power cord. If the insulation is hard or brittle, time to replace that as well. Do NOT use a polarized or grounded plug! Next, look for the circuit breaker. If it is original, replace it with a new solid state one. The originals loose their ability to function correctly over time. Changing it now is cheap insurance.  BTW, this breaker protects the X-former, NOT the trains!  A well stocked train shop should have both the cord and the correct breaker. Lastly, check the whistle buttons for correct operation. You may want to replace the copper oxide rectifiers with heavy duty diodes. I don't have part numbers, but I'll bet GRJ does! 


Chris

LVHR

Thank you guys. 

I happened to have a small bolt/nut that was the same thread pitch/diameter of the old post stud. I twisted/pulled the old stud out and installed the bolt. Seems to have fixed that particular dead post . I still have one more to do.

I ordered a set of rollers from eBay, will check back when parts arrive. 

Thankfully my power cord is still good.

Thank you for all the tips.

The only issue I have with that document is cutting the rivet.  First off, if you're not careful, you risk spreading the tempered holder, and too much bend and it breaks, the cutters are much wider than the gap for the roller.  The second issue I have is the original factory rivets are HARD, at least the ones I have run across.  I found that it was far easier to simply use the Dremel cutoff wheel to slice the center of the rivet and remove it.  Finally, the job is much easier if you tie the arm lifted off the core by about 3/4" to 1" with a wire or cable tie.  Then you can freely work on it with both hands.

gunrunnerjohn posted:

The only issue I have with that document is cutting the rivet.  First off, if you're not careful, you risk spreading the tempered holder, and too much bend and it breaks, the cutters are much wider than the gap for the roller.  The second issue I have is the original factory rivets are HARD, at least the ones I have run across.  I found that it was far easier to simply use the Dremel cutoff wheel to slice the center of the rivet and remove it.  Finally, the job is much easier if you tie the arm lifted off the core by about 3/4" to 1" with a wire or cable tie.  Then you can freely work on it with both hands.

Yup, that’s exactly how I do it, you only need to snap that tempered arm head one time, to never do that again.....as you said about holding the arms back, I fashioned me a holding fixture made out of a coat hanger to hold the arm and lock it in place to free up both hands.....one for the big arm, another for the little arm...they stay in the tool box....Pat..

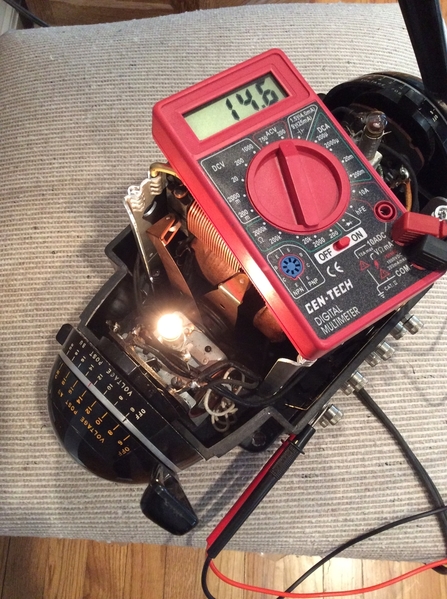
Was able to repair the ZW this morning.

782A0CD0-BE0E-4FCB-916C-7A37E469006B

Received the new rollers in the mail.

A51CEFFD-0664-4C69-8051-106C7BCECDCD

The victim.

7710B4AB-CF30-439B-B501-12E3F3313707

The offending roller being crushed with pliers. I tied the arm back with a zip tie.

512A6E02-1D4E-4A7E-B9DE-1C7D9C7D09A3

New roller installed, and rivet peened with pliers. I cut the old one with a small pair of side cutters I had. Got it on my first try

17758777-02D6-4199-87D8-54FE09DF4509

I cleaned all the contacts for the whistle/reverser lever, and all four roller sweep paths with de-oxit. Also installed another bolt in the dead common post I had. The other two original posts are good for now...so far.

Thank you for all the help. 

You can follow along on my other thread for building my first layout/train room. I inherited all my Grandfathers, Fathers, and Uncles postwar trains. Can’t wait to get them up and running.

Attachments

Images (5)
  • 782A0CD0-BE0E-4FCB-916C-7A37E469006B
  • A51CEFFD-0664-4C69-8051-106C7BCECDCD
  • 7710B4AB-CF30-439B-B501-12E3F3313707
  • 512A6E02-1D4E-4A7E-B9DE-1C7D9C7D09A3
  • 17758777-02D6-4199-87D8-54FE09DF4509

Add Reply

Post

OGR Publishing, Inc., 1310 Eastside Centre Ct, Suite 6, Mountain Home, AR 72653
800-980-OGRR (6477)
www.ogaugerr.com

×
×
×
×
Link copied to your clipboard.
×
×