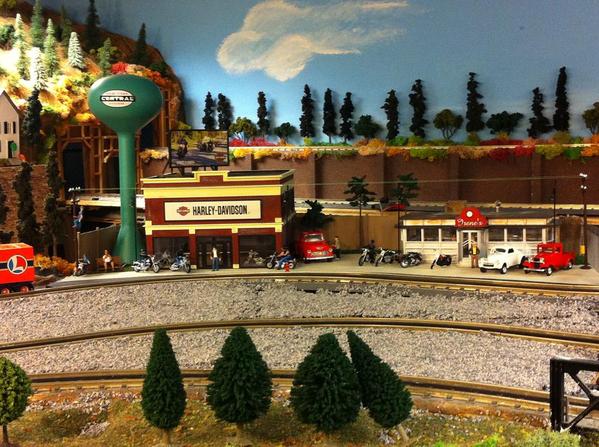
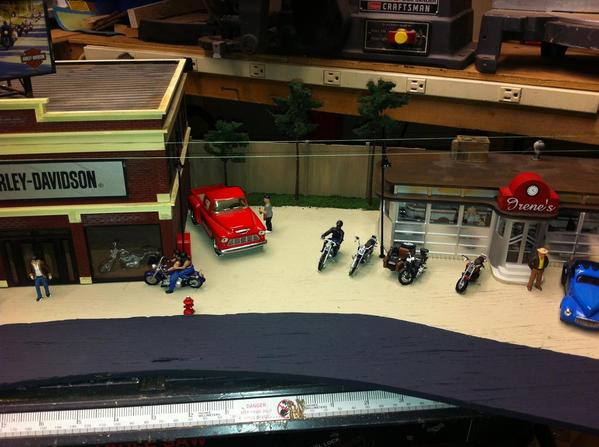
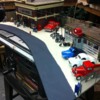
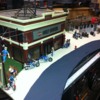
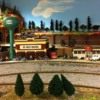
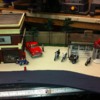
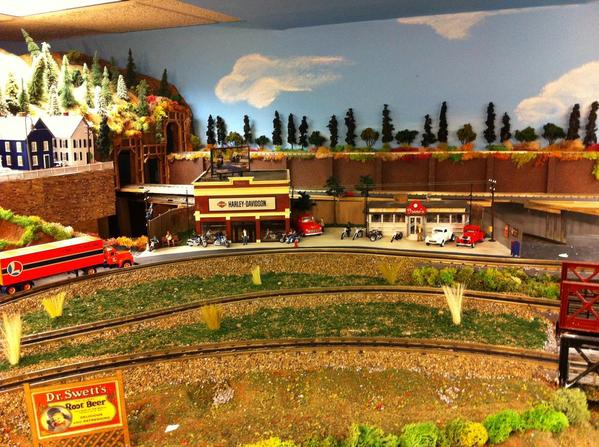
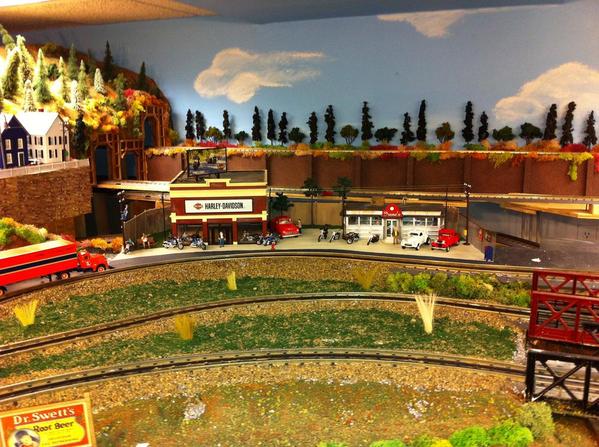
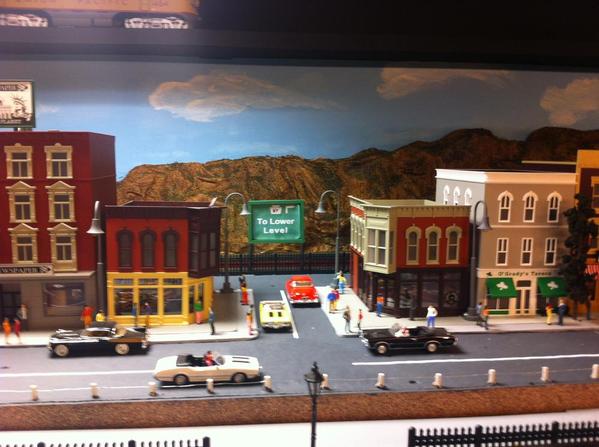
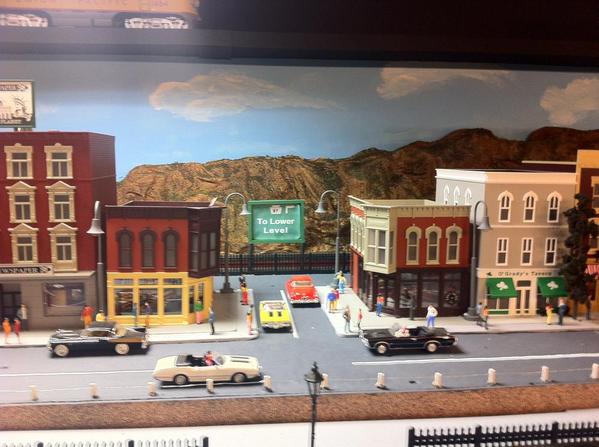
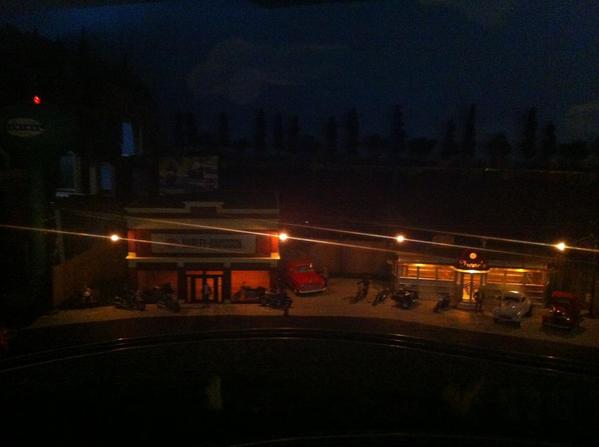
Good afternoon everyone, just wanted to share a scene I just finished.

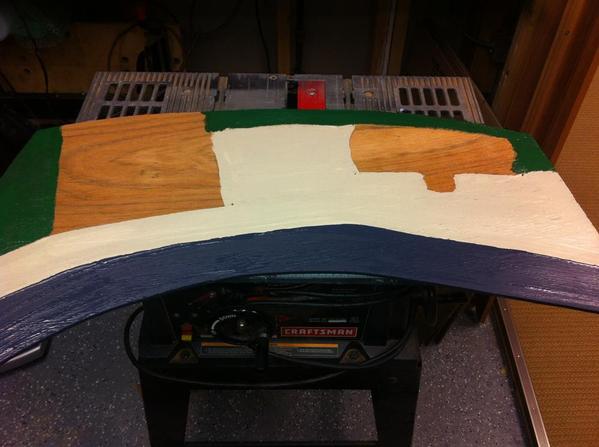
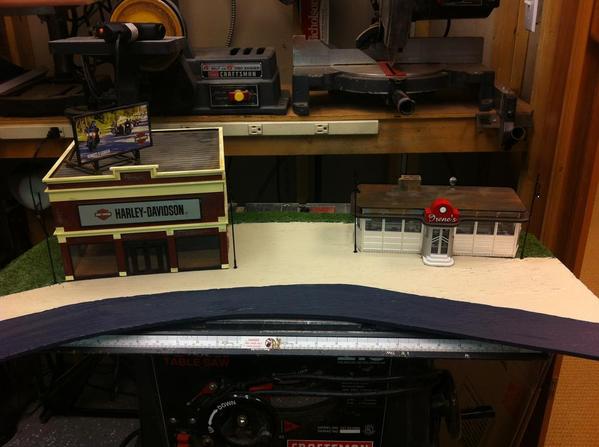
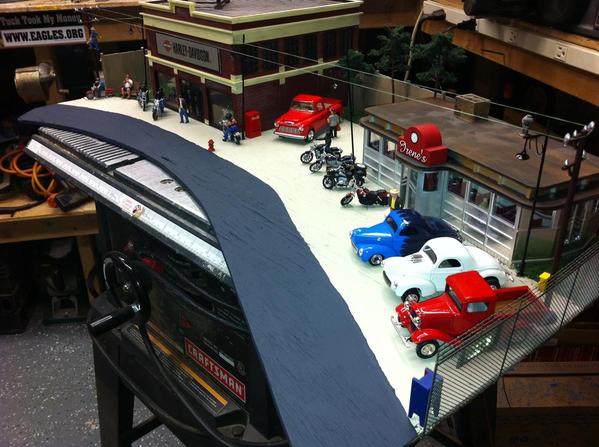
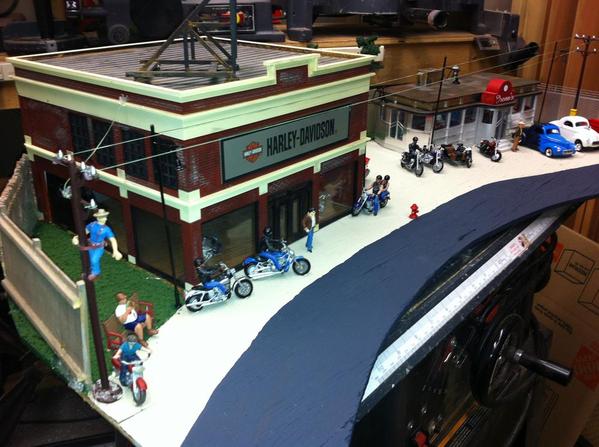
I started out with a section of 1/4 plywood that I had left over, and started out my scene by drawing a sketch on the plywood and then painted my side walk and street. Than I added some street lamps and hooked up all the electric.I wanted to get some color so I used some scenic express green ground cover, once that dried I started to install all my accent accessories, like telephone poles with wires, people, cars, motorcycles, garbage pails, trees, signs, fence, and a fire hydrant. This was an easy project because I was able to build it in my shop and then place it on the layout. I still have a little more to do on it, but overall I think it came out very nice. Thanks to all and enjoy, Alex

trains 1529

trains 1530

trains 1531

trains 1532

trains 1533

trains 1534

Attachments

Images (6)
  • trains 1529
  • trains 1530
  • trains 1531
  • trains 1532
  • trains 1533
  • trains 1534
Original Post

Replies sorted oldest to newest

I like it!  I like making templates and adding a scene to the layout also.  Well done-on 1/4" oak plywood no?  I would make sure to seal the oak ply from moisture applied when setting the ground foam.  It's stained so it's probably sealed.  I've used masonite as a base and didn't seal it (by painting first) and it warped requiring more screws than planned to get it to lay flat on the layout.  It looks good in that corner.  And everyone like cars and motorcycles. 

Thanks William, Art (Chugman), Charles(wild mary) and Jim for the very kind comments,


Guys I built 90% of this layout on top of the layout table and boy did I learn my lesson. doing it as a Dieorama or a module is the only way to go. When I build my next layout in the future it will be done this way. You can get so much better detail with method. I still have to fix the road and go over it to make it smooth, and a few other touches.


Thanks again, Alex

Originally Posted by killian:

Alex,


I really like what you did, this is a really nice project.   Thanks for sharing the photos.  P.S. I got the package, thank you to you and your wife for the package and your kindness.   Killian


VETERANS HOME - NORTHERN CALIFORNIA

POW/MIA YOU ARE NOT FORGOTTEN

Thanks Killian for the nice comments, and your welcome enjoy them and post some photo's when you set them up.

Thanks, Alex

Thanks, Bill and Dave for the nice comment's, With this method of building you can pay so much more attention to detail. My layout is about 90% done, but like I said in the above posts my future layout in years to come will be built this way. Here's another few photo's of the foreground I worked on today. Still lots to do behind the diorama


THANKS AGAIN, ALEX

trains 1539

trains 1540

Attachments

Images (2)
  • trains 1539
  • trains 1540

Hi Alex!


Those scenes look simply great!

As you and several others have said, whenever possible, build the scene modules off-site - much easier.


A favor:

Could you post again the picture that shows the tunnel entrance to the street that leads to the lower level? I have the one that shows the tunnel entrance to the street that leads to the upper level, and already made mine similarly . Now I have to make the other end .


Thx!


Alex

Originally Posted by Jdevleerjr:
Originally Posted by Alex Malliae:

Hi Jim I just always painted my plywood and it seems to be fine, I haven't had any trouble with warping, as long as I painted it or stained it.

Alex

Do you paint both sides or just the top side?

Jim I paint one side, but you really should paint top bottom and sides to seal it

that's the right way.

Alex

Post

OGR Publishing, Inc., 1310 Eastside Centre Ct, Suite 6, Mountain Home, AR 72653
800-980-OGRR (6477)
www.ogaugerr.com

×
×
×
×
Link copied to your clipboard.
×
×