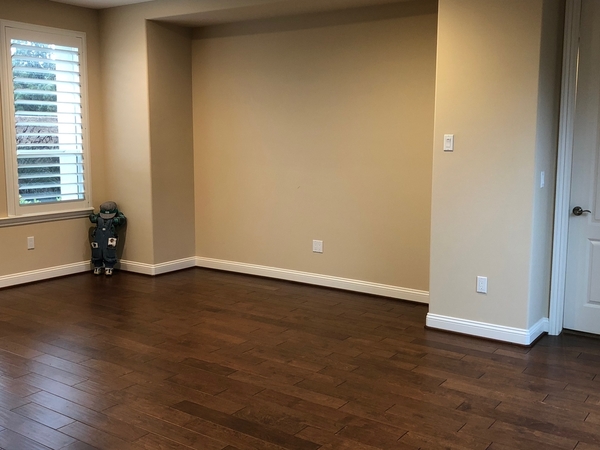
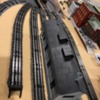
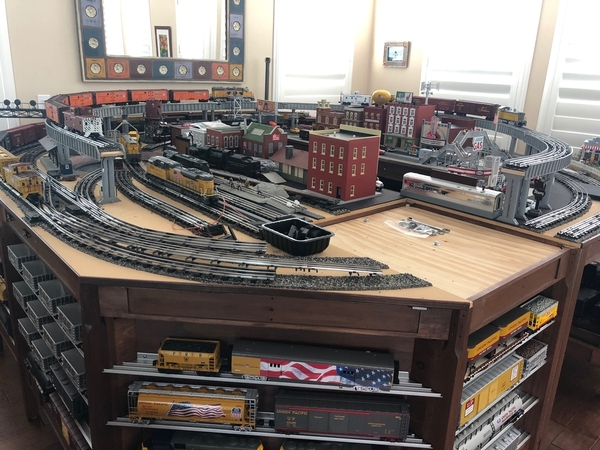
Several weeks ago, my "Great Room" looked like this:

DSC_0186

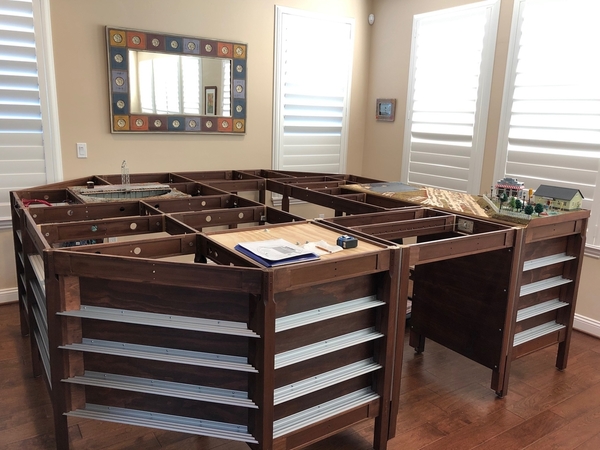
Then I had the notion that it was time to take down what I think of as a big (12' X 17') layout, plan a smaller one and return our Great Room to it's intended purpose, so first it became this:

IMG_3726

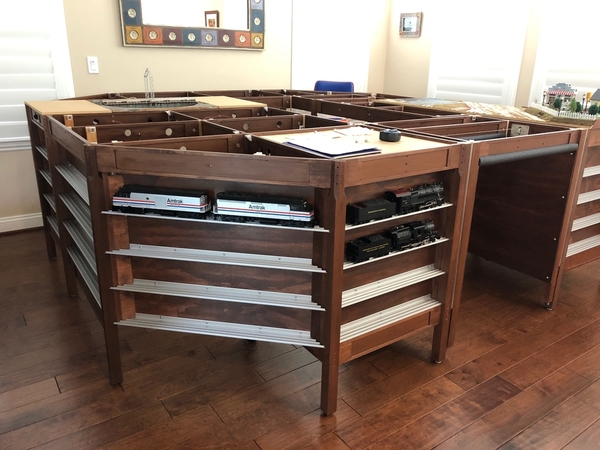
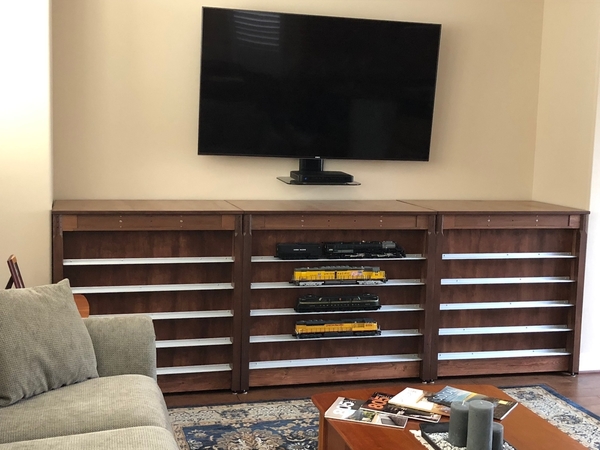
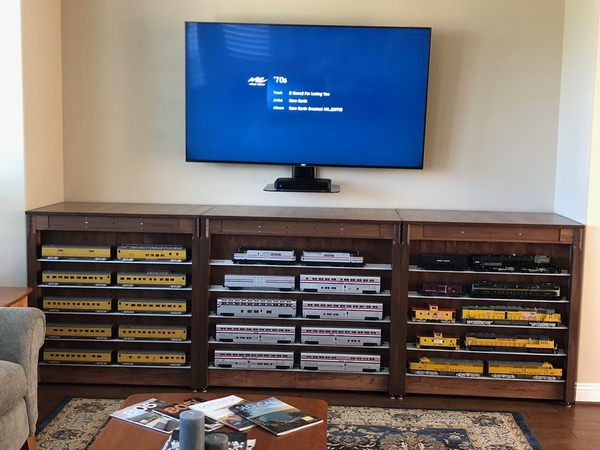
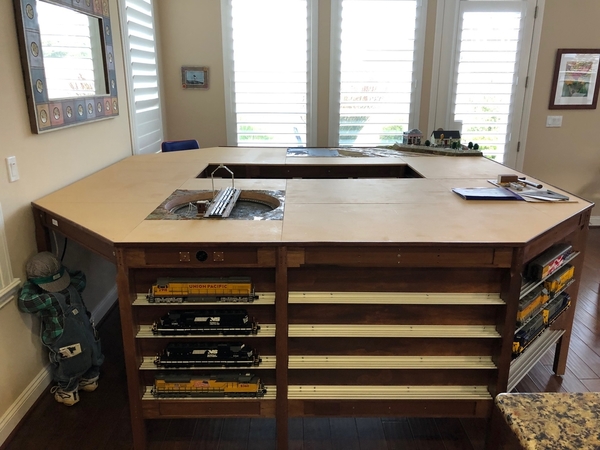
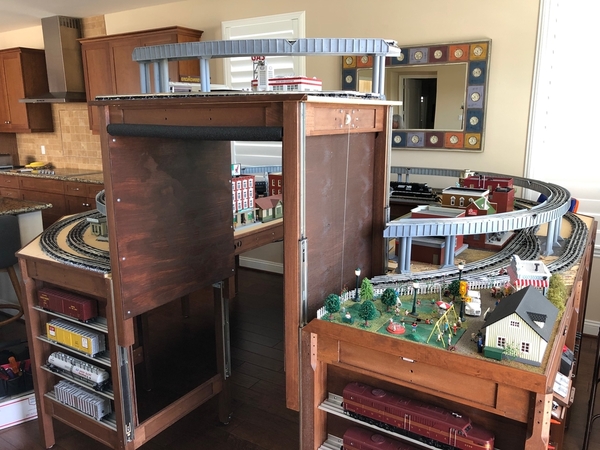
Since this is the third time downsizing using Mianne Benchwork, I found that I had many extra legs and I-beams, so my wife suggested that I create a 10' long section using the benchwork and, adding (Glenn Snyder) shelving. This will serve three purposes: display my trains that will no longer fit on my smaller table, create a space for storage of my train boxes (since each of the three sections can be slid out), and become a table top for our new 65" TV that is due to arrive soon!

IMG_3790

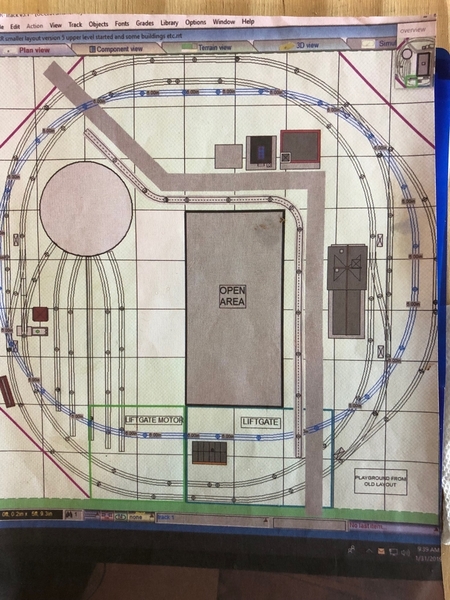
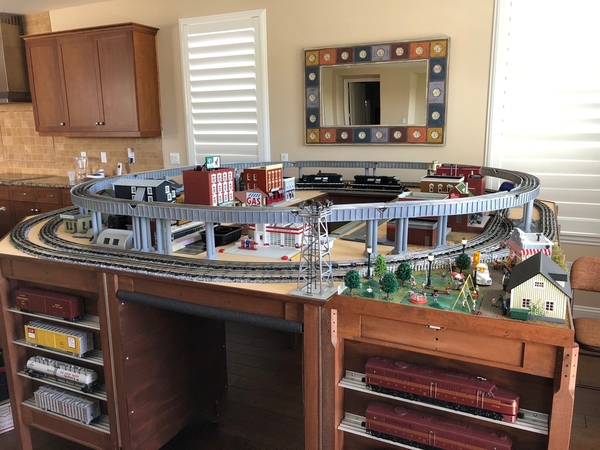
The new 9' X 9' train table is quickly being assembled on the opposite side of the room. I was able to re-configure the benchwork to include my liftgate (Tim Foley provided the i-beams needed to shorten it by one foot), my Bowser 24" turntable and another section of the big layout that included a school and playground:

IMG_3828

I'm still working on the layout plan, but I think I will be able to create some nice scenes and likely run three trains at the same time, have a trolley line and five tracks to park engines around the turntable.

Change is real!

Attachments

Images (4)
  • DSC_0186
  • IMG_3726
  • IMG_3790
  • IMG_3828
Last edited by stangtrain
Original Post

Replies sorted oldest to newest

Thanks to all for your kind words!
Here is my first draft for the new track plan:

IMG_3829

Simply three loops of track, including an elevated loop. I look forward to having some nice trains on the move sometime soon.

The Mianne Benchwork was stained prior to assembling my prior layout, after the move from PA to CA four plus years ago. Following Tim Foley's advice, I lightly sanded, applied pre-stain (water based) followed by stain (also water based), followed by polyurethane. A tedious task to be sure, but important to get the look needed to (be allowed) to build in the home living space.

Attachments

Images (1)
  • IMG_3829

Build It and They Will Come:

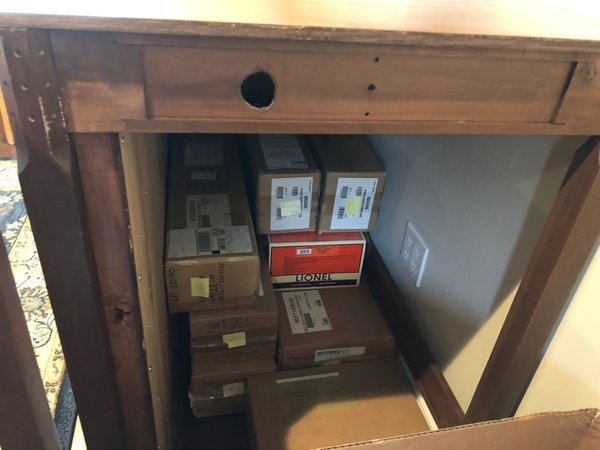
Update: Now that the display unit is complete and the 65" new TV has been mounted to the wall, engines are starting to appear! A few even made it to the shelves on the new layout even though plywood has not yet been attached to the top! It is really nice to see them out of their boxes again. The boxes are now being stored behind the shelves in the display units. This will free up important closet space that is at a premium here in California.

IMG_4047IMG_4048

Attachments

Images (2)
  • IMG_4047
  • IMG_4048
Last edited by stangtrain

John:

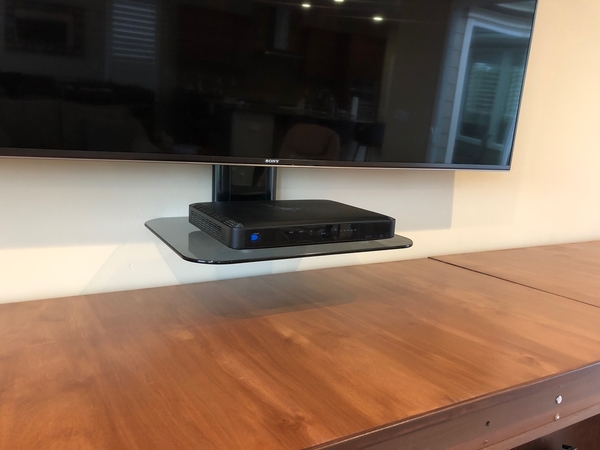
That is actually a shelf installed below the TV for the Direct TV "genie" unit. I will likely also put a DVD player on the shelf as well under the "genie". Wires are hidden behind the panel:

IMG_4050

HOKIE71: Each of the three units can slide out for access and storage is underneath. The holes drilled in the i-beams proves that these parts were re-cycled:

IMG_4051IMG_4054

Attachments

Images (3)
  • IMG_4050
  • IMG_4051
  • IMG_4054

Stangtrain,

I always said your previous layout looked like fine furniture with the way you stained the Mianne benchwork and added the train shelves. Now you have made real furniture out of it and it looks great! Personally, I have always thought one could make several different pieces of very practical furniture out of the assorted Mianne pieces available. You have provided us with a very nice example of that here. 

Waiting for a train!!

IMG_4108

I finished installing the plywood top on the benchwork after putting two coats of paint on all sides in order to seal the plywood and prevent odors in our living space. Now ready for a test track and work on the final track plan. My turntable is waiting patiently for a train to arrive, or at least an engine!

Attachments

Images (1)
  • IMG_4108

Construction progress 5/19/19:

Electrical infrastructure now in place and it will soon be time to start laying track!

Circuit breakers, quick blow fuses and TVSs on all transformer posts:

IMG_4189

I built this cool two story parking garage for my Legacy controllers:IMG_4190

Overkill on power for three loops, lights and accessories, but I'd rather have too much available than too little and I can have many variable voltage choices for accessories using the 2 KWs:

IMG_4194


Attachments

Images (3)
  • IMG_4189
  • IMG_4190
  • IMG_4194

STANGTRAIN, very nice looking Control Center, very neat job of wiring, nice use of SC2’s, great woodwork.....Thank You for the update....I envy your neatness, so, I will begin, in a few days straightening up my wiring and finish connecting the already dropped wires to streetlights, Atlas O uncouplers, buildings, etc. You have started my thinking processes with your electrical work.  Happy Railroading.

Progress 6/10/19:

Two track mainline tracks installed and wired with cork roadbed (painted grey) installed. As I did in prior layouts, I plan to remove all tracks, glue ballast to the painted roadbed and re-install the tracks. Today I wired the "whisker" tracks at my turntable and the turntable is now operational once again! I had one "oops" when I was testing one of the tracks and had a dead short when the engine entered. I had wired the track in reverse. The powermaster quickly shut down power. Had it not, the powerhouse circuit breaker would have tripped and if it didn't, the quick blow fuse would have saved the day. Of course the TVS was on duty just in case as well.

It's so nice to get some trains moving again!

IMG_4280

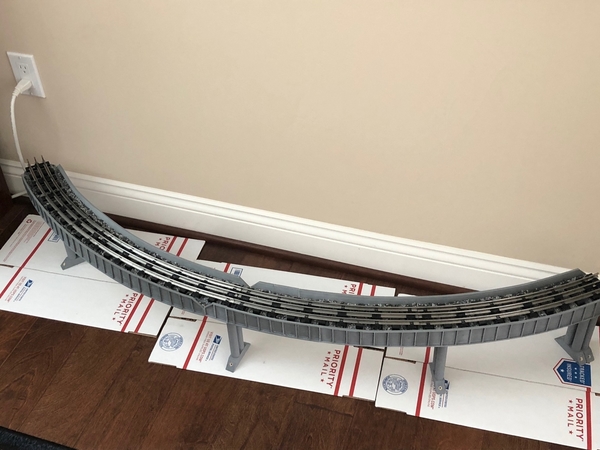
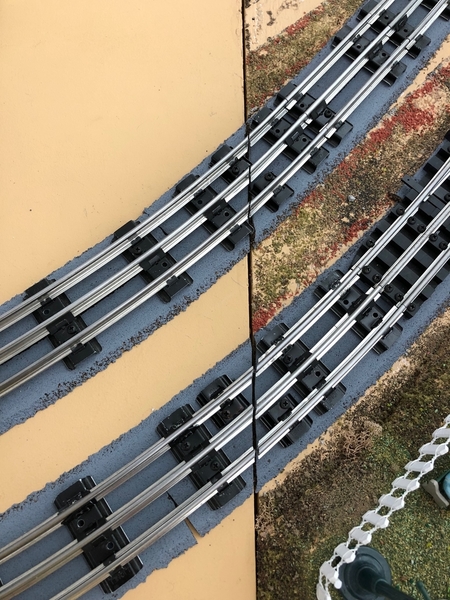
Next, I will continue with my plan to have an upper level track. I have the track cut and ready to install. My plan is to take the track to my garage, trace the track plan onto flattened boxes and then transfer the plan to 1/2" plywood for cutting. I'm still considering using 3/4" plywood but I think it would be overkill and harder to work with. I engineered this support that I plan to use for the upper level track:

IMG_4282

Lightweight and strong with readily available 3/4"dowel and 3/4" square moulding held together with screws. Making about 16-20 of these may be a chore! The real fun will come when I build the supports for the section that attaches to the liftgate! Cutting the curved track to line up on the liftgate is the challenge. Since I already made the cuts here, I think I should be OK:

IMG_4283


Attachments

Images (3)
  • IMG_4280
  • IMG_4282
  • IMG_4283

Progress 6/22/19:

Started ballasting and added extra ties to the "whisker" tracks at the turntable:

IMG_4330

Added two analog voltmeters: 1 to display voltage at power master set to TR #5 that supplies power the turntable tracks. The second voltmeter (on the left) is attached to a rotary switch to show actual settings from my four variable voltage posts on my 2 KWs used for accessory power. This gives me the opportunity to display "fine tuned" power when needed:

IMG_4332IMG_4333

Getting ready to start cutting plywood for the upper level track.....


Attachments

Images (3)
  • IMG_4330
  • IMG_4332
  • IMG_4333
Last edited by stangtrain

Progress 7/15/19:

Now that tracks have been installed, wired and ballasted on the double main line and turntable "whisker" tracks, I started to build the "modules" for the upper level track. Building the modules in the workshop is working out quite well so far. I am recycling girder panels, attached with liquid nails, from a previous layout - actually two layouts ago in PA. I added metal foil tape on the underside of the module that will be connected to my earth ground terminal strip in order to minimize TMCC signal interference. I also pre installed wires for track power as well as the earth ground connection, routed through a conduit:

IMG_4494IMG_4512

Attachments

Images (2)
  • IMG_4494
  • IMG_4512

Amazingly neat wiring and I love the layout and your attitude about making work what you have. Question for you, are you using one powermaster per handle on the ZW? From the picture,that is what it looks like. I plan on using powermasters if I get back to working on a layout (household renovation  taking precedence along with yard work!), and I hadn't even thought about doing that, was going to use on A/B powermasters in each block. 

BIGKID: I use the following for track power: 1- PWC ZW with 4 - 135 watt powerhouses connected. The PWC ZW has 4 powermasters built in. I am using the two outer channels, AU & DU for track power and BU & CU for accessories. I am also using another 135 watt powerhouse connected to a legacy powermaster for the third track loop.

OGAUGENUT: I use the following method for ballasting which I am now using on the fourth layout: Using tubular Lionel track, I first put together and wire all trackwork and mark the center line with a pencil. Next, I remove the track and unplug wiring (using Molex solderless quick disconnect male connectors from Mouser, #538-19022-0004). Using the center line, I install cork roadbed which I first painted a mid to dark grey color. Next, I glue ballast onto the roadbed using white glue. Quite a few years ago, at a York train meet, I found a rubber ballast made by "Ballast King", 2721 Trinity Ct., Avon, OH 44011-1972, 440-937-6771 - need to call to see if still in business - no website then or now. I use a blend of a few of his products to get the right look that I prefer. Finally, I re-install track and wiring, then add extra ties and that is it. This method makes removing track / switches easy when the time comes to change the track plan or just service the switch tracks or for whatever. The  beauty of the rubber ballast is that, since my layout is in my living space on a hardwood floor, the rubber ballast that inevitably falls is non abrasive and scratches are therefore avoided.

Progress 8/5/19:

I constructed and installed all of the upper level "modules". The liftgate section was the toughest as it took some fine tuning but I got the tracks to line up well and the liftgate moves up and down freely:

IMG_4608IMG_4609

Now that all tracks are installed and wired, it was time to bring out more trains for a trial run:

IMG_4620

Even though they are simply going around in a circle (loop) it is pretty cool to see three trains moving at once!

Next step is to position buildings, etc. where I want them, build a road and install signals, crossing gates, etc. I am not in any rush now that I have trains running again!

Attachments

Images (3)
  • IMG_4608
  • IMG_4609
  • IMG_4620

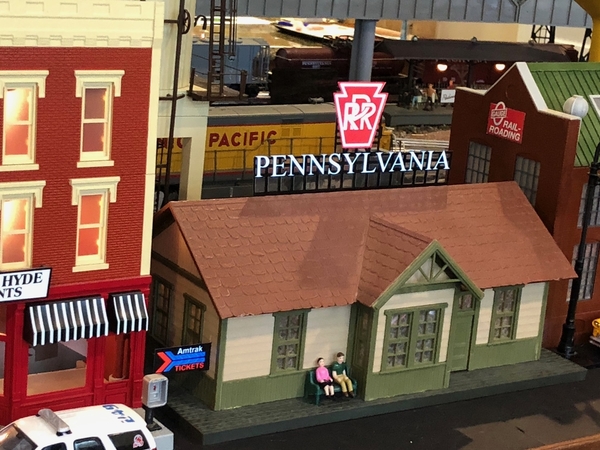
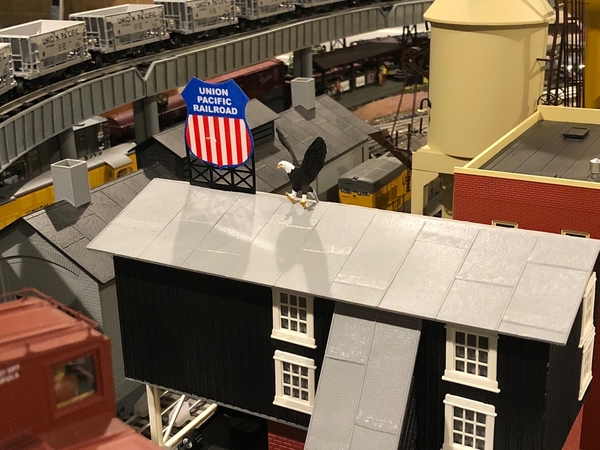
I've been making good steady progress on this smaller railroad that I hope will never be completely finished:

IMG_4945

Now my progress has taken a few steps backward - A couple of days ago I heard an unusual noise when raising the liftgate. Upon examination, I found that the liftgate cable showed some signs of wear - actually fraying in two spots. Tim at Mianne told me the cable needed to be replaced. Unfortunately, in order to get to the pully on the motor that contains the cable, I needed to remove the plywood on the 2' X 2' section where the motor resides. I needed to remove one of the bolts holding the motor in order to get to the part which required removing track, scenery and accessories mounted thereon:

IMG_5018IMG_5019IMG_5020IMG_5021IMG_5022

The pulley with cable attached is already on it's way to Mianne in Massachusetts via 2 day priority mail. Tim said he would replace the cable and ship back to me quickly.

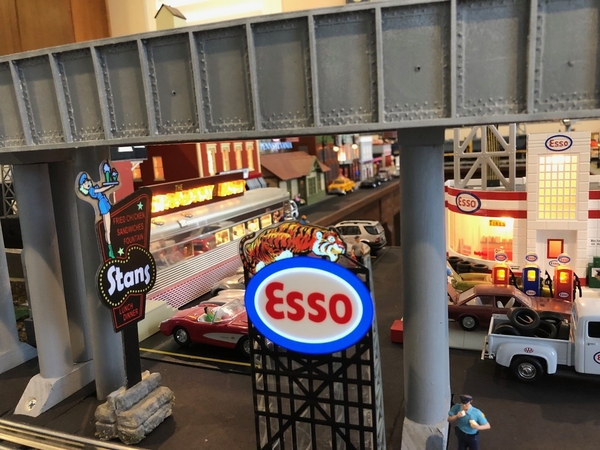
Putting the pieces back together again will not be that hard. With the stuff off, I did get some ideas for changes, such as adding Miller signs here and there etc. 

My recommendation to all using the liftgate is to try to minimize what you attach to that 2' X 2' area just in case something like this happens to you!

Attachments

Images (6)
  • IMG_4945
  • IMG_5018
  • IMG_5019
  • IMG_5020
  • IMG_5021
  • IMG_5022

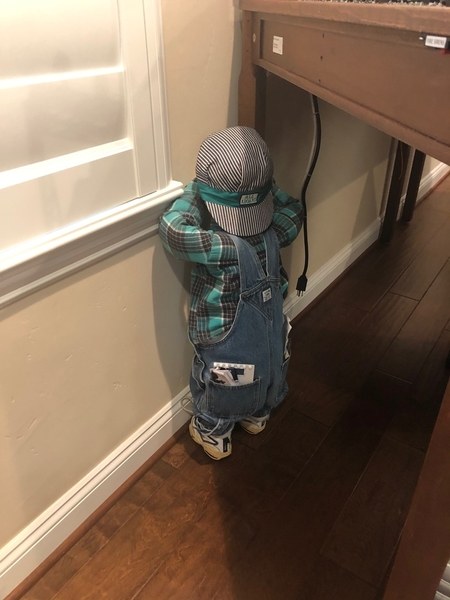
Eddie G: Glad you asked! It's "Little Stevie" - a stuffed and dressed doll representing that kid who touches or breaks something on the layout. In this case, the name came from my Son-in-law's father, Steve who once was visiting and adjusted (when I wasn't looking) my Lionel "Indian Princess" accessory causing the princess to get run over when the next train came by! She survived and actually Lionel packed two princesses with the accessory just in case this happens. "Little Stevie" has been part of my various train layouts for over 20 years now.


IMG_5024

Attachments

Images (1)
  • IMG_5024
Last edited by stangtrain

Stangtrain;

Wow - you have packed a lot of action into a relatively small space. I love the Mianne Benchwork, but to date, I haven’t done any downsizing... only added to my original layout. 

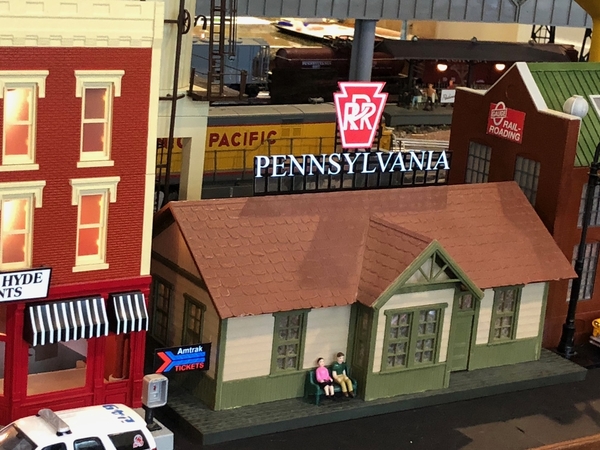
I’d like to ask a question on your Miller signs. I have a few which I haven’t installed yet - one of which is the PRR sign you show:

9A603EBC-D94E-4699-8650-4588542D08DB

Could you tell me how you installed it on the peak of the roof??? Mine has a rather chunky black connector which attaches just below the lowest black horizontal bar, so I was thinking I would have to cut a hole in my roof.

Thanks.

Attachments

Images (1)
  • 9A603EBC-D94E-4699-8650-4588542D08DB
stangtrain posted:

Paul:

I cut a slit in the roof and needed to enlarge it a bit to have the sign sit properly - be careful not to flex the sign as I did and needed to order a replacement, LOL!

IMG_5235

I hope this helps.

Stan

Thanks, Stan. My roof is thin and I thought that the additional space would screw up the connection to the sign. And I’ll make a point not to flex the sign!!!

Add Reply

Post

OGR Publishing, Inc., 1310 Eastside Centre Ct, Suite 6, Mountain Home, AR 72653
800-980-OGRR (6477)
www.ogaugerr.com

×
×
×
×
Link copied to your clipboard.
×
×