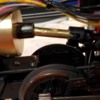
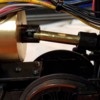
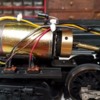
I have read past threads that show how to upgrade a Legacy engine from using a Canon motor to use a Pittman motor.  I have also read that the shaft on the Pittman motors is shorter than the Canon's shaft.  Are all Pittman shafts the same length (9433s, 9434s)?  Is one Pittman preferred over others?  I am going to upgrade my S-1 and the original Lionel Pittman was a 9434 in the TMCC version.  I have a spare 9434 in my parts bin but I do not have any 9433s.  As long as the set screw catches some of the shaft on the Pittman will it be ok, or does it need to get a full bite on the shaft?  How do you compensate for the shaft being shorter?

Thanks

Original Post

Replies sorted oldest to newest

What Pete said is true, …and to add, if the TMCC version had a 9434, then it SHOULD fit in the legacy version,….the shorter 9433 surrenders a bit of low end torque vs. the 9434 in larger locomotives, but even at that, Legacy or ERR clean it up pretty nicely in the lower speed steps, so it’s not really an issue,…..as far as shaft length, I haven’t had one where it was so short I couldn’t get a bite on it, …just try & get the flywheel to set in as far as it can with out having the encoder ring  touching the throat of the sensor,….I’ve used the short shafts and got it to bite,….I always pull it back off and check the witness marks on the shaft to make sure she’s not too close to spitting it off the end,….so far, so good,…

Pat

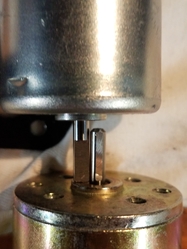
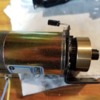
Tonight I pulled out the Canon motor and tried to install the Pittman.  The Pittman clearly has a shorter shaft.  It looks to be a good 1-2 mm shorter.  After mounting the motor bracket, plastic shield, and then the motor sensor board, the flywheel does not have enough shaft left to be mounted.

I have a TMCC M1a which I know has a 9433.  I pulled the motor out for comparison and its shaft looks to be the same size as the 9434.  I have the same issue with that motor.  The shaft is not long enough to mount the flywheel.

Not sure what can be done to mount the flywheel.  The motor mounting bracket and plastic shield are both fairly thick. If I remove the plastic shield I can get enough of a bite. Obviously, I need the plastic shield to insulate the sensor board so I know that is not an option.  But that's how close I am for getting enough of the shaft in the fly wheel for mounting.  Any thoughts/suggestions?

MotorShaft

Attachments

Images (1)
  • MotorShaft
Last edited by Joe Fermani
@Joe Fermani posted:

Tonight I pulled out the Canon motor and tried to install the Pittman.  The Pittman clearly has a shorter shaft.  It looks to be a good 1-2 mm shorter.  After mounting the motor bracket, plastic shield, and then the motor sensor board, the flywheel does not have enough shaft left to be mounted.

I have a TMCC M1a which I know has a 9433.  I pulled the motor out for comparison and its shaft looks to be the same size as the 9434.  I have the same issue with that motor.  The shaft is not long enough to mount the flywheel.

Not sure what can be done to mount the flywheel.  The motor mounting bracket and plastic shield are both fairly thick. If I remove the plastic shield I can get enough of a bite. Obviously, I need the plastic shield to insulate the sensor board so I know that is not an option.  But that's how close I am for getting enough of the shaft in the fly wheel for mounting.  Any thoughts/suggestions?

MotorShaft

I haven’t run into your issue yet,….just for S&G’s, try mocking it all together without the plastic insulator. If this gives you enough reach for locking down the set screw, lose the thick insulator, and use vinyl electrical tape as an insulator…..if this all works, watch your dog bone end play. Be sure it’s not too sloppy between the cups,…..if it is, we can come up with a remedy for that too,…..report back your findings,….we’ll help ya get through this,…

Pat

@Joe Fermani posted:

When reassembling the dog bone, why should the pins be 90 degrees from each other? The dog bone in original form has them the same at both ends.

Driveline harmonics. It's better to have the end pins 90° apart. Pete’s suggestion of using the brass tube and epoxy will 100% solve the issue. I've done it myself before.

Manufacturers don't do it that way because it's harder to mold them like that.

@Joe Fermani posted:

When reassembling the dog bone, why should the pins be 90 degrees from each other? The dog bone in original form has them the same at both ends.

The other reason is offsettting the pins allows for a greater angle. You already have quite a bit. Put a dogbone into a coupling and move it in the plane of the pins and 90 degrees to the plane and you will see greater travel in the plane of the pins, less chance of binding.

Pete

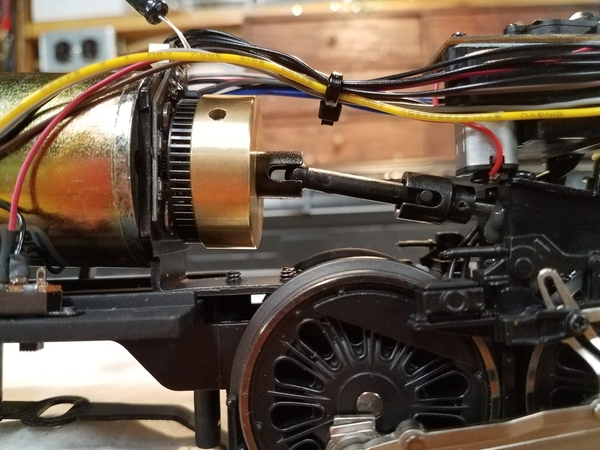
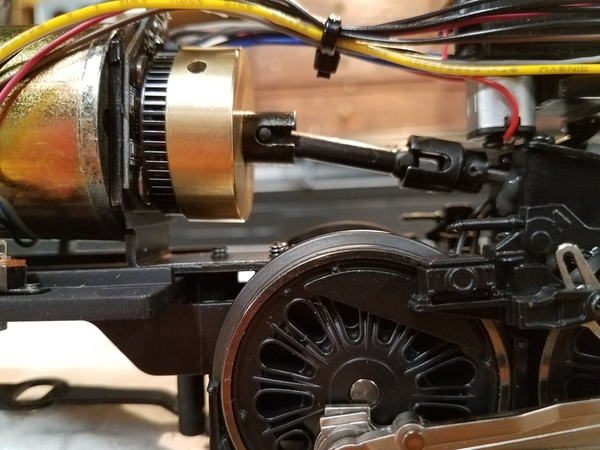
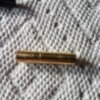
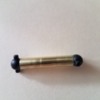
As mentioned above by the masters, this is a simple fix, and once you’ve mastered it, you’ll never look back,….K&S metals sells brass tubing, 7/32” ID ( inside diameter ) ….Hobby Lobby usually keeps it in stock……if you look carefully at Pete’s picture, you’ll see the brass tubing just does enter the mouth of the coupler,…that is the ideal length of the tubing,….measure for that, split the dog bone, phase your ear ends, and epoxy it all together ,….test fitment before epoxy,….verify minimal play for forward, and reverse by rotating worm shaft. If you’re handy with a small file, notch the side of the black plastic dog bone, this’ll serve two purposes, ….it’ll let excess glue ooze out to wipe up, and give a wedge for the epoxy to grab hold of,…..as far as clocking the dog bone ( phasing) all joints should be phased, period,…

Pat

This probably does not apply to Lionel conversions, but I have found, after maybe 40 Pittman installations, that the 8000-series motors are entirely adequate, spin faster, fit better, and suit my models.  They need to be rare earth motors, with anything but a 1 in that third digit - that is 94x4 or 82x4, where x can be 2 or 3, but never 1.

I mount my motors in a cradle, using a chunk of rubber to insulate for sound, and aircraft .032 safety wire to hold them in place.  The cradle can be a piece of PVC pipe, although I use brass bar rail.

The critical thing is the connection between motor and gearbox.  I use Toyota #0 hose exclusively, and for my locomotives I use a very long worm shaft with the hose connection close to the motor, for torque wrap-up considerations.

The other critical thing is to have the motor shaft and the worm shaft as co-axial as possible.  Any angle at the connection sucks power away from the objective (moving a train). 

I have done this on MTH and K-Line, retaining the flywheel, but normally my locomotives are simpler than that.

Use the 9000-series with care - for instance, I put one in my Williams "J" and it could hardly get out of its own way.  Great for switch locomotives, but not so much mainline steam.  You can order the 7 1/2 volt versions to get the RPMs up a bit.

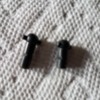
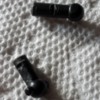
The upgrade is complete and the engine is running great with the Pittman motor.  The shell had plenty of room for the bigger motor.  The only thing I would like to do better is the wire management so the wires can't ever touch the flywheel.  I have them dressed so it clears it but would like something a little better.  The dogbone assembly went well using JB Weld to hold the pieces together.  I knotched the plastic dogbone so the glue would have more of a bite.  The new dogbone fits better than the original.  A lot less slop now and works well.  This was an enjoyable project and its nice to have my S1 back on the rails.  Thanks for all the help!

Attachments

Images (8)
  • 20211030_144157: Brass tubing cut to length
  • 20211030_144210: Dogbone cut in half for the brass tubing
  • 20211030_144251: Knotched the pieces so the glue can get more of a bite
  • 20211030_145836: Fully assembled and ready for install
  • 20211104_173041: Motor mounted to flywheel and mounting bracket
  • 20211104_173444: Motor installed
  • 20211104_173453: Motor installed
  • 20211105_000636: Wires all installed and secured with ties.
@Joe Fermani posted:

The upgrade is complete and the engine is running great with the Pittman motor.  The shell had plenty of room for the bigger motor.  The only thing I would like to do better is the wire management so the wires can't ever touch the flywheel.  I have them dressed so it clears it but would like something a little better.  The dogbone assembly went well using JB Weld to hold the pieces together.  I knotched the plastic dogbone so the glue would have more of a bite.  The new dogbone fits better than the original.  A lot less slop now and works well.  This was an enjoyable project and its nice to have my S1 back on the rails.  Thanks for all the help!

Looks like a winner Dr.Toyota, ….good job!!…looks like a super clean install,….nice work!!..

Pat

Add Reply

Post
This forum is sponsored by Lionel, LLC

OGR Publishing, Inc., 1310 Eastside Centre Ct, Suite 6, Mountain Home, AR 72653
800-980-OGRR (6477)
www.ogaugerr.com

×
×
×
×
Link copied to your clipboard.
×
×