I have a number of the MTH Premiere Strasburg Woodside passenger cars with the "new" LED lighting. I was immediately disappointed on the first run that they flickered more than the old incandescent cars, that's something I certainly didn't expect to see. When I opened one up, it was apparent why the flicker. There is NO bulk capacitance to stop the flicker! There are four diodes forming a bridge rectifier, and individual LED's with an associated resistor for each LED. I also note that only half of the LED positions are filled, the PCB actually allows for nine LED's, four of the positions are not populated. It would have been nice to have all the positions populated and simply increase each of the resistors to more evenly distribute the light. I guess the extra ten or fifteen cents was too much to bear for a car that sells for $99.95! ![]()
How is that possible? Lionel comes out with passenger cars that stay lighted a couple minutes after you kill the power, MTH comes out with passenger cars that have no flicker resistance at all!
I popped the top off of one of the cars, very easy as there are only five or six screws (depending on the exact car configuration), and with the spring contacts, there is no wiring between the shell and the frame.
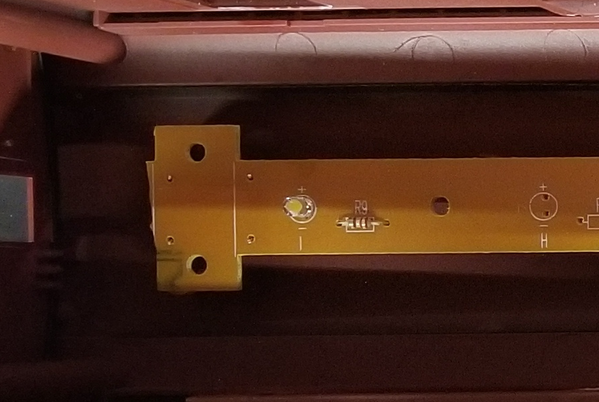
Here's what you see when you open them up. Looking closely, I see at the end opposite the some holes that have nothing in them, and they're directly across the rectified power coming into the car...
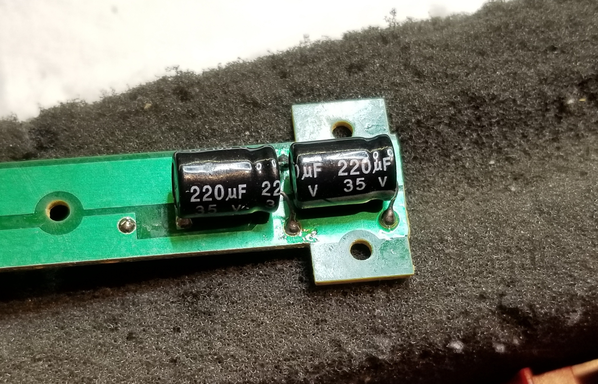
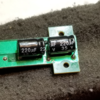
How convenient, I popped the strip out (four screws), and turned it over. There is just room enough between the top of the shell and the board on it's supports to stick two 220uf 35V capacitors. The fit just right, just make sure to get the polarity right. 440uf should be plenty of capacitance to tame the flicker.
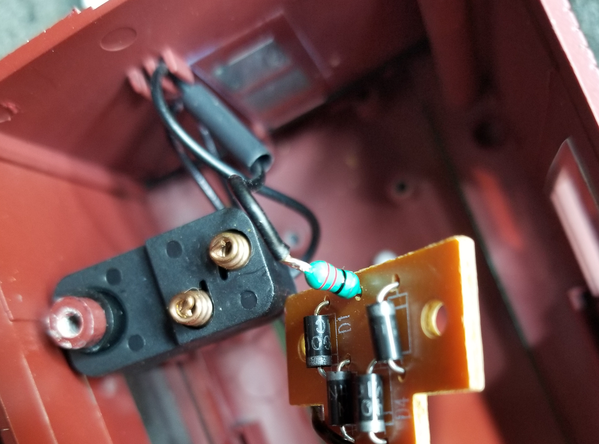
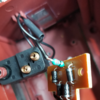
Since I want to be able to run DCS, I needed to insert a 22uh choke in the power feed to the lighting. Note the heatshrink that is placed over the choke and shrunk after soldering. The choke can be inserted in either of the power wires, this one happened to be more convenient.
After replacing the strip in the top of the shell, note that the capacitors are totally hidden, they're on the other side next to the roof under the strip.
That's it, drop the frame back into the shell and run the screws back in and you have flicker-free LED lighting, something that MTH could have done for about ten cents worth of parts!
I'm guessing a very similar fix could be applied to any other MTH cars of a similar vintage with the LED lighting. I don't know if MTH has wised up and started adding capacitance to tame the flicker, I can only hope so.


