
The Mullet River B&O I 10 Caboose kit appears to be a good match for a picture of a Montour RR Caboose that I found. I would have to add wooden toolboxes.  Has anyone worked with this model? Does this caboose have (3) windows on the side not shown in the detail? What does the end railing and ladder detail look like?


Last edited by Mike CT
Original Post

Replies sorted oldest to newest

C-channels pictured and the Z-channels, outside of the frame were the hardest, but with patience, can be done with the tool pictured.  If you do the rivet divets it takes a little work to get them where you want them. Best to keep them to the outside edge.  Note that the rivet divets tend to distort the metal go lightly with the press.   When I assembled the frame yesterday I was impressed by how accurate the laser cut brass pieces were.  I will take more pictures as I assemble the second frame.  I have two of these kits.

Glenn was gracious to the point of adding custom made tool boxes to the kit.  I'll have to move brake detail to accomodate the tool boxes.   

Last edited by Mike CT
Originally Posted by mwb:
Good to see some one actually building a kit for rolling stock!

I thought that the brass was etched not laser cut? I may stand corrected on that comment. It is interesting to note that the bend lines are etched/cut to aid the bending, again very precise work.   Some of the kits are supposed to have the rivet loactino marked for embossing - were they on this kit?  Yes, and it is very helpful.  The marks are on the backside/top side when using the rivet tool. In most cases usually away from the bend direction.


Last edited by Mike CT
Originally Posted by Mike CT:
Originally Posted by mwb:

Good to see some one actually building a kit for rolling stock! 


I thought that the brass was etched not laser cut? I may stand corrected on that comment. It is interesting to note that the bend lines are etched/cut to aid the bending, again very precise work.   Some of the kits are supposed to have the rivet loactino marked for embossing - were they on this kit?  Yes, and it is very helpful.  The marks are on the backside/top side when using the rivet tool. In most cases usually away from the bend direction.


Good to know that there are bend lines as well - very, very helpful.... 


I have a set of Kemtron etchings for an ITS B/C freight motor that I started looking at last week and while all of the rivet are etched in place, the bend locations are not and it's close 0.030" brass, and if I've got the locations correctly mapped, they are not is what one might consider as trivial locations.  May have to make a form to get them right.

I found the etched/cut bend lines to be very helpful.  As I said before my tendency was to get the rivet divets to close to the bend line, went back, made the clamp for the Sensipress, reviewed my patience tolerance and had success.

The bend lines.


Beautiful day, I got to go ride my bike.  Let me work some additional pictures on the bending this evening/tomorrow morning.  I hate to waste all that sunshine out there.

Mike

Last edited by Mike CT

Martin mentioned that the brass pieces were chemically etched. I didn't know and asked Glenn Guerra, Mullet River Models. 

Glenn's email.

Mike
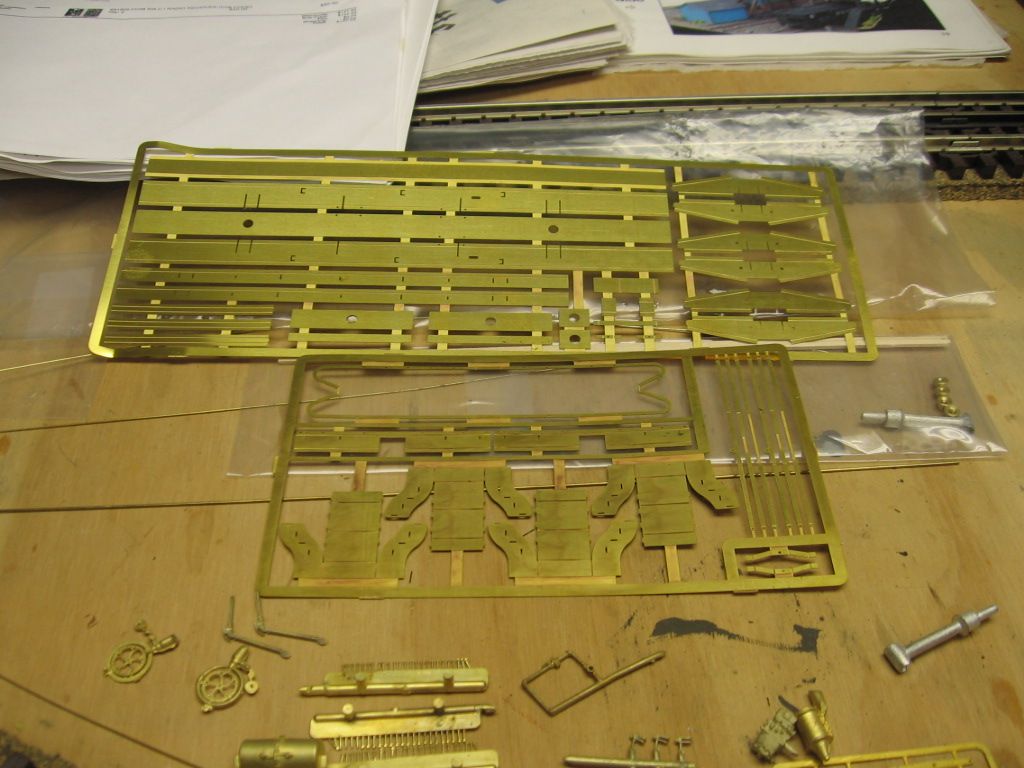
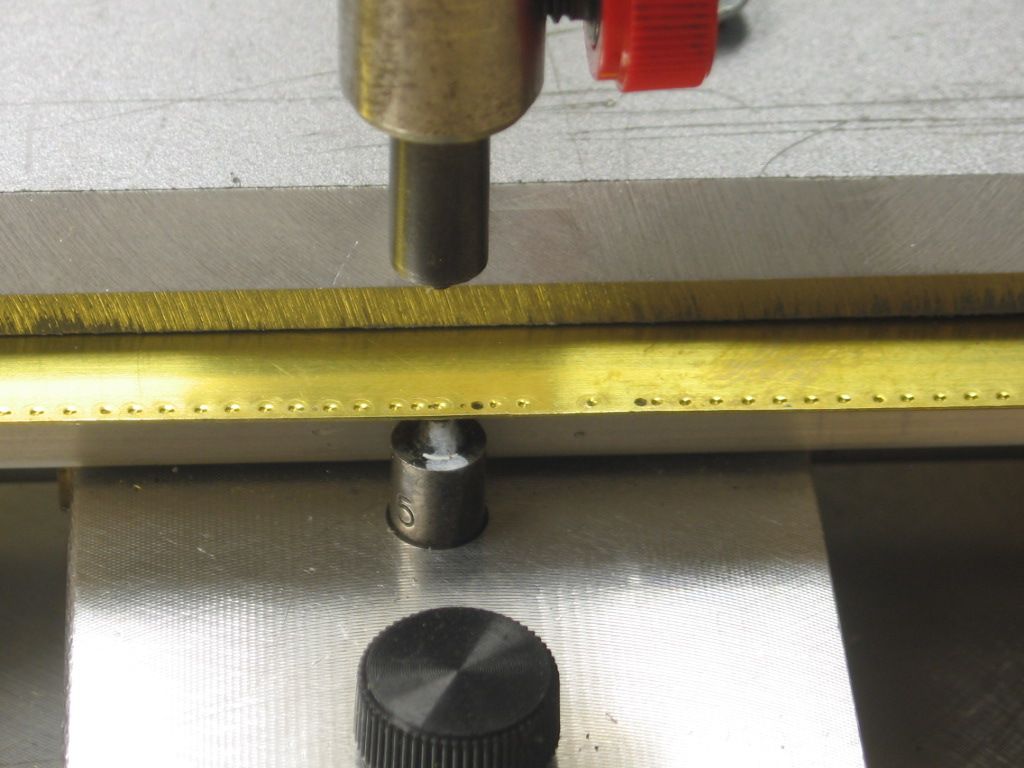
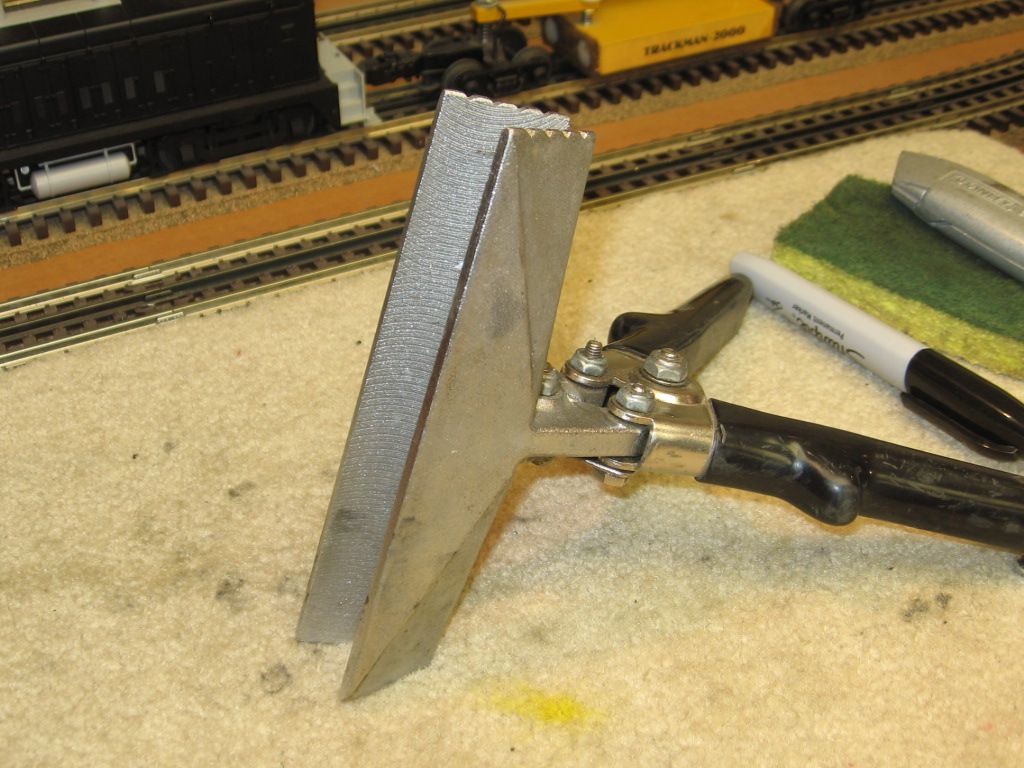
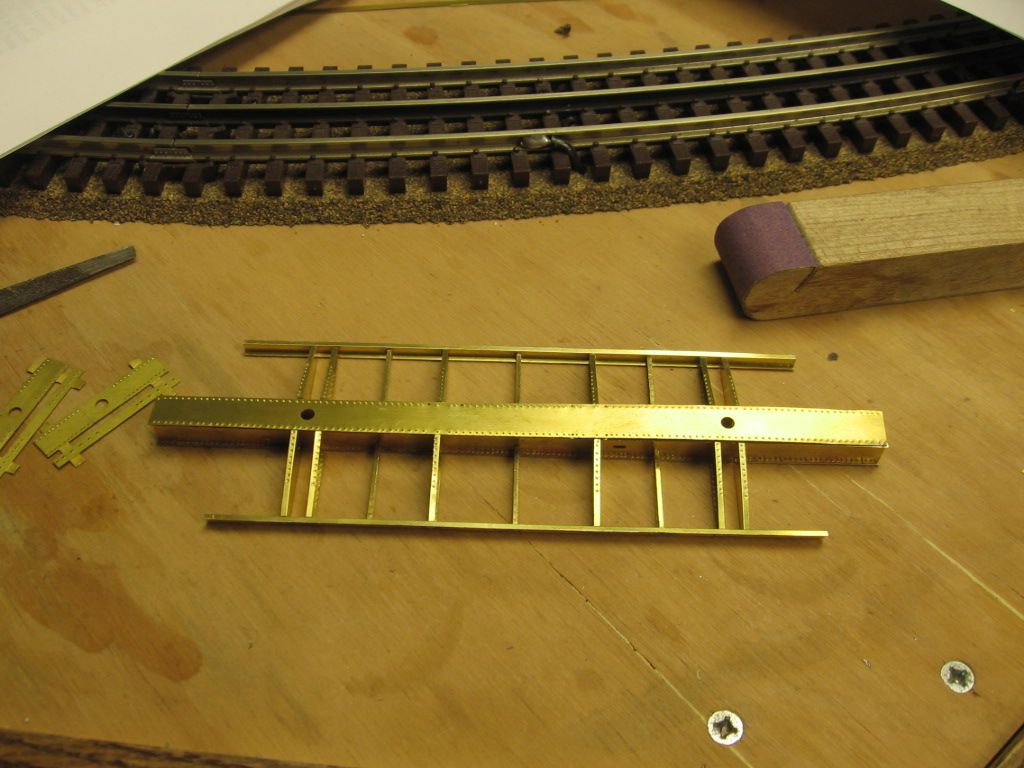
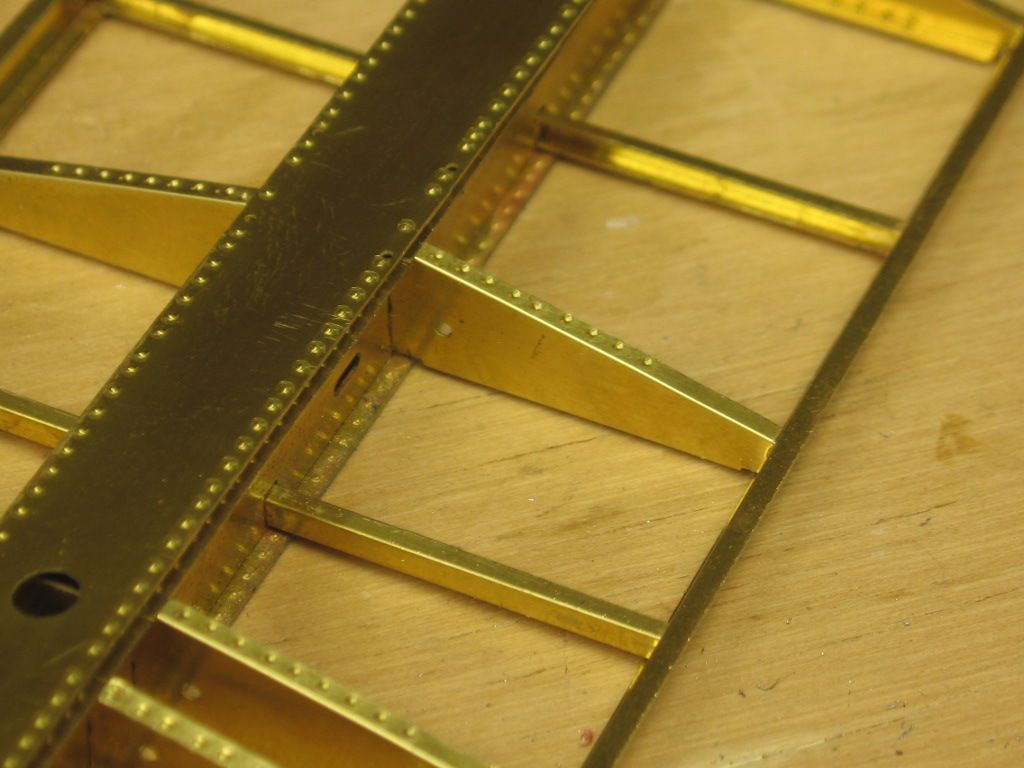
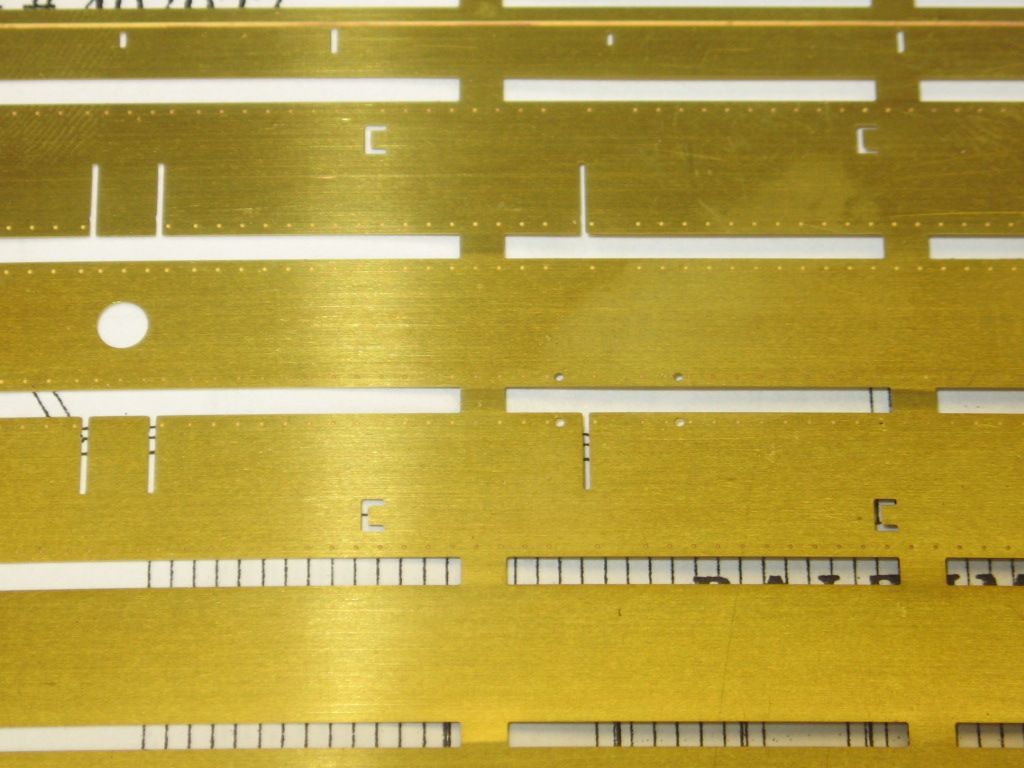
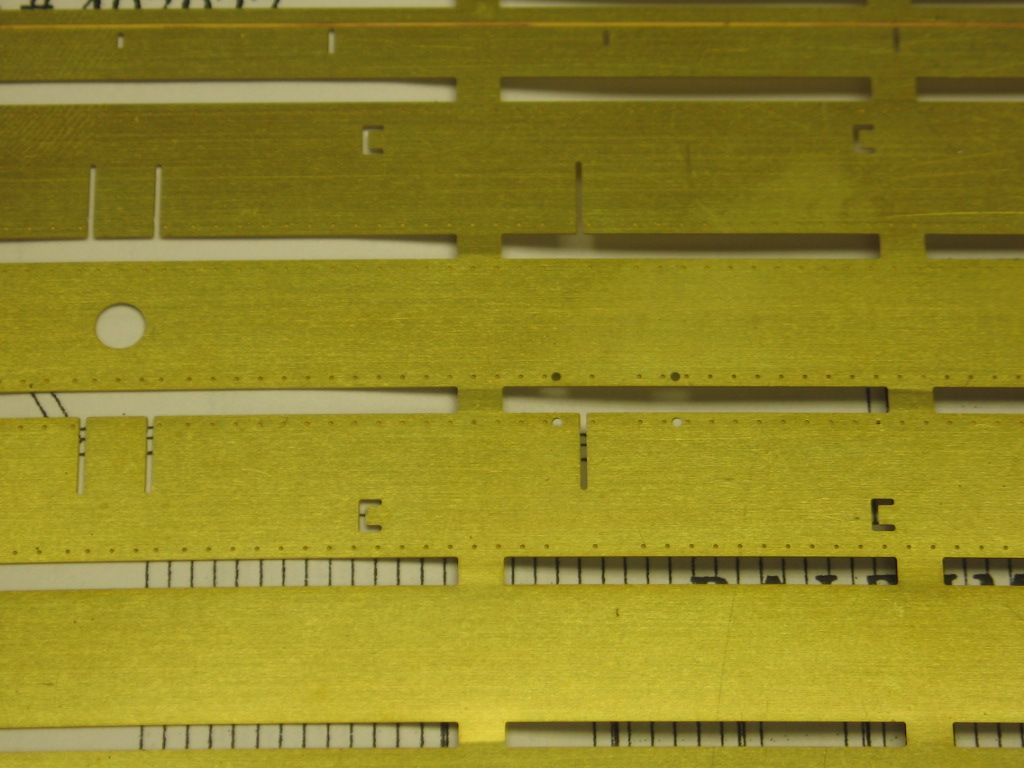
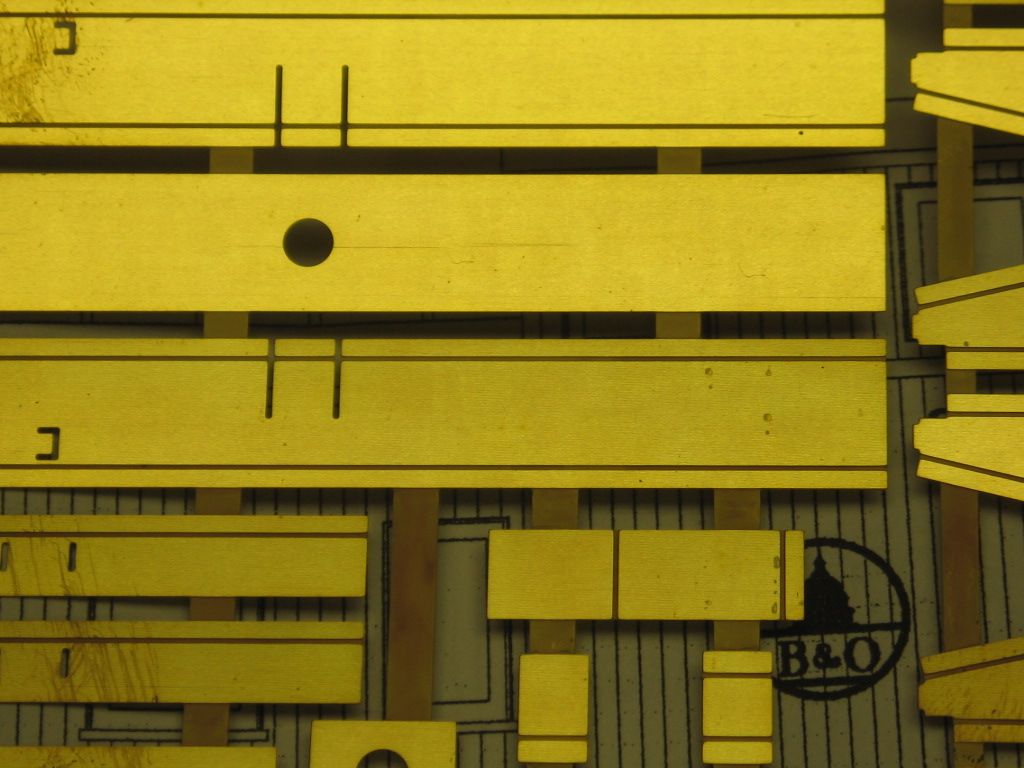
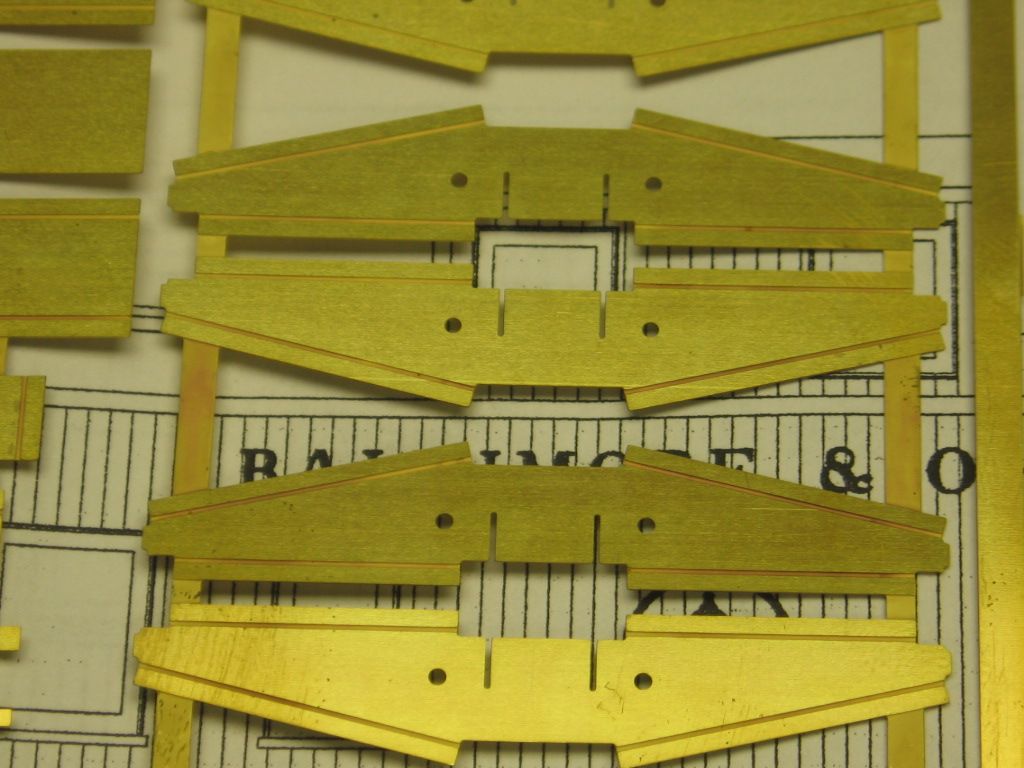
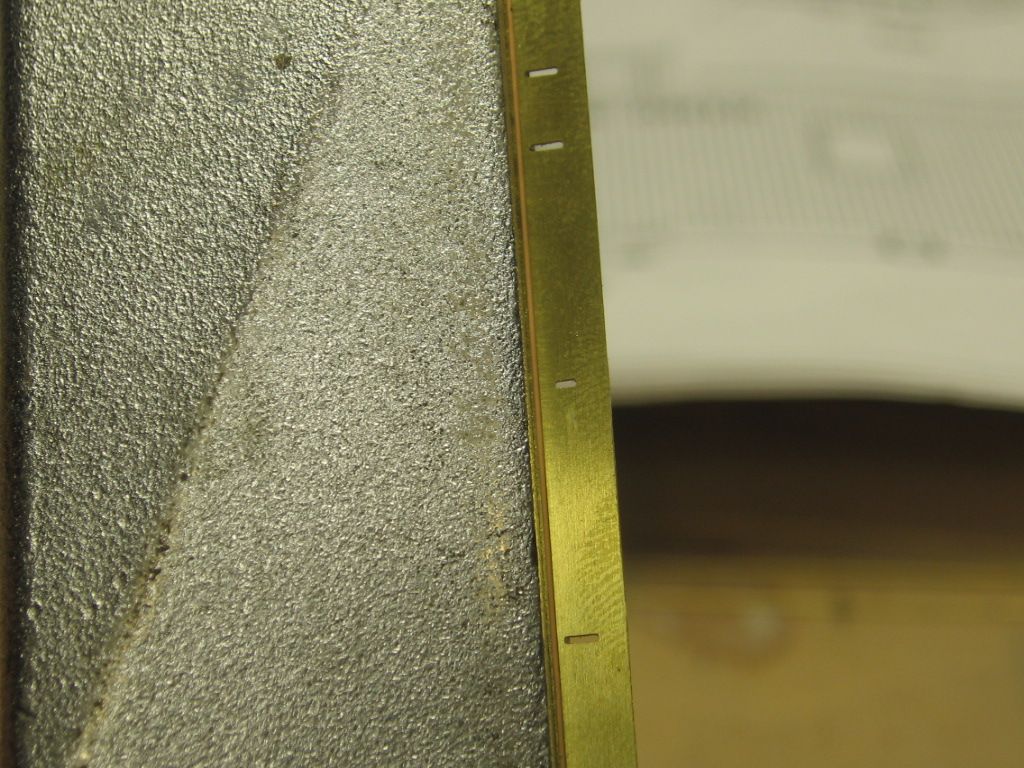
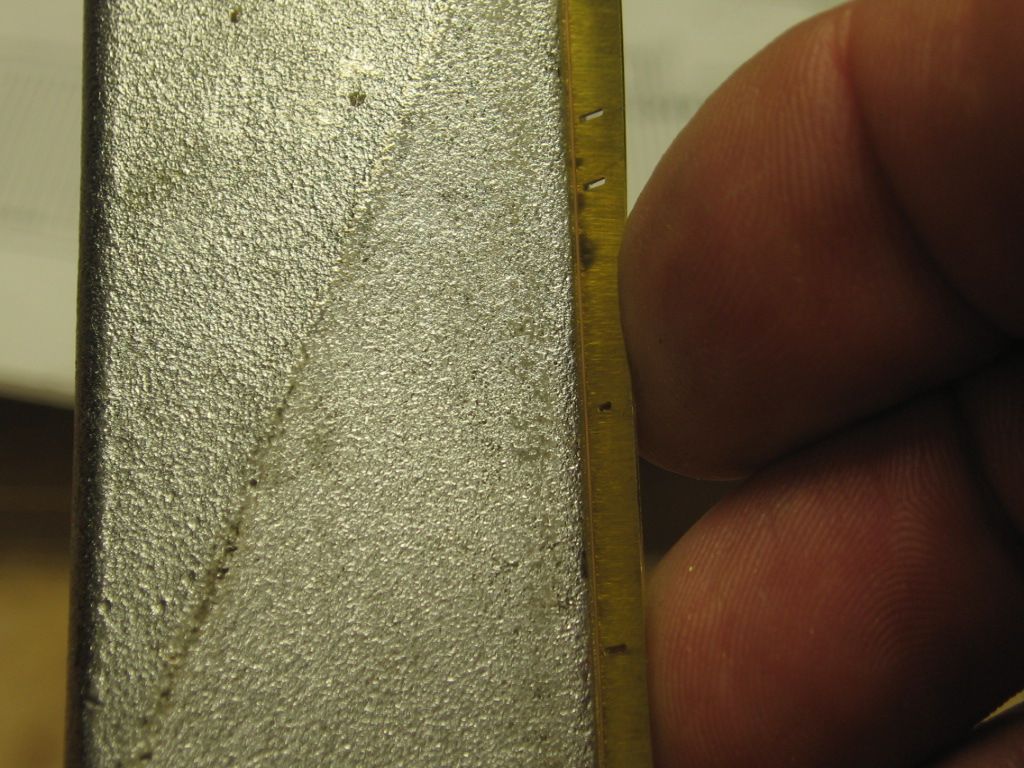
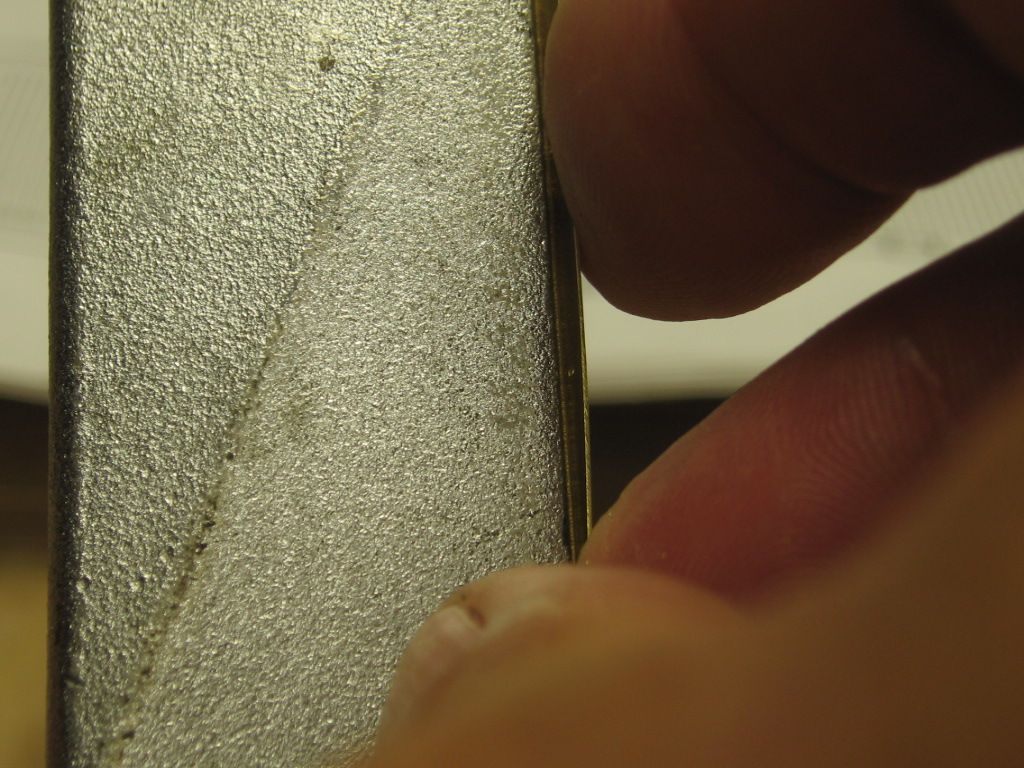
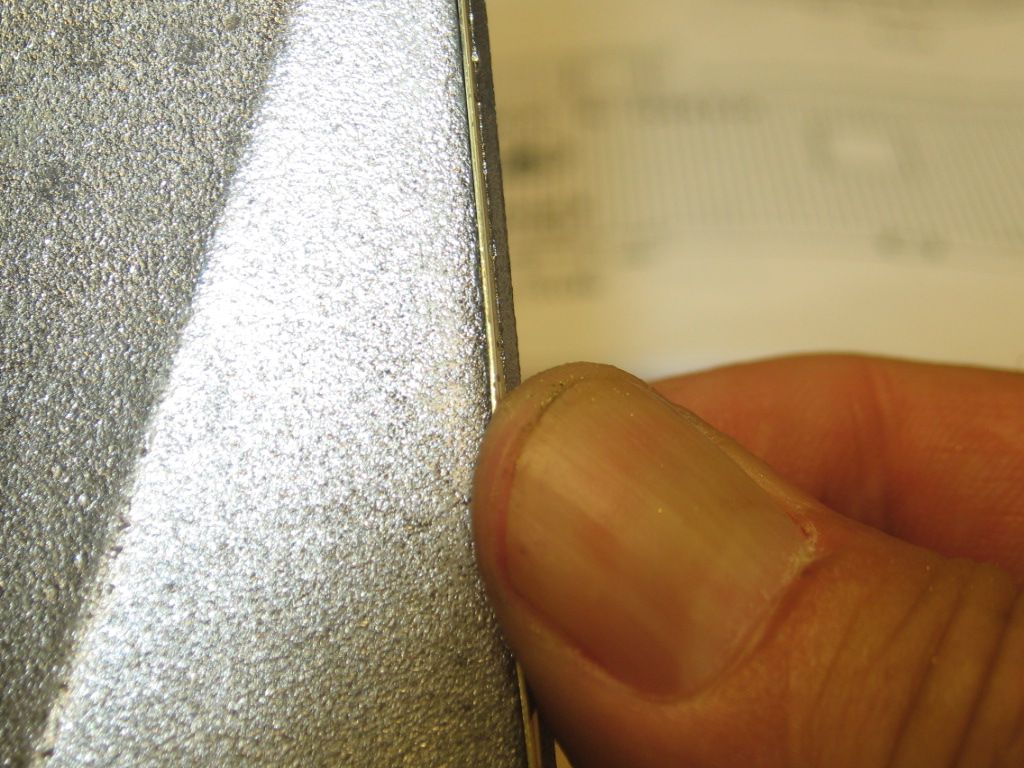
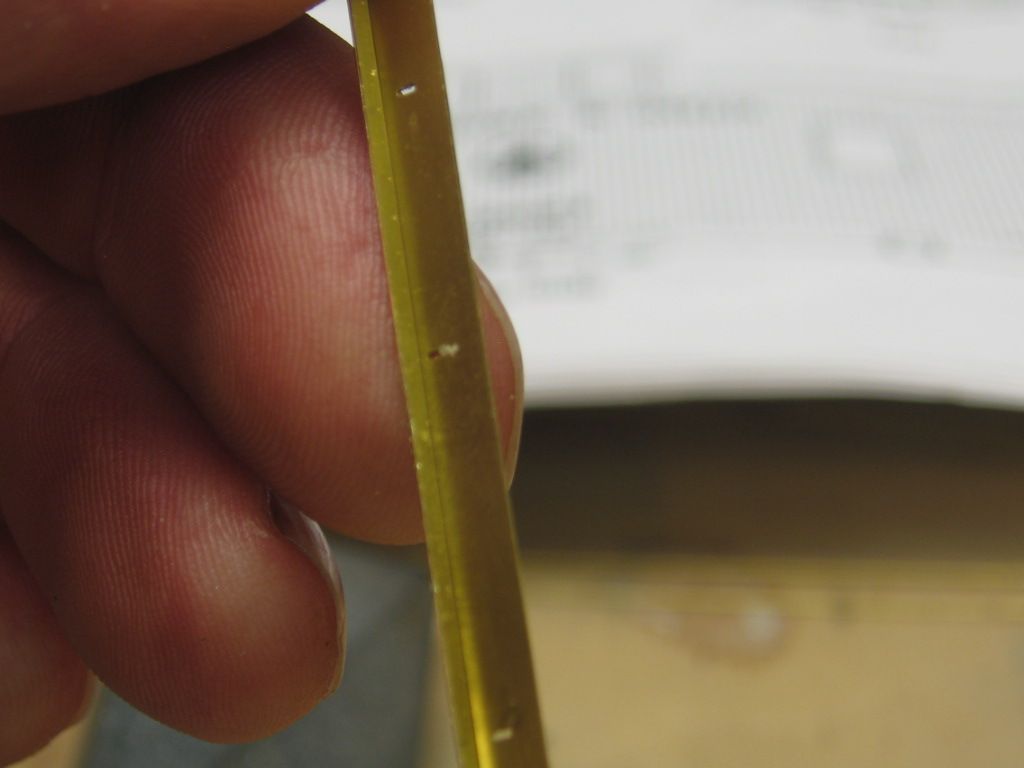
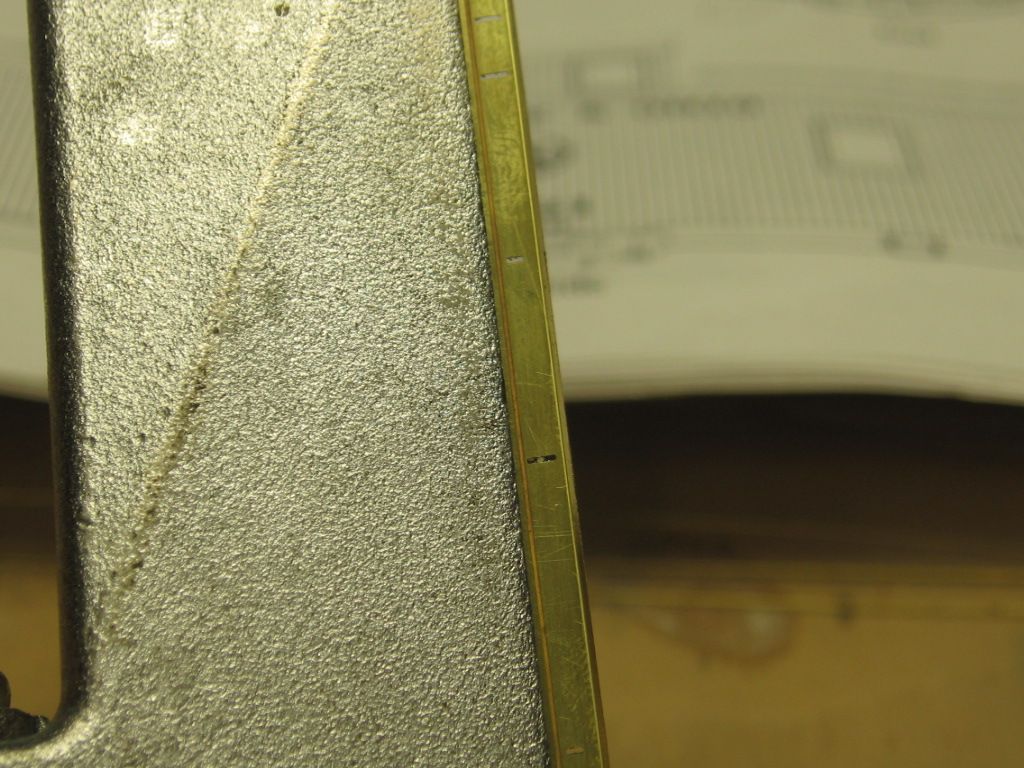
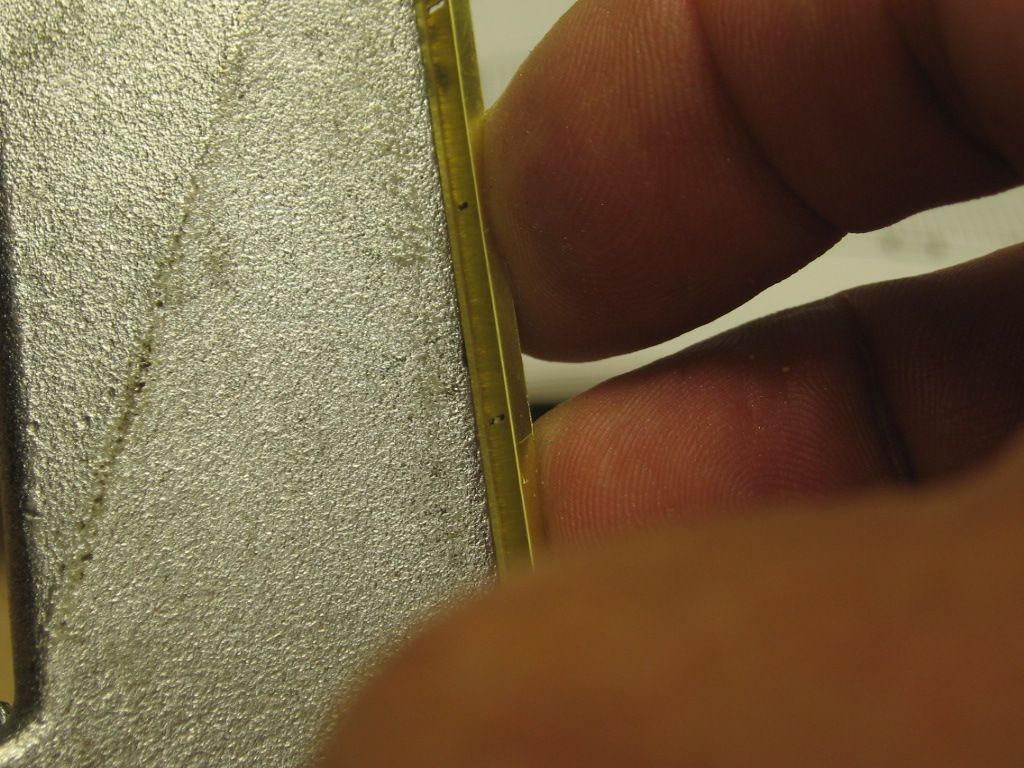
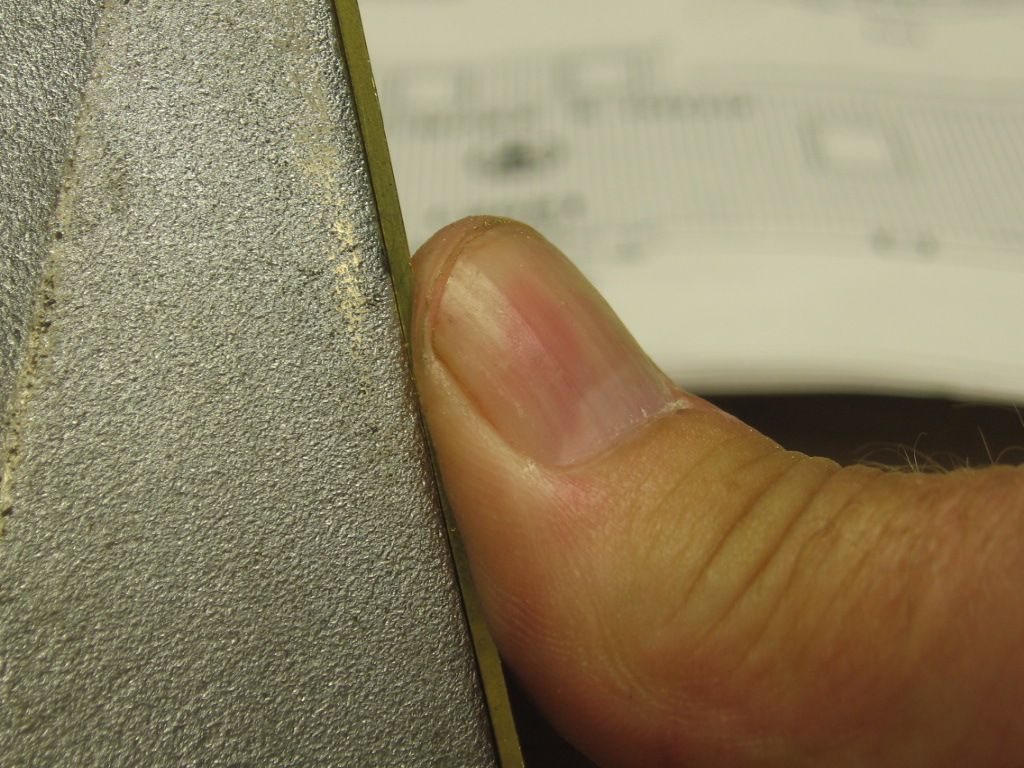
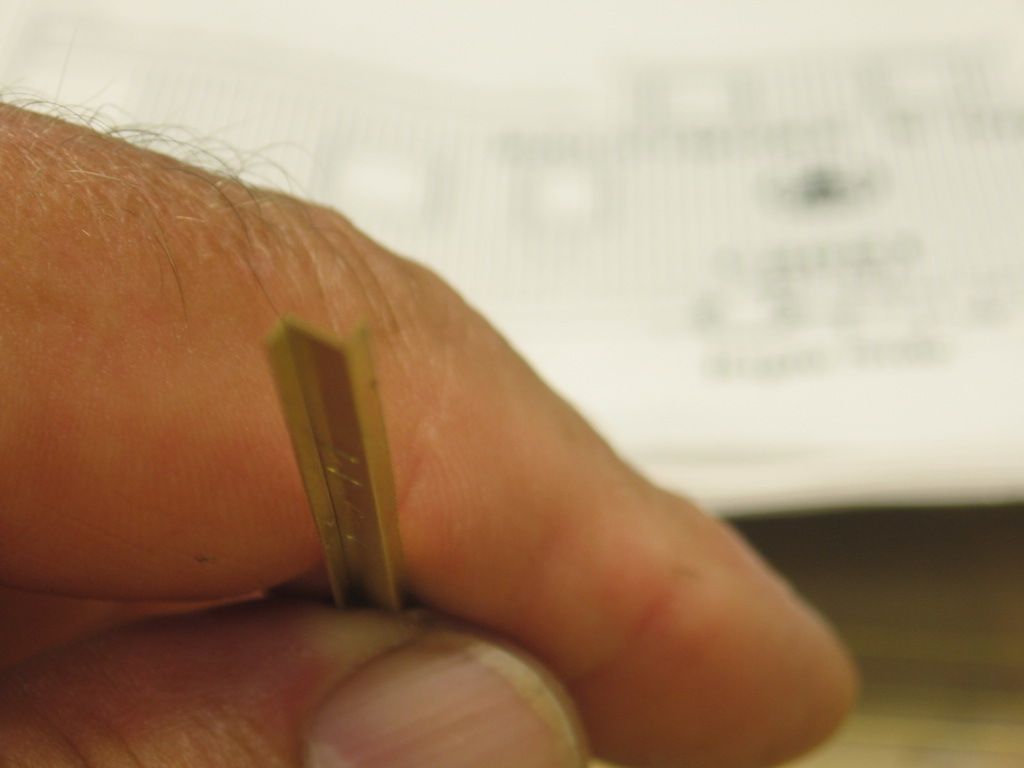
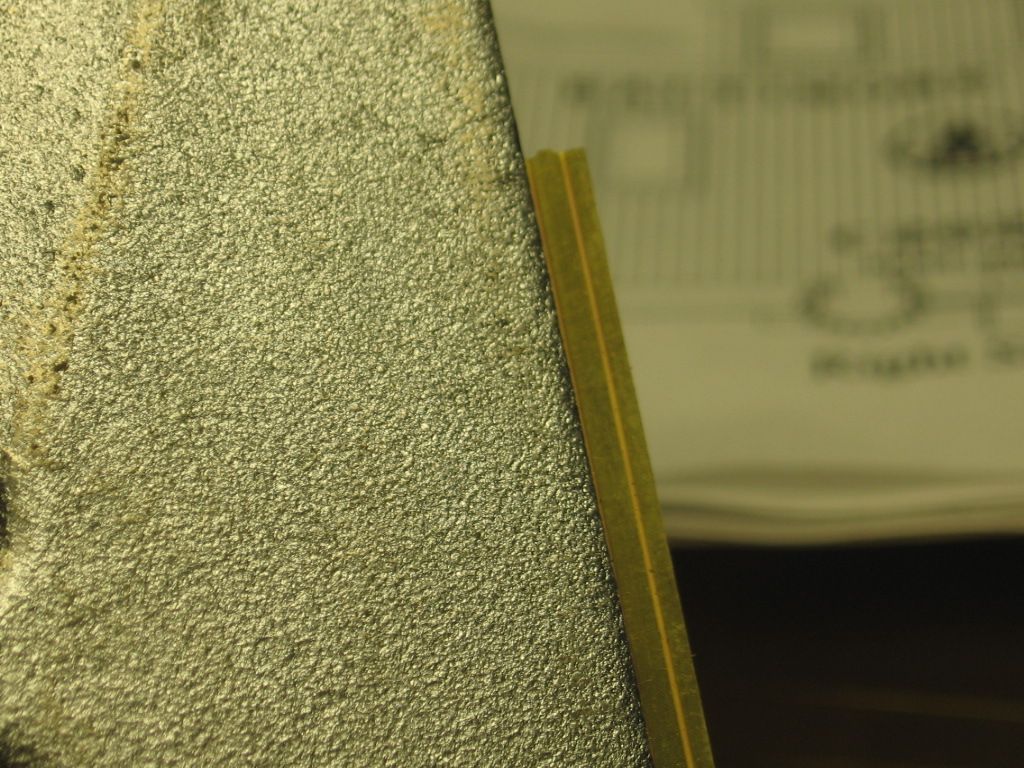
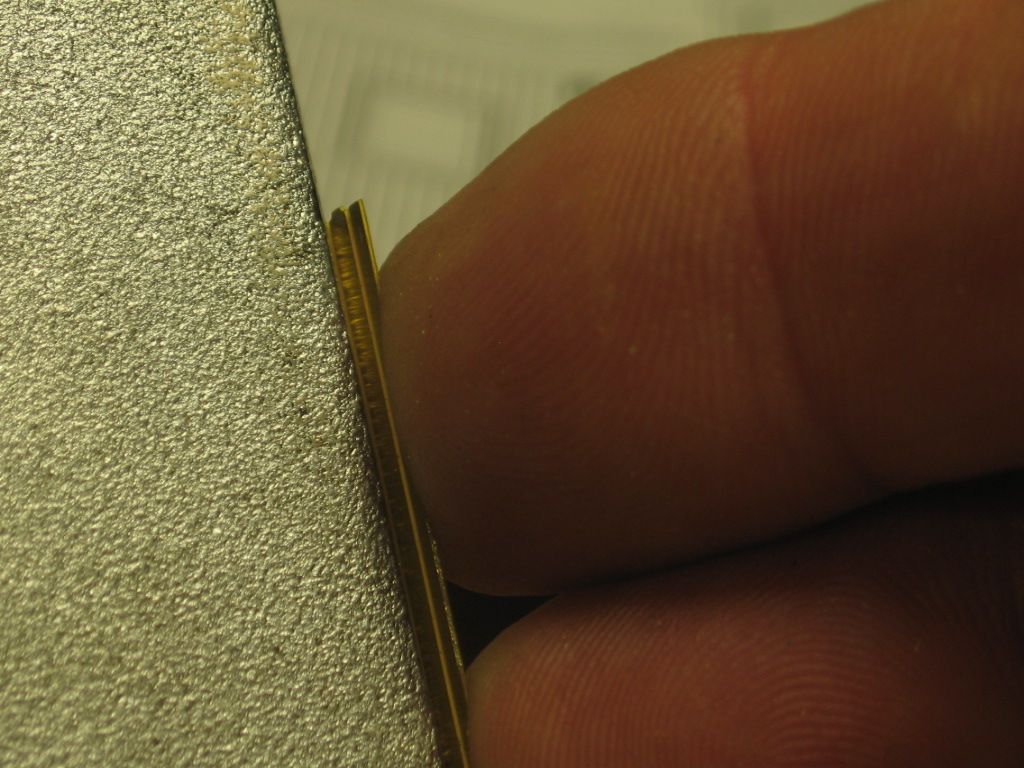
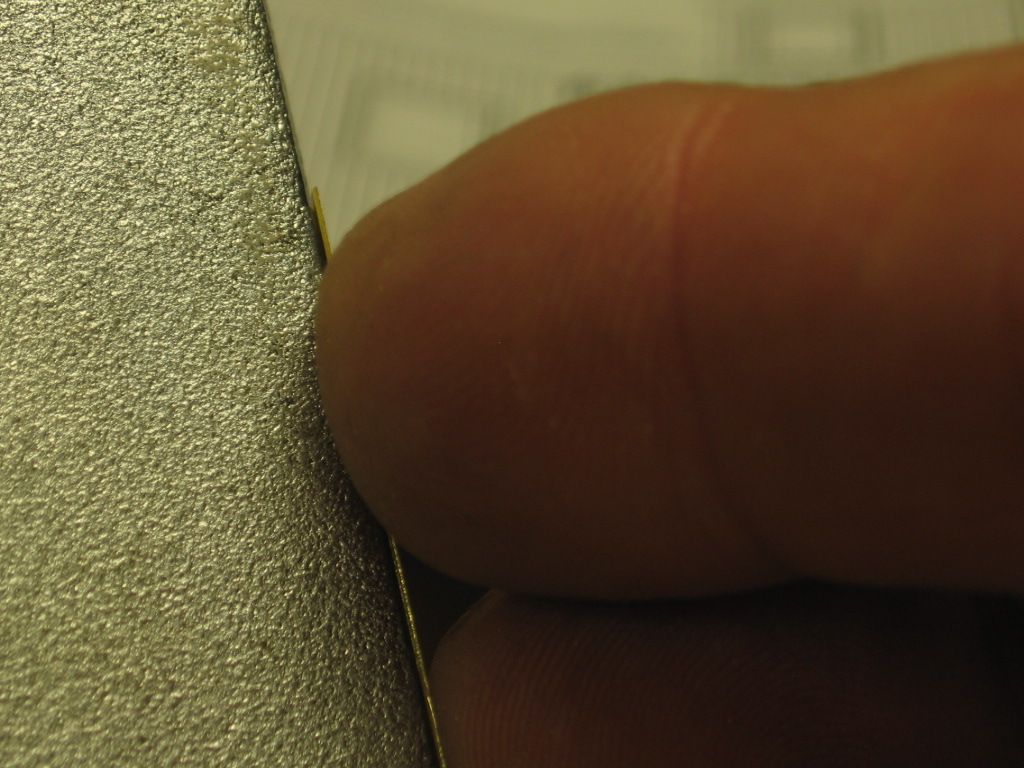
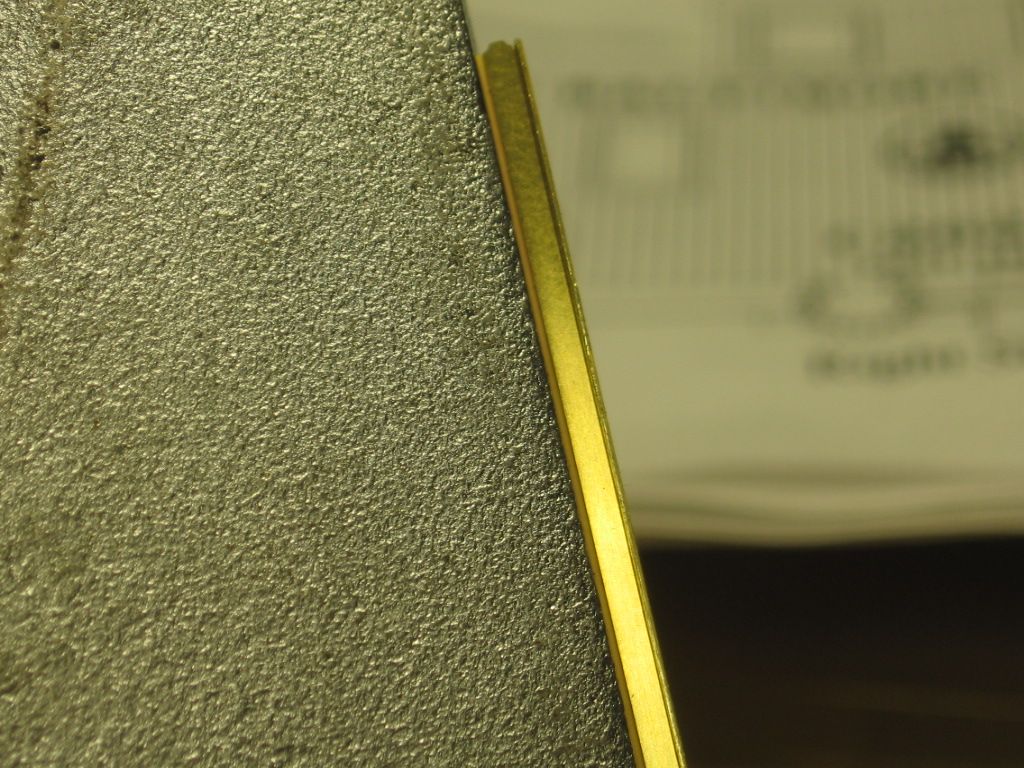
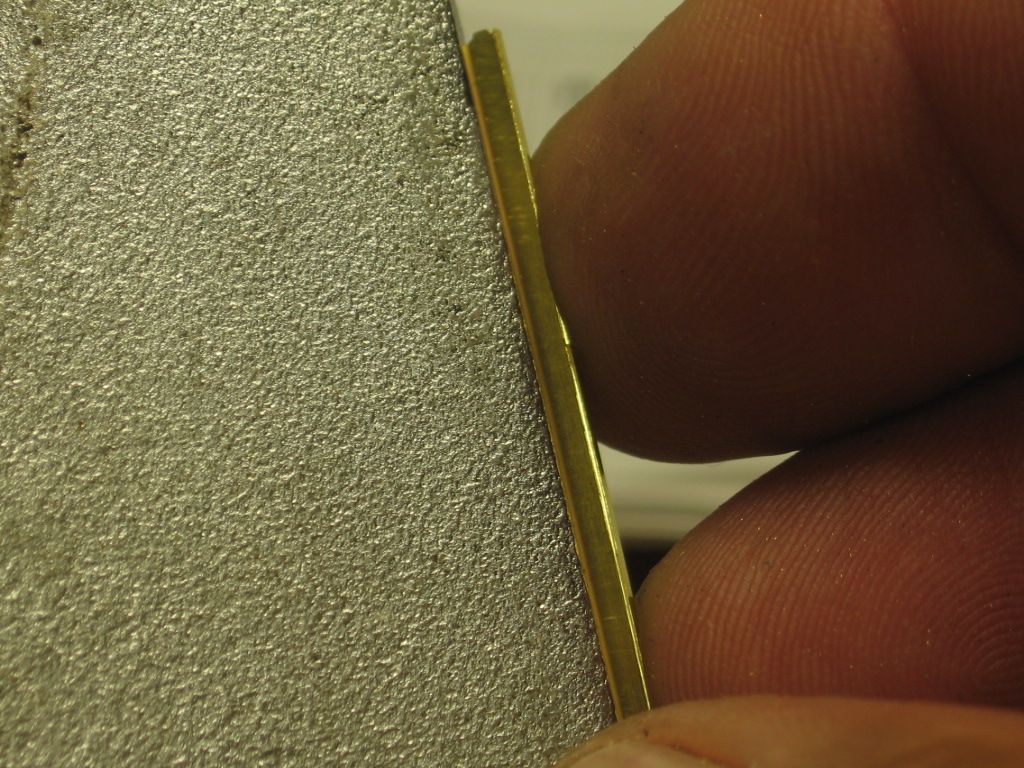
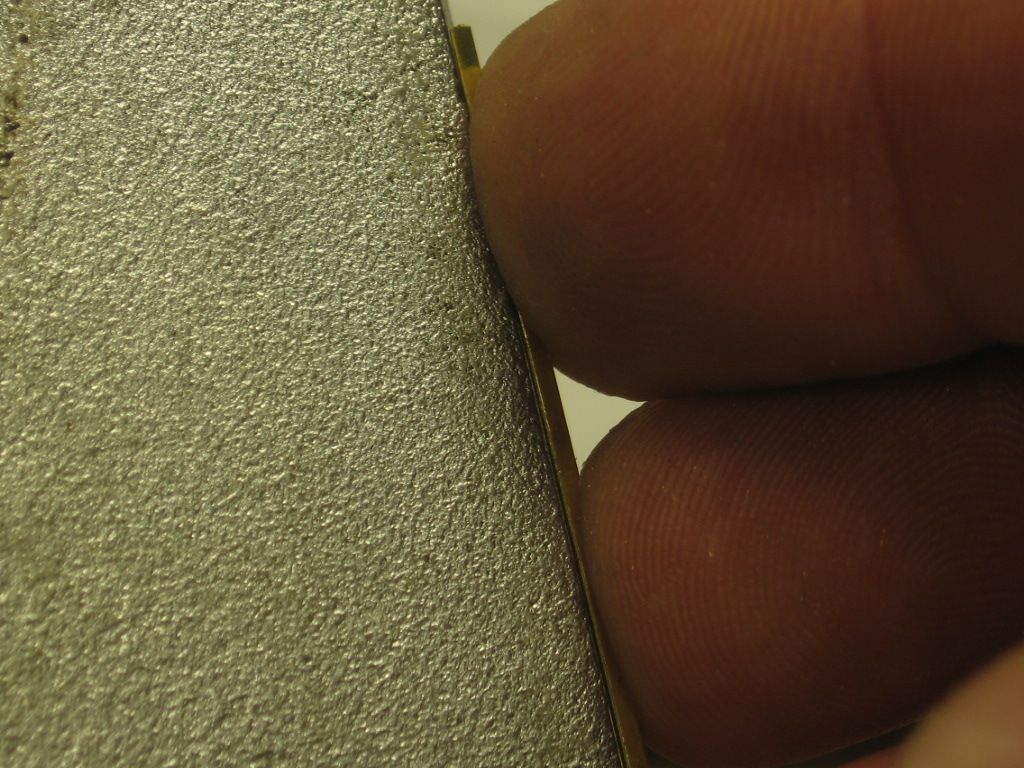
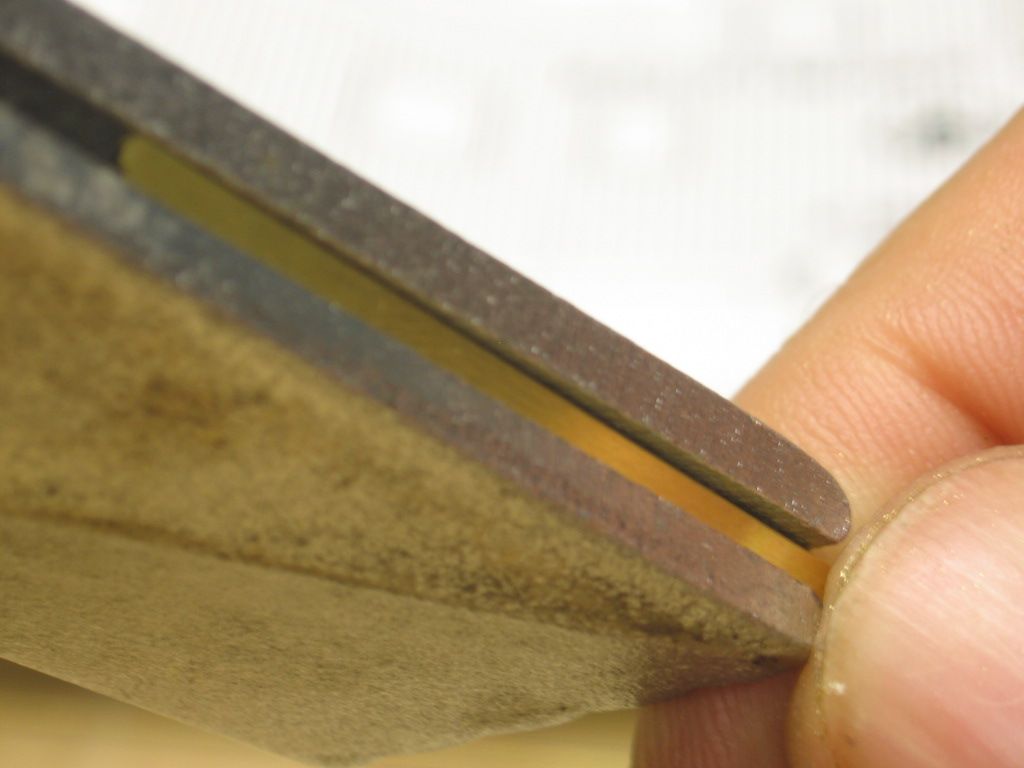
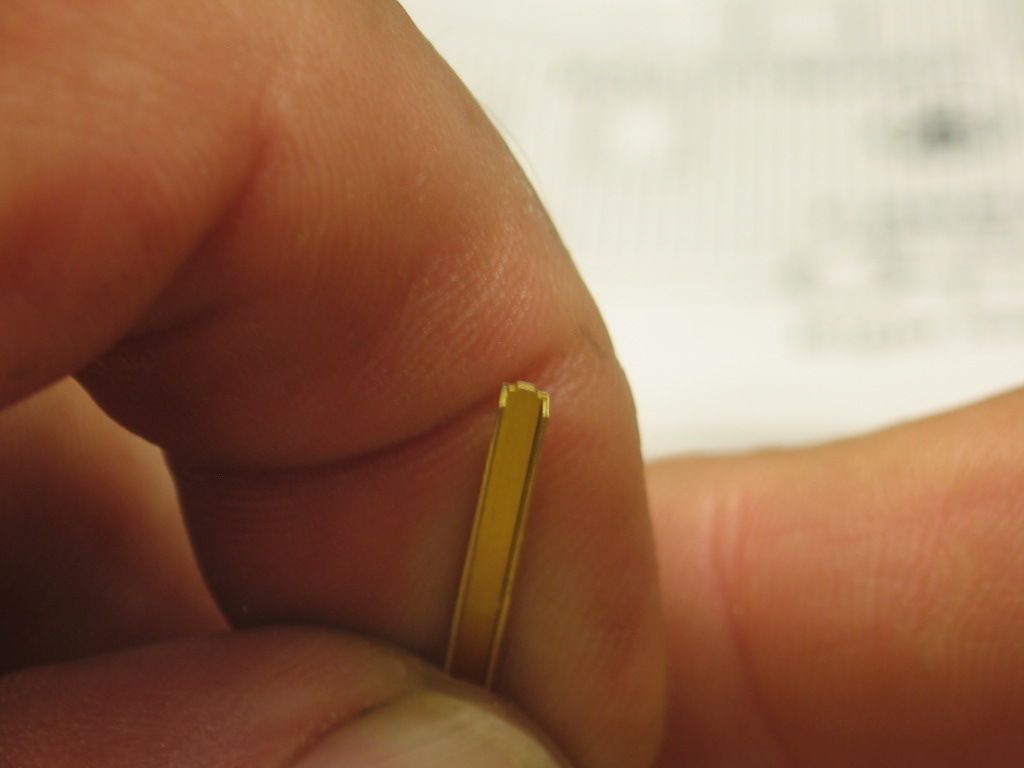
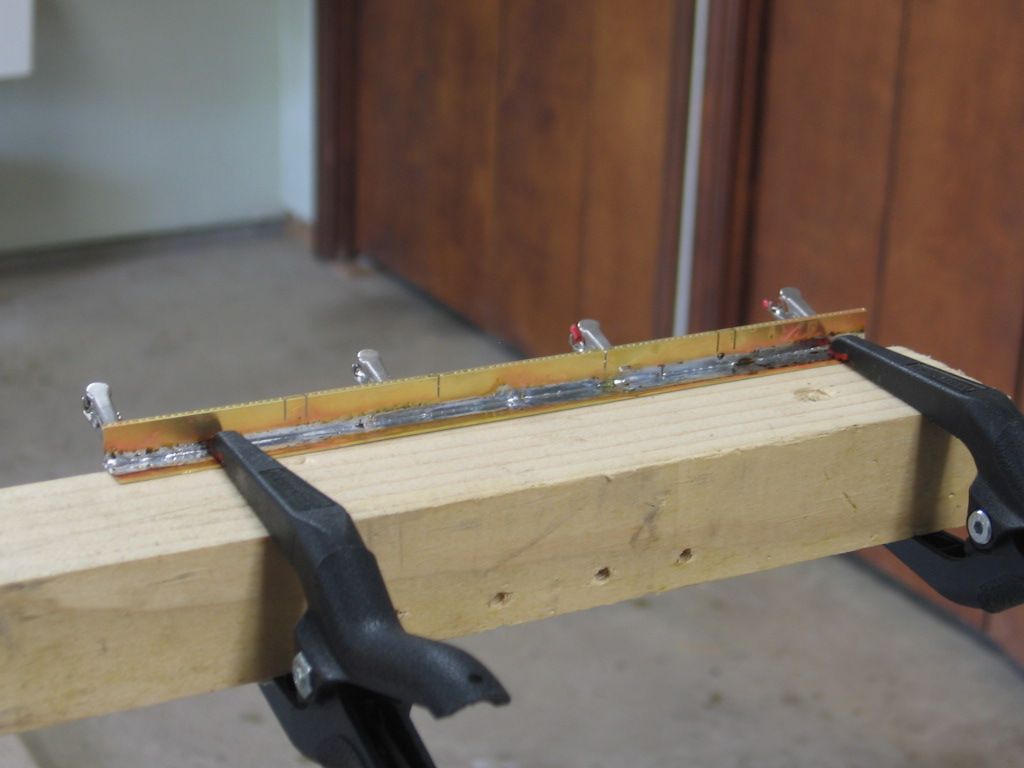
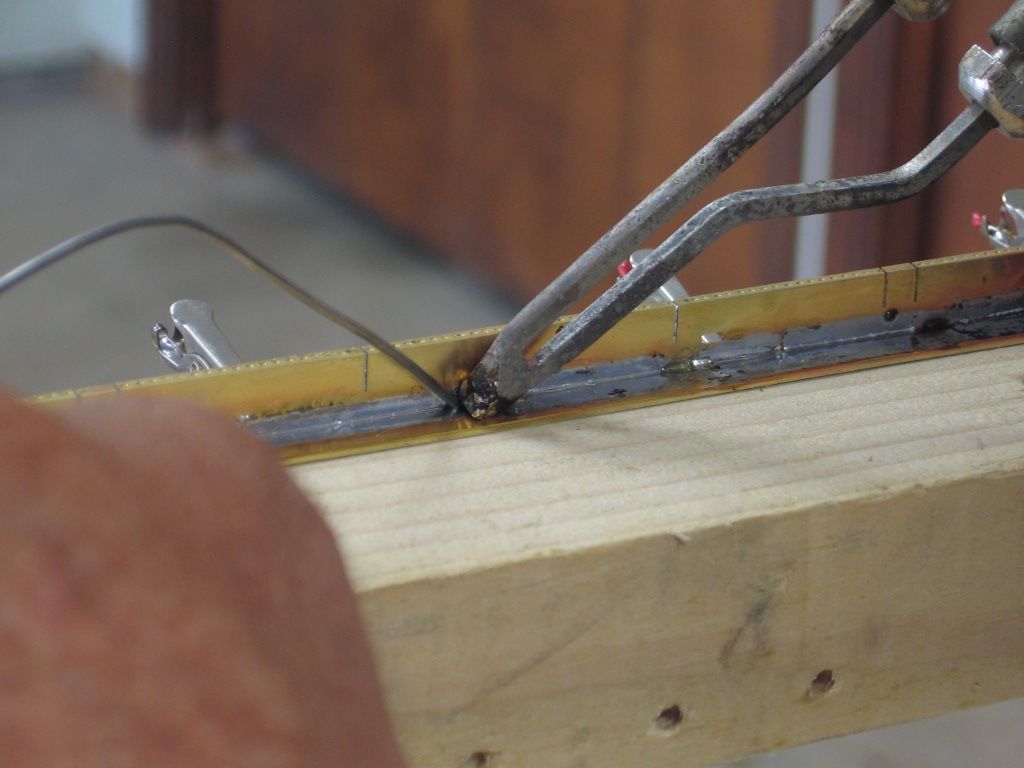
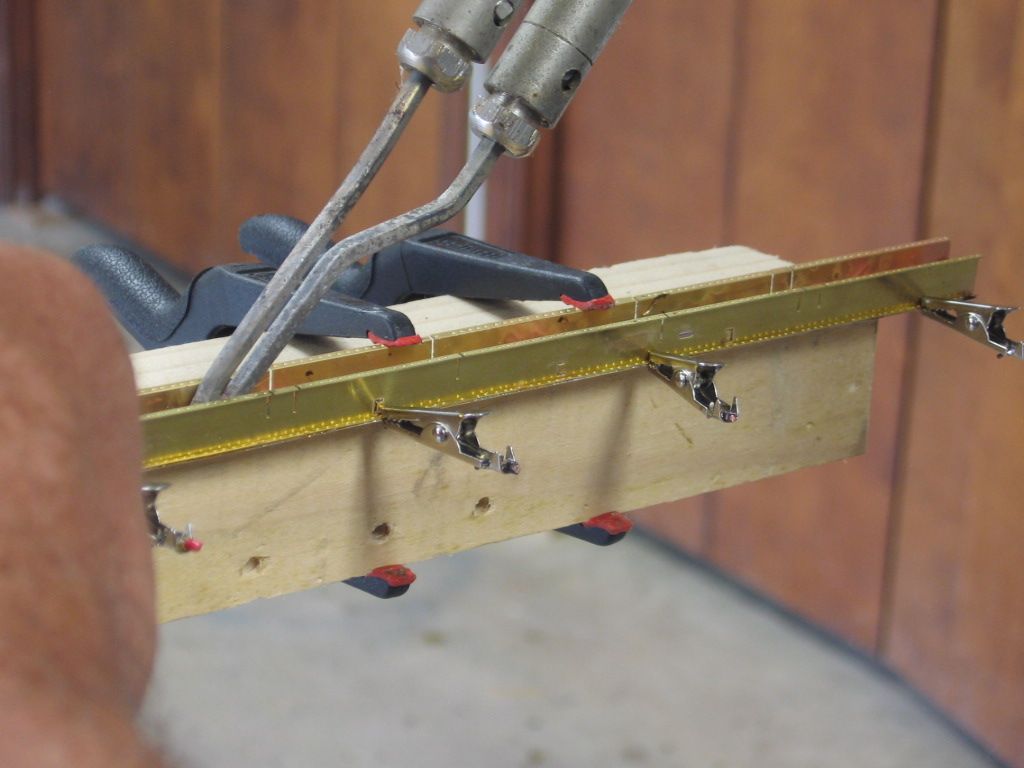
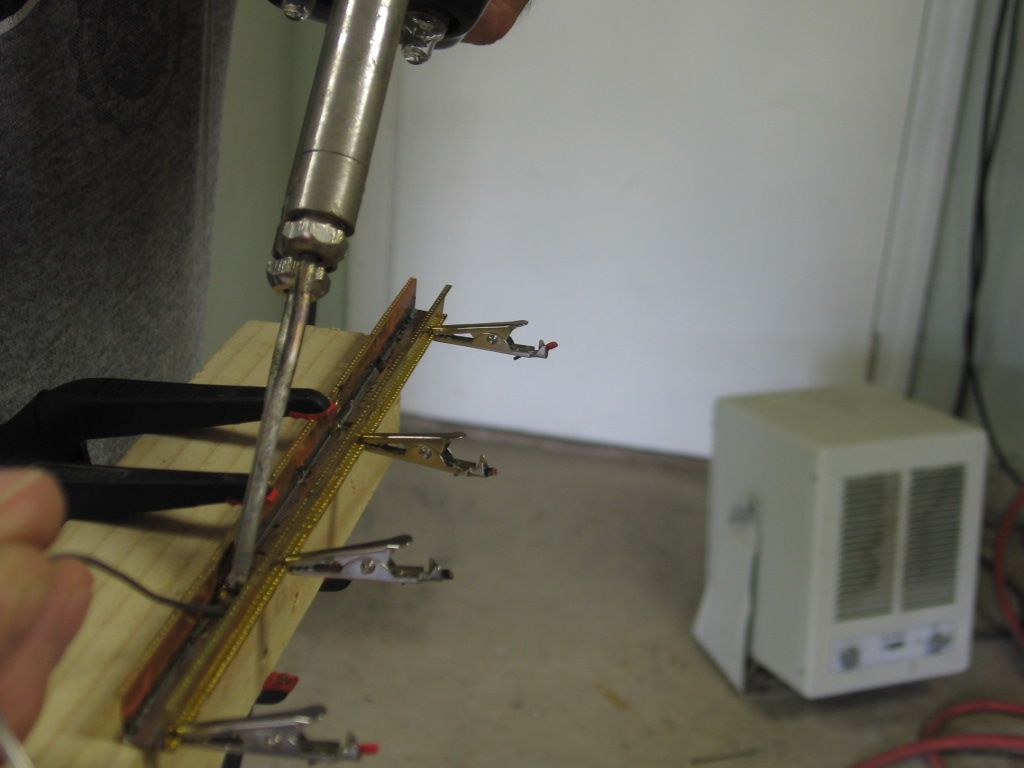
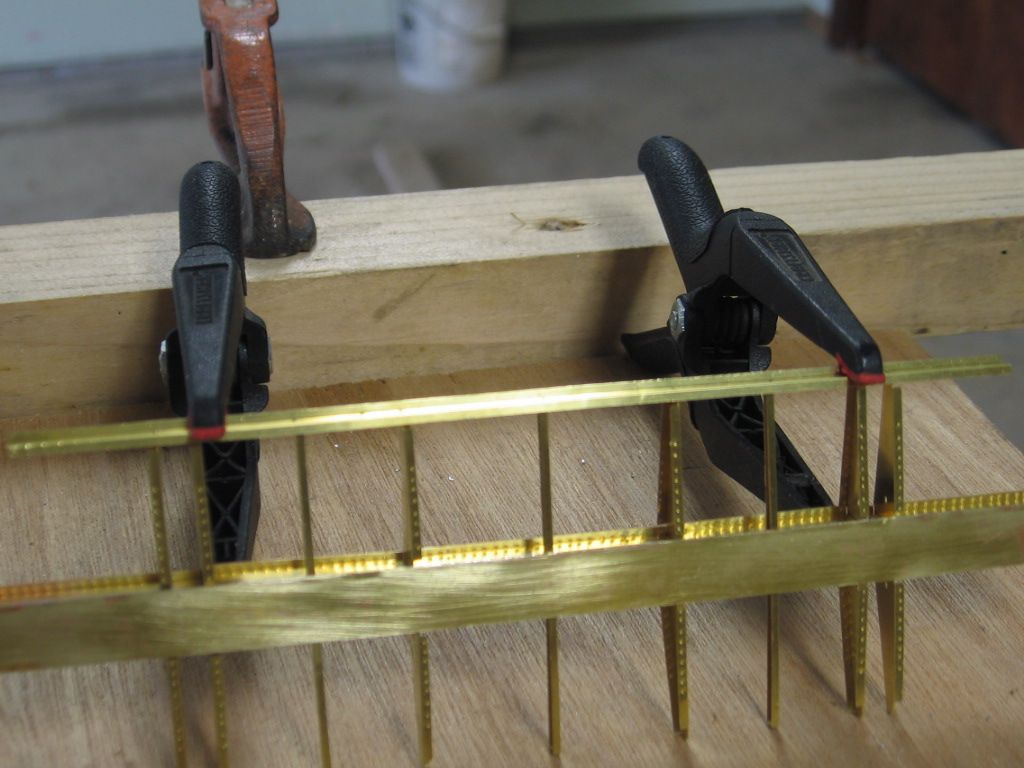
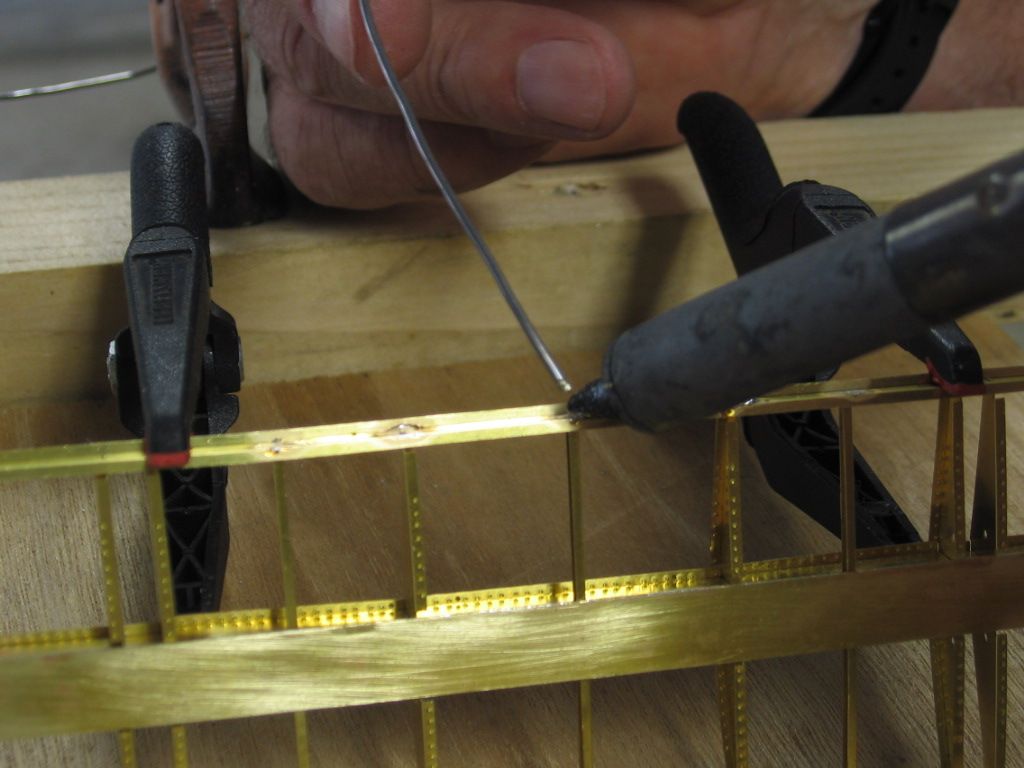
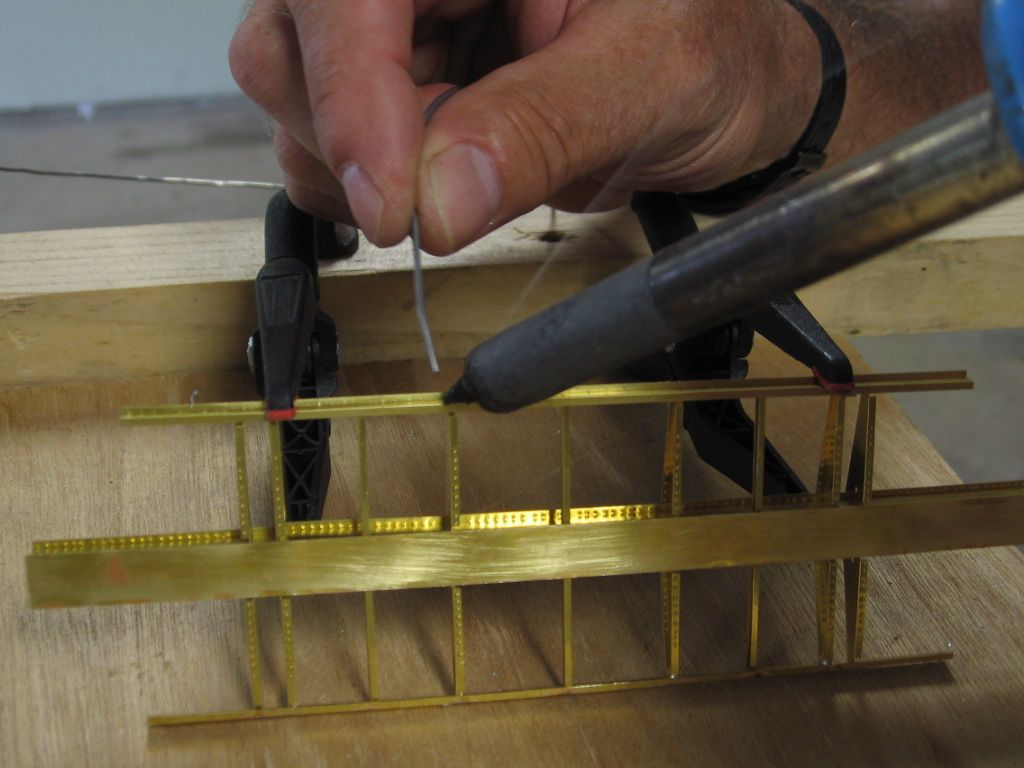
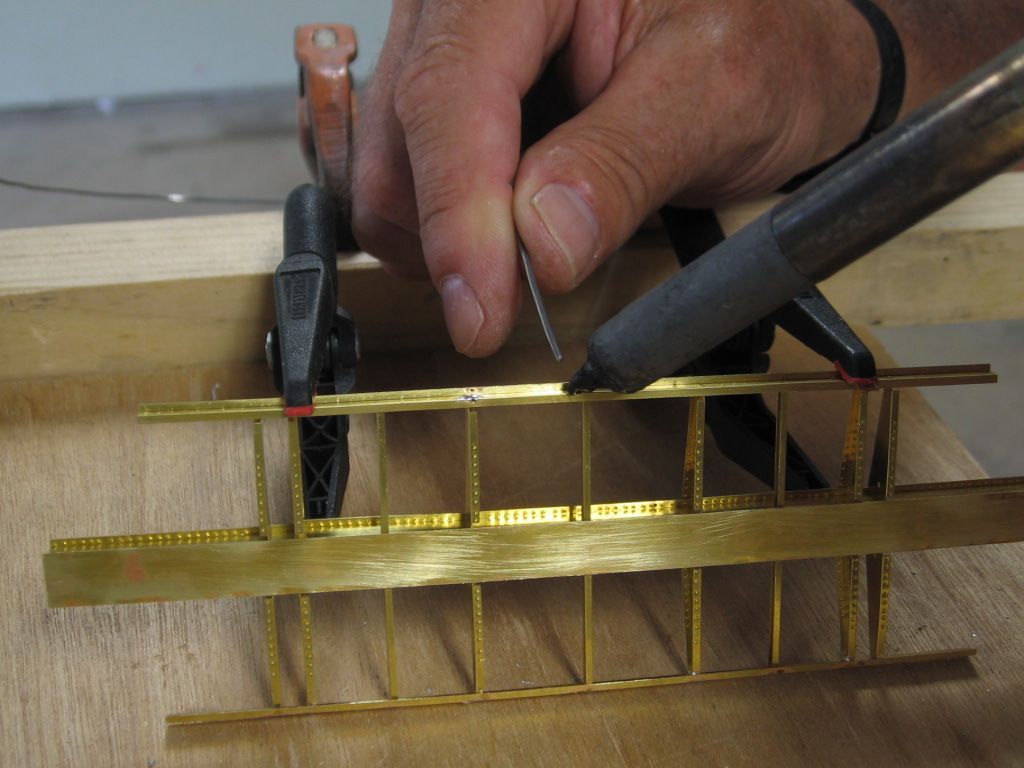
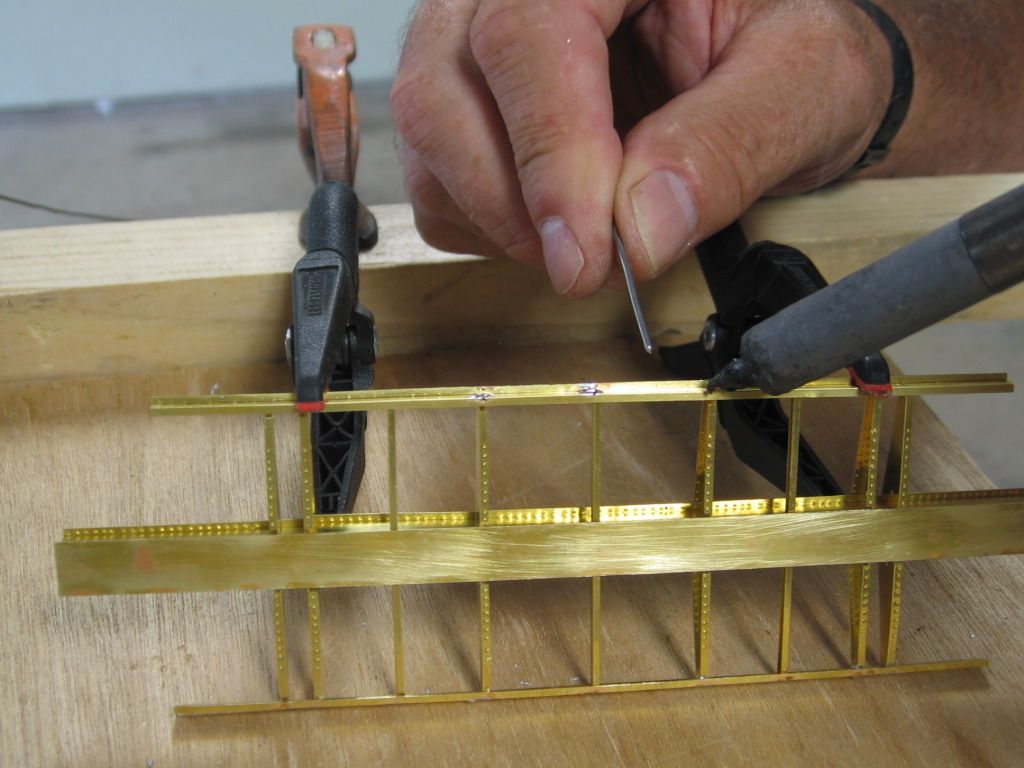
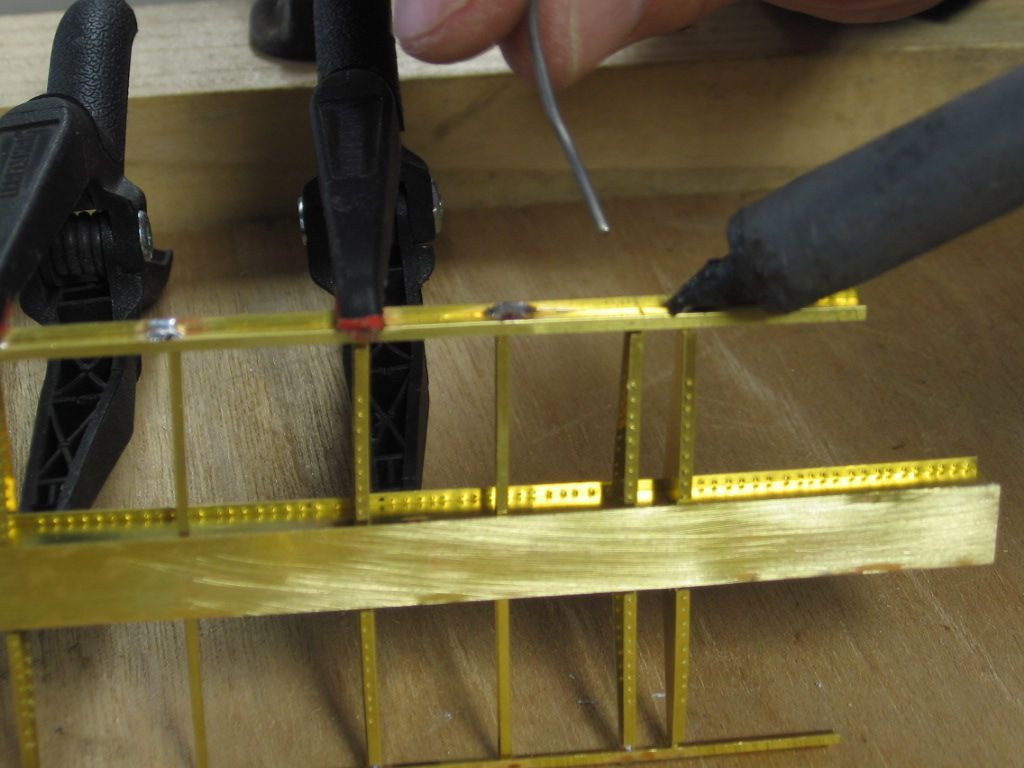
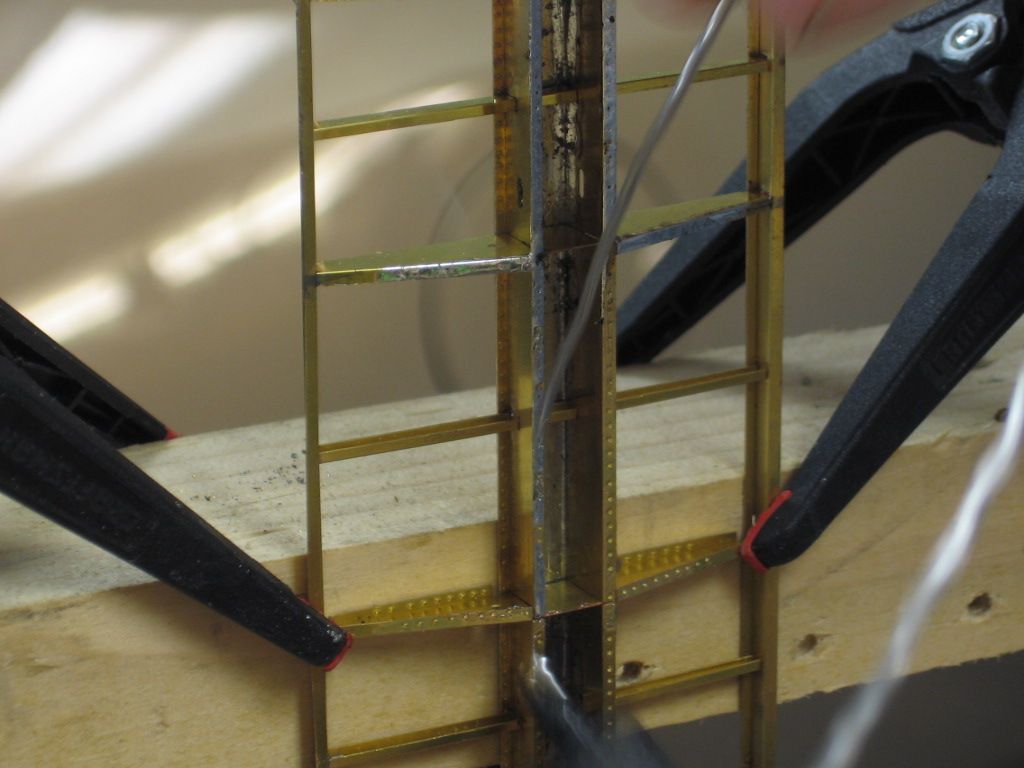
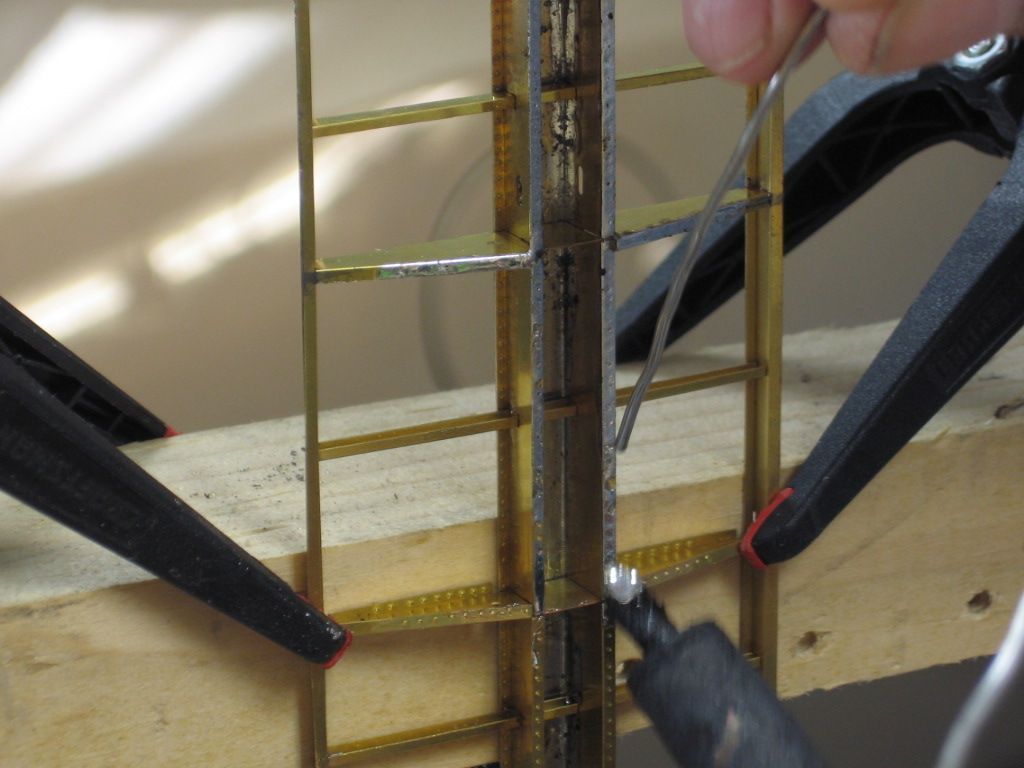
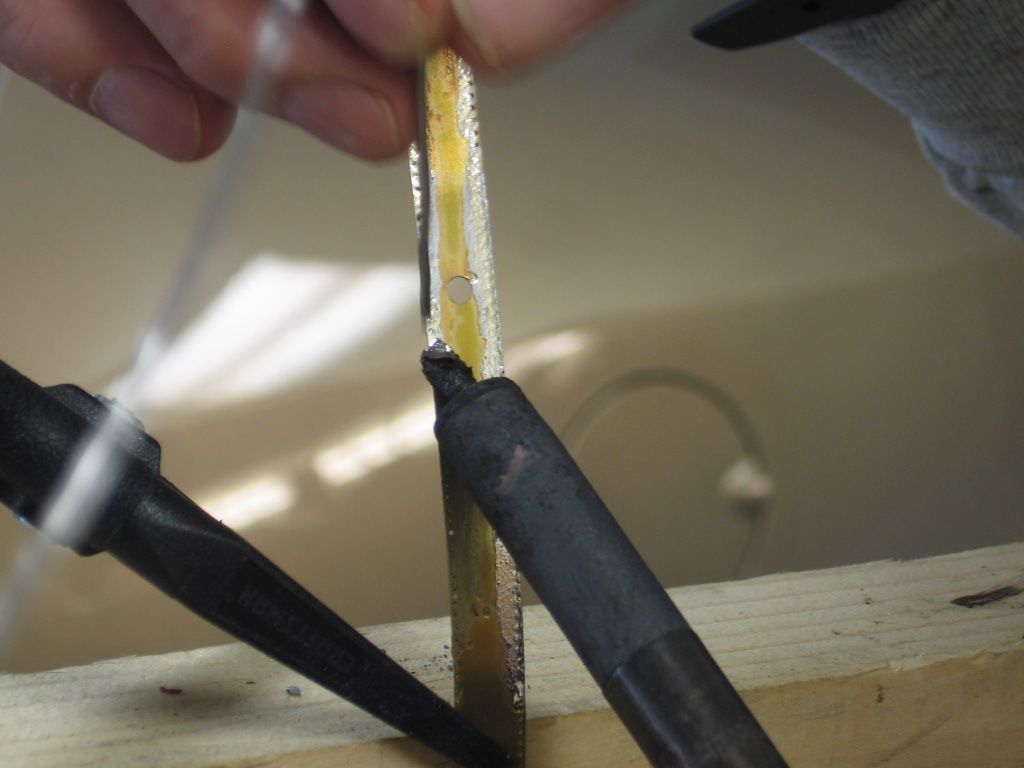
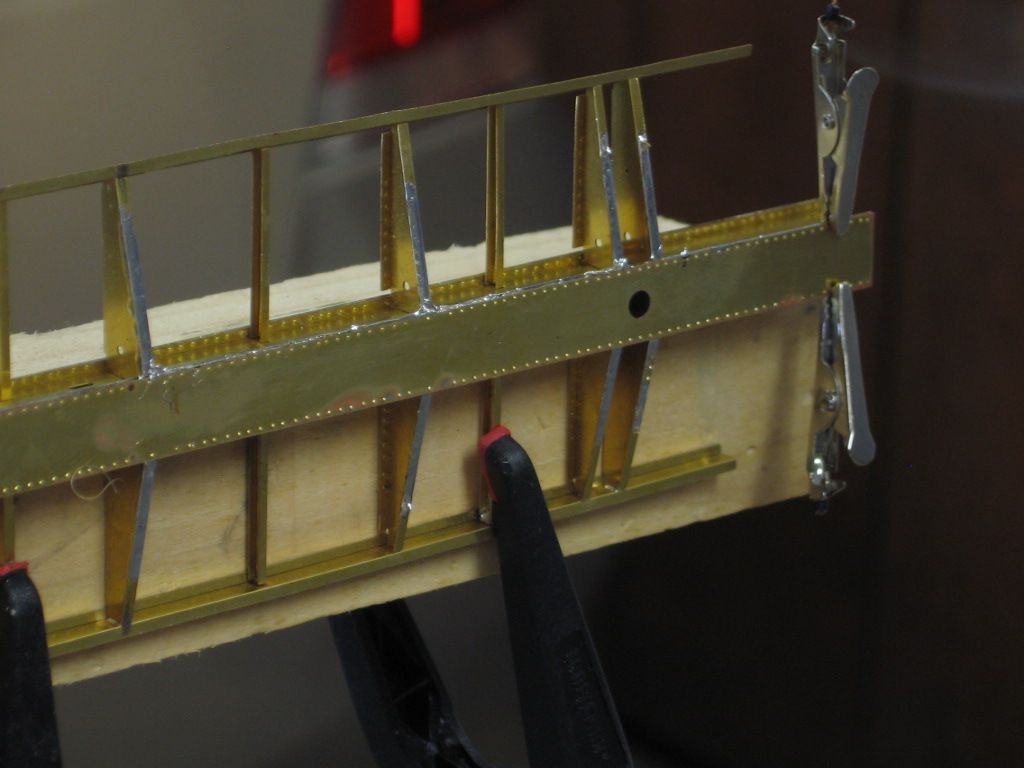
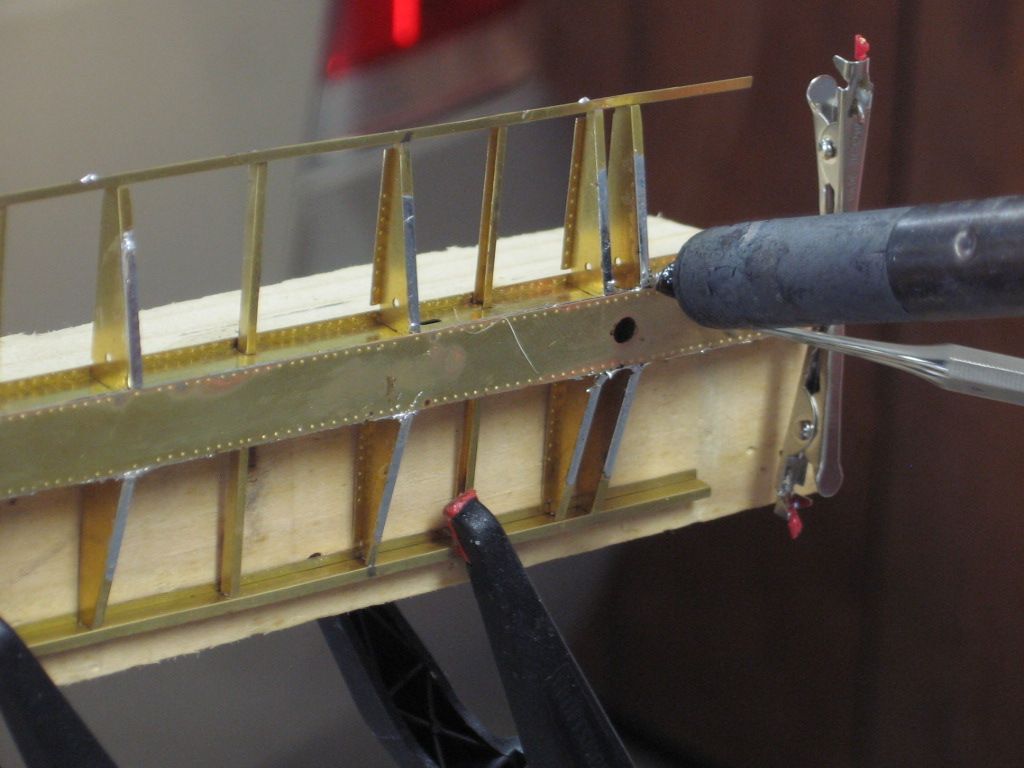
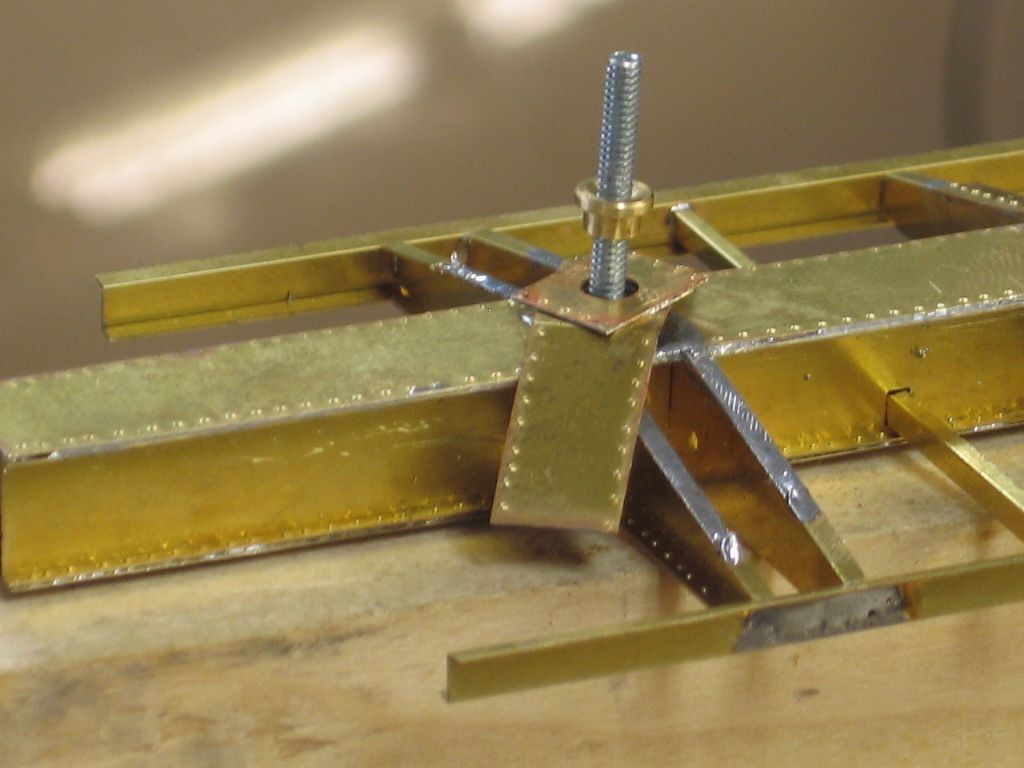
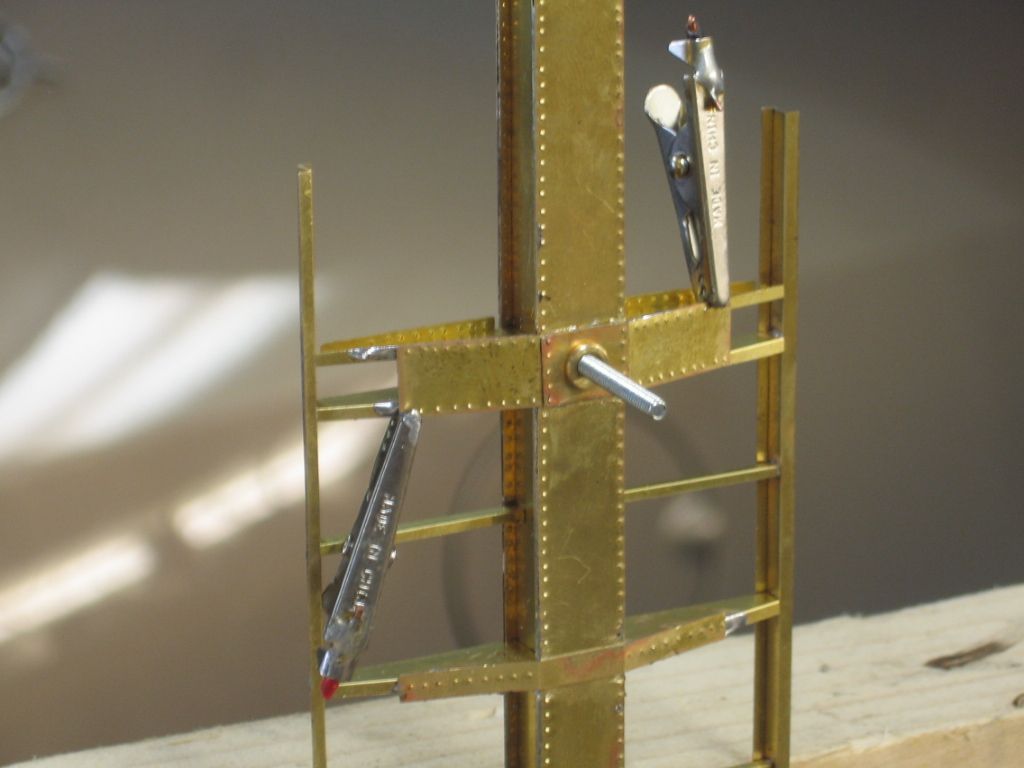
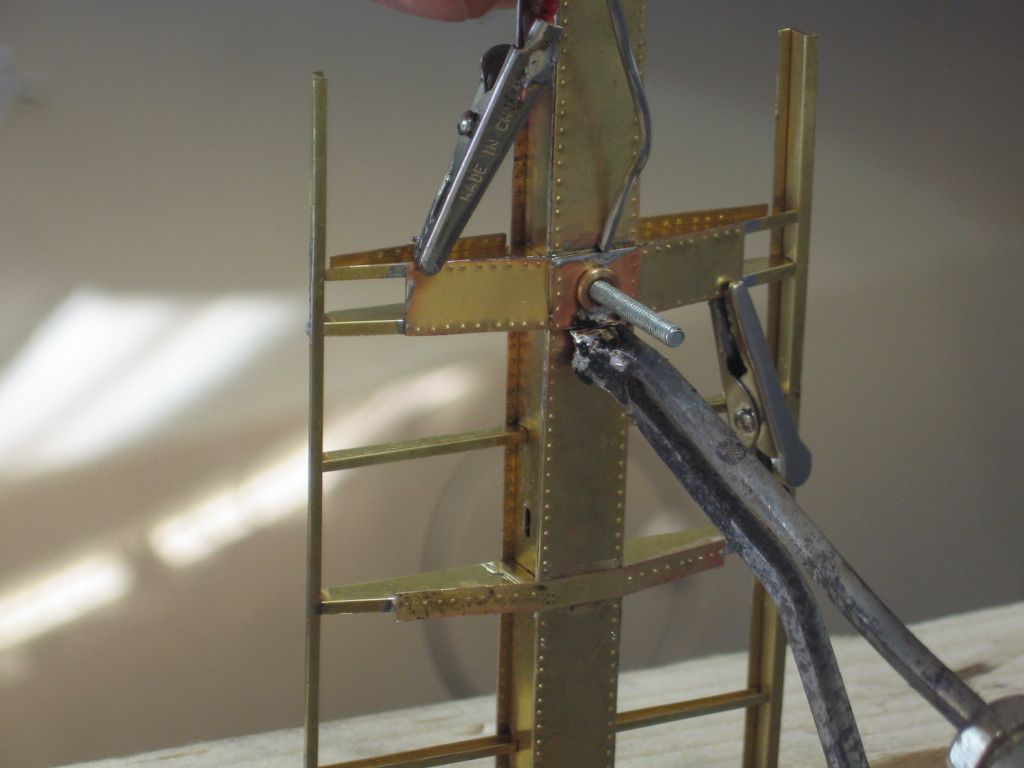
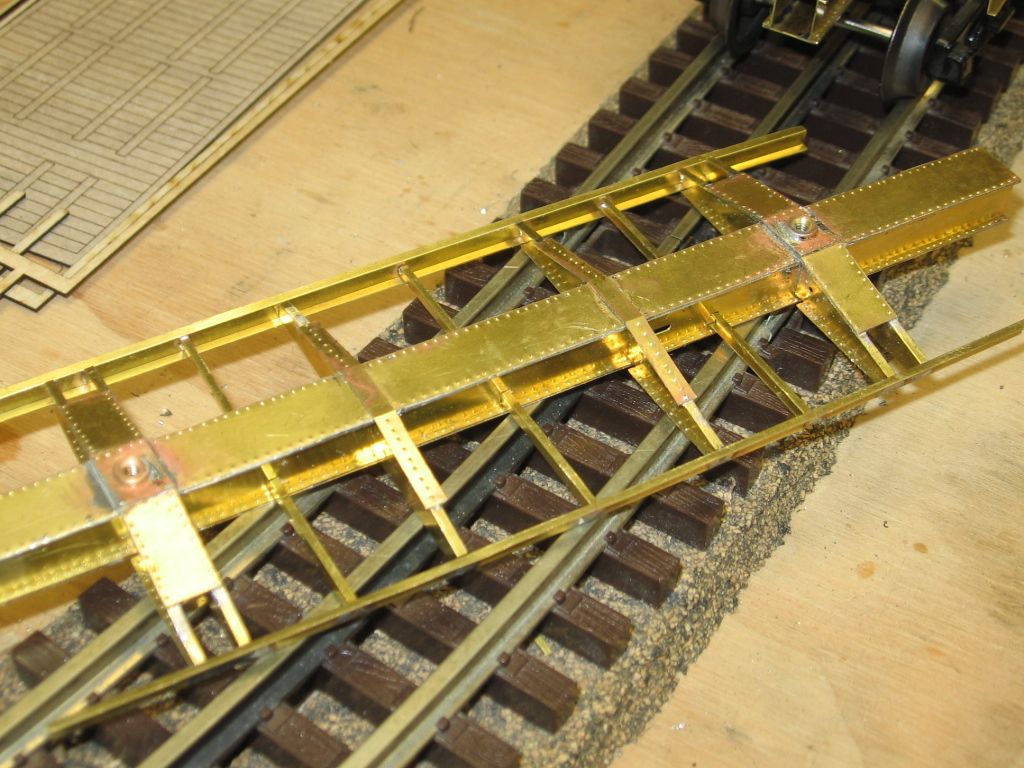
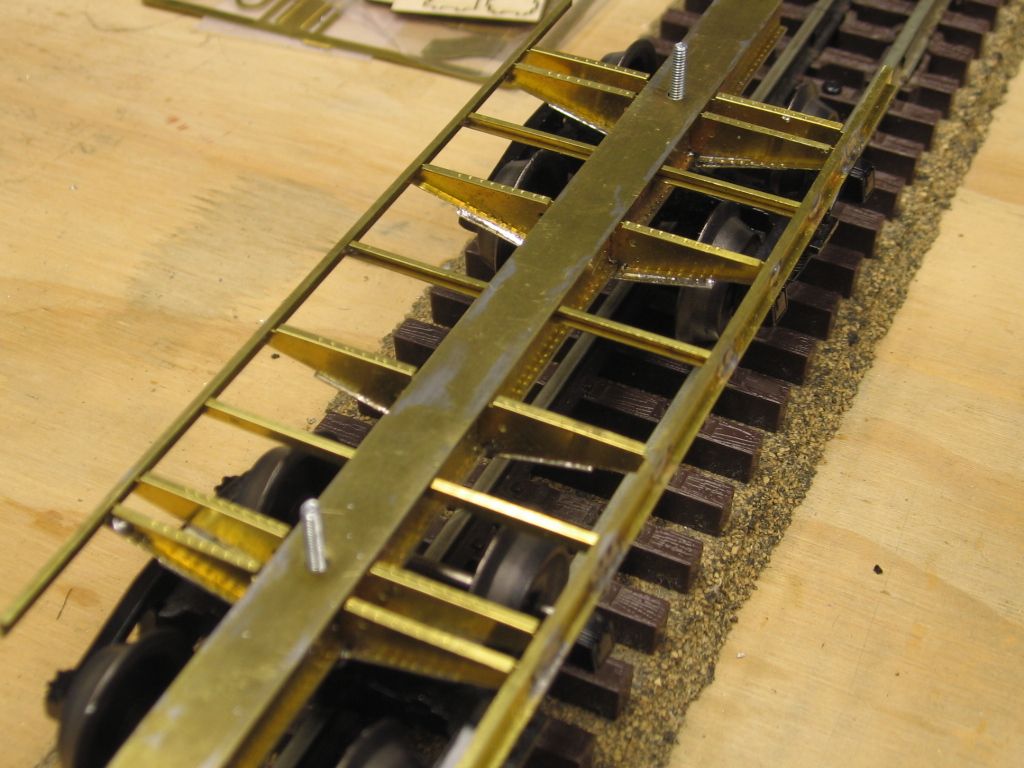
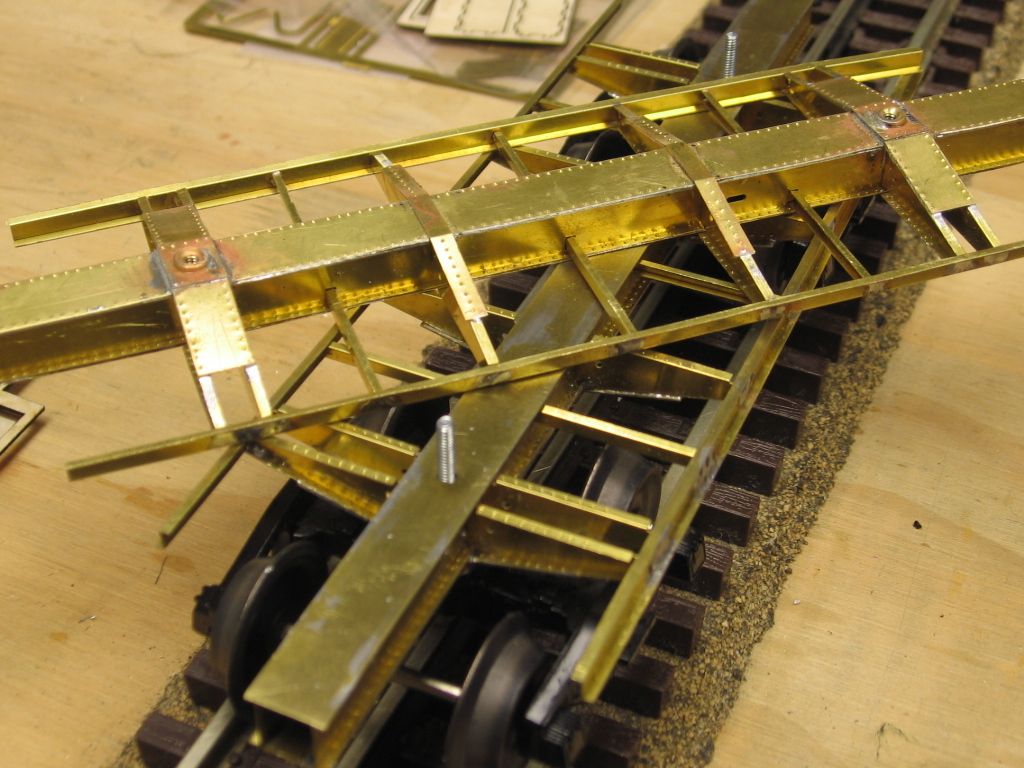
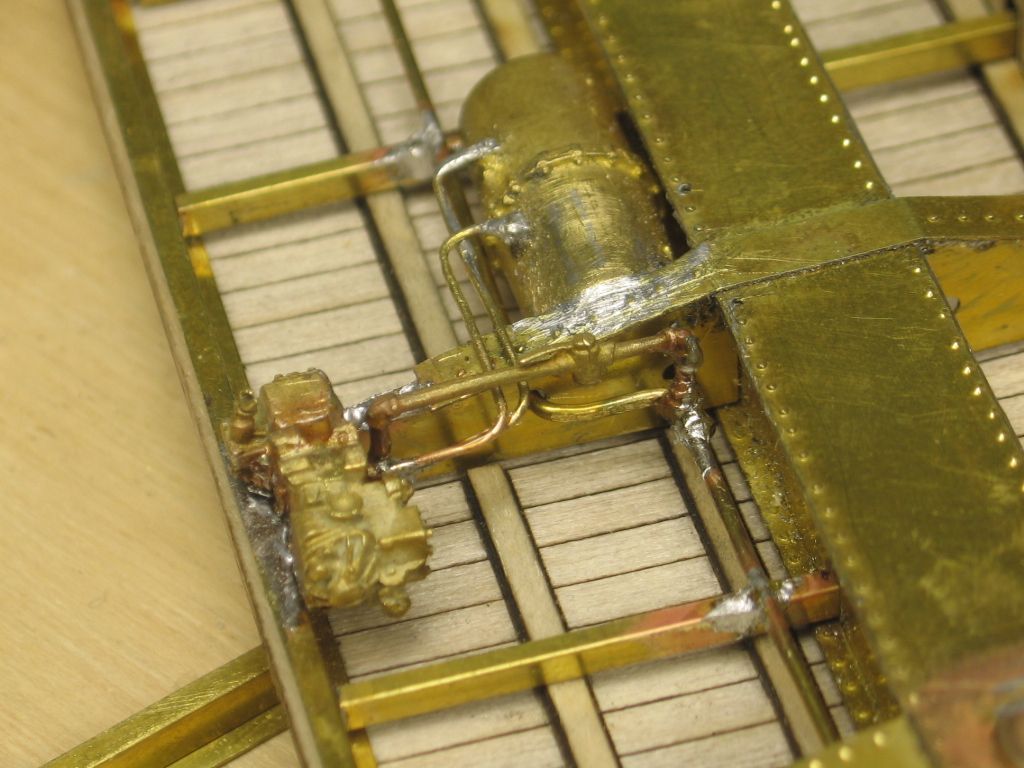
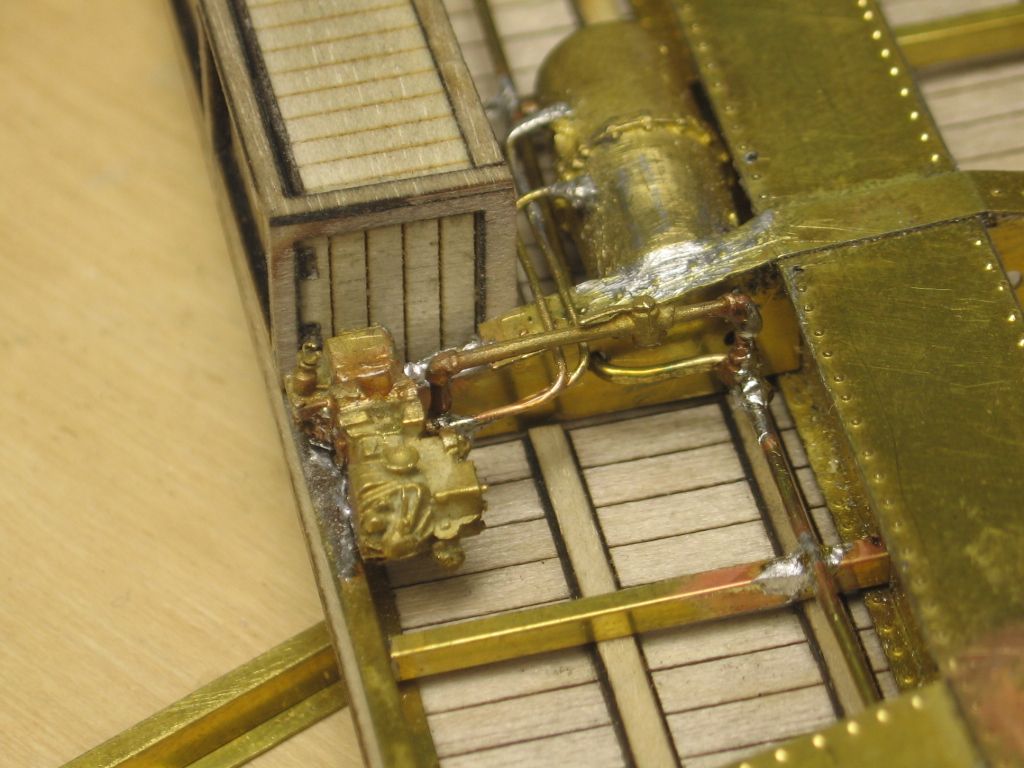
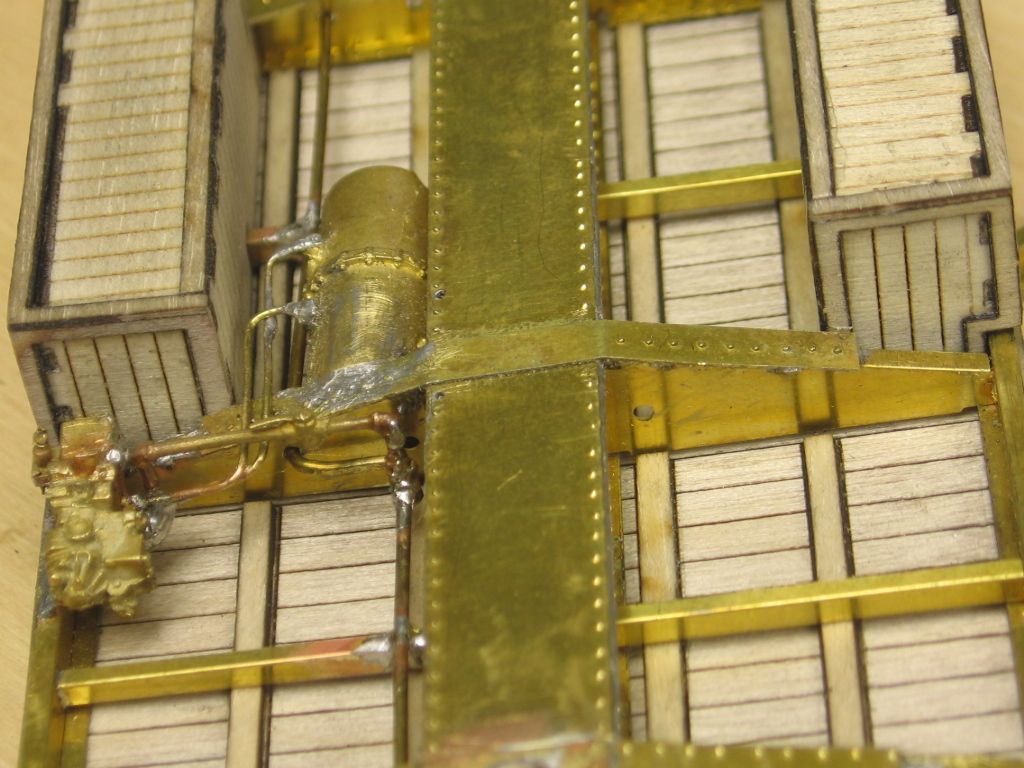
    The brass parts in the kit are an etching or sometimes referred to as chemical milling. The process starts with me producing an Auto Cad drawing of the parts as you see them in the model. I produce one drawing for the front and one for the rear. The areas I want etched away are filled in solid on the drawings. The drawings are then emailed to my etcher. They review them and then produce a film positive. The film positive is produced by a laser scanning over light sensitive film. A brass sheet of the thickness is cleaned and coated with a resist material which is light sensitive. The front and back positives are laid on top of each other and tapped together in perfect alignment to form the tool. After this the coated brass sheets are inserted between the positives of the tool and exposed to high UV light which fixes the resist material. After this the brass is washed and any of the resist material that was not exposed to the light will wash off. The brass sheet is then exposed to an etching solution to eat away the exposed brass. There are two methods to do this, one involves dipping the brass sheet in the chemical and the other runs the sheet through a spray bath of chemical. I call this machine the car wash. It takes about 1-2 min to run through this machine. When the sheets come out they are washed and cleaned. The process is accurate to plus or minus .001 inch in thin sheets. As the sheet thickness goes up the undercutting affects the tolerances. In addition you need 125% of the material thickness to completely etch through. When you put your frame together you noticed that the .010" brass bolster diaphragms were loose in the slots. This is because I need to make the slots .012 wide to completely etch through. I initially tried to etch the rivets but that requires another tool and pass through the car wash. I was not happy with the way the kits went together. In addition that method created other problems in the design of the frame. The method I use gives the best control over bending and finish dimensions of the folded parts. The little holes for the riveting was a trick I picked up from the English. They love these etched brass kits. On your Sensi Press dull the point of the male die just a little and you will minimize the chance of poking though. The first etcher I used could not control this process but the current one (I have been using them since 2008) does an excellent job of quality control. When I punch the rivets I use the small holes to locate the point of the male die and then punch the rivet. The idea of the small holes is to space the rivets for you.
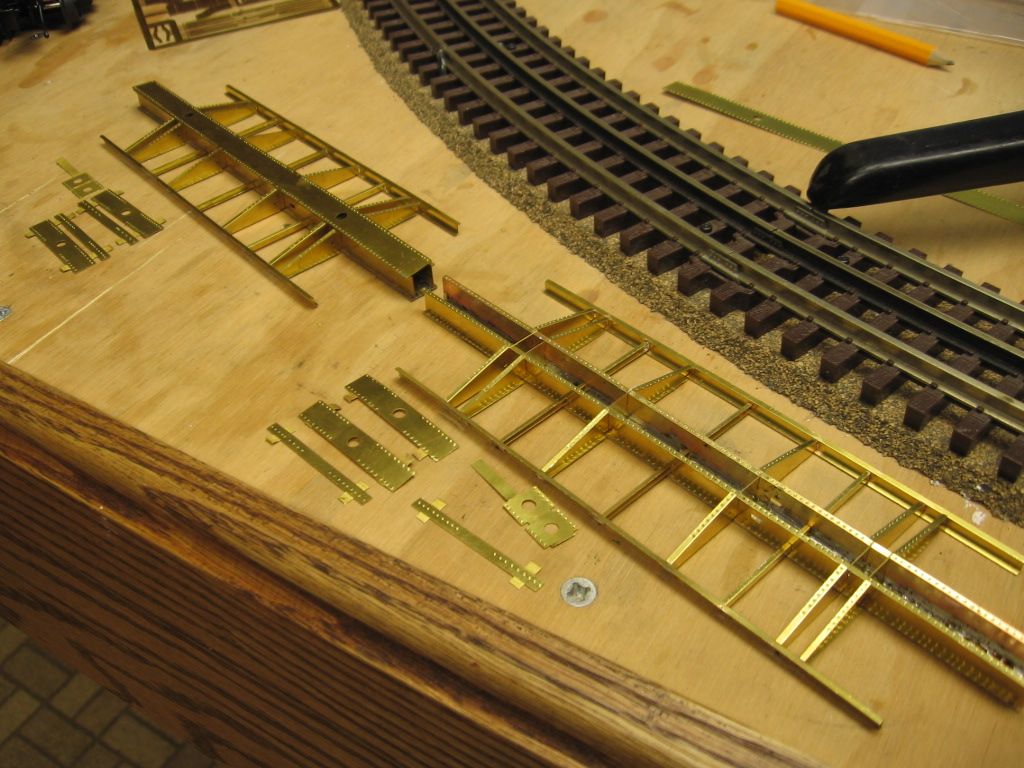
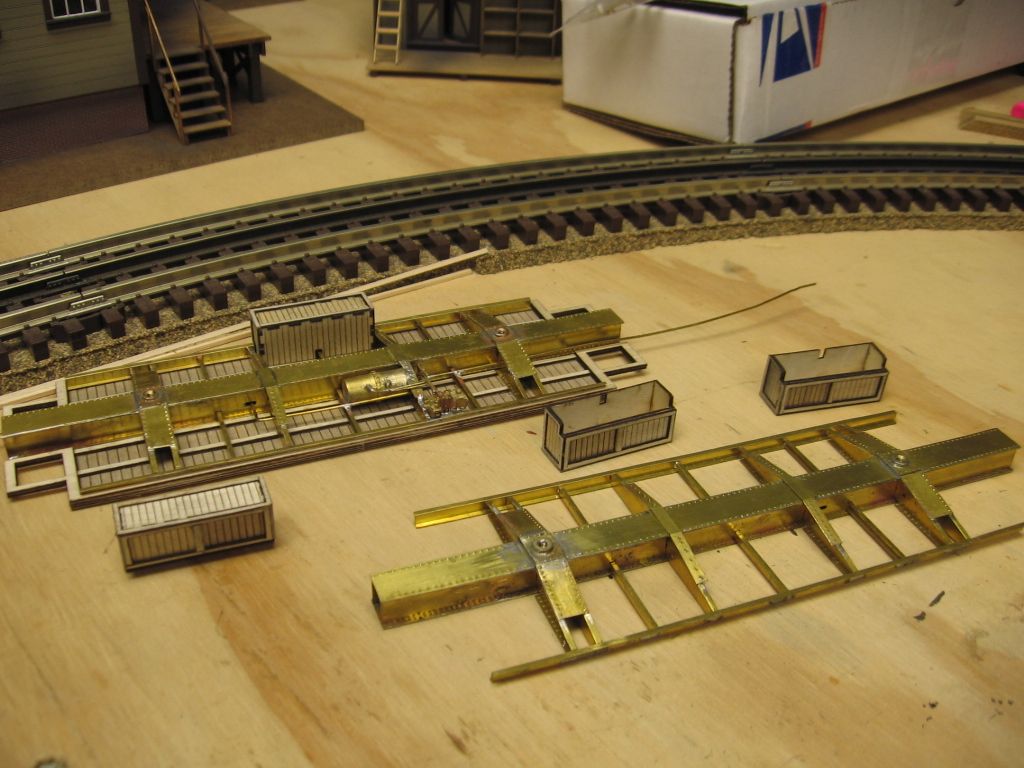
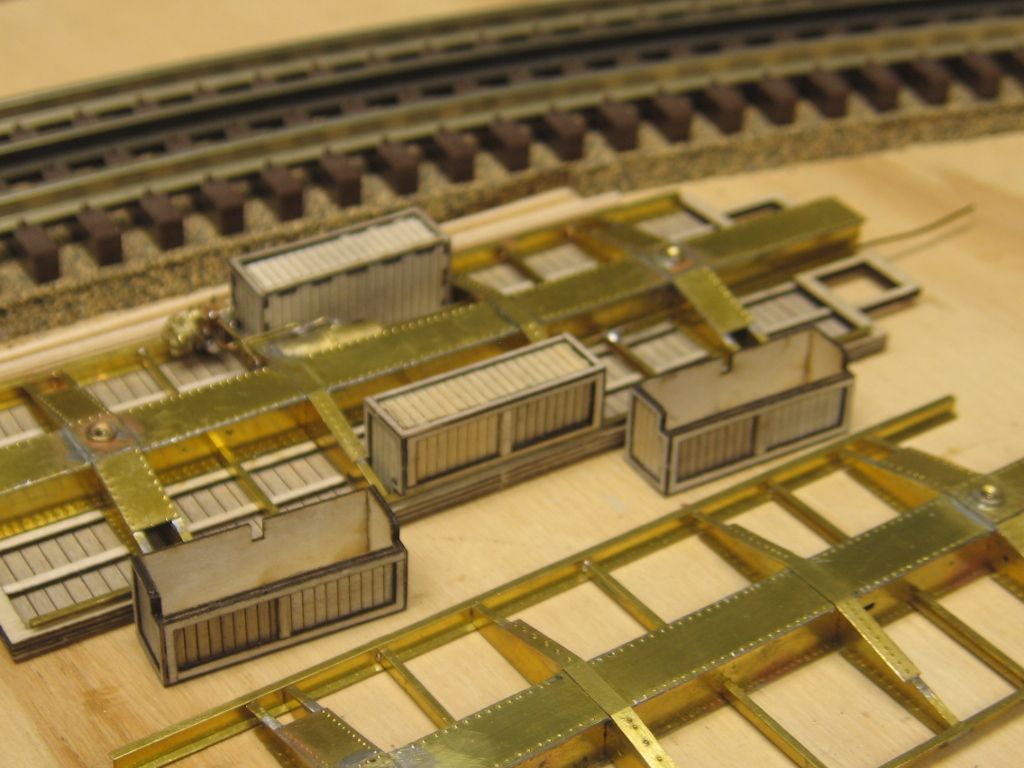
    You are doing an excellent job on the kit and I like your photos. Keep taking photos as you go. I would like to then put a gallery on my web site under How To Build Our Kits. I will call this Michael Thompson builds a Montour Railroad version of our B&O Caboose.
    It's nice to see people having fun building the kits. They make well detailed models and all the engineering is done.
    Talk to you soon.
Glenn
Mullet River Model Works
118 Huson Ct. Plymouth, WI 53073
PH 847-308-5378
 
A question, does the etch resistant coating effect painting???
Last edited by Mike CT

Sunday Aug 26, 2012 I spent a good bit of time doing rivets.  Today was more productive.
After bending a few pieces. Some Assembly techniques.


At this point if I was going to use Kadee couplers they would be installed before the bottom of the center frame is installed. I would have completed the frame but I haven't made up my mind which way to go.   I could install scale coupler and still have function 3 rail couplers that would not interfer.  It's such a nicely detailed model I may install the scale couplers anyway since there are pre-cut holes in the end deck C-channel.   Coupler height adjustment is another problem?????

Last edited by Mike CT


From the Micro Mark website.
If you don't have the rivet divet equipment I'd do this.  It's frame detail somewhat obscure.  I would think a lot of people who attempt these kits do no rivet detail at all.

A few progress pictures.
Tinning the flanges


Tinning the back of the center beam bottom plate.


Assembly


Last edited by Mike CT

I worked on this project a few days ago.  My first plunge into brass detail parts and some custom fitting to accommodate the tool boxes.  I also had to do some research on the valve, plumbing and positioning, I'm not sure I got it right. 


Tank and valve have been moved for the tool box.


I have mechanical brake connections yet to install and the air cylender that actuates the brakes. I may have to do some additional research on this.

Post

OGR Publishing, Inc., 1310 Eastside Centre Ct, Suite 6, Mountain Home, AR 72653
800-980-OGRR (6477)
www.ogaugerr.com

×
×
×
×
Link copied to your clipboard.
×
×