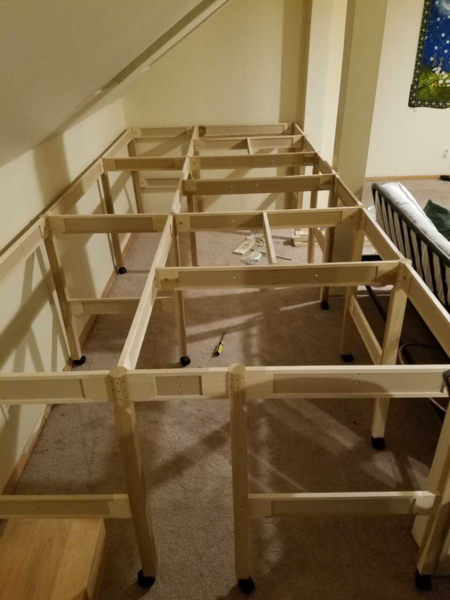
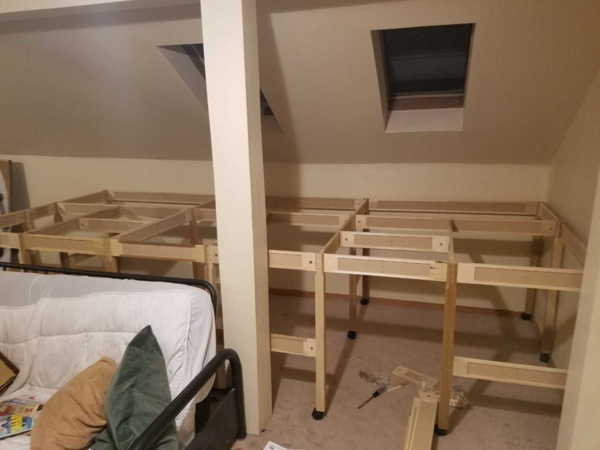
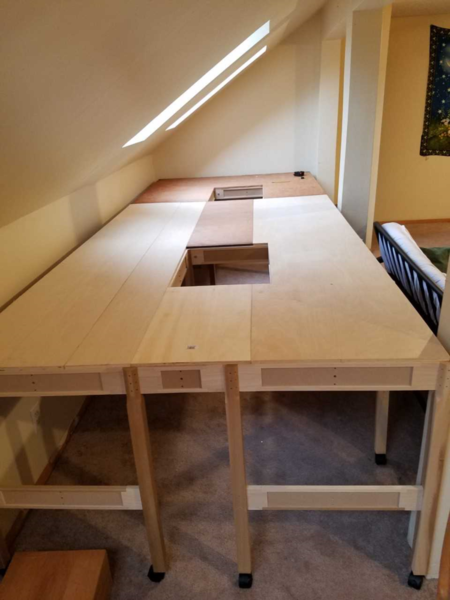
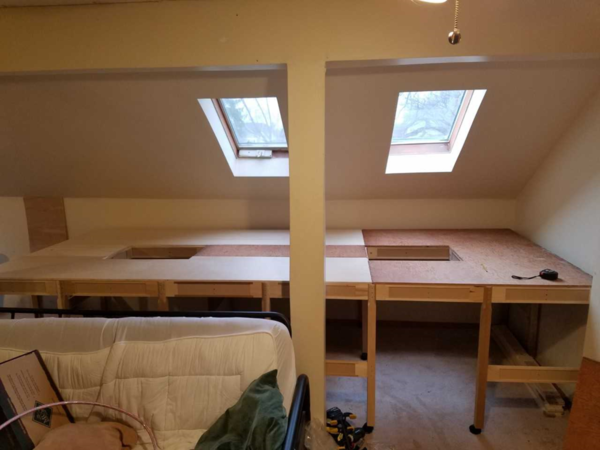
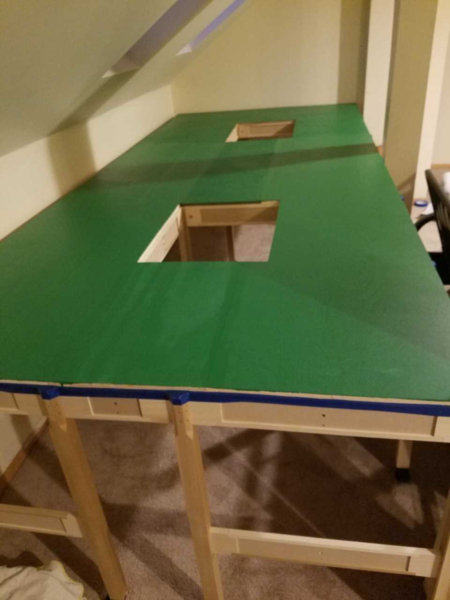
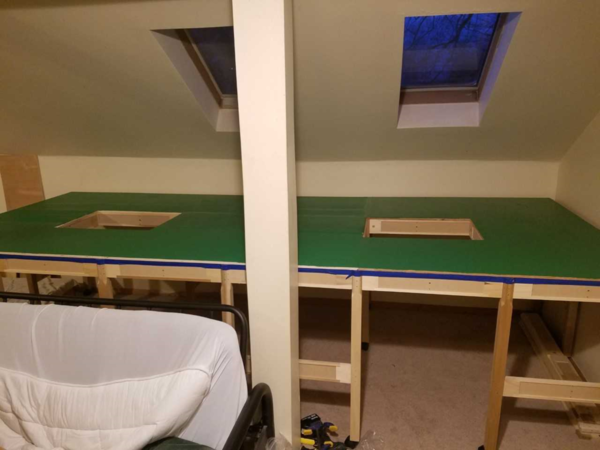
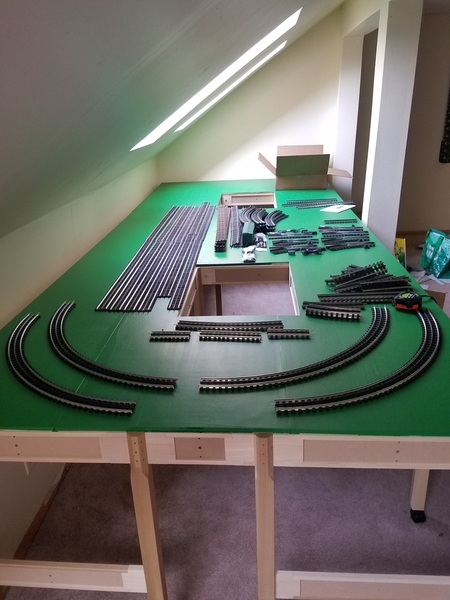
Hello, I'm new to this forum and looking for ideas on our new layout.  The layout is built on Mianne benchwork and we'll be using Gargraves track.  The table is 5'x12' and is a project that I'm doing with my youngest daughter.

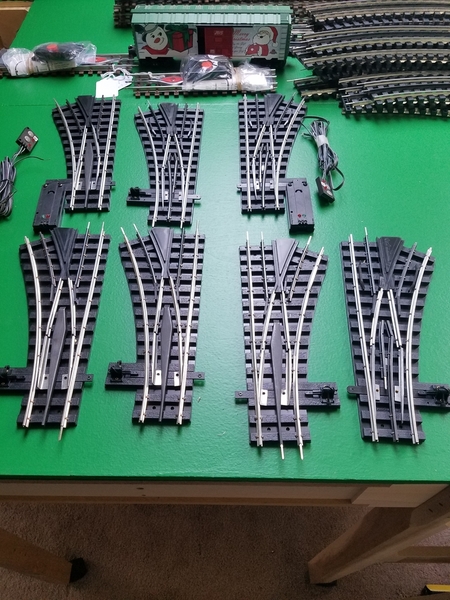
I already have 3 full circles of Gargraves O42 plastic tie track, 15 sections of Gargraves 37'' wood tie track, and 7 Gargraves O42 switches.  All the track is the phantom center rail tin outside rail track.  We would also like to incorporate our MTH bridge that has LED Christmas lights on it.  

The transformer is the MTH Z4000, and we have the TIU and AIU already.  If possible, we would like to run 3 trains on it.   Any layout diagrams or suggestions are greatly appreciated.  I'll post pictures here as soon as I figure out how.  Thank you!

train1train2train3train4train5train6


Attachments

Images (6)
  • train1: Mianne Benchwork
  • train2
  • train3: 1/2'' plywood
  • train4
  • train5: Daughter learning to paint!
  • train6: Still 1 coat to go
Last edited by RogerB
Original Post

Replies sorted oldest to newest

nickaix posted:

I'll let others who are better at it provide suggestions. But you'll need to provide some guidance: what do the two of you like?

Also, to use those O22s with the Gargraves track, you'll want Gargraves' adapter pins. They are larger on one end than the other.

We do have the adapter pins just in case.   We were hoping to use the gargraves switches though,  but I can't figure out how they work (wired).   

My daughter and I both decided that we wanted to just run a couple trains at one time, nothing too fancy.   Then work on the scenery and landscape over time.    We also have 10 or so MTH buildings and houses,  a water tower and gas station. 

I've bent atlas flex track before on our n scale layout,  but was hoping to not have to bend alot on this layout if possible. 

Gilly@N&W posted:

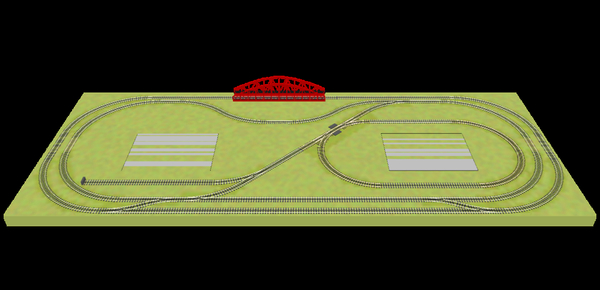
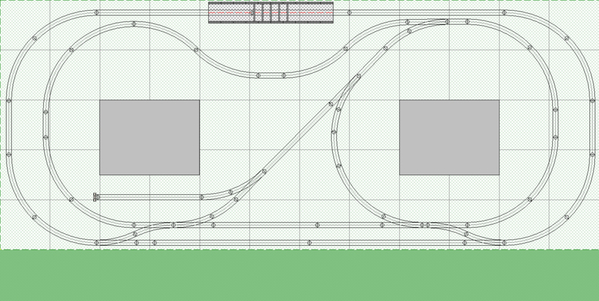
To get your third loop, I added two Ross 031 switches and 031 curves. Not to worry, GarGraves and Ross use the same track pins. They'll match right up.

5x125x12a

Thank you very much!  I'll show my daughter after work, I'm sure she'll be as excited as I am! 

Does the diagonal track require a reverse loop wiring?  And is there a way to tell how long the straight track pieces are?  

Last edited by RogerB
Mixed Freight posted:
RogerB posted:
Does the diagonal track require a reverse loop wiring?

No, not at all.  One of the nice features of 3-rail track, no special wiring needed for reverse loops or wyes.  The center rail (one of your two wiring hookups) is always the center rail, no matter which way the train is going.

Pretty cool, huh? 

Thank you!  The last layout I wired was our N scale in DCC.  And our O scale MTH Christmas layout was all done with Realtrax and no switches.
Gilly@N&W posted:

Here's a revised layout for you to consider. This is reduced to two operational trains. Everything remains at 042. The center of the layout now has a Wye. This will enable you to turn engines and/or short consists around. I also eliminated as many custom cut straights as possible.

5x12-II

5x12-II

Thank you very much!!

I love your three-loop plan, but do you plan to attach the track to the green boards? I ask because your bridge seems to be sitting flat on the tabletop. 

If you added some layered foam sheets, you could carve a valley under the bridge, and have the curve next to it look like it's on higher ground.

Also, you could carve the foam away on the edges, so the track will look like it's on an embankment, and and the green could simulate the ground below.


Trainman2 posted:

I love your three-loop plan, but do you plan to attach the track to the green boards? I ask because your bridge seems to be sitting flat on the tabletop. 

If you added some layered foam sheets, you could carve a valley under the bridge, and have the curve next to it look like it's on higher ground.

Also, you could carve the foam away on the edges, so the track will look like it's on an embankment, and and the green could simulate the ground below.


The bridge actually has piers that it came with that it sits on.   The piers house the electronics for the LEDs.  When we had our Christmas layout,  I used the MTH graduated inclined trestles with realtrax and in the back center of the layout.   I'm not sure how to do an incline with the gargraves.   

I do have thick pink foam and different hot wire cutters for a possible incline / decline on the outside back loop

RogerB posted:
Trainman2 posted:

I love your three-loop plan, but do you plan to attach the track to the green boards? I ask because your bridge seems to be sitting flat on the tabletop. 

If you added some layered foam sheets, you could carve a valley under the bridge, and have the curve next to it look like it's on higher ground.

Also, you could carve the foam away on the edges, so the track will look like it's on an embankment, and and the green could simulate the ground below.


The bridge actually has piers that it came with that it sits on.   The piers house the electronics for the LEDs.  When we had our Christmas layout,  I used the MTH graduated inclined trestles with realtrax and in the back center of the layout.   I'm not sure how to do an incline with the gargraves.   

I do have thick pink foam and different hot wire cutters for a possible incline / decline on the outside back loop

You may not have to do an incline, if you work on the premise most of your railroad is sitting on a sort of plateau. In the real world, a bridge like that might sit on abutments, you could carve a small valley in the foam, with a notch on each side to embed the piers to simulate abutments.

Outer loop on left at 9:00 position proceeding clockwise:

13", 042, 042, 37.25", 23.49", 37.25", 042, 042, 13", 042, 042, 042RH, 37.25", 37.25", 4.34", 042LH, 042, 042

Inner loop on left at 9:00 position proceeding clockwise:

6.04", 042, 042, 042, 042, 6.10", 042, 042, 042LH, 4.81", 042, 042, 6.59", 042, 042, 042RH, 1.35", 042RH, 15.55", 25", 042LH, 042LH, 042, 042.

Left side of WYE from lower left to upper right:                                GarGraves PN# for Make-up Curve XMU-101-42

042 Make-up, 042RH, ((Siding), 042 Make-up, 25", Bumper), 22.77", 042LH, 9.2", 042 Make-up

Right side of WYE from lower right to upper left:

042, 1/2 042 (cut), 1/3 042 (cut)     A 042 curve is 45 degrees. Total of these two pieces 37.5 degrees.

Don't freak out over the cut dimensions. Get to the closest 0.10" and you'll be golden. There is give in the track and in the joints.

Last edited by Gilly@N&W

As for the bridge, I would strongly suggest leaving it flat and open the space below it to give the perspective of depth. The scenery suggestions you've already gotten from others above are very good.

There is insufficient length to set the bridge on piers on top of the plywood and be able to reach it. The grade would be too steep.

Gilly@N&W posted:

As for the bridge, I would strongly suggest leaving it flat and open the space below it to give the perspective of depth. The scenery suggestions you've already gotten from others above are very good.

There is insufficient length to set the bridge on piers on top of the plywood and be able to reach it. The grade would be too steep.

Thank you for all your help!  

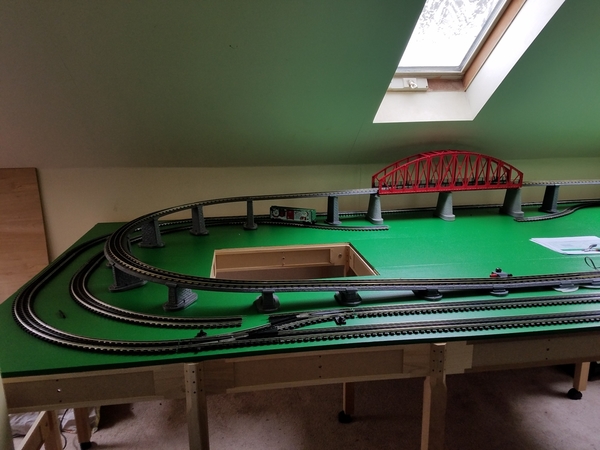
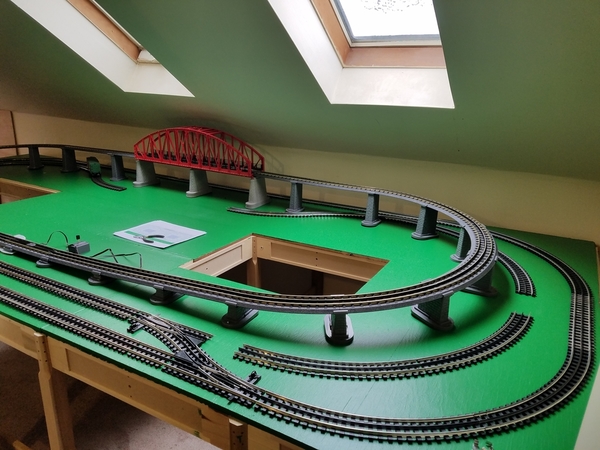
My daughter wanted to see what it looked like with our graduated incline and bridge from our Christmas layout added in.    I just think she thought I was taking too long cutting track lol.   Don't know if it's going to stay there or not,  but she got to run her Polar Express last night.  Everything looks crooked because we just moved everything down a little. 20190331_14373120190331_14364220190331_143628

Attachments

Images (3)
  • 20190331_143628
  • 20190331_143642
  • 20190331_143731
Post
The Track Planning and Layout Design Forum is sponsored by

AN OGR FORUM CHARTER SPONSOR

OGR Publishing, Inc., 1310 Eastside Centre Ct, Suite 6, Mountain Home, AR 72653
800-980-OGRR (6477)
www.ogaugerr.com

×
×
×
×
Link copied to your clipboard.
×
×