The young dog(110lbs) got tangled in my low hanging wires under layout. And...well, some of the wires lost. All the "wrong" wires were off the terminals.
So again, I worked on the right 1/2, loose, under-table, "spaghetti wiring".
But this time, was easier.
One by one, strand by strand. Rerouting each one carefully.
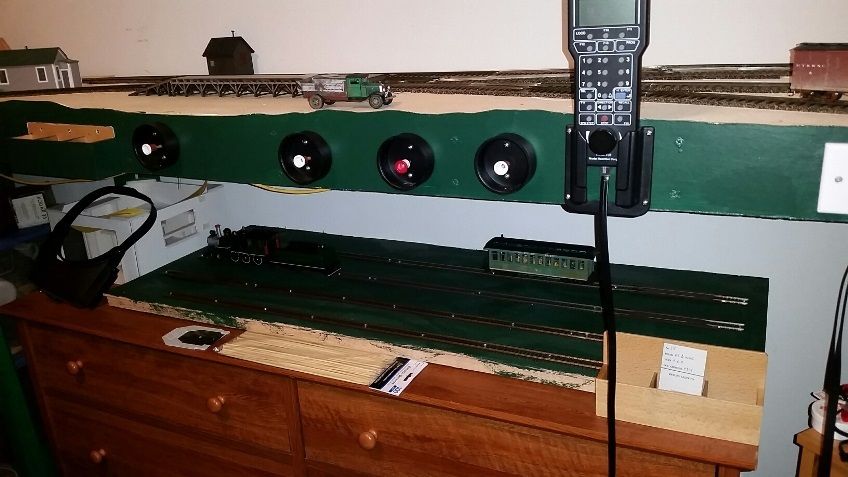
Running groupings of 3 track busses; accessory control by area; 3 voltages for access. functions, and turnout controls for the super O line, and 0-27.
The El.s timer was neat and clean the first time.
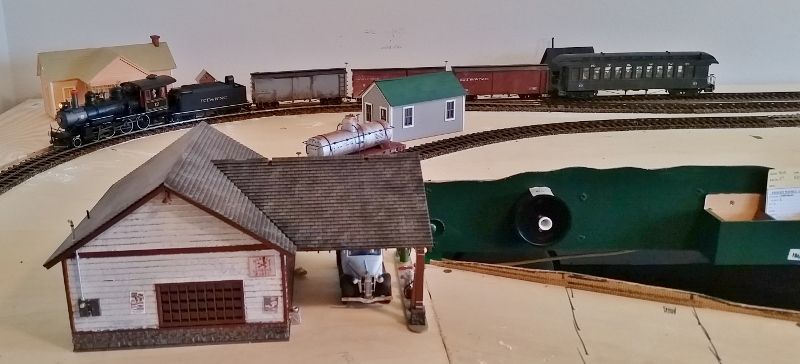
On the Super-O, a back-in, two passenger car length depot siding is all I have.
It ran full time track power at the bumper end. It also got a constant voltage un-coupler. And between the un-coupler and the turnout, is a track block that can have the power killed, sized just right for a switcher.
When that short siding block is energized by switch, the mainline semaphore signal energizes too, now occupied/stop.
Soon, I think I'm going to ad another block to the mainline, that shuts off when the short siding block is on. And ad second, switch killable main line section,(small), to hold the switcher a minute at "half loop".
I need one more Super-O un-coupler in the long run too.
That would allow me a little better switching even though its mainly a decorative siding.


")

")


")

")


