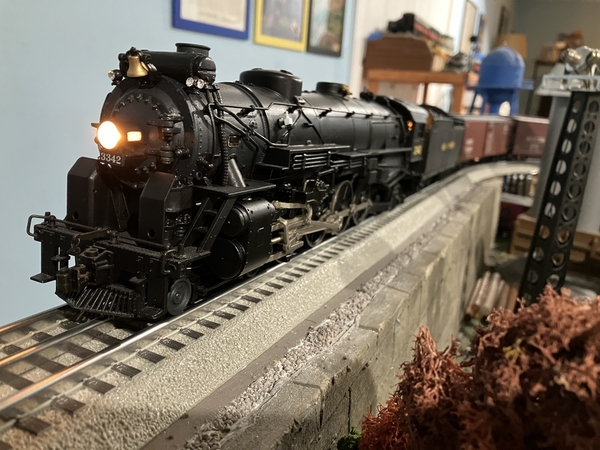
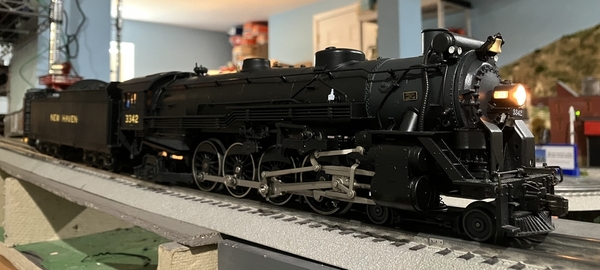
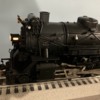
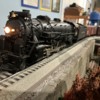
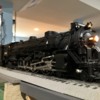
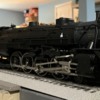
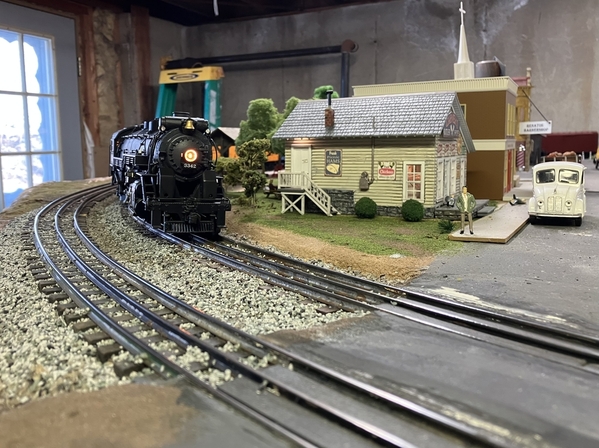
Thanks Bill!

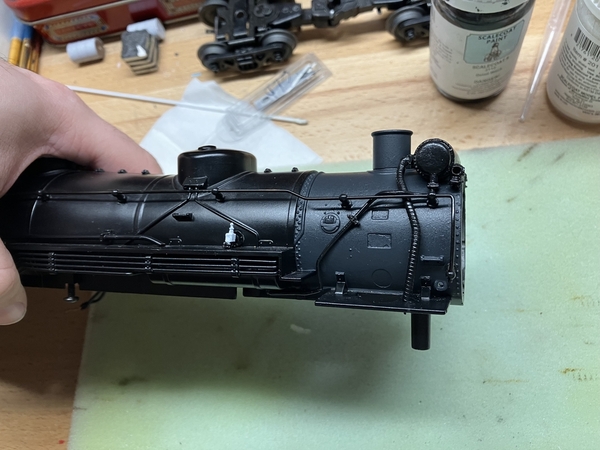
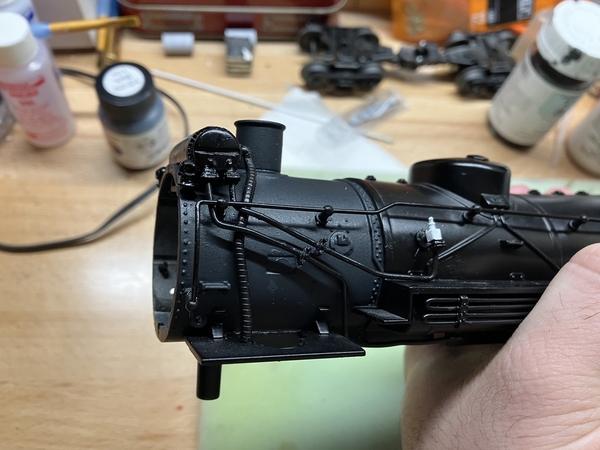
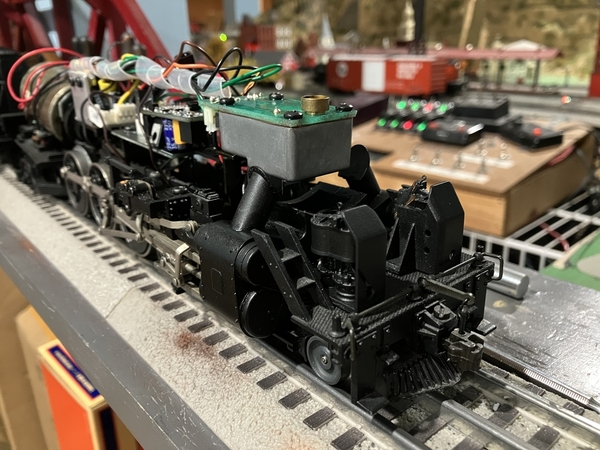
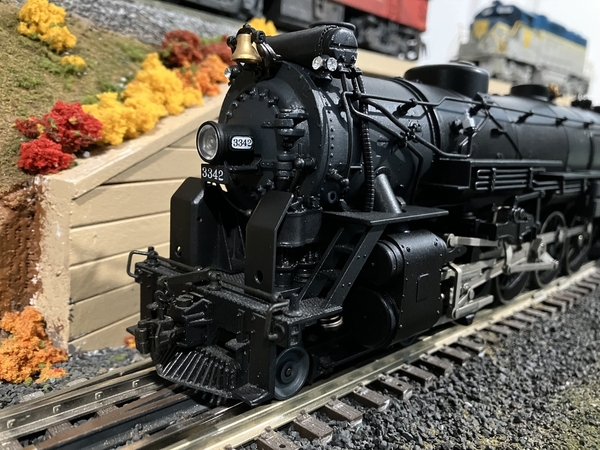
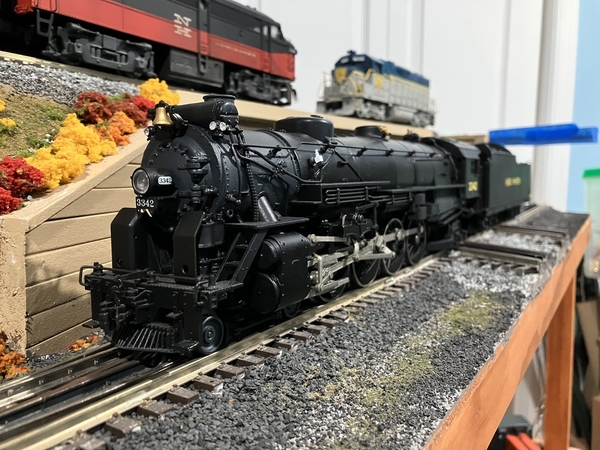
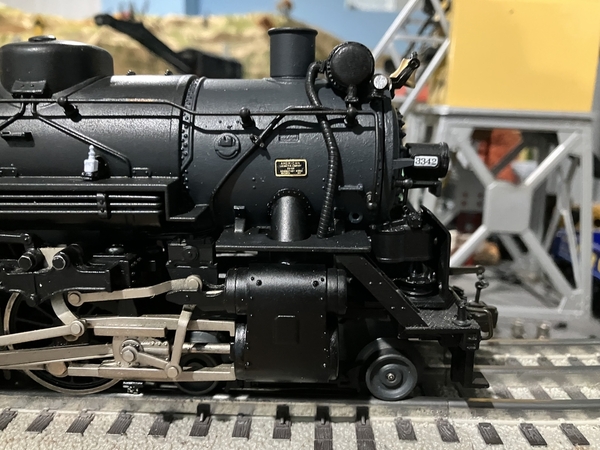
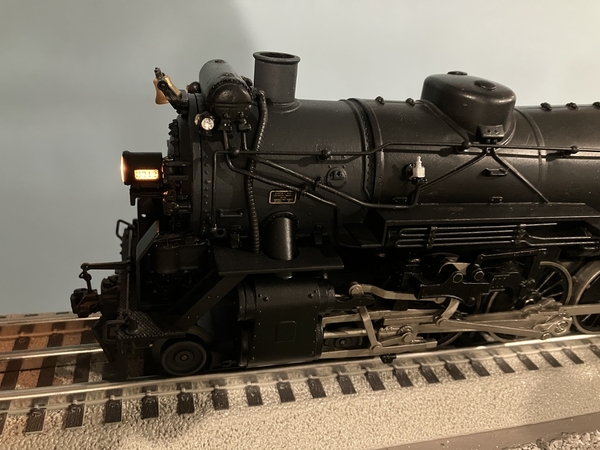
Final assembly and decaling has begun. All the separately painted piping and feedwater heater are attached to the boiler, and the check valves were painted white (a common New Haven practice) with a Vallejo acrylic.

52 Assembly 1

53 Assembly 2

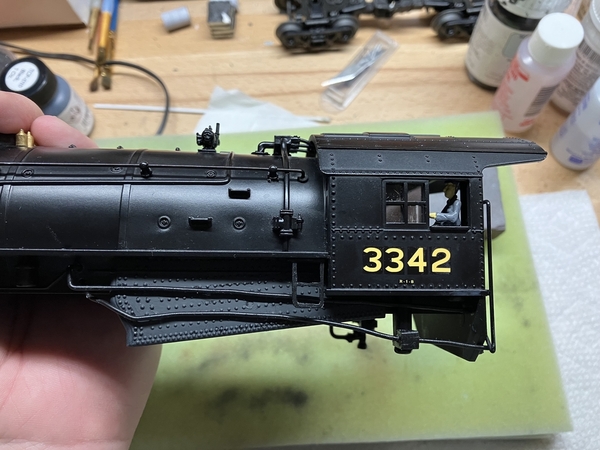
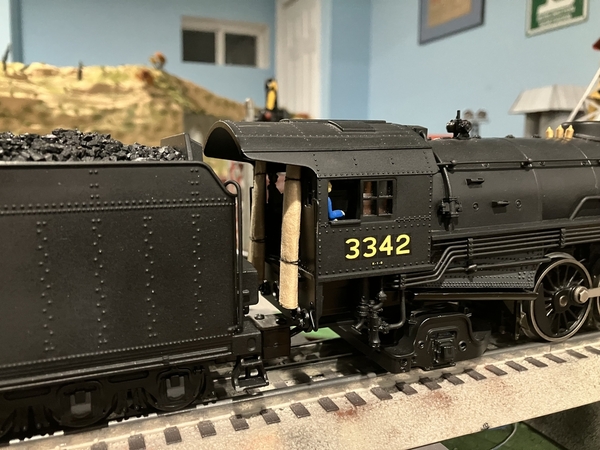
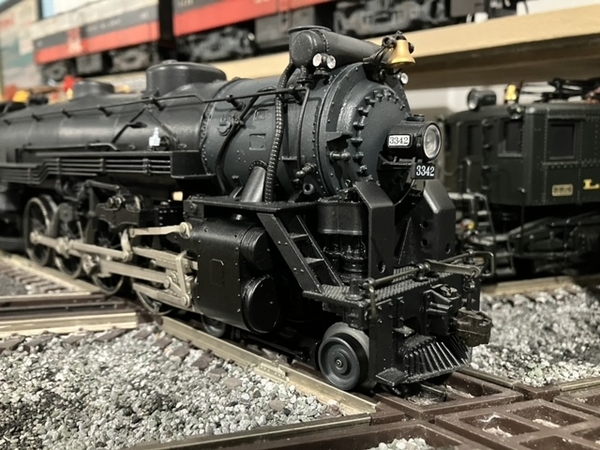
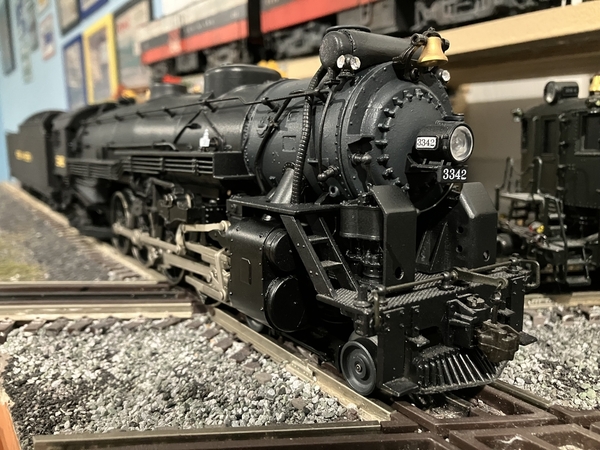
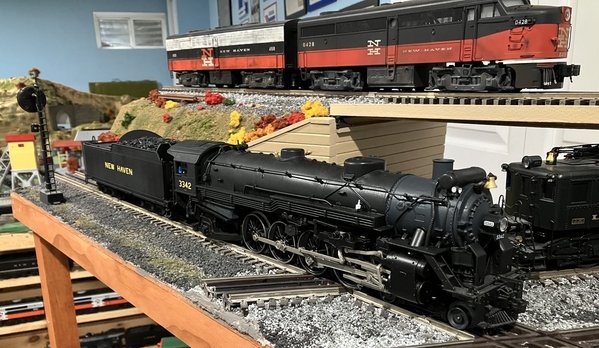
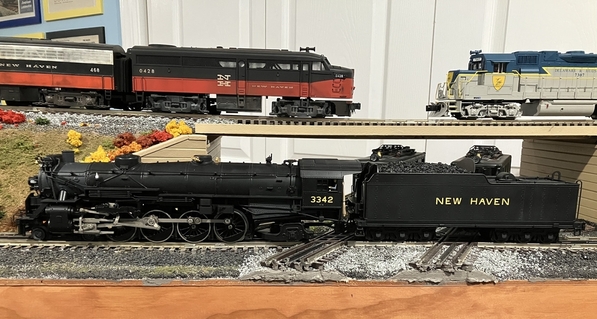
I chose road number 3342 for a few reasons; it fit the number series that best represented this configuration (3340-3348 with Elesco feedwater heater, Delta trailing truck, pilot mounted dual air pumps, and cab signal box), it was one of the last R-1-b's in service (1950), and it carried at different times all three tenders associated with this class (original USRA style, larger 6-axle box, and long 6-axle Vanderbilt) so I can swap them out as I see fit. 3348 was also a candidate for this model, however that engine was rebuilt during WW2 with a Boxpok main driver, and changing those out are beyond the scope of this project. Still on the hunt for a good Vanderbilt tender.

54 Assembly 3 & Decals

The remaining details are all bolt-on, or for cosmetic reasons need to be applied after clear-coating.

~Chris

Attachments

Images (3)
  • 52 Assembly 1
  • 53 Assembly 2
  • 54 Assembly 3 & Decals

Thank you Pat!

Bill - some engines on the New Haven received a lot of painted trim, whether for a special occasion or a crew taking care of their regular engine. These typically included white check valves, running board edges, and headlight brackets, silver cylinder covers, and white or silver stars on the cylinder sides and air pump shields. As they continued on in service much of the trim got dirty or wore off, but from photos typically the white painted check valves lasted the longest (maybe because they were regularly inspected and cleaned, or because they are shielded from a lot of grime by the running boards?).

I've never seen another railroad paint the check valves, so I wanted to include it, even if I left the rest of the trim off. I am going to tone it down with some weathering.

You can see a lot of New Haven steam locomotive photos here - this link should take you right to the page with the R-1s, and the photos of 3303, 3320, and 3334 show them all decked out:

NYNH&H STEAM - CLASS R-1 4-8-2 (google.com)

~Chris

@C.Vigs posted:

Thank you Pat!

Bill - some engines on the New Haven received a lot of painted trim, whether for a special occasion or a crew taking care of their regular engine. These typically included white check valves, running board edges, and headlight brackets, silver cylinder covers, and white or silver stars on the cylinder sides and air pump shields. As they continued on in service much of the trim got dirty or wore off, but from photos typically the white painted check valves lasted the longest (maybe because they were regularly inspected and cleaned, or because they are shielded from a lot of grime by the running boards?).

I've never seen another railroad paint the check valves, so I wanted to include it, even if I left the rest of the trim off. I am going to tone it down with some weathering.

Nice touch. For what it's worth, the Southern Pacific tended to paint their boiler check valves red, which also helps in showing a leaking gasket.

You can see a lot of New Haven steam locomotive photos here - this link should take you right to the page with the R-1s, and the photos of 3303, 3320, and 3334 show them all decked out:

NYNH&H STEAM - CLASS R-1 4-8-2 (google.com)

~Chris

Just found this post!  Very exciting work.  I had come by the same engine and also found the link showing the history and realized that for the era I am modeling I would need a feed water heater which I purchased.  https://sites.google.com/site/...-4-0/class-r-1-4-8-2

Such great references like the paint you are using.  Boy does that make the model look so much better!  The look you are getting is really impressive!  And I did not know that tru-color paints even existed.  I was still stuck back in the Foquil days... Now long gone.

You have gone way beyond what I thought of doing but it is really great to see all the upgrades possible.  I love this engine and am so impressed with your work.  Great guide and very well documented.  Thank you very much for posting your work!

Last edited by Robbin

Thanks Robbin - building / kitbashing threads are always my favorite on this forum and I'm pleased I can contribute. I like posting the step-by-step progress to show that these projects aren't completed overnight or by magic, anyone can do it with some patience and planning. One warning about Tru-Color paint, especially if you're used to Floquil, is that it is formulated more like an ink than a paint, and therefore doesn't need to be thinned as much. Some people use it straight out of the bottle, I've found 20-25% thinner for colors and 50% thinner for clear coats works best with my brush.

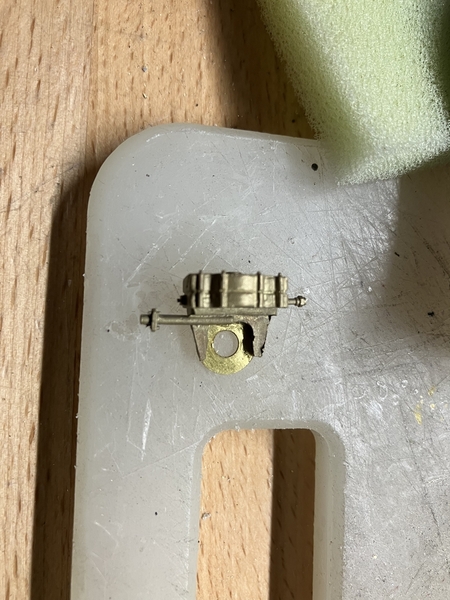
One last thing to button up on the interior of the engine - I needed to replace the smoke unit fan and repack the wicking. Smokes incredibly well now. I also took this opportunity to get a better picture of the air pumps installed on the pilot in OK lighting.

55 Painted Pilot Shields in light

The boiler and all loose details have received two coats of flat clear - first a Tru-Color coat, to seal the decals and paint, followed by Tamiya TS-80 from a rattle can, which knocks it down to a true flat. Final assembly should be in the next few days.

~Chris

Attachments

Images (1)
  • 55 Painted Pilot Shields in light
Videos (1)
56 Fixed Smoke Unit
@C.Vigs posted:

Thanks Robbin - building / kitbashing threads are always my favorite on this forum and I'm pleased I can contribute. I like posting the step-by-step progress to show that these projects aren't completed overnight or by magic, anyone can do it with some patience and planning.

This is why I appreciate these threads. They have taught me that I could do this when I get to this point. I like to read them so I can learn the techniques before I practice them.

I hope everyone has a Merry Christmas!

I applied some final details at the end of last week and completed assembly on Saturday.

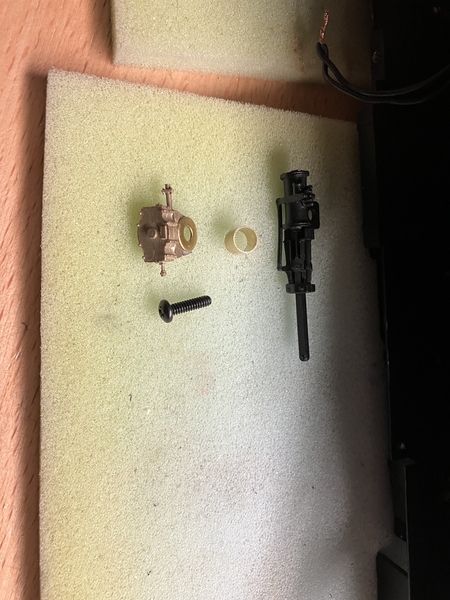
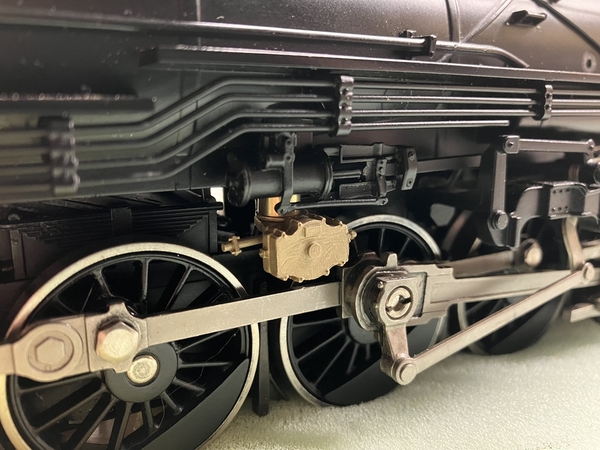
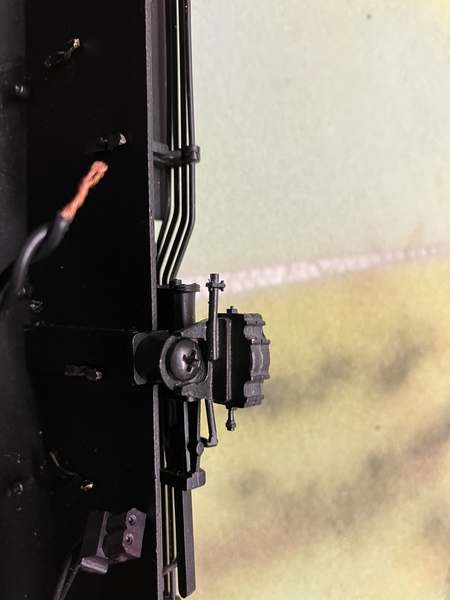
One detail I forgot to post previous pictures of is the Loco Valve Pilot, which gets mounted on the engineers side of the engine under the reverser. I replaced the stock screw Lionel used to mount the reverser with a longer one, and used a piece of brass tubing to space the parts.

58 Loco Valve Pilot Modified59 Loco Valve Pilot Assembly

Installed, unpainted:

60 Loco Valve Pilot Mounted

Installed, painted:

61 Loco Valve Pilot Mounted Painted

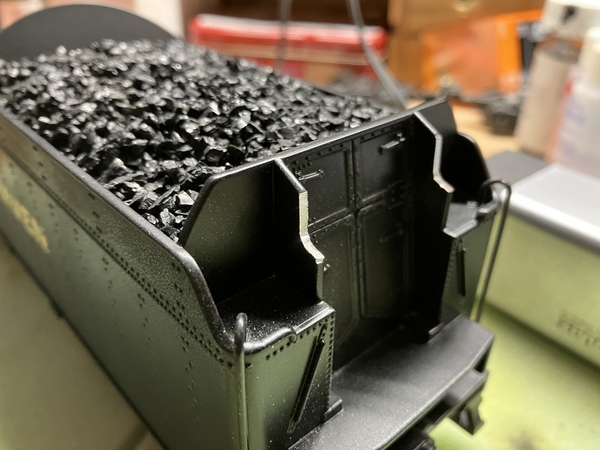
I had to cut back these two walls on the tender in order to clear the cab overhand properly - 30 seconds with a Dremel and some black paint took care of it.

62 Tender Trimmed

I also made cab curtains out of tea bags; cut open, soaked in coffee for a few minutes, dried, and then rolled up and bound with black thread.

63 Cab Curtains

Finished photos in the next post.

~Chris

Attachments

Images (6)
  • 58 Loco Valve Pilot Modified
  • 59 Loco Valve Pilot Assembly
  • 60 Loco Valve Pilot Mounted
  • 61 Loco Valve Pilot Mounted Painted
  • 62 Tender Trimmed
  • 63 Cab Curtains

Last detail applied was clear jewels in the marker lights. I'm not a huge fan of lit marker lights as they were used to indicate extra trains / sections of scheduled trains, so most trains would be running with them off. Clear jewels look just right to me. 64 Finished 1

65 Finished 2

66 Finished 3

67 Finished 4

69 Finished 6

70 Finished 7

71 Finished 8

I'm very pleased with this project, and I think the model evokes the same power the prototypes do - it looks like so much more than just another USRA Mountain.  I'm sure I'll think of more details to add in the future, but for now I'm calling this finito.

~Chris

Attachments

Images (7)
  • 64 Finished 1
  • 65 Finished 2
  • 66 Finished 3
  • 67 Finished 4
  • 69 Finished 6
  • 70 Finished 7
  • 71 Finished 8

Chris, really nice work with all the added details. I’ve done the tea bag trick myself for the cab curtains. Have also used eyeglass lens cleaners.

I re did my Mountain to resemble some features of a Rutland. It was just to far off to get a close model. I did add the new trailing truck like yours. For some reason my IR tether was out of alignment. Rather than bending things.  I ended up cutting the drawbar and overlapping it to get it right by giving it a offset. It’s secured together with small screws. This also brought the engine and tender a bit closer. Was this the reason for trimming the tender shell ?

Looking forward to see this going down the rails. You did a great job on it.

Thanks Pat, Dave, and Pennsynut.

I'll be taking some videos soon.

Dave - the drawbar on the Mohawk tender is very short compared to the tender this engine came with, and the cab is lower as compared to a Mohawk. On two curves on my layout where the track also transitions to a gradient, those corners of the tender were scraping the underside of the cab overhang. No issues with the engine drawbar or IR sensor on my end.

Pat - I'm sending you an email to take up your offer, I searched for a while for decent builders plates and came up with nada.

~Chris

@C.Vigs posted:

Thanks Pat, Dave, and Pennsynut.

I'll be taking some videos soon.

Dave - the drawbar on the Mohawk tender is very short compared to the tender this engine came with, and the cab is lower as compared to a Mohawk. On two curves on my layout where the track also transitions to a gradient, those corners of the tender were scraping the underside of the cab overhang. No issues with the engine drawbar or IR sensor on my end.

Pat - I'm sending you an email to take up your offer, I searched for a while for decent builders plates and came up with nada.

~Chris

Consider it done, and let me send you 4 of these for the last 2 pairs of drivers,….makes more a a crank pin look, …..

Pat IMG_8447

Attachments

Images (1)
  • IMG_8447
@Bill Park posted:

Hey Chris, The rebuild is really coming out good. I am finally working on the factory and will have it ready is a week or two. It would be great to drive up and pick it up and we can run the Mohawk on the layout.  Bill

I will absolutely bring it up Bill, and we can do a side-by-side in your yard with your two Mountains. A nice cross section of New Haven freight power.

I'll let you know after the new year, when I know what my work schedule for January is like.

~Chris

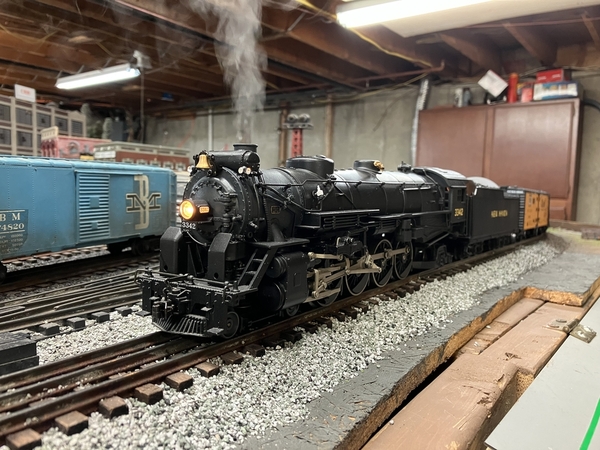
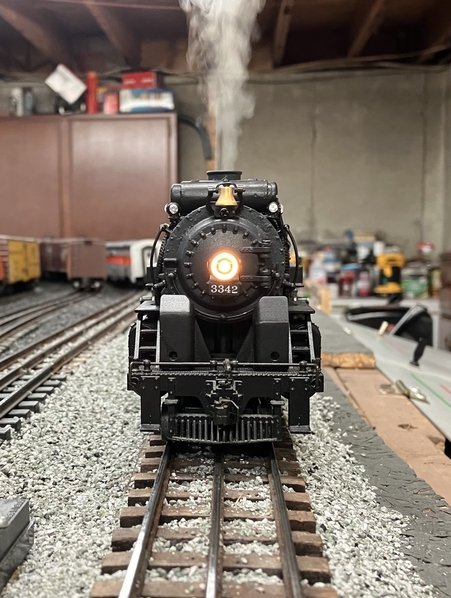
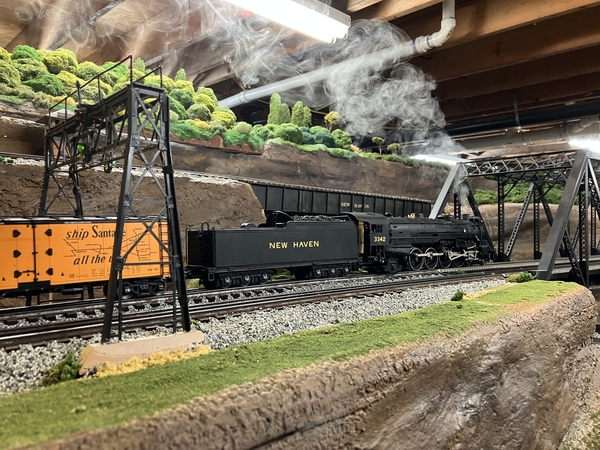
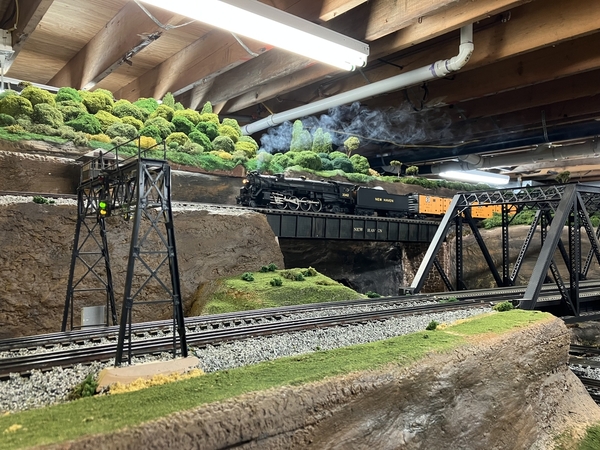
A selection of photos from Bills layout while the R-1 was stretching its legs.

87 Its Alive 1

88 Its Alive 2

89 Its Alive 3

90 Its Alive 4

91 Its Alive 5

92 Its Alive 6

Here's a good before and after - this project started with the stock USRA mountain (Bill's example on the left).

93 R-1 Comparison

Lastly, a line up of Mountains like would be found at Cedar Hill, Worcester, or Boston. Stock USRA (representative of New Haven class R-1) at left, R-1-b in the center, and a Mohawk (standing in for a very similar class R-2-a) at right.

96 95 Class R Line Up 3

I think that about wraps this up, unless a Vanderbilt tender falls into my lap.

~Chris

Attachments

Images (8)
  • 87 Its Alive 1
  • 88 Its Alive 2
  • 89 Its Alive 3
  • 90 Its Alive 4
  • 91 Its Alive 5
  • 92 Its Alive 6
  • 93 R-1 Comparison
  • 96 95 Class R Line Up 3
@B Smith posted:

Wow -- looks very nice!

Yes it does...

Question: this is posted in the "3 Rail Scale" group, yet it appears from the videos that the tender has the large "O Gauge" coupler; if so, will you be changing it out for a Kadee? This is in no way a criticism of the model; it looks and runs great!

Mark in Oregon...(but born in Connecticut)

Last edited by Strummer

Bringing this back for one last update. Two weeks ago I managed to snag a Vanderbilt tender off of eBay - one of the ones off the 1990s 700E Hudson model. I was disappointed when I received it - the best description is it was fat and stubby. Too short and boxy vs. the New Haven's own Vanderbilts, but it dwarfed the engines cab in height, and it weighed a ton.

Now Lionel has in their 2024 Volume 2 catalog a new run of USRA mountains with the C&O style Vanderbilt tenders, which the New Haven's were near copies of. I've decided my own R-1 will stay with the large 6-axle box tender and I'll pick up one of the new Lionel models for the Vanderbilt itch. I'm not conceited enough to say this thread influenced Lionel to catalog this model, but I am pleased they also picked up on some of the details I called out here.

For those that want one of the new Lionel models as well, here are the details of what the catalog illustrations represent and how it stacks up to the prototype. There are two models cataloged, road number 3324 as separate sale and 3345 in a freight set. The details of the model better represent 3345 because:

     1. Road numbers 3310 through 3339 were built with Southern valve gear while the model has Walschaerts. Walschaerts is correct for road numbers 3340 through 3348.

     2. Road numbers 3310 through 3339 had the sand dome set farther back (over the second driving wheel) vs the stock USRA design (over the first). The stock design is correct for road numbers 3340 through 3348.

     3. I am unsure if 3324 was ever assigned a Vanderbilt tender. Tenders moved around a lot among the New Haven's Mountains so it very well could have. I do know for a fact 3345 was assigned a Vanderbilt for a period of time.

Here are the details Lionel now has that are correct for both engines that aren't on the stock USRA model, that I had to modify on my own build:

     1. Feedwater heater present.

     2. Delta trailing truck instead of the leaf-spring USRA style.

Here are the details Lionel has that are incorrect or missing for both engines, that I added on my build:

     1. Piping layout to the feedwater heater - not all pipes are modeled or are modeled incorrectly. The feedwater heater pump is absent. Also from what I have seen of the New Haven model from the 2019 run, the feedwater heater used on this model sits high on the boiler and has an odd looking air gap under it.

     2. Marker lights are still the USRA type on the boiler front.

The Lionel models both best represent the mid 1930s era, when the feedwater heaters were present but before the dual air pumps were added to the pilotwith shielding (a single air pump was still on the fireman's side of the boiler). On the catalog illustration the pilot is empty save the pilot support posts, which is accurate for some road numbers. Engines equipped with cab signals during this era would also have a cab signal box on the pilot between the support posts - I do not know if 3324 or 3345 were so equipped. 

Lastly, on the rest of the equipment in the Minuteman Freight set with the 3345: the boxcar, covered hopper, and caboose are all reasonably accurate for their prototypes. The first 15 covered hoppers (117000 - 117014) did have the hole in the sides between the two hopper bays and square roof hatches as depicted on the model. The boxcar is in an accurate paint scheme. The New Haven has 10 cabooses that were close copies of the PRR N-5s numbered 500 - 509, and it looks like #503 is being used in this set. My only qualm with the set is it looks like the State-of-Maine car uses the Standard O plug door boxcar tooling, which is more accurate for the SoM car than a reefer or standard door boxcar would be but is otherwise far off and limited in detail.

I think I will be buying the full set to get the more accurate road number 3345 and the reasonably accurate rolling stock. Despite my nit-picking I am excited for this model, and I hope my write up here helps those interested make their decisions.

~Chris

Great post Chris. When I saw the engine in the catalog I went back to re read this thread. Very informative post as to how engines and tenders evolve over time. I remember reading somewhere the NH Vanderbilt tenders were actually delivered on the 0-8-0’s. When you buy a new engine it comes with a tender. I’m guessing it was done this way to save money replacing some tenders on the Pacifics & Mountains that must have needed new ones. Then it’s just a matter of finding ones for the 0-8-0’s.

Exactly correct Dave - the Vanderbilts were delivered on Y-4 0-8-0 locomotives. They were originally supposed to go to the 8 J-2 Heavy Mikados (which is why there were only 8 of them), but those engines needed stokers installed to use the Vanderbilts and that never happened. The Y-4 0-8-0s ran around with the ridiculously large tenders for a little while before they were given to the R-1s instead.

~Chris
Last edited by C.Vigs
Add Reply

Post

OGR Publishing, Inc., 1310 Eastside Centre Ct, Suite 6, Mountain Home, AR 72653
800-980-OGRR (6477)
www.ogaugerr.com

×
×
×
×
Link copied to your clipboard.
×
×