
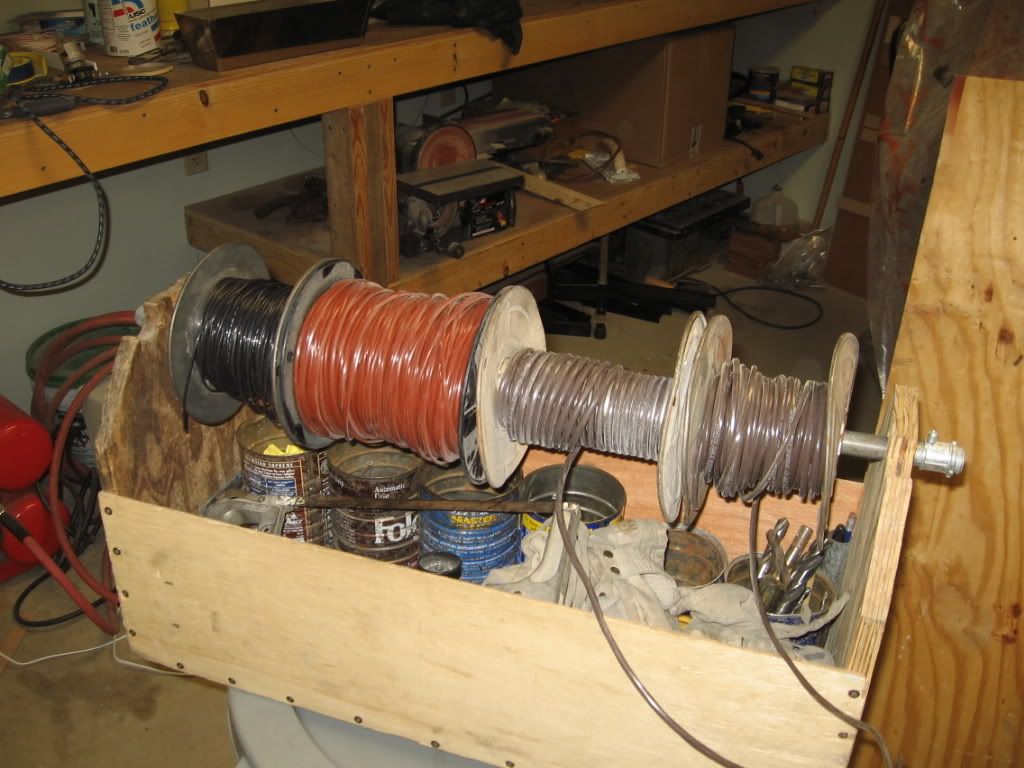
Is it just my layout or do all layouts require this much wire? I have been wiring the rails on my 16x17 layout and looking ahead is an eye-opener. I have 8 electrical blocks going into 3 TIUs. Each block needs--oh what--pick a number--say 6 drops for the center rail, and six for the outer rail (the two outer rails being just wired together so they only need one wire), going to a junction box or TIU close to the block. Even under the best assumptions for distance, this is 12 wires totaling at least 100 feet times 8 blocks is 800 feet.

Now we add switch machines, LED and/or bulb lighting, signals and so on. It's easy to guess that my 16x17 foot layout could require 10,000 feet of wire! And how many connections? Whoa...

Don Merz

Original Post

Replies sorted oldest to newest

Yep...just finishing up my 5000 feet or so on our layout.  It's nuts, isn't it?

But the future is coming.  There will be a day where you won't need that many wires.  Several folks on the forum here are experimenting with different battery techs, radio operations, phone-based apps that require no juice in the rails.  Surely similar tech will follow to get the juice out of the switches and accessories to a large extent.

In a generation, people will think it's crazy that we spent more half our time on a Trian set climbing around under a low table risking back and neck injury.

Less crouching = more fun as far as I'm concerned.


Good luck!

I was into about 3000' of wire when I received my first battery powered engine.

I had been laboring for a long time trying to get stuff wired while getting discouraged.  Due to the complexity of scores of turnouts, sidings, blocks, sub panels, etc. it was never a matter of attach two wires and run trains.

In the midst of it all a friend of mine offered some advice, "Just get a battery R/C unit and have some fun while you are doing the wiring".

Wow!  My RR was actually, finally FUN!

Well I wrapped up wiring the primary routes but all my minor branch lines never progressed beyond the initial feeder drops.

I have enough battery powered motive units that I may never run another length of wire.

This is the bottom of a 4' X 13' peninsula with what including the connecting module would normally be 14 blocks and 12 pair of points:

IMG_9637
Note the empty wire management holes...

Battery powered Geeps, K4s, John Wilks,  RDCs and Doodle Bugs will service this town.

IMG_9697

All hand thrown points:

IMG_9698

IMG_9699 [2)

The initial module is also wireless.

Shade tree photos 006
The padded handles were for carrying early on when this was a show display.  I recycled my old display modules into today's RR.

Attachments

Images (5)
  • IMG_9637
  • IMG_9697
  • IMG_9698
  • IMG_9699 (2)
  • Shade tree photos 006
Last edited by Rich Melvin
@Tom Tee posted:

John,  Smoke,  choo choo chug ,  blow down, or diesel prime mover sounds, ditch lights, running lights, marker lights,  etc are all available with wireless.

Wireless systems are open platforms to receive any companies sound and accessory decoders/features.

Tom, are you offering to finance the conversion of 100+ locomotives to wireless operation?  They already run fine on powered track with full features.  As far as all those features being available, I have yet to see any of the threads here doing a full conversion that offers features I have on my Vision Line BB or Challenger.

Like most of us, the underside of my layout has a huge number of wires. Thank God I kept good wiring diagrams! When I run battery powered locos, it all becomes trivial. I am planning to convert all the turnouts and operating accessories to wireless control. Wish I knew a way to provide power to the  accessories which will be required even with wireless control. Well, maybe a few wires are OK.  It seems inevitable that this is the way serious train modelling will eventually go, so why not start now?

It's amazing how layouts eat up wire. In my former life I worked in new construction as an electrician. I wired thousands of homes in those years and an average size single-family home used between 2,000'-3,000' of wire.

Big difference is the number of different systems we need to run power for. Often 2-3 sets of wire can go to the same location- ex- a typical siding would have wire for turnouts, block power, uncouplers, track bumpers, etc. Then throw in lighting and scenery and you can total up 100' + in a blink.

I'm with Mike CT and use multi conductor cables where ever possible. I have lot's of old telephone, Cat 5, and control cables from my contracting days and they are all in use on my layout. Power drops are larger gauge speaker wire.

Bob

Last edited by RSJB18

All the runs to my DZ-2500 switch machines are CAT5 cable, that also gives me several spare conductors coming back to my power panel.  Runs to my fascia mounted siding control switches are also CAT5 cable, they just switch control power to the relay boards on the power panel.  What really eats up the #14 track power wire is the home runs to accommodate DCS star wiring!

The CAT5 wire is a good idea. GRJ--do you crimp the ends or buy the wires pre-made? I had bad experiences trying to crimp RJ45 ends. But I am planning to use RJ45 for my signals--ugh.

Don Merz

Don- I gave up on trying to make up RJ45's years ago. I use punch-down blocks or female cat 5 jacks. I purchase patch cables when I need them. Simple splices work often too.

Bob

I do have the tool and plugs for CAT5 cable, but not needed in this application.

I used punch-down blocks at the main panel and the other end of the CAT5 cables are connected to the CSM2 Breakout Board terminal blocks, no RJ-45 plugs in sight.

The blank block is for the switches coming for my industry sidings and the 8-track freight yard that is yet to be built.

Attachments

Images (1)
  • mceclip0

RSJB18--So far I am wiring on my junk box wire. We will see how far it goes. I am a ham radio guy in my other life and I have a ton of 50 ohm and 75 ohm coax here. I was wondering if there was any way to use it. But 2-conductor heavy wire is not that useful. I am using wire markers to number and label the wires. My color coding is a bit scattered but I think I have it under control--and written down.

Two things I am doing that might be useful to others are 1) I use shower curtain hangers to hold the wire runs. This keeps the wiring grouped and orderly. Many runs will ultimately go through each hanger. 2) I use junction boxes but I also use copper-clad boards segmented (with a dremel grinder) as intermediate connection points. The copper clad solders to really well and it takes seconds to add a connection. I almost wish I had used the copper clad instead of my junction boxes. But too late now...

Pix of boxes, IMG_0911IMG_0912IMG_0913IMG_0914copper clad,  hangers and tools of the trade attached.

Don Merz

Attachments

Images (4)
  • IMG_0911
  • IMG_0912
  • IMG_0913
  • IMG_0914

I won't win any super-neatness awards, but I just ran the switch and track wiring through the Mianne I-Beams and labeled them so I could trace them there.  All the CAT5 cables got labeled with the switch # they controlled, and the track power drops with initials of what they were powering.

I decided not to post a picture right at the panel, it got pretty "busy" there, and might scare folks.

Attachments

Images (2)
  • mceclip0
  • mceclip1

Doggone it GRJ, you might win some neatness awards! That looks pretty sharp to me. I REFUSE to go under the layout unless it's positively necessary. So I do nothing under the layout. Everything is at the layout edges so I can work beside the layout. It can make wiring runs a bit longer. But this thing is small--only 16x17 so I don't worry about slightly longer runs.

Don

Cat 5 for low current signal wiring along with #66 punch down blocks is the cleanest way to go.  the other end of each cat-5 cable is terminated in an 8/10 pole screw terminal block.  In addition we ran 2 conductor #18 cables to many distribution blocks under the layout for lighting.  we run over 60 amps of lighting.  The silver satin wiring is to the Custom Signals devices and there is over 5000' of that alone.

I estimate we used 1000' of #12 outdoor lighting wiring for the track power (star distribution)

we used approximately 5000' of cat 5 for signaling purposes and general distribution.  All ties to blocks at the back of the layout

2000' #18 dual conductor for lighting

And of course the silver satin which all terminate in RJ-12 connectors at both ends

dick

IMG_0571IMG_0572

Attachments

Images (2)
  • IMG_0571
  • IMG_0572

George--looking at your wiring plan, I have easy questions. Why do you have separate wires in different colors going to the outer rails? I am just connecting my outer rails together. Also, what is that BLUE TMCC note? My TMCC base is really just "one wire" connected to the ground side of my 3 TIUs and the grounds of all channels on all TIUs are electrically tied together. I think what I have done is good enough. But I am never sure.

Don

This layout is small--16x17. It is really all I can handle. I can't imagine building one of those huge, basement-filling layouts in the magazines. Yipes!

I'm with you here.  I have 12 x 24, and I'm sure it's going to occupy all the time I can devote to attempt to "finish" it in my lifetime.   While I can dream of a huge layout, in truth I believe this is all I can handle, and maybe even a bit more than I can handle!

Whoa George--You are the MAN! Way to plan! You have "Eastern" and "Western" power districts?  Yeesh. This layout is small--16x17. It is really all I can handle. I can't imagine building one of those huge, basement-filling layouts in the magazines. Yipes!

Don

Actually, there are 8 power districts .  I've split them into a Western grouping (Steubenville, OH which is on the western shore of the Ohio River) and an Eastern grouping (Weirton, WV which is on the eastern shore of the Ohio River).  The layout is 47' x 11' and, at times, can seem quite daunting.

George

George--looking at your wiring plan, I have easy questions. Why do you have separate wires in different colors going to the outer rails? I am just connecting my outer rails together. Also, what is that BLUE TMCC note? My TMCC base is really just "one wire" connected to the ground side of my 3 TIUs and the grounds of all channels on all TIUs are electrically tied together. I think what I have done is good enough. But I am never sure.

Don

OK, easy answers:

  1. The Black wire is ground.  The Green wire is used for insulated rails at various points (where needed).  The outer rails are not tied together.
  2. The Blue TMCC note is probably a bit misleading.  I do have the TMCC wire running to all the ground wires of all 8 power supplies on their way to their respective district tracks.  It's overkill, pure and simple.  One TMCC wire would do it.  But do note that all grounds are tied together, including the accessory transformers.  I'm sure what you've done is just fine.


You can follow the layout building thread "PRR Panhandle Division 2.0" on the Photo sub-forum.

George

Last edited by G3750

John, Your comment is right on as to the expense of conversion.  Comparing the embedded factory bells and whistles  to an $XXX expense  per engine to go battery RC, can be a real stumbling block.

I know that as a DC operator, early on I did consider DCC.  At the time I had 63 engines and the math was overwhelming.

However, The wiring on my way-to-large RR was equally overwhelming in how it was dragging on.   That's when I got my first R/C.

Battery R/C comes in may iterations.  From a basic $99.00 Piko system to $300+ bells and whistles set up.  Our local R/C plane store will do an locomotive complete with system, controls , battery  installed for about $125.

Getting older, tired & sore with diminished ambition,  The R/C was the answer for me.   I still have an array of PS-2 & 3 equipped locos which are enjoyable, but the satisfaction of not having to wire the peninsula additions is a welcome trade off.

Plus I got rid of several excess locomotives to off set the conversions.

It'll be very hard to teach this old dog that new trick.  I understand the attraction for some folks, but I'll stick with the wired layout.  After all, I have all the basic stuff done.   Also, many of my switches are not easily accessed by hand, so I'd be wiring at least half of them anyway.  I still have to wire stuff like building lighting, accessories, signals, etc.  I just don't see saving track wiring as all that big a deal, certainly not big enough to blow up my whole fleet of locomotives for battery power.

RSJB18 and GRJ--I like your RJ45 solutions and I will be using them. For something like the RJ45 female sockets, or pre-made cables, where is a good source? I saw some at All Electronics I think...

Don

Both Home Depot and Lowes carry a good selection of tel/data wiring components. If you have a electrical supply house nearby they would have most of what you need too.

Bob

John,  I wholeheartedly agree with your approach considering the size of your loco roster. your layout size, your desire of full features, and most of all your ability.

Your layout's well worked out design makes more sense than my own in several ways.  Your layout's end game is much more attainable than mine.

Mine is just growing like ivy meandering around the basement to five different destinations.  I should have started this one 20 years ago.

Last edited by Tom Tee

GRJ--The reason I went with the DZ-2500 is their small size. I knew I was never crawling under the layout--not with these remains of what used to be a decent human body--so all the switch machines will be visible--just like old-fashioned Lionel!

Don

I totally understand your decision.  The rock-solid Tortoise machines would probably be the best solution, but they are not TMCC addressable and installing 40+ under the layout didn't have any appeal for me.  My DZ-2500s will be on top of the layout, but I will disguise them with pieces of paper or cloth to which ground cover or brush has been applied, or something similar.  I'm still working that detail out, but not worried about it.

George

GRJ--The reason I went with the DZ-2500 is their small size. I knew I was never crawling under the layout--not with these remains of what used to be a decent human body--so all the switch machines will be visible--just like old-fashioned Lionel!

Under table switch machines would have taken a lot more time, truthfully I just didn't want to spend the amount of time it would take to use the Tortoise switch machines, my top choice for under table models.  It's the same reason I have the Atlas turntable, it installed in a flash where other turntables would have been structural work and a lot more time to support the pit and get it installed properly.

One aspect of the DZ-2500 that I like is the indicator of switch position on each switch, I can see at a glance if a route is proper.

I'm in the middle of this as well.  I just finished installing the last two tortoise machines (14 total) and building my first (prototype) control panel.  Thankfully, there is  no more guessing if points are nailed to the stock rails or not when the switch is thrown.   I only run Legacy and Conventional (no dcc, dcs etc) and layout is only 7' x 21' so it wasn't bad at all.  Next up LED Signals.

Add Reply

Post

OGR Publishing, Inc., 1310 Eastside Centre Ct, Suite 6, Mountain Home, AR 72653
800-980-OGRR (6477)
www.ogaugerr.com

×
×
×
×
Link copied to your clipboard.
×
×