New one here to 2R and brass and I'm finding the whole process of adding or changing out trucks to be confusing.  Not so much as to what truck is prototypically correct, but how does it get attached to the car, what method to use, bolster or no bolster, shoulder screw or not, etc?  Some cars have real bolsters, some none, some just a center sill with a threaded plate, etc.  Then on to the trucks - the ones from Protocraft and American Scale Models are to die for and I'd standardize on these two alone if I could figure out to mount them in a standardized way.


Would the experts be willing to share some of their knowledge and techniques with those of us just entering the realm?


thanks...gregg

Original Post

Replies sorted oldest to newest

Unfortunately the cars are often quite different.  


However, if you stay with 2 rail cars, for at least a generation, the heights of truck bolsters and car bolsters have followed the NMRA recommended practice or standard (I'm not sure which it is).   This means that if you swap out trucks, the height of the car and and coupler height etc, will all stay the same.     On the cars made for 3 rail by MTH, Lionel, and Atlas, this is not the case.    These manufactures have made bolsters  on the car much thinner to allow for their big couplers to mount on the trucks.   and each of these used a different design, so they are not interchangable.


unless you can see the underside of the car on the layout, ie the layout is over your head, it is often not worth putting too much effort into the underside details.   If is a special car and you want to do super job, you can do all that detail.


As for mounting, most of the brass probably uses a metric size screw in the car bolster.    Most of the use made kits and builtups including Weaver use a 2-56 screw.    Again of the cars made for 2 rail originally, you can often reuse the screw provided with different trucks because of the standards.   


PSC makes bolsters and trucks and sells screws for truck mounting.


For operation, I really like the Weaver and Athearn Delrin trucks.   They roll really well and are equalized (they flex for uneven track).   I have put Intermount steel wheelsets in some and that is a nice way to go.   The Athearn are the nicest since they use real springs.   Athearn sells Archbar, Andreews, Bettendorg, and roller bearing trucks.  


The various brass trucks are very nice as you say.   You do have to be careful, because some of them have knife edge flanges and will pick switch points and track joints.     I had some recently that were gorgeous models of  Pennsy prototypes that had full brake rigging.   The problem was that the brake shoes hit the wheel treads in some places and shorted out.    


That is sort of an overview.


Gregg,

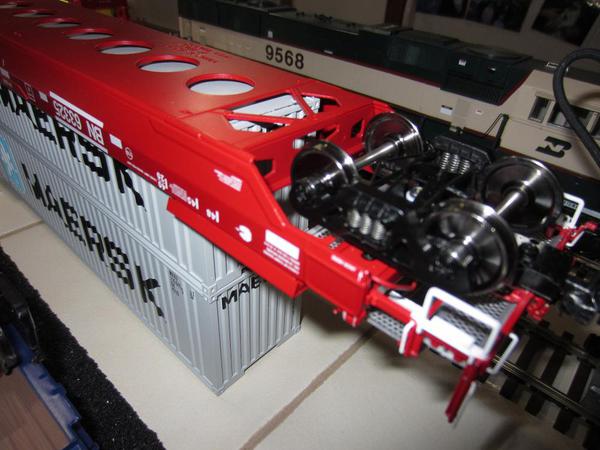
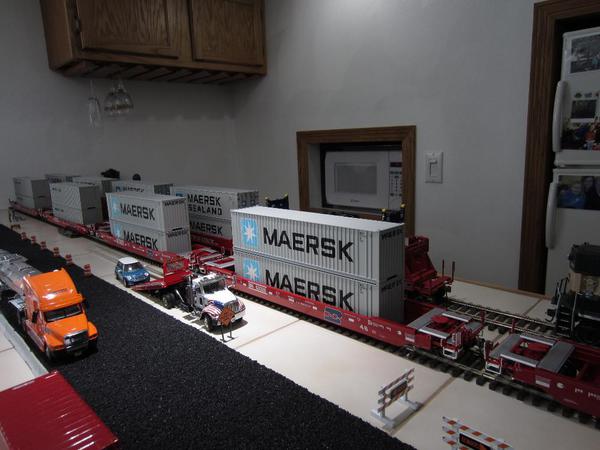
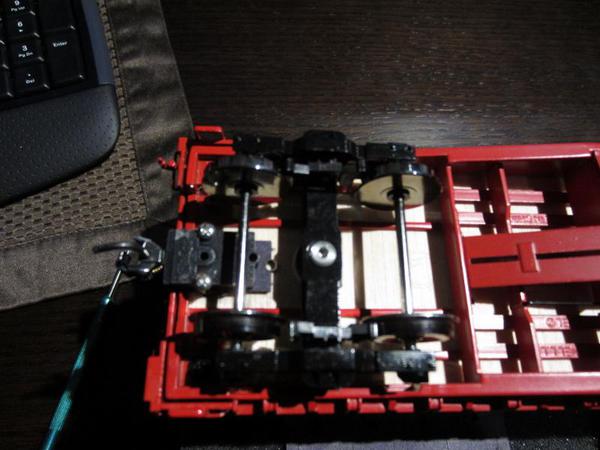
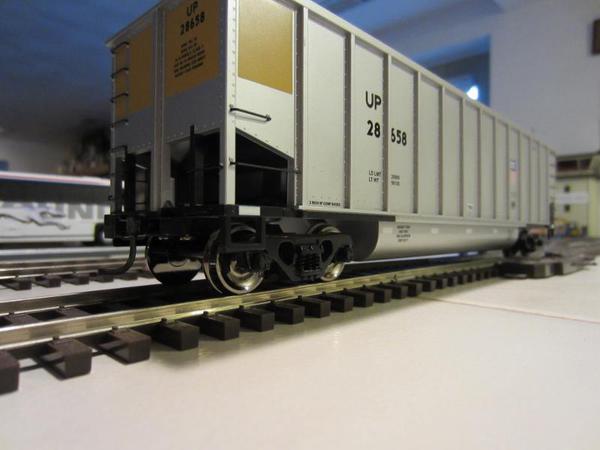
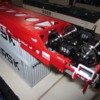
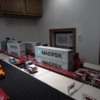
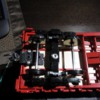
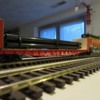
I have converted Lionel, MTH & Atlas 3-rail cars to 2-rail using Protocraft, Atlas or MTH trucks. Each car required a different fastening scheme depending on the manufacturer of the 3-rail car & the chosen 2-rail truck. It is my opinion that the recently made Lionel cars are the best for conversion. You have a much wider selection of trucks or as some others have suggested on other posts, you could just swap the wheels. Here are some images of a Lionel Husky car with Protocraft rucks, a Lionel flat car with Atlas trucks & MTH coalporter with Atlas trucks.

These are just my opinion,

Thanks,

Naveen Rajan

IMG_3939 [1024x768)

IMG_3904 [1024x768)

Slide4

IMG_3728 [800x600)

IMG_3731 [800x600)

IMG_3112 [800x600)

IMG_3109 [800x600)

Attachments

Images (7)
  • IMG_3939 (1024x768)
  • IMG_3904 (1024x768)
  • Slide4
  • IMG_3728 (800x600)
  • IMG_3731 (800x600)
  • IMG_3112 (800x600)
  • IMG_3109 (800x600)

I have been using Athearn Bettendorf trucks with Intermountain wheel sets (plated brass) for about 20 years with very dependable results. I secure the trucks with either machine screws or self-tapping screws whose heads I have modified to fit into the mounting hole cast in the Athearn truck bolster by reducing the diameter of the screw head enough to get a loose fit inside the cavity at the bottom (there is a slight taper - top to bottom- from the casting process). I prefer this method to the common plan of using a spring compressed by the mounting screw against the bottom of the hole in the truck bolster, primarily because it allows me to greatly reduce the play in the truck mounting and to stop the cars from rocking and quivering on the track. I usually snug up one mounting screw so that the truck will swivel freely but not rock, and then leave a little more play for the mounting of the other truck. I have never had any problems with derailment due to insufficient range of motion.


As for inconsistent bolster heights, I have an assortment of freight cars from different manufacturers on my layout with bolsters of varying heights and materials, some wood or plastic, while others are metal tapped either for English or Metric threads. My "eyeball" approach is to shim (or trim) as necessary to get the car sitting at a good height with respect to the trucks (photos help here) and then to place the couplers in accordance with an NMRA gauge. I also remove the small collar on the top of the Athearn truck bolster in order to get a little larger area of contact with the bolster of the car. Loc-tite is also useful for securing machine screw threads when you can't get the screw itself to bottom out. If you can get the screw to bottom out, then you can adjust the length of the screw so as to be a perfect fit with no extra play.


Another little trick I've used successfully with USH cars (which usually have a screw that

is threaded only for a short distance at the end, so that it can bottom out and be used with a mounting spring) is to use a thin washer between the head of the mounting screw and the bottom of the truck bolster, with the length of the mounting screw adjusted so that when it is bottomed out in the body bolster (either the old strap type or the moulded-plastic kind) the washer bears lightly against the bottom of the truck bolster and prevents rocking. The thin red and gray fiber washers from KD are often just the right size and thickness to accomplish this. I paint the Athearn trucks and the Intermountain wheel sets with Krylon Ultra Flat Camouflage brown and then dust them with a little rust powder for a good effect.


I've settled on this system for all my freight cars, and I'm happy with the results. And I

need only a small range of screws and washers in my parts box to tackle almost any

conversion project. I chuck the mounting screws into a small drill press in order to reduce the head diameter using a small file, and test for fit either against the truck bolster mounting hole itself or against a dial caliper. I really enjoy watching a long train roll

down the main line with nary a wobble or wiggle or shake in the whole bunch!


I hope this is helpful, or gives you some ideas about ways to tackle the problem.


Originally Posted by B Smith:
 
Perfect advice in everyway IMO, I do exactly the same. I do have several brass suppliers trucks and Atlas O trucks too, all my wheel sets are brass suppliers, Atlas O or mostly Intermountain. All couplers KD.
 
All problems solved!
 
ncng

I have been using Athearn Bettendorf trucks with Intermountain wheel sets (plated brass) for about 20 years with very dependable results. I secure the trucks with either machine screws or self-tapping screws whose heads I have modified to fit into the mounting hole cast in the Athearn truck bolster by reducing the diameter of the screw head enough to get a loose fit inside the cavity at the bottom (there is a slight taper - top to bottom- from the casting process). I prefer this method to the common plan of using a spring compressed by the mounting screw against the bottom of the hole in the truck bolster, primarily because it allows me to greatly reduce the play in the truck mounting and to stop the cars from rocking and quivering on the track. I usually snug up one mounting screw so that the truck will swivel freely but not rock, and then leave a little more play for the mounting of the other truck. I have never had any problems with derailment due to insufficient range of motion.


As for inconsistent bolster heights, I have an assortment of freight cars from different manufacturers on my layout with bolsters of varying heights and materials, some wood or plastic, while others are metal tapped either for English or Metric threads. My "eyeball" approach is to shim (or trim) as necessary to get the car sitting at a good height with respect to the trucks (photos help here) and then to place the couplers in accordance with an NMRA gauge. I also remove the small collar on the top of the Athearn truck bolster in order to get a little larger area of contact with the bolster of the car. Loc-tite is also useful for securing machine screw threads when you can't get the screw itself to bottom out. If you can get the screw to bottom out, then you can adjust the length of the screw so as to be a perfect fit with no extra play.


Another little trick I've used successfully with USH cars (which usually have a screw that

is threaded only for a short distance at the end, so that it can bottom out and be used with a mounting spring) is to use a thin washer between the head of the mounting screw and the bottom of the truck bolster, with the length of the mounting screw adjusted so that when it is bottomed out in the body bolster (either the old strap type or the moulded-plastic kind) the washer bears lightly against the bottom of the truck bolster and prevents rocking. The thin red and gray fiber washers from KD are often just the right size and thickness to accomplish this. I paint the Athearn trucks and the Intermountain wheel sets with Krylon Ultra Flat Camouflage brown and then dust them with a little rust powder for a good effect.


I've settled on this system for all my freight cars, and I'm happy with the results. And I

need only a small range of screws and washers in my parts box to tackle almost any

conversion project. I chuck the mounting screws into a small drill press in order to reduce the head diameter using a small file, and test for fit either against the truck bolster mounting hole itself or against a dial caliper. I really enjoy watching a long train roll

down the main line with nary a wobble or wiggle or shake in the whole bunch!


I hope this is helpful, or gives you some ideas about ways to tackle the problem.


Add Reply

Post

OGR Publishing, Inc., 1310 Eastside Centre Ct, Suite 6, Mountain Home, AR 72653
800-980-OGRR (6477)
www.ogaugerr.com

×
×
×
×
Link copied to your clipboard.
×
×