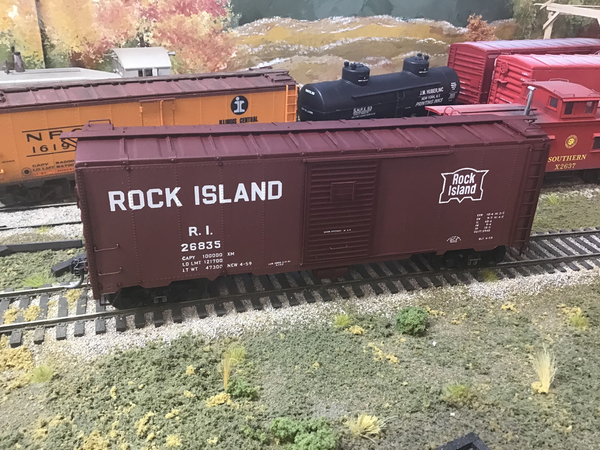
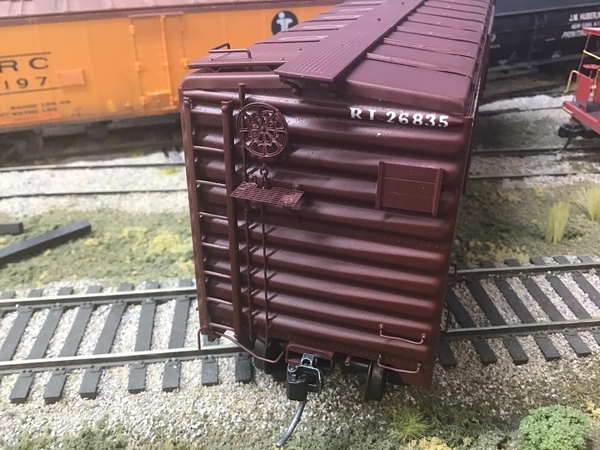
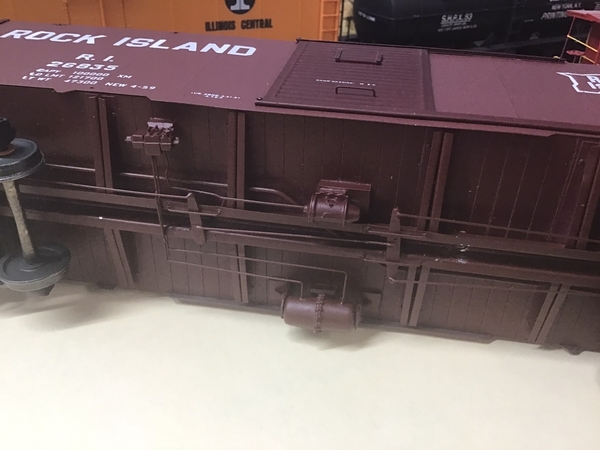
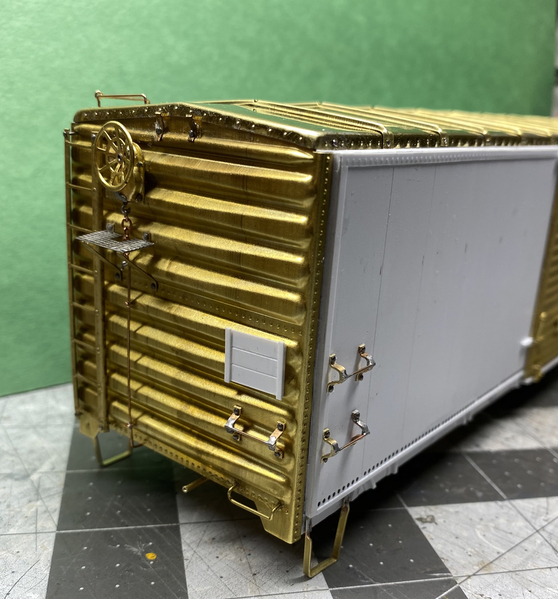
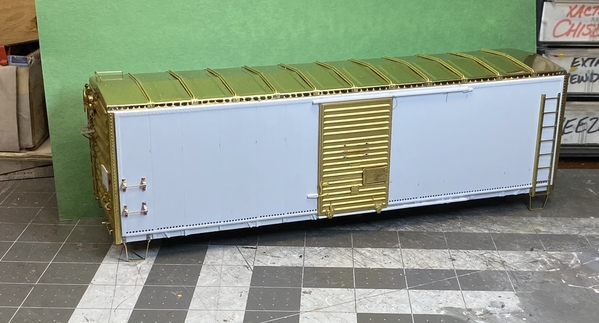
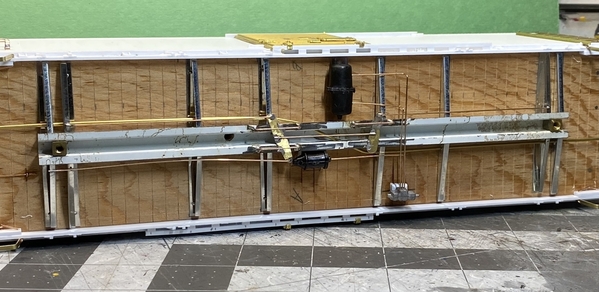
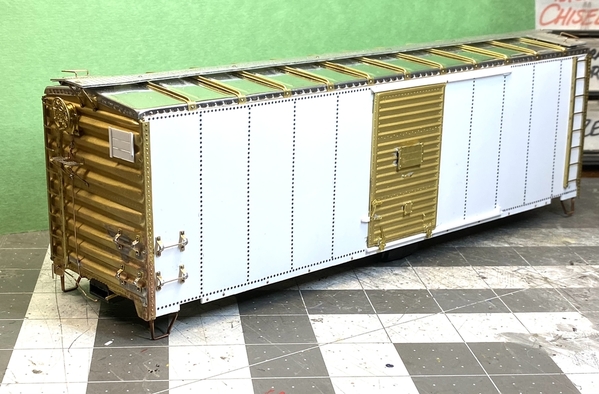
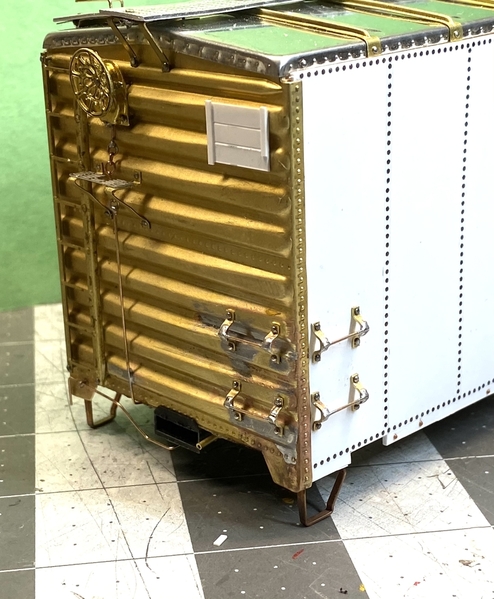
Thought I'd share a couple cars that I've done here...

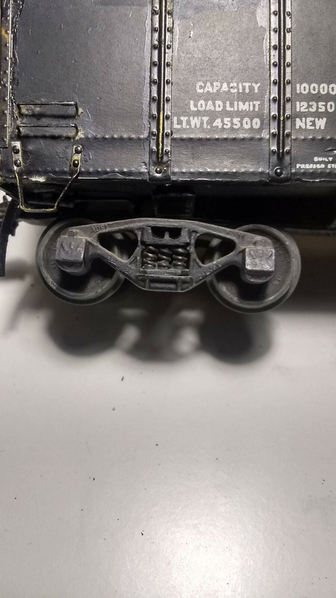
Here's a Thomas Industries caboose I restored a while back. It's three rail, but I'm pretty sure they also produced a two rail version. It was my first attempt at painting one of these old kits, so the paint didn't come out perfect, but it's not bad - you can see where the paint had chipped off the railings in places.

Here's how I got it. It was complete except for the chimney.

And here's after repainting:

I've since gotten a replacement chimney, but I haven't installed it yet.

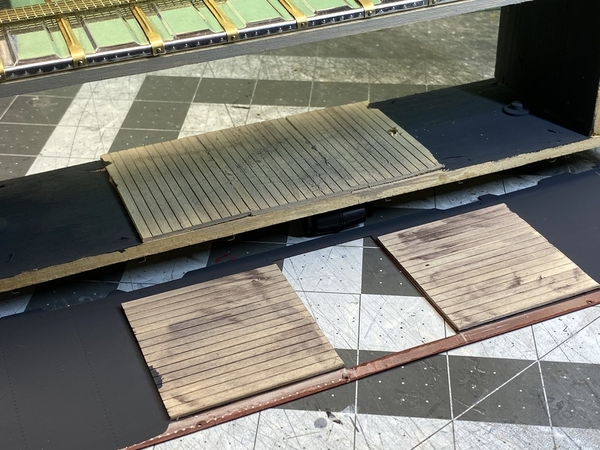
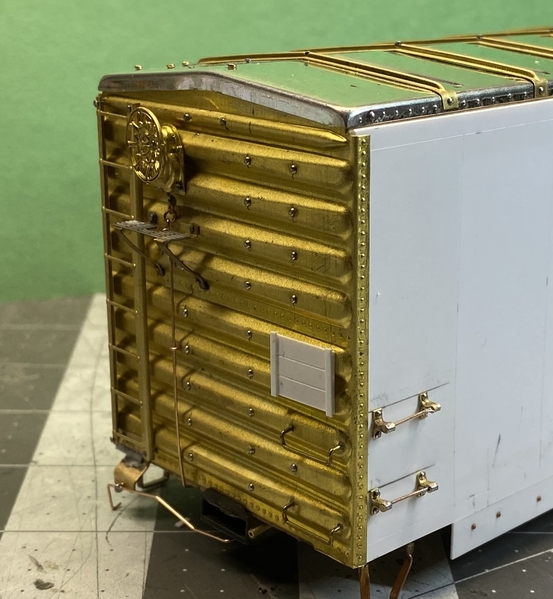
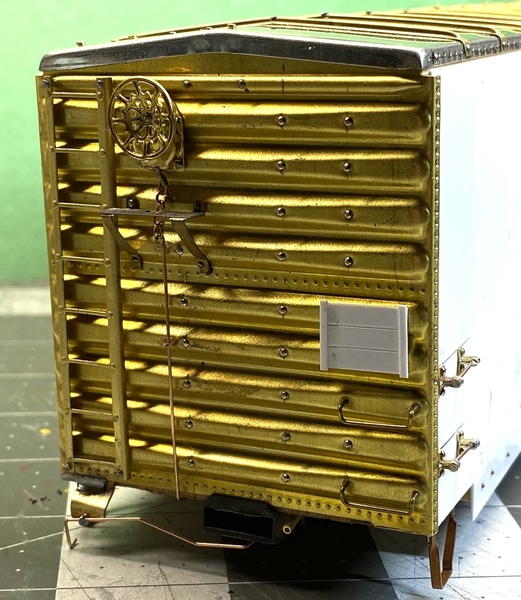
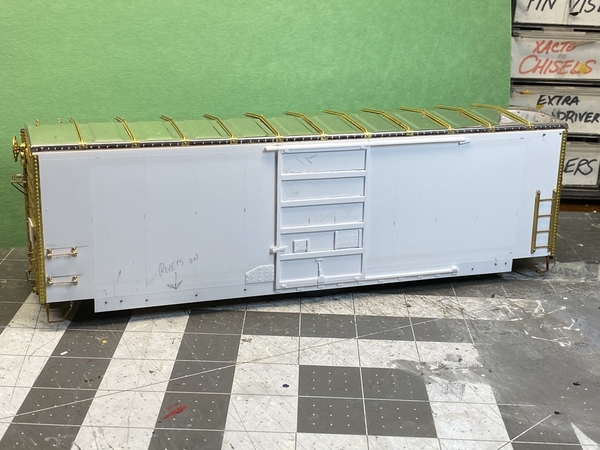
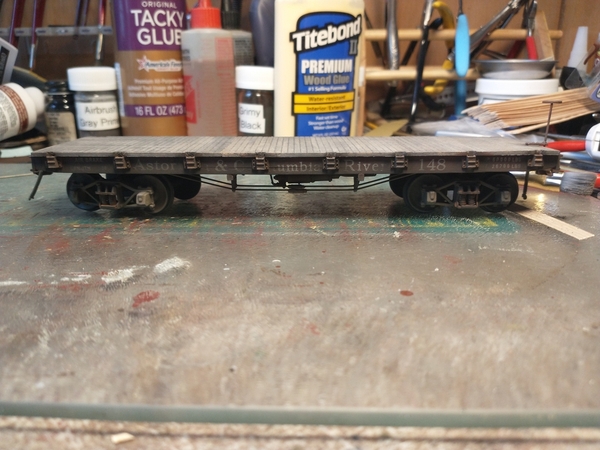
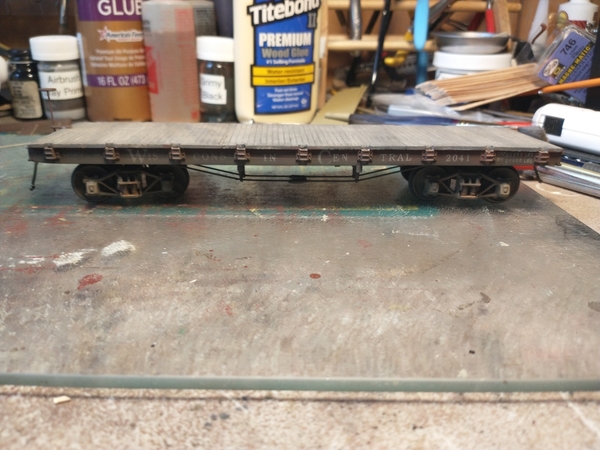
And here's an old Walthers flatcar I assembled, it turned out quite nice. I decided to stain the wooden deck, which while turning out darker than I wanted, looks pretty nice. I installed a set of Auel trucks on it that were taken from an old boxcar I had.

Attachments

Images (4)
  • mceclip0
  • mceclip1
  • mceclip2
  • mceclip3

OK ! So that is NICE  !!!!   I always have liked to see these older cars upgraded ---once in a while , you see one that has really been gone through but not generally comparable to what you are doing .  These things will last a long time ,  so I'd like to see you make up some builder's plates or sign them some way underneath --They really should be sighed when you get to this level of craftmanship .  One car I have from the 6oties a guy had an engraving shop make tiny plates,  but others have 1/15th letter stamps or scratched in.  I have a New Hermes engraving panta graph & they are out there cheap because all that stuff is being done on CNC now.  Great job and thanks for showing us  ! Kind regards, JJ   

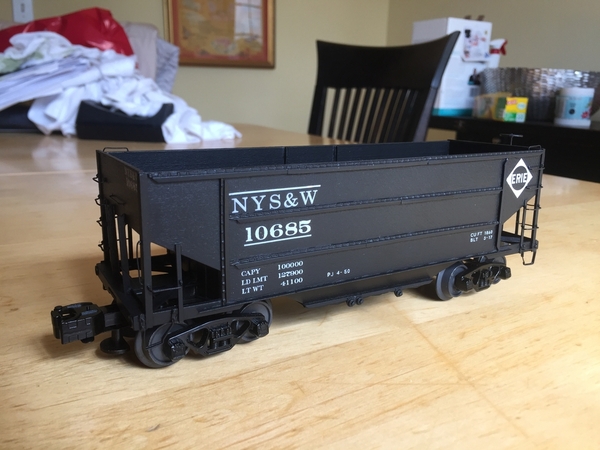
Here's my own completed Ambroid horizontal rib hopper, done up with New York, Susquehanna, & Western markings. I've modified and detailed many plastic models, and when I was little scratchbuilt several rudimentary models out of bass wood, but this one was my first craftsman kit. Scalecoat paint, K4 decals (the original decals fell apart on me, even with the microscale liquid decal film applied and set), Tamiya flat clear coat, and Weaver trucks completed the model. Forgive the high flanges and lobster claw - 2 rail may be in my future some day, but not today. 

NYS&W hopper 1NYS&W hopper 2NYS&W hopper 3NYS&W hopper 4

~C. Vigs

Attachments

Images (4)
  • NYS&W hopper 1
  • NYS&W hopper 2
  • NYS&W hopper 3
  • NYS&W hopper 4

It's a pleasure to see these recent pictures of kit-built cars. They're motivating me to get back to building and encouraging me to increase my skills.

The last big 2-rail Stout auction included a lot of three Lobaugh  J&L tank cars. The lot sold for $100. They showed up on Ebay shortly thereafter in separate listings spaced a bit apart in time - all as buy it now. The first sold for $49.95, the second for $59.95, and the third for $59.95. At the same time a built J&L tank car sold for about $65; it was painted but the decals were in poor shape.

When this thread was first started Erik Lindgren posted pictures of his J&L tank car. I was hooked; I wanted one. Though it's now 5 years since Eric posted the pictures, I never lost the urge.  So, I bought the 3rd J&L car. It hasn't yet arrived. Over the years I've built several craftsman kits, all wood with some metal or brass parts, but never a full brass kit. The J&L kit is going to be a real challenge for me. I'm hopeful the kit is complete; lack of good pictures on the listing didn't help.

The build link on the Victor wine car gave some good information on the brass car build process. It will help when I start the J&L car. The only other brass work I've tried was in the restoration of an early Japanese import K4. This was a build by Pioneer and marketed by KTM. When I stripped the paint I discovered loose solder joints on both large and small parts. It was a real struggle to get it back together. I left it unpainted (actually clear automotive urethane with flattener added) because I build for display only. Hopefully, what I learned from the K4 will help with the Lobaugh build.

Jim

p k4 unrestp k4 rest

Attachments

Images (2)
  • p k4 unrest
  • p k4 rest
@jjscott posted:

It's a pleasure to see these recent pictures of kit-built cars. They're motivating me to get back to building and encouraging me to increase my skills.

The only other brass work I've tried was in the restoration of an early Japanese import K4. This was a build by Pioneer and marketed by KTM. When I stripped the paint I discovered loose solder joints on both large and small parts. It was a real struggle to get it back together. I left it unpainted (actually clear automotive urethane with flattener added) because I build for display only. Hopefully, what I learned from the K4 will help with the Lobaugh build.

Jim

p k4 unrestp k4 rest

That looks beautiful. Did you post this project on this site?

Mark in Oregon

Mark, no, I did not post anything about the K4 restoration. My comment to myself when I finished it was, "I'll never do that again".

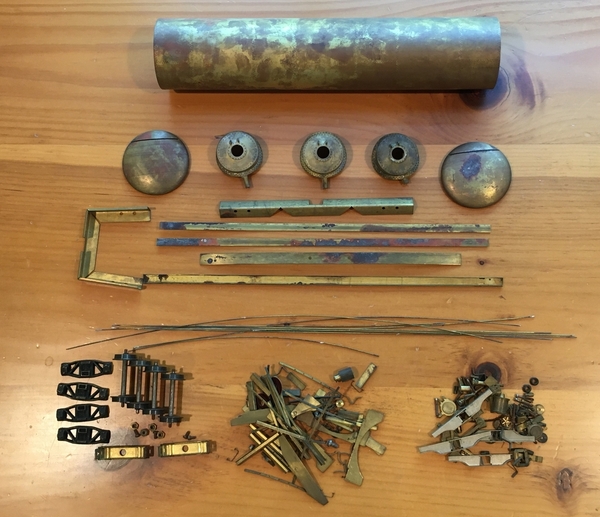
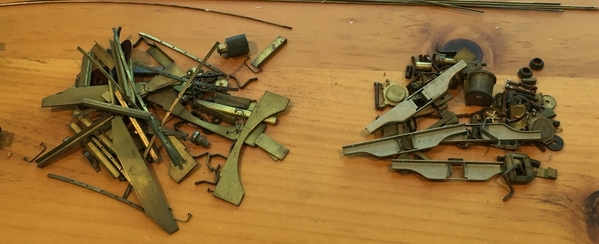
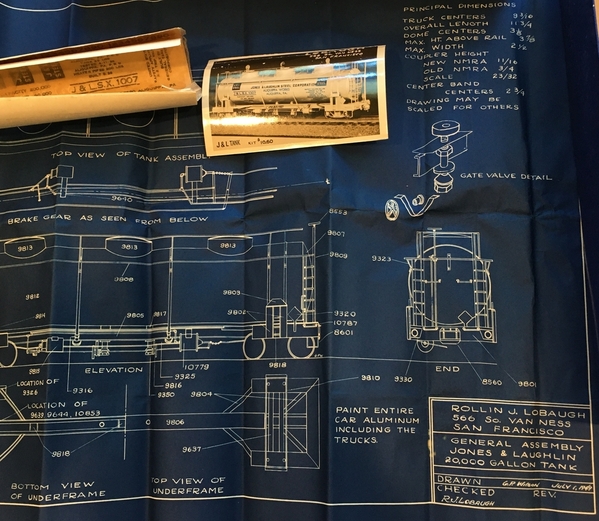
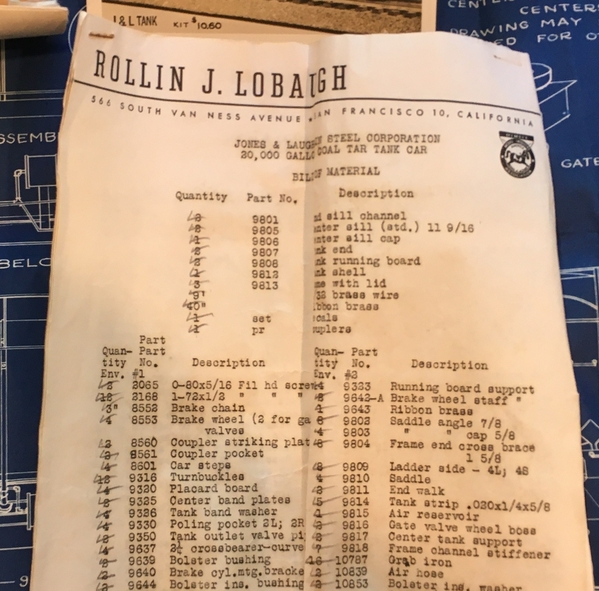
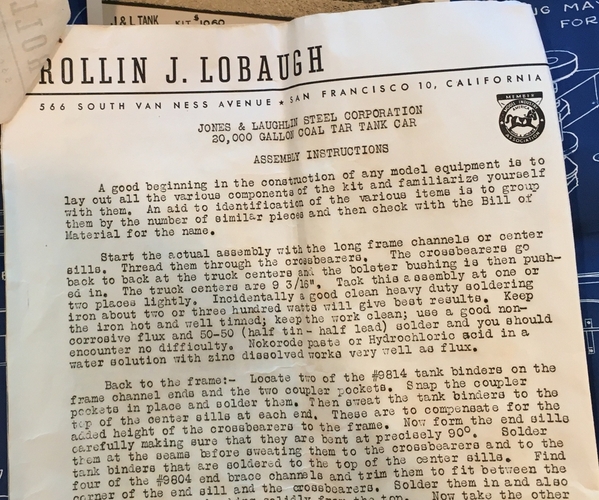
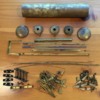
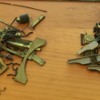
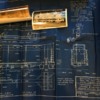
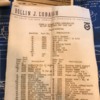
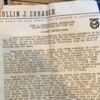
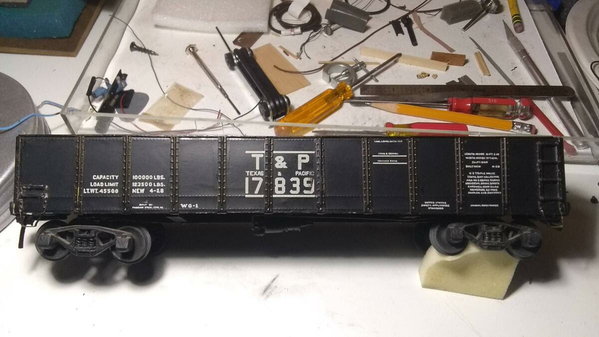
So, in today's mail the Lobaugh J&L tank car arrived. Pushing my K4 comment to the rearmost corner of my mind, I opened the box. The kit seems to be complete with instructions, blueprint and decals. It even includes arch bar trucks, which was a surprise. There are LOTS of parts. Lots of small parts. I'm a little less confident now than when I hit the buy-it-now button. It will be a challenge.

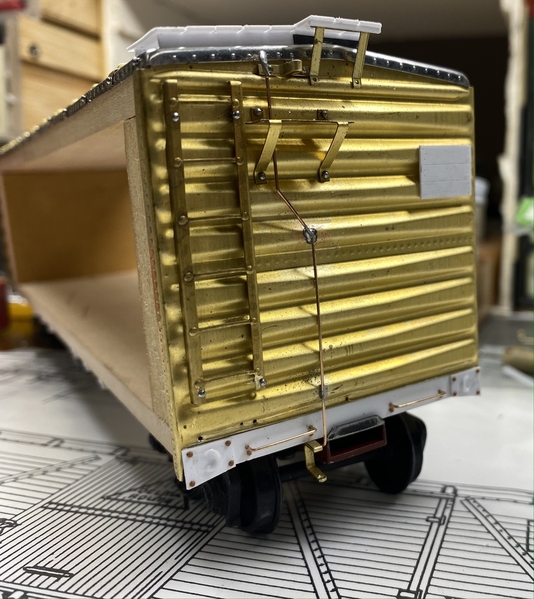
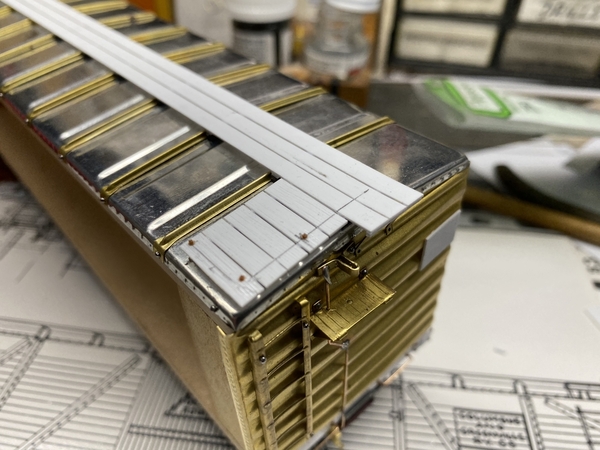
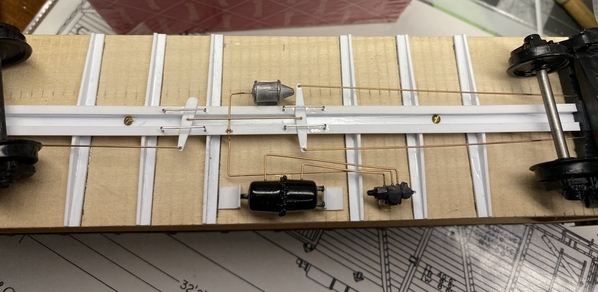
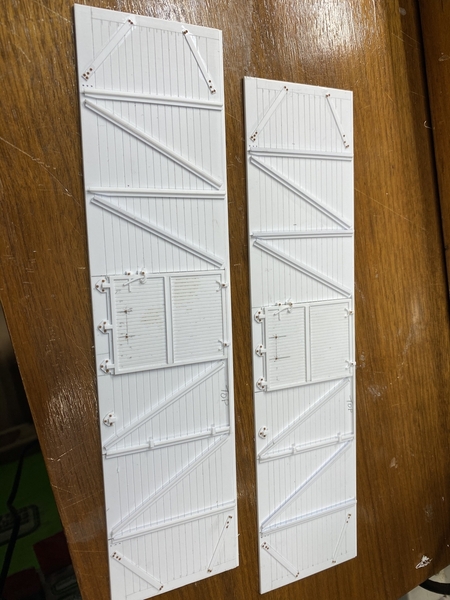
Here is what is in the box. Not pictured is a coil of flat wire.

Jim

lob 1lob 2lob 3lob 4lob 5

Attachments

Images (5)
  • lob 1
  • lob 2
  • lob 3
  • lob 4
  • lob 5

Hey Jim---With your background and crisp, clean model habits you should be fine.  Whenever I start soldering, I remind myself that if it is not perfectly clean , the solder will not flow--no matter how much heat you apply.  Most guys get in trouble when a joint does not flow usually because of oxidation caused by the heat and then get this hopeful idea that it will flow with a little more heat --The heck of it is, that sometimes that works...but other times, it just heats up other joints that fall apart or practically ruins parts .  If it won't flow right when it should,  I usually re clean and try again.  I always have electrical contact cleaner that i use for a final clean as well .  Looks like your parts could use a muriatic acid dip  and that is not hard or expensive . Electric toothbrushes are cheap now too and work pretty well with rubbing compound .   If you live around San Francisco, you could borrow my resistance soldering device --they really are wonderful because the heat can be concentrated right at the joint with no flame to dirty up the surface .   Regards, JJ Davies     

I used a vinegar and citric acid mix on the K4. It sort of worked but did not remove all the discoloration. I resorted to different grades of automotive rubbing compound and  Hoppe's #9 bore cleaner. This is what I planned for the tank car. Tell me more about the muriatic acid process. I do have half a bottle of it. The kit parts are badly corroded.

I explored making a home-made resistance solderer for the K4. It seemed possible, but for what was to be a one time use, I just used a variety of irons. I made them work, but I had a lot of frustration, problems and do-overs. I do have an acetylene welder and an aircraft torch, but it's sure to put out too much heat. I'll revisit the resistance solderer - but only if I can make one.

Thanks for the suggestions. Jim

Looks like a good kit!  Try Barkeepers Friend first.  Muriatic acid will clean it in a hurry, but might be overkill.

I would get a new 80 Watt iron, new flux, and some 60/40 solder.  If you keep it away from motors, steel wool is great just before fluxing.

A pencil tip propane bottle is good for castings, and if you are really careful, grab irons.  Oxy-acetylene will destroy the temper of the brass, and ruin your model.

I think arch bars are the proper trucks for the J&L.

@bob2 posted:

Looks like a good kit!  Try Barkeepers Friend first.  Muriatic acid will clean it in a hurry, but might be overkill.

I would avoid muriatic acid - just hydrochloric acid - the vinegar/citric should be adequate given time and patience.  Regardless of which, you still have to neutralize and removed / clean after their use.

A pencil tip propane bottle is good for castings, and if you are really careful, grab irons.  Oxy-acetylene will destroy the temper of the brass, and ruin your model.

A pencil tip is all that I generally use anymore for almost everything.

I think arch bars are the proper trucks for the J&L.

I'd suggest looking for a few prototype photos regarding trucks.

Hi Jim--  Some discussion about muriatic acid vs hydrochloric,  but it was my understanding that muriatic was essentially just diluted hydrochloric acid.   The Muriatic  dissolves the tarnish , but like rust, tarnish may leave a less than smooth surface . I have not encountered brass that was so badly  tarnished that this was a consideration.  The age and dilution of the acid will dictate how long you should dip just try it .  It smells bad and must be done outdoors, but it does make the parts bright again. The acid must be washed of completely.  If there were paint or other metals that cannot be separated  , then media blasting would be in order (or stripping first)   No dipping insulated drivers .

I use resistance , electric irons and torches.  Brass cannot be heat hardened , it gathers hardness from working such as rolling.  It can be softened by heating  500 F to 1200 F degrees.  What Bob said was true, that over heating can cause the brass to go completely soft , but some of this is unavoidable unless using very low heat solder. But low heat solder is not the strongest . The old adage of using high heat solder to start and low to end will help prevent previous assemblies from re-kitting  which sounds funny until you droop all your cab joints putting on the last grab iron  (Don't ask) . But,  I do like to have enough energy to heat and flow parts fast before the heat migrates and then quench with a wet rag.  Pre-soldering has been most useful for me . Just coating a surface and even scarping excess away before joining and heating. Flames will always oxidize brass quickly. heat from back if possible, or reclean and start over if it burns -as soon as discoloration happens the chances of a good flow go way down.      Some operations like bending caboose ladders require dead soft brass . a rule of thumb is a when carbon from a torch smudge burns off you are at about 700 F , and should be soft enough.    I like steel wool too, but let's have everyone understand that steel wool is shipped after being sprayed with oil to prevent it from rusting and must be washed with acetone before some soldering or water based paint.  You should have a rivet press, this adds a whole new dimension to upgrading these old kits and even can be used to go over weak rivet impressions .  Finding small gauged solder is not that easy --I bought a ridiculously cheap wire drawing plate on Ebay , and not only now can make ALL the brass wire sizes I need , but I drew some solder through it and although not super easy, was able to take regular sized solder and make micro size --and best of all, you wind up with twice the length !  also, drawing brass wire through it straightens it out perfectly and even hardens it --I should have gotten one long ago ....

Regards, JJ

Add Reply

Post

OGR Publishing, Inc., 1310 Eastside Centre Ct, Suite 6, Mountain Home, AR 72653
800-980-OGRR (6477)
www.ogaugerr.com

×
×
×
×
Link copied to your clipboard.
×
×