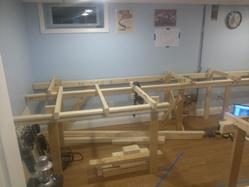
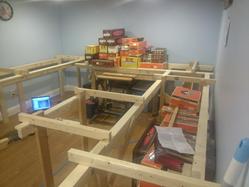
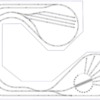
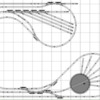
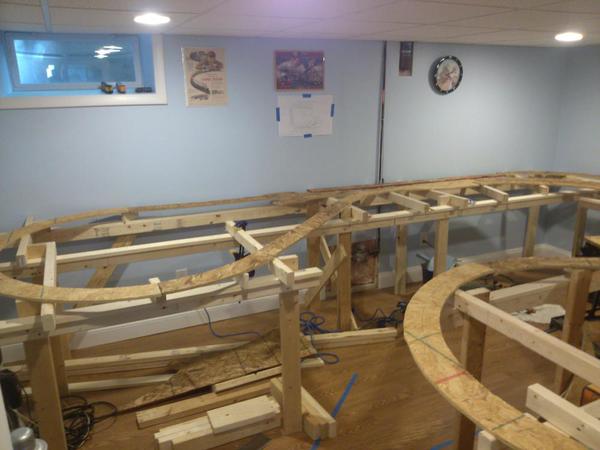
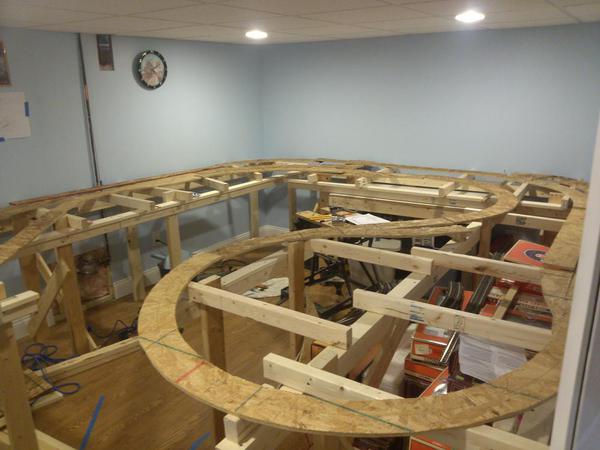
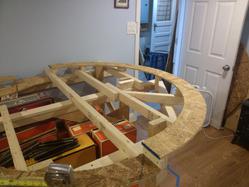
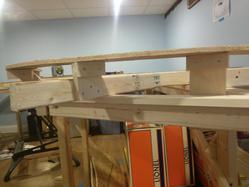
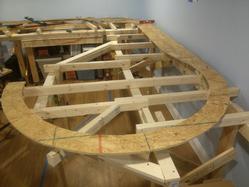
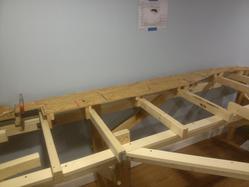
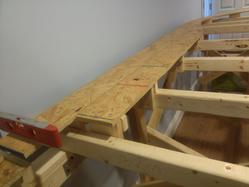
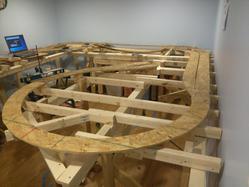
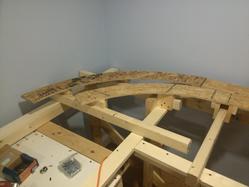
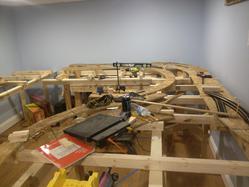
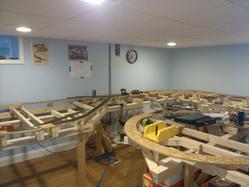
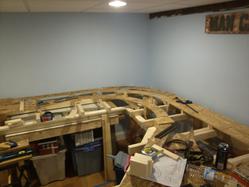
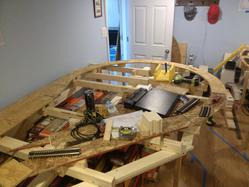
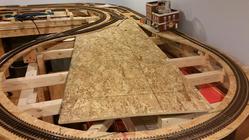
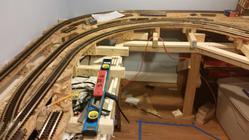
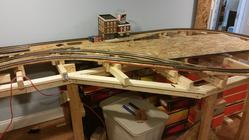
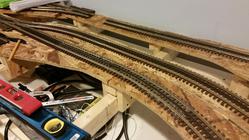
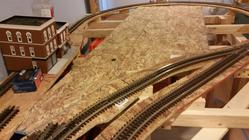
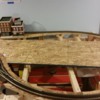
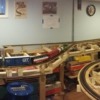
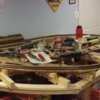
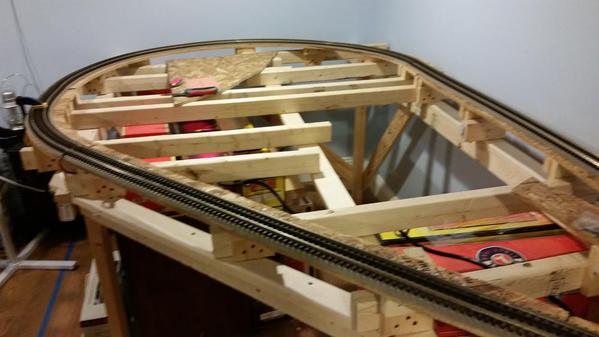
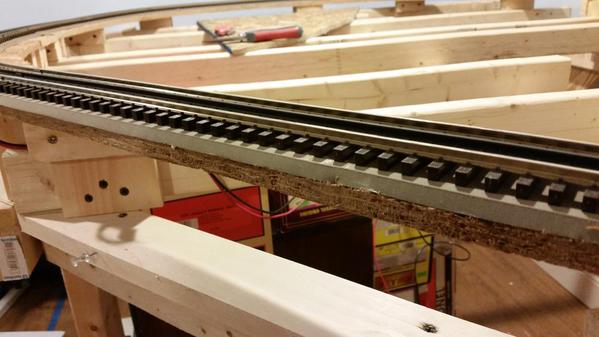
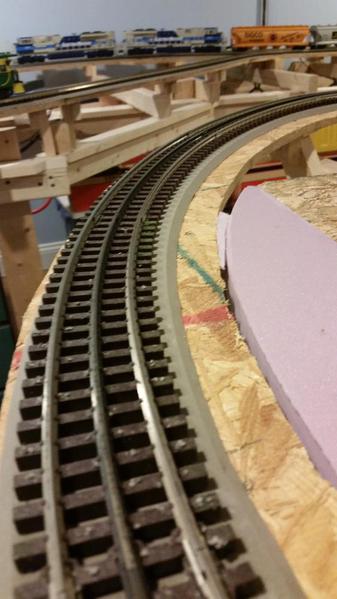
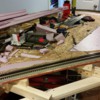
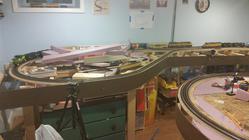
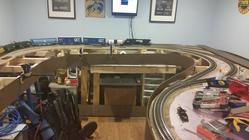
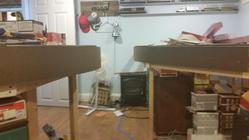
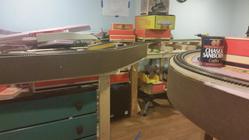
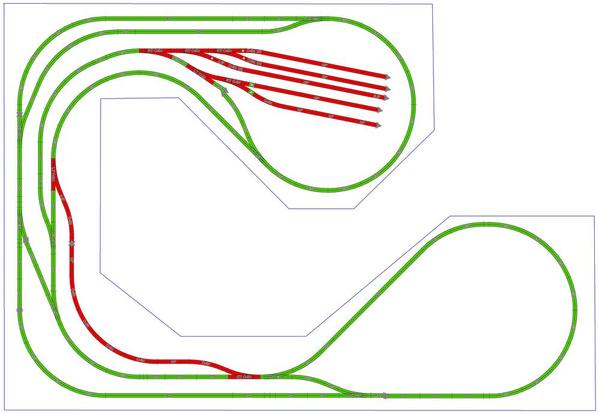
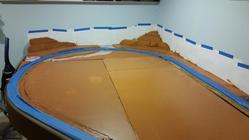
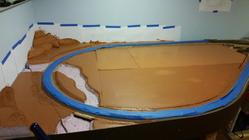
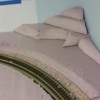
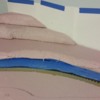
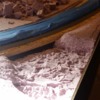
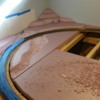
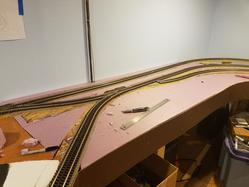
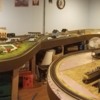
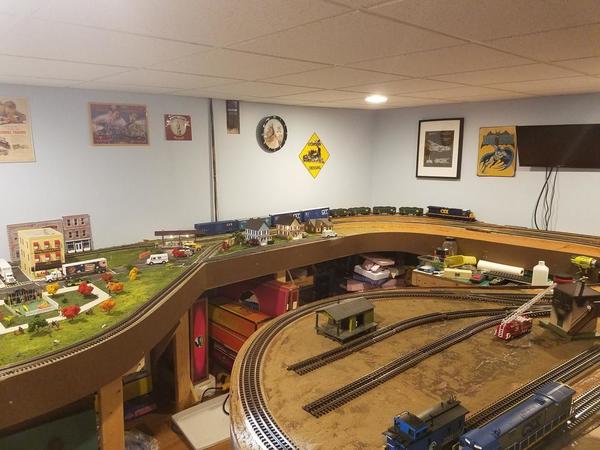
So, officially put up the first 8ft of L-Girder Bench work this evening, which is what i would call the "birth" of the new layout. 2x4 Legs, 2x3 "ladders" and 1x3's for the cross section of the "L"s
So why F&L Railroad? Well, lucky for me I live near a pretty big CSX Hub in Framingham and I also Drive over/ drive next to the now very much abandoned Framingham_and_Lowell_Railroad
which is in process of being converted to the Bruce Freeman Trail
So to pay Homage to it, I'd figure I'd model as much as i could and keep it alive, even if only in model form.

Replies sorted oldest to newest
What are the overall dimensions of your planned layout? The plan looks like you have several opportunities to take different routes and turn trains. It is always good to get started on a layout. It has been a few years since I have had one. Right now I am waiting for one of our daughters, both in their early 20s, to move out so I can recover the space for a new layout. Please keep us updated with your progress.
Looks like a great layout plan. I'll look forward to seeing updates!
Peter
Got another section Completed and also built a hidden 2x4 workbench that sliders on roller casters and Drawer Sliders.
The workbench is a great idea. Of course some modelers would say they would never have it cleaned off enough to slide back under, but if you are like me and have no place for a permanent workbench, then this is a great idea. I may find myself coming back to this idea when I get to building a layout again.
Love the workbench idea!
Peter
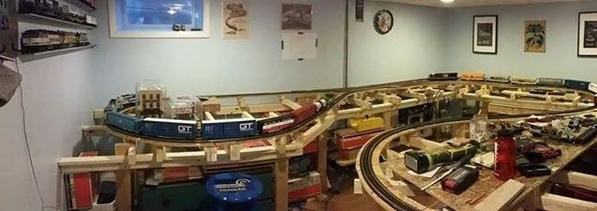
I've gotten a lot done in the last month and have gotten all of the major rough benchwork in place in the train room. I now have a better understanding of how everything will "fit" in the room now. Need some more bracing, and then I can start on the subroad bed.
For those curious, 2x4 Legs, 2x3's for everything else and 1x3 Aspen wood for "L" Griders.
Attachments
Matthew,
You're making great progress on what looks to be an exciting layout plan. What are the layout's overall dimensions?
Thanks for sharing,
Joe
Layout dimensions will be 10.5 ft by 15.8ft (long side) 12.2ft (short side)
So i've made 1 small change to the original design.
So with a Yard Lead, I've also added a Yard Exit, so that no matter which way the trains are running, I'll be able to pull the assembled train out of the yard.
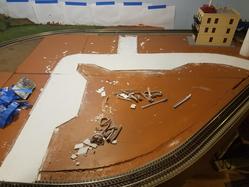
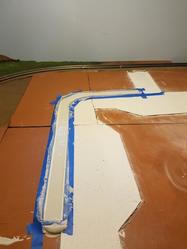
I've also stated cutting Sub-Roadbed out of 1/2in OSB. It' dawned on me that I cannot install the Sub-roadbed supports until I actually know how everything will "sit" on top of the L-Girders and then fill in the missing supports from there.
Attachments
Matthew,
Thanks for sharing the dimensions. The yard exit seems like a great idea. I'm anxious to see your progress as I am considering L-girder bench work for my next layout.
Joe
Mathew,
It looks like you are using Atlas track with all curves being O54. I'm not familiar with there O54 switch. RR-track shows a O54 with a short straight section that you appear to use. Do you have to cut that piece?
You have a kink in your track where the yard ladder enters the main. You need a 1/2 O54 curve. You appear to have a few other locations that could use tweaking to improve the fit.
Are you going to add any industrial siding along the mainline?
I used RR-track to generate some alternatives. The first one is my favorite.
You could eliminate a couple of the crossover switch pairs to save some cash and not change functionality much. The Atlas switch machine can be moved to one of the other possible positions to eliminate conflicts with adjacent track.
I added a couple of sidings in the curved corners to demonstrate that the space is usable. Look at using building flats for industries. These sidings can lead to future extensions of your layout.
Enjoy your layout.
Jan
Attachments
Photos are not showing right now......
No photos here either.
Sorry! pictures fixed!
Your work is nice and neat! Is the roadbed going to be raised up any??? Make it easier to make creeks or other below grade scenery.
@AMCDave - Yes it will be. About ~2in up off the actual benchwork. I have walk that fine line of Making high enough for me so i don't kill my back bending over it ( 6ft tall)
And my 2 year old not needing a Pair of Stilts to see the layout ![]()
Benchwork is 36in high and then the track will sit at ~39in roughly ( adding in subroad bed 1/2in, Vinyl Road Bed 1/2in and finally the track)
My main level is 2 inches above the frame work too....only I went with 39" as a base as I'm 6'2".....grandkids will need stools!! I'll post when I get something worth showing....I'm slow!
Matthew, One thing I noticed is with the location of your benchwork in relation to where you have planned to place a turntable. It looks like you might have benchwork in the way when you go to install a turntable. Easier to correct now before construction gets to far along.
@CSX Al - Thank you for the dimensional drawing of the TT clearances
Yes, I do know there is a L-Girder Support "right" in the way of a Under table Mounted TT. That I do plan on fixing now. Thought I had enough room but I guess not now ![]()
I've also found I have to move a Support leg to get more clearance for the one "pinch point" in the layout design.
Learning as I go as this is my "first" real attempt at benchwork other than butt style and flat 4x8 sheets of plywood.
Great Job! Your pictures have been giving me some great ideas when i start later in July building my layout...Keep the pictures coming!
Looking good......we are using similar techniques for the bench work. I am using 2x4, cheap, and 1/2" OSB on 2x2 risers. Makes for a strong base....and in the basement weight not an issue. But good work now will show later....
I agree with Dave. I have used a very similar method in the past. It was slow going, doing it by myself, but I never had a lot of space, and I wanted it to be sturdy so I had no shifting or sagging when it was done. It looks good. I see you are using a level, so I know you aren't just throwing it together.
Thank you,
Please keep us posted as you progress.
I've been cranking away at more sub-road bed. Life is easier now that I made a "jig" to make my risers. I can make 12-16 at a whack and measure, level and screw them up in no time.
Officially 1/2 done across the entire layout with sub-road bed.
I better start filling out my order forms for FLEXXBED now so I can keep having progress at the rate I'm going ![]()
Attachments
Congratulations on your progress. It is looking good!!
I've almost got the entire Main Line Loop "test" fitting down.
Seems like Atlas has a track shortage restocking the local train shops with new track, (went to CharlesRo Locally and the selection is very bare) so I'm sort of stuck/at a stopping point until I can order more 1 1/4in , 1 3/4in and 40' Rigid pieces. Everyone seems to be out of stock on all of those sections that I need.
Attachments
Long Time no progress, but I finally have the Main Loop up and running!
I'm using 14 Gauge Power feeds every ~6ft on the layout.
Very nice workmanship, i wish i was that far along.
Got another section Completed and also built a hidden 2x4 workbench that slides on roller casters and Drawer Sliders.
You're going to have to get rid of all those boxes piled against the wall on the left to make room for the layout. If you have nowhere to put them, I'll take them!
Seriously, I like the roll out work top. Nice use of space.
Don
It certainly is a nice work top! The drawer gliders are great to keep it in alignment!
What is the surface made out of?
Wonderful layout,thanks for keeping us updated! Very nice craftsmanship.
Brad
MAtt
love the progress. cant wait for the scenery to commence
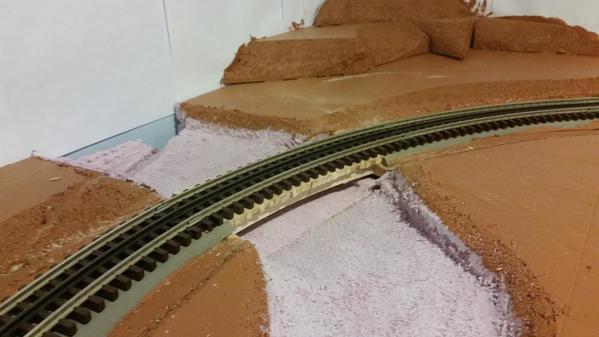
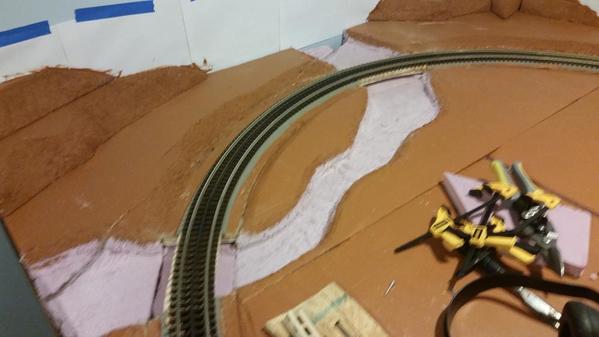
So rather than sitting on my hands waiting for more track to arrive. I'm going to start filling in the blank spots in the layout with 2in foam and start work on the scenery for the layout. I'm doing the pre-planning in SCARM for now.
Almost have one "loop" section done. Plugging in the holes with 2in foam goes real fast. I'll also be picking up 1/8in hardboard cut into 8in strips to make a clean, decorative edge to the layout.
Attachments
Gotta love Masonite. Like the layout plan. One of my favorite design styles and scales up well to larger curve sizes.
Very nice and well planned nice to see. Watching from start to present and presenting it on the forums helps guide and encourage many modelers who are building or planning their railroad empires now and in the future.
I love this layout design and I am looking to do something very similar. I have a 19' by 14.5' area, but i am looking to use a double mainline instead of single, and o72 min curve w o84 on the outer track of each curve. I am hoping it will fit and look just like this!!!
Thanks goaliefp,
If my room was 12ft wide instead of 10.5ft i would have LOVED to use 072 curves or even 063, but I just couldn't make it work without doing simple loops of track.
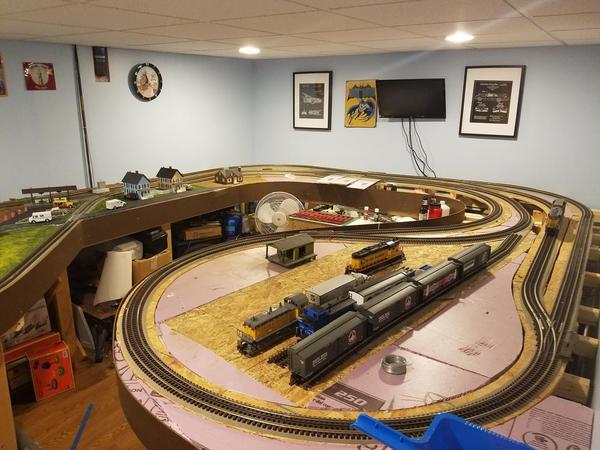
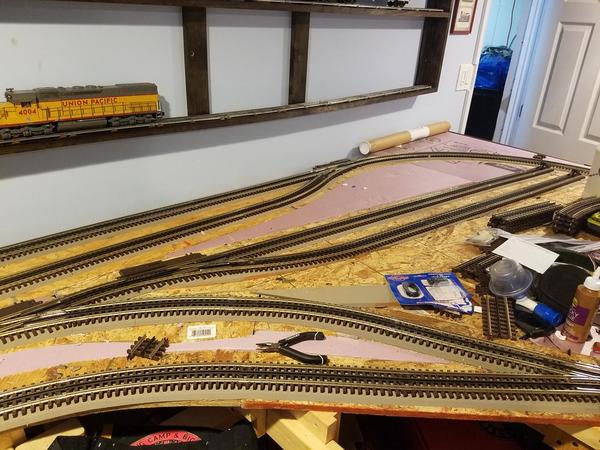
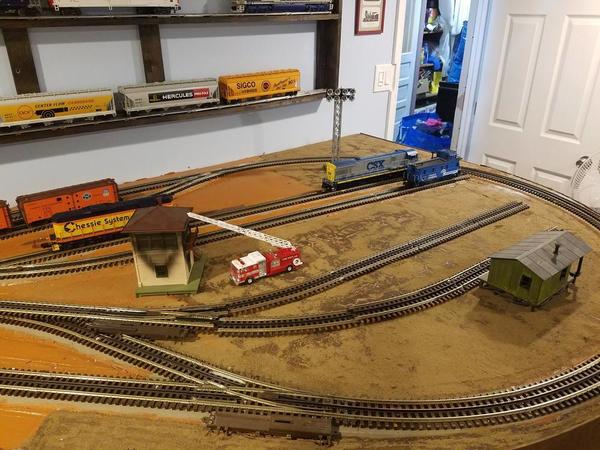
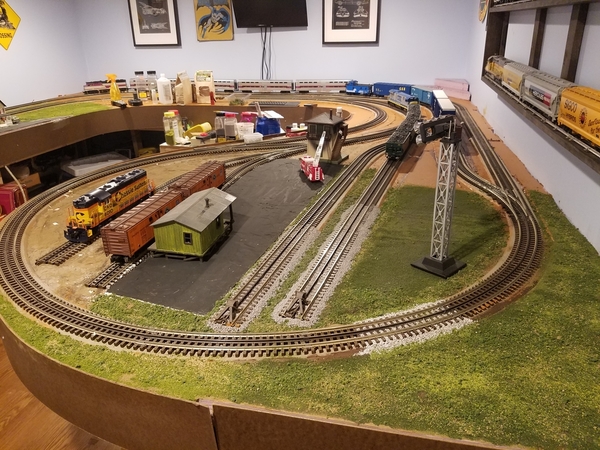
SO now that I have a source of 054 Atlas O Switches, I've been able to get some track progress done on the layout. 80% of the track is now complete, except for the areas highlighted in red in the photo below. I have temporary straight and curved sections in were there should be switches. I'm just happy to have my reverse loops functional and have basically 2 sidings where i can park trains.
Attachments
Attachments
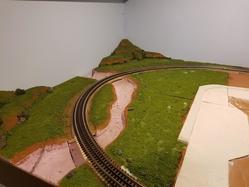
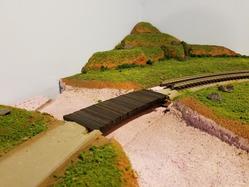
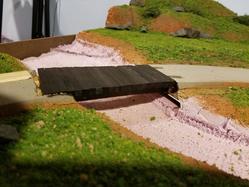
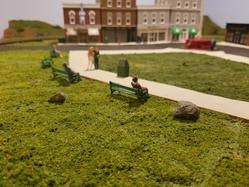
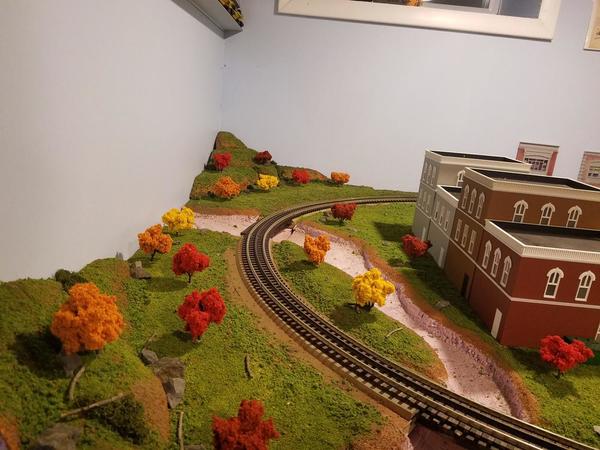
Scenery Progress!
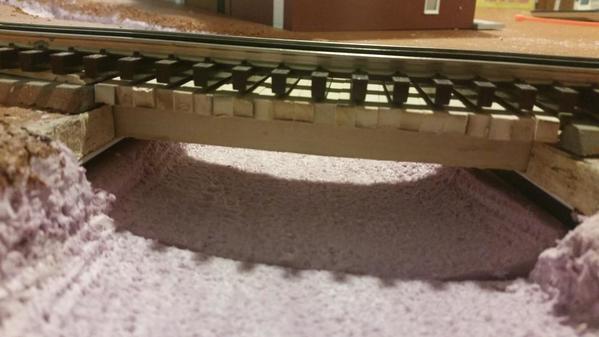
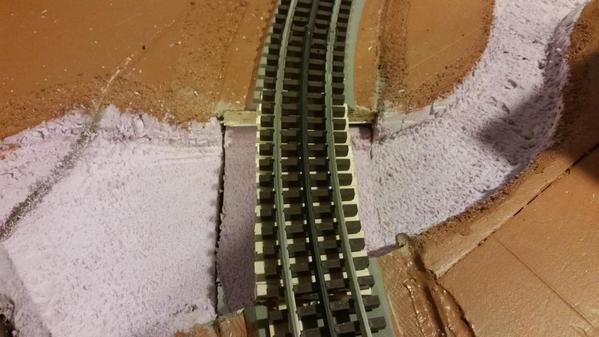
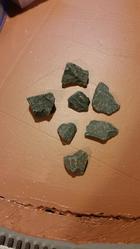
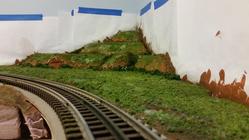
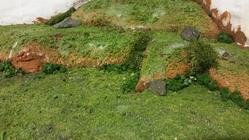
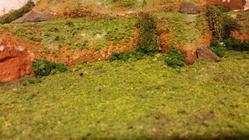
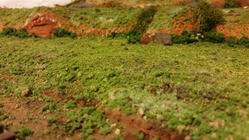
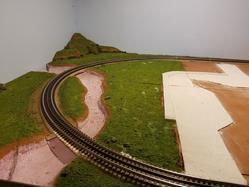
So the other day, My son and I actually walked a very small section of the old F&L Railroad here in town, and he asked me if he could bring one of the rocks home. Well I thought about it and heck, I can use some of the old Ballast on the layout as "rocks".
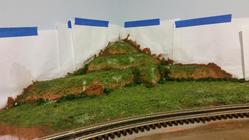
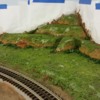
Also the farthest corner of the layout now as some color on it, it's by no means completed it's a great start.
Attachments
You do excellent work!
Peter
I love the "Town Square" idea. Nice work!
Peter
I agree, your town is going to be very interesting to see.
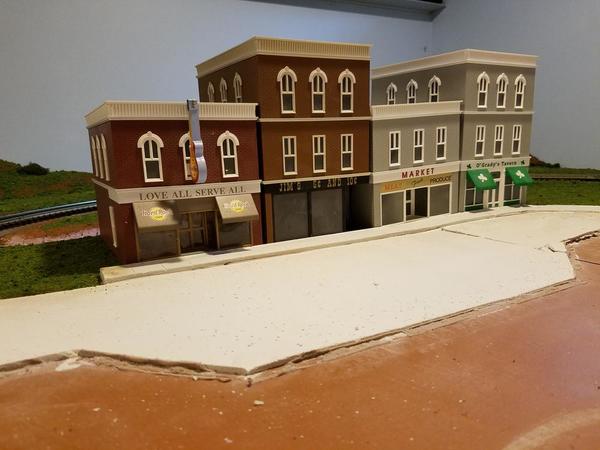
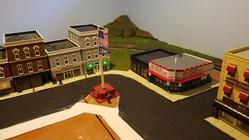
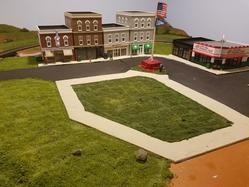
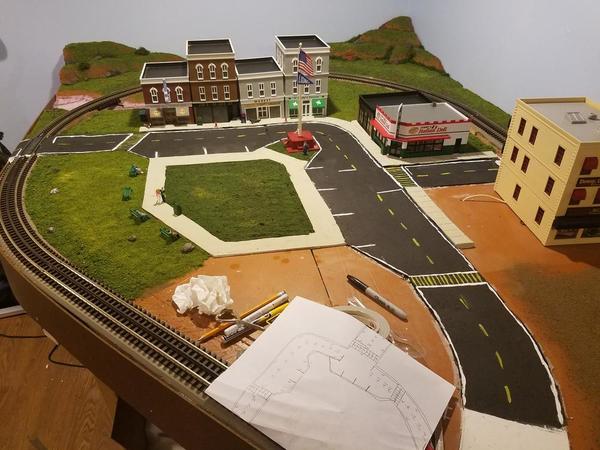
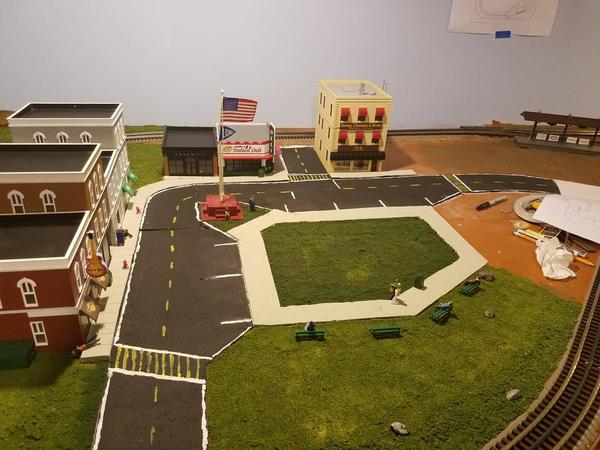
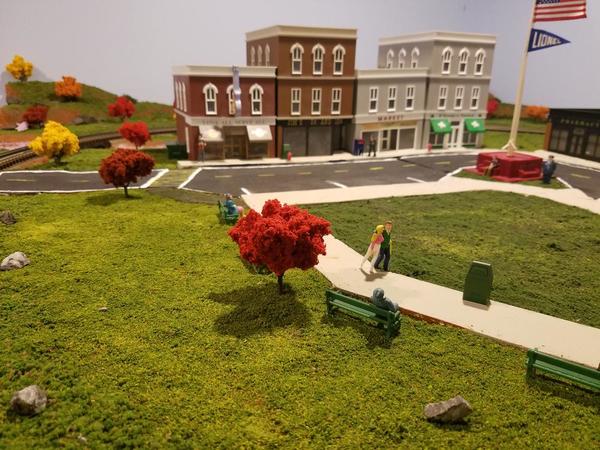
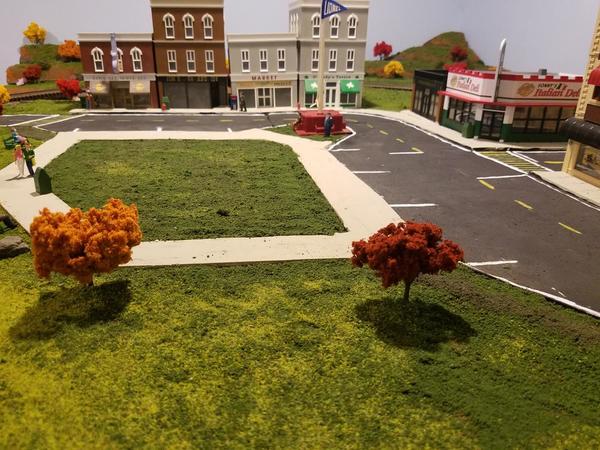
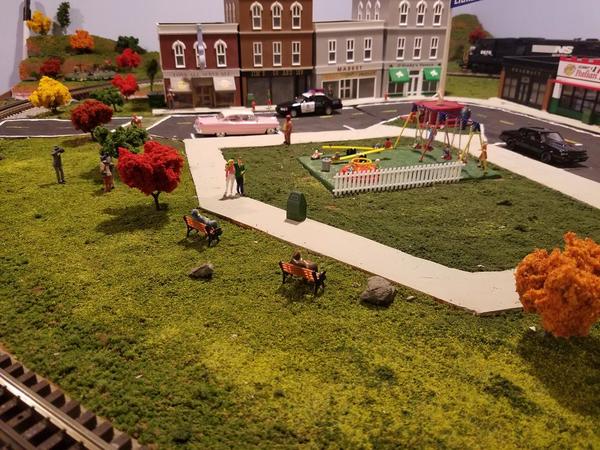
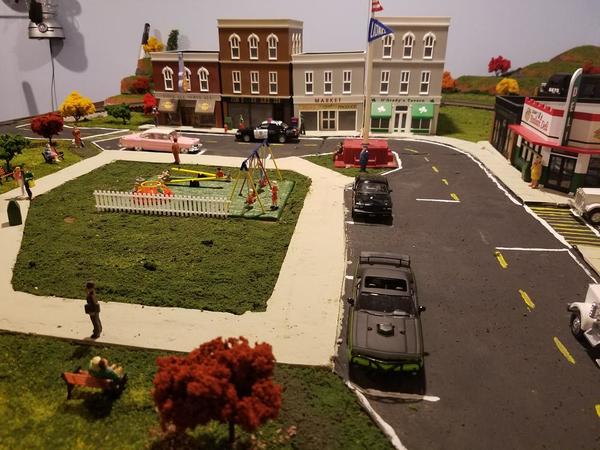
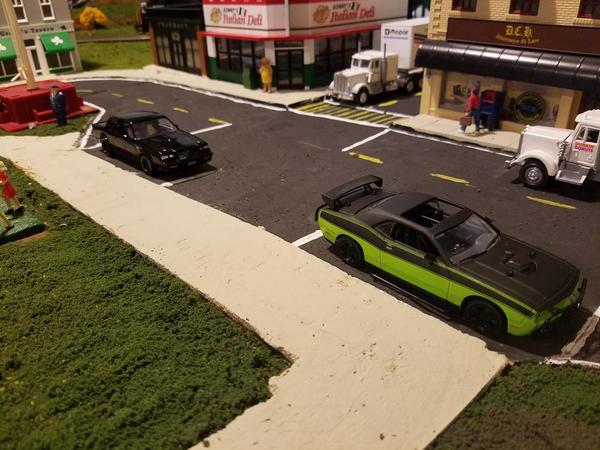
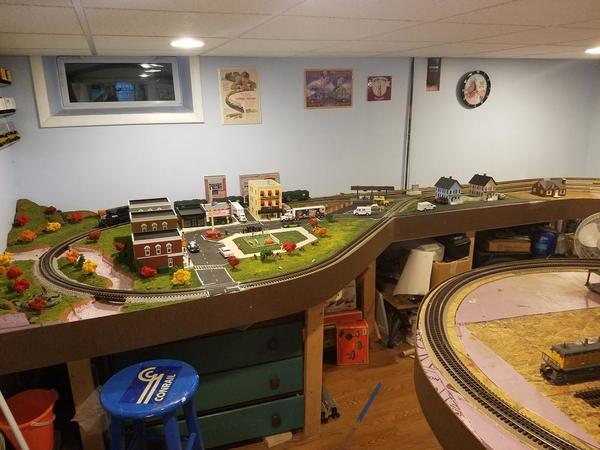
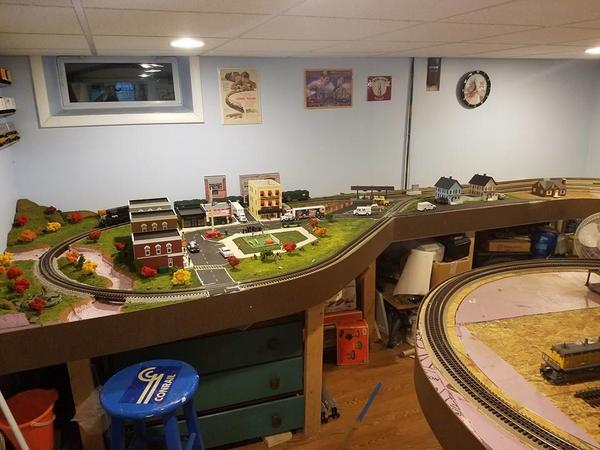
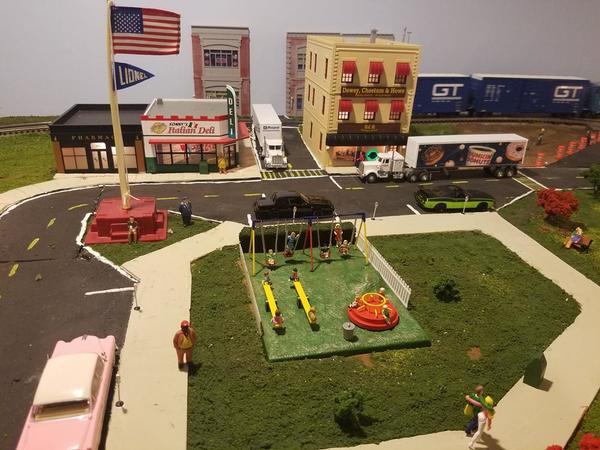
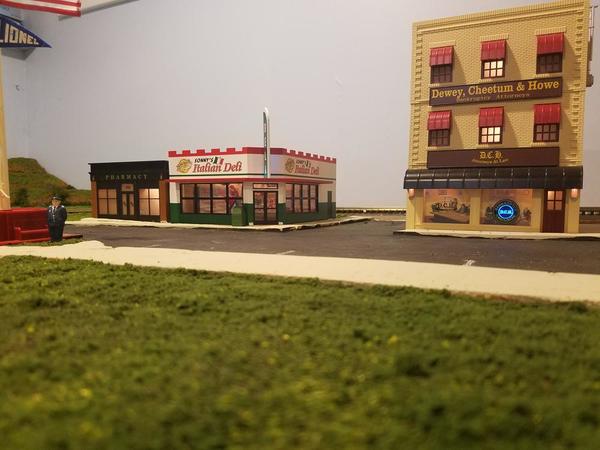
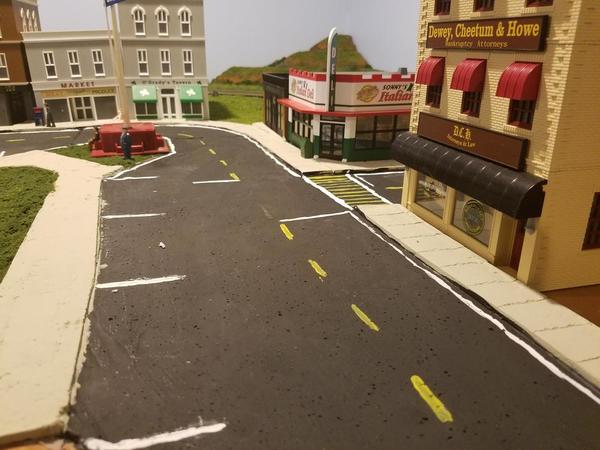
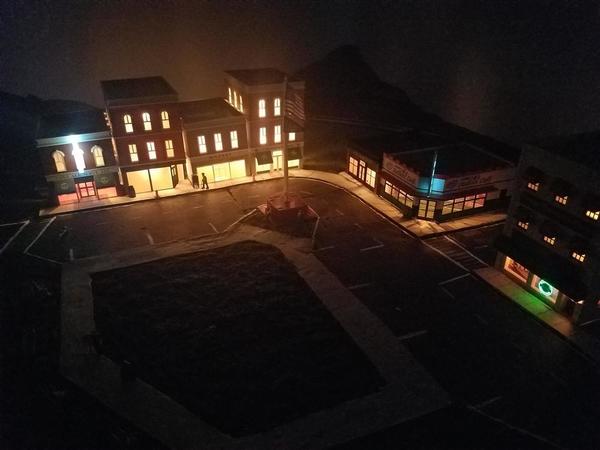
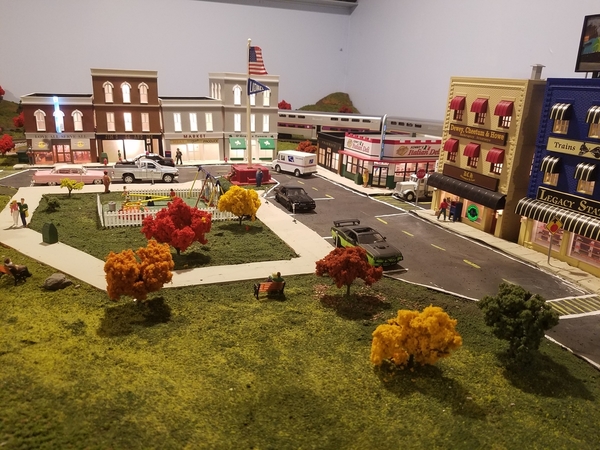
I've been hard at work getting the town finished or at least in a presentable state.
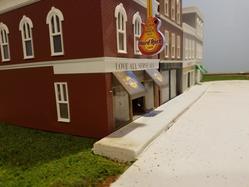
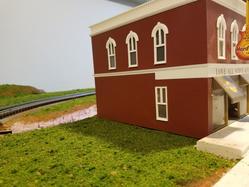
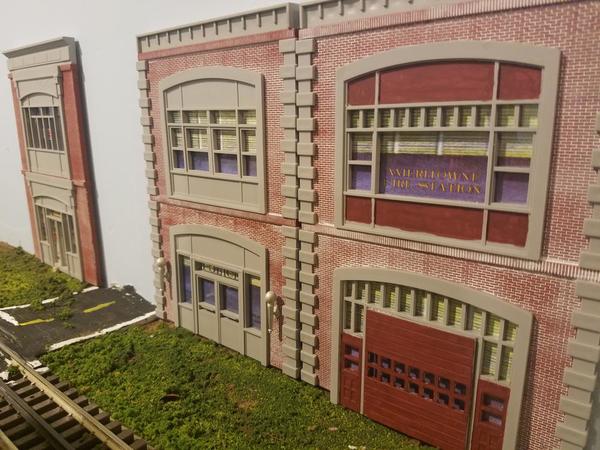
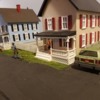
I recently added some building fronts to hopefully mask the hard edge of the wall.
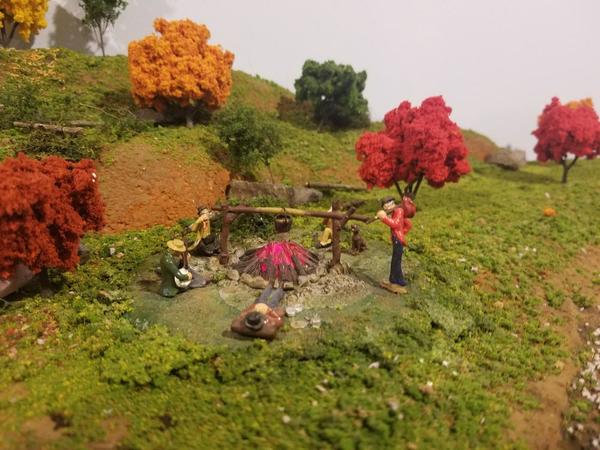
I started placing tress with and Autumn theme ( best season here in New England)
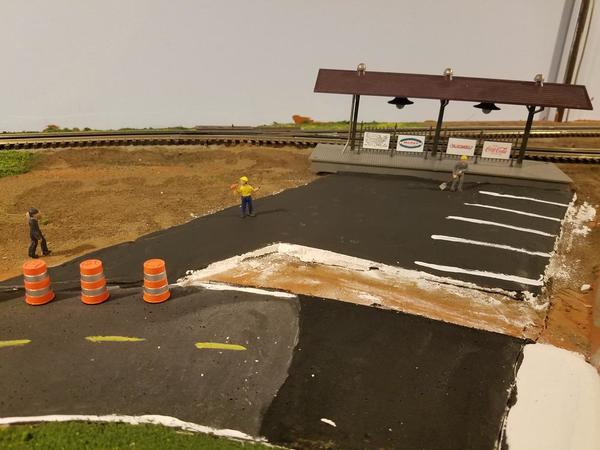
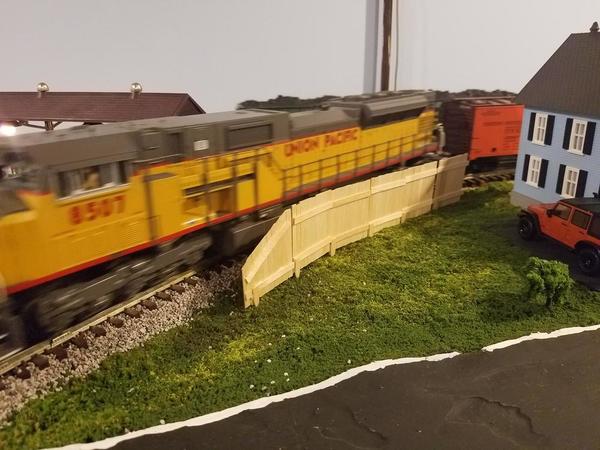
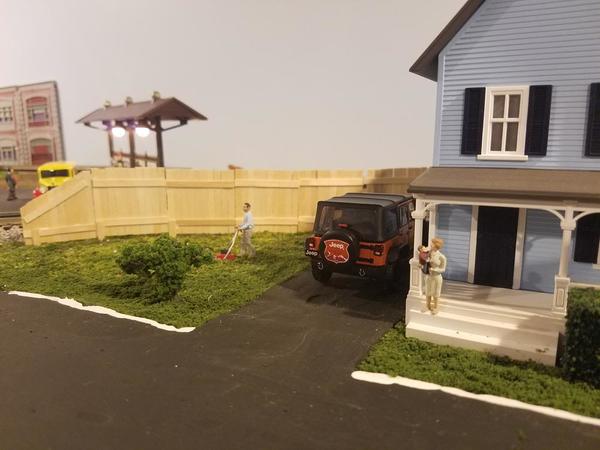
Crews have been hard at work laying fresh asphalt for the parking lot for the train station.
Attachments
Matthew congratulations on the progress that you are making. The layout is coming alive. I was noticing the trees and have a question.
Have you reduced the size in the rear to force the perspective? We saw this done very successfully on a layout a couple of months ago and it saved $$$ going from relatively large trees to smaller ones as the distance increased. Looking at your layout, it appears that you may have done this.
Thanks.
Thank you Bill,
To answer your question, no I didn't do a forced perspective with smaller trees, they all came from the same kit.
Your excellent work continues!
"Happy Anniversary!"
Peter
Matthew,
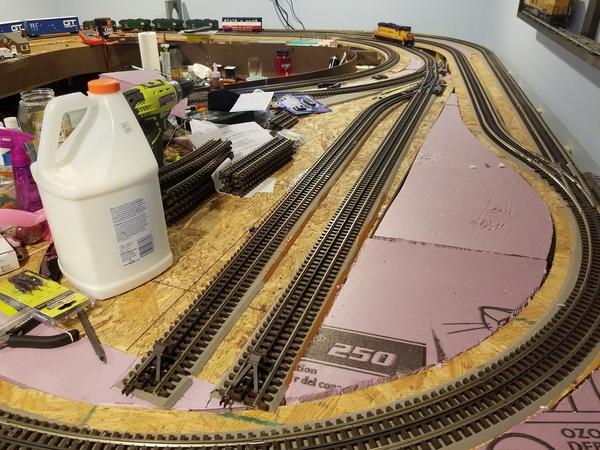
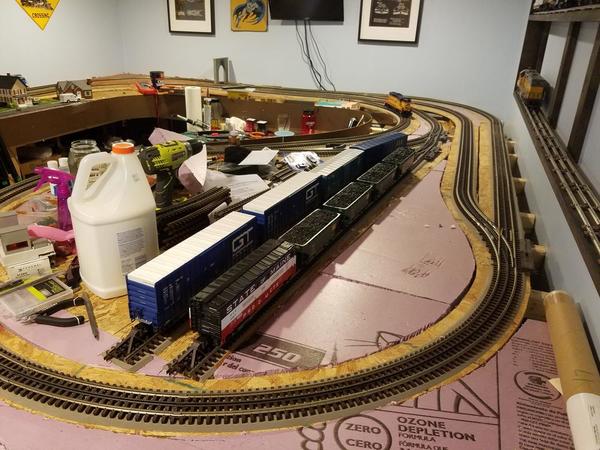
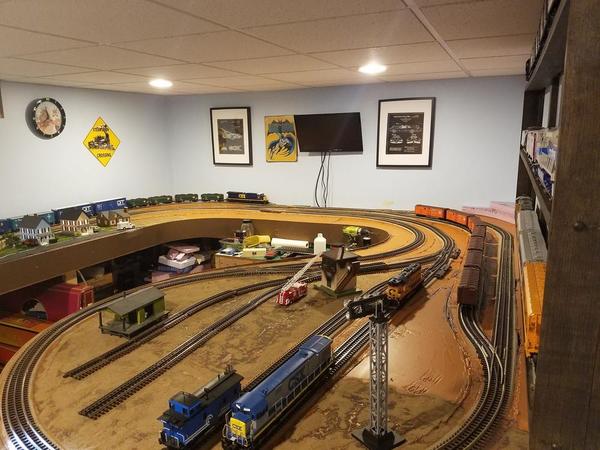
I'm glad to see you have been able to get a start on that yard! So the rest of the yard will go on the area where the big bottle of glue and other items are now, I take it. It should be nice, and you at least have some yard space until you get the other switches. Your scenery work posted in May shows very well! I remember seeing them, and must have been called away before I could comment. The town shaped up real well. I may have said before the town square and park/play area look very good, as we often try to cram in as many buildings as we can. Some towns just aren't that way! The added details make it come alive. The shelves above the yard side of the layout look new to me. Are you planning additional shelves in between the ones already there? Thank you for the update.
Matthew,
It looks like things are coming along well. You are getting some good work in and now I put my head down in shame because I haven't done anything to my layout in 2 weeks. Thanks for the motivation. You know the motivation that you probably didn't know you gave to me, lol.
Dave
Hey Matthew G how are you doing. I hope the new year finds you well. I just restumbled on to this thread and was wondering has any more progress been made? It's looking great.
The yard area looks good as you work on your draft!
Looks great!!
Matt, looks good! All in good time and things come together!


