Replies sorted oldest to newest

Ed,

If your wheelsets are in proper gauge and the Atlas turnout is built to NMRA Standards, the wheels should not drop into the frog area.


Go to the Fasttracks Video Library and watch the videos:

-How the Frog Point Works

-Demystifying The NMRA Standards - Parts 1-4


Very informative.


Otherwise, Matt's suggestion of using Evergreen Scale Models strip styrene should work.


Matt


Matt,


Yes, those are excellent references.


I just did some quick testing on some 7.5 turnouts that I have for our yard modules and noticed that the narrower tread (/145) wheelsets could come off the wing rail and drop into the flangeway just before jumping back up on the frog rail.   The /172 tread wheelsets didn't exhibit the same behavior and I believe just suffer from a more blunt frog rail on the Atlas switches.


Definitely seems as though the Atlas switches are designed for the /172 tread wheelsets and would require a narrower flangeway between the wing rails and the frog rails for the narrower tread (/145 and smaller) wheelsets.


Ed, Which wheelsets are you using on your railroad equipment?  

The only issue with filling in the flangeways with epoxy or styrene is you have to make sure you are running all the same tread wheels with the same flange, otherwise the potentially larger flanges would ride up higher then the point rail and end up derailing once the wheels get beyond the guard rails.
 
Originally Posted by AGHRMatt:

I'd try thin strips of styrene until the problem is resolved, then CA the strips into the frog. If this was a 3-rail turnout, I'd just go with a frog point.


Originally Posted by Mike DeBerg:

Matt,

I just did some quick testing on some 7.5 turnouts that I have for our yard modules and noticed that the narrower tread (/145) wheelsets could come off the wing rail and drop into the flangeway just before jumping back up on the frog rail.  

Mike and Ed,

When you run just a truck with 145 wheelsets (in proper gauge) from the frog point to the wing/closure rails, while gently keeping the wheel flange against the railhead, it still drops into the flangeway?


The FastTracks video, Demystifying The NMRA Standards - Part 2, has an excellent explanation.


Matt

Last edited by Old Goat
Originally Posted by Ed Kelly:

Hi All,

I am using the 145 wheels and they do drop in.  The styrene is a good suggestion but I was thinking of JB Weld.  It is a filled automotive epoxy and can be drilled and tapped so it is very tough.

Thanks,

Ed

I think you will find that the J-B Weld will make a terrible mess, plus it takes 12 to 24 hours to harden. Just my opinion, but the suggestion to lay styrene strips in the flange-way is far less messy, and easy to replace IF they ever wear-out.

I've used built up strips of cardboard for about 8 years now in OP and some Atlas turnouts. I make it so they have a snug fit and they are not glued in or anything. It turns black with grime over time. I know 2 guys in the local group who have used styrene.


I don't want to use anything that will make it difficult if I ever have to make adjustments for any reason. 

If you want to do it right, follow Old Goat's suggestion and look at the video. But that was tough to do for me, because of sometimes too narrow a wheel tread, and the overall sloppyness of the Atlas Switches


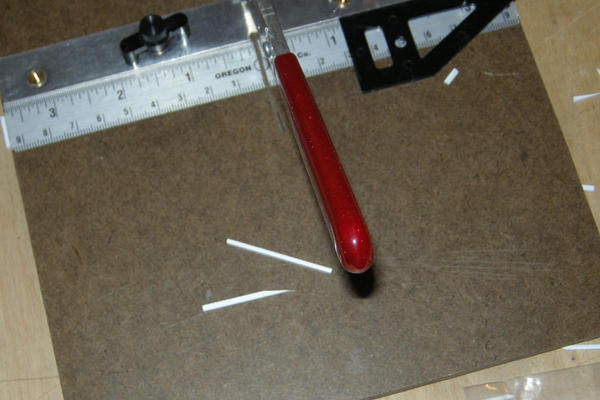
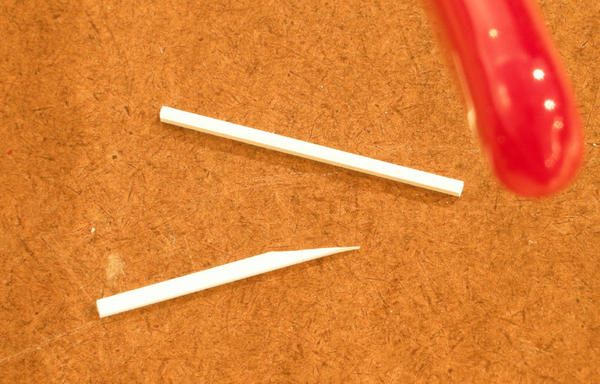
So I went the styrene route. I think I am one of the "2 guys in the local group" Chris is referring to. I used .060" thick x .080" wide sytrene. Fits right in, weathered black in 30 minutes of running, and can easily be removed.


These have been in place for 4 years


frog 1

Frog 2

Frog 3

Attachments

Images (3)
  • frog 1
  • Frog 2
  • Frog 3

In doing some checking with my NMRA O Scale Mark V gauge this morning on a new Atlas #7.5 switch here are my observations


  1. With the Checkguage pin flush against a field side guardrail the corresponding CG pin is not flush against the frograil as it should be. 
    Result: FAIL - WIDE 
  2. Flangway depth (frograil and wingrail) is much deeper than it needs to be.  Ran a 3R flange through the frog and still passed.
    Result: PASS
  3. Flangeway width (frograil and wingrail) is too wide as MAX pin enters flangeway and has play
    Result: FAIL - WIDE
  4. Stockrail to stockrail gauge is OK, but nearing WIDE gauge as pin shelf almost falls in
    Result: PASS
  5. Points boarder on excessive spread, but are passable for both electrical and mechanical.
    Result: PASS
  6. Although not as important, the stockrail and guardrail relationship did vary from one of the guardrail to the other.  From NARROW to WIDER

After checking two pairs of trucks (Atlas 100T Roller Bearing and Protocraft 100T Roller Bearing) for gauge and GO/NO GO I rolled the trucks through the frog.  For reference the PC 100T wheels did drop into the NO GO slot.  


While holding the field side of the truck tight against the guardrail the trucks would more freely pass through the frog without fully dropping into the flangeway (aka the grand canyon).  It seems the wheels would stay on the wingrail longer and transition to the frograil easier.  I still noticed a slight hop during the transition.   The frograils would appear to be slighter higher than the closure/pointrail.


So I checked another brand new Atlas #7.5 switch and found simalar results, except #1 was a little tight.  So it seems like it varies from switch to switch as John indicated above.

For comparison, I got out a couple of my RoW frog castings and measured the flangeway, the MIN pin drops in, but the MAX pin doesn't.  Much smaller flangeway while still passing for the correct depth.


The Manganese Insert Type frog casting seems to extend the rail surface area from which the wheel transitions from the closure/pointrail to the frograil.

Last edited by Mike DeBerg

Mike,

Thanks for the research.

Based on your post and the Fasttracks video, the correct fix for the Atlas turnout would be to add styrene strip along the face of the wing rails (opposite the frog point).  That should allow properly gauged 145 and 172 wheelsets (regardless of flange depth) to travel nicely through the frog area w/o a drop nor a hop.  As Tim mentions in his video, simply filling the frog area is no guarantee of avoiding drops/bumps/hops.

Thanks again Mike.

Matt 

Hi All,

Very interesting results but I did this years ago and got the same results.  Needless to say, Atlas needs to retool the 7.5.


A question for Chris, Drew and John:  What is the longevity of your "fix", cardboard vs epoxy vs styrene?  These are switches in hidden staging trackage.  They will not be easy to get to after the next level is built so I need a "fix" that will last.


I appreciate everybody's help.


Thanks,

Ed 

Matt,
 
Having used Tim's fixtures in HO, I am going to look into their O Scale products.  Since I used code 148 rail, it will be a lot of material to file off so I will look at his pointform tool.
 
Originally Posted by Old Goat:

Mike,

Thanks for the research.

Based on your post and the Fasttracks video, the correct fix for the Atlas turnout would be to add styrene strip along the face of the wing rails (opposite the frog point).  That should allow properly gauged 145 and 172 wheelsets (regardless of flange depth) to travel nicely through the frog area w/o a drop nor a hop.  As Tim mentions in his video, simply filling the frog area is no guarantee of avoiding drops/bumps/hops.

Thanks again Mike.

Matt 


Originally Posted by Ed Kelly:

A question for Chris, Drew and John:  What is the longevity of your "fix", cardboard vs epoxy vs styrene?  These are switches in hidden staging trackage.  They will not be easy to get to after the next level is built so I need a "fix" that will last.


Ed,

My use of cardboard was going to be a temporary solution because I had it on hand at the time but it has lasted for 8 years or so. It is one of those things that just shouldn't be. I have some curved frogs so I could cut to the slight curved V shape. Being that yours will be hidden and difficult to get to, I'd have a hard time sleeping at night risking cardboard in that situation even knowing that it has worked fine for me.


Looking at John's solution looks nice and simple. Bob G. from the group simply cut narrow triangles of styrene and put them just up to the points of his frogs.


My Atlas switches are in hidden areas  but are easy to access and I only have 3 of them. I may replace the cardboard in them anyway with the styrene as John has done.


At the CV, we originally installed the epoxy putty about 2 years ago as a stopgap measure to cut down on the equipment hammering the frogs; and it's held up well enough that we haven't needed to dig it back out to be replaced. When working it into the frog, I would fold it together to activate it, use a small flat screwdriver to properly force it into the frog at approximately the right depth, then take a spare truck with Intermountain metal wheels, and use it as a guide to get the flangeway profile/depth just right. So far, no complaints.

Drewski, & all,


Thanks for clarifying how we do it! This ain't rocket science. Fill the frog neatly with the epoxy putty (the brand name escapes me at the moment) and take an old or spare truck (one that has wheels you use on your railroad) and run it thru the frog area with your fingers (gently, but firmly) to make the flangeway. Let the epoxy cure overnight. Clean up any excess. Test run a few cars thru the switch. They should work fine. If not, use a fine file to dress the problem areas and run them again. At CV we have used this method in several locations in heavy use areas, and have had no problems in 5 or 6 years now, and the epoxy is still where we put it, so it's durability hasen't been a concern.

Give it a try, it works!!


Buzz

John,
 
I filled in a couple switches with some .060 x .080 styrene as you suggested.  Appreciate the suggestion. 
 
I was curious as to the wear after 4 years?   It appears as though the switch below is a new switch, do you have a close up photo of a switch with the filler after 4 years?
 
Originally Posted by John Sethian:

If you want to do it right, follow Old Goat's suggestion and look at the video. But that was tough to do for me, because of sometimes too narrow a wheel tread, and the overall sloppyness of the Atlas Switches


So I went the styrene route. I think I am one of the "2 guys in the local group" Chris is referring to. I used .060" thick x .080" wide sytrene. Fits right in, weathered black in 30 minutes of running, and can easily be removed.


Frog 3


Mike


No wear noticed at all. But they turned black pretty quickly and blended into my painted rail.*  Four years later I have noticed no change in performance.


I also would not have expected these to wear out.  The pressure on the styrene is very low, due to the rounded edges of the wheel flanges (Imagine trying to score styrene with a wheel!), and there is no place for the styrene to expand laterally, because it is constrained by the running rail and guard rails


The other advantange of this approach is these strips are very easy to remove if you mess up.  I.E. choose the wrong thickness. They are just wedged in, and running the trains seats them in place.


John


*Incidentally, I paint the sides of all my rail with a polly scale mix of weathered black and rail brown. I use a chisel foam brush and it goes very quickly. 


I re state my original statement, these would not be needed if the frog was built properly to begin with

John,


Good to know.  Yeah, doesn't seem like the flanges really put all that much pressure on the filler.  I went ahead and used liquid styrene cement and cemented the two pieces together on one switch to further help them stay wedged in the flangeway.   I'll see how that holds up.


Yes, I absolutely agree the switch frog specifically the flangeways being too wide, checkgauge measurement and the guardrail placement need to be improved and a filler piece would not be necessary.

Hi All,

I started this thread and am now reporting on my results.

I purchased J B Weld, the regular stuff, not the quick setting stuff.  I cleaned the frog area with a paper towel with a little lacquer thinner on it and then lightly sanded the frog area.  I mixed the JBW and used a piece of styrene about 1/8" by 1/16" to put the JBW into the frog.  I went to the throat and about .5" past the point of the frog.  The JBW leveled itself nicely.  I decided to let it completely set and then check for clearances.  The wheels rode a little high so I used a worn hacksaw blade to remove some material.  After about 5 minutes of removing, checking, etc, it was perfect.  As Buzz said," It isn't rocket science."

The JBW is tough stuff.  It is used on engine blocks and can be drilled and tapped.  I think it should hold up for a long time.  Time will tell.

Thanks again to all who participated in this thread.

Cheers,

Ed

Ed, Outstanding. I've installed the styrene strips in my Atlas switches se we can see how each method survives over the years.
 
Originally Posted by Ed Kelly:

Hi All,

I started this thread and am now reporting on my results.

I purchased J B Weld, the regular stuff, not the quick setting stuff.  I cleaned the frog area with a paper towel with a little lacquer thinner on it and then lightly sanded the frog area.  I mixed the JBW and used a piece of styrene about 1/8" by 1/16" to put the JBW into the frog.  I went to the throat and about .5" past the point of the frog.  The JBW leveled itself nicely.  I decided to let it completely set and then check for clearances.  The wheels rode a little high so I used a worn hacksaw blade to remove some material.  After about 5 minutes of removing, checking, etc, it was perfect.  As Buzz said," It isn't rocket science."

The JBW is tough stuff.  It is used on engine blocks and can be drilled and tapped.  I think it should hold up for a long time.  Time will tell.

Thanks again to all who participated in this thread.

Cheers,

Ed


Post

OGR Publishing, Inc., 1310 Eastside Centre Ct, Suite 6, Mountain Home, AR 72653
800-980-OGRR (6477)
www.ogaugerr.com

×
×
×
×
Link copied to your clipboard.
×
×