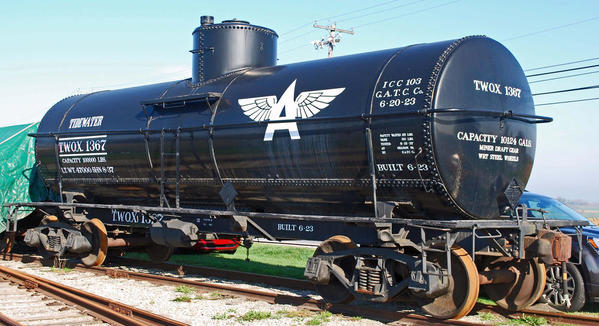
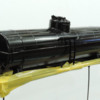
While railfanning before York, Rick, Ray and I came across this Tidewater Oil tank car at the Railroad Museum of Pennsylvania:
Photo courtesy Richard Wright
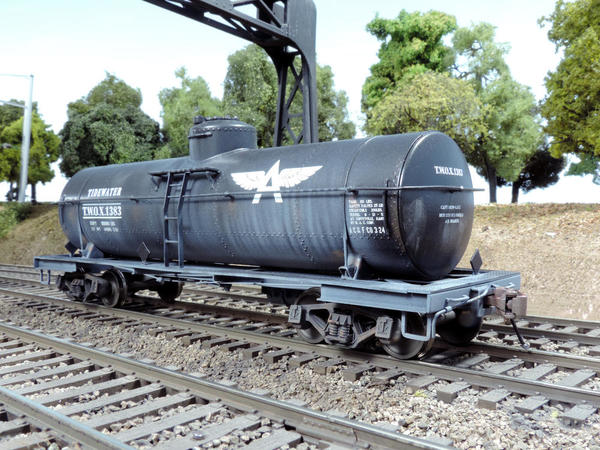
We decided we all had to have one on our layouts, and Rick ordered the decals from Protocraft. This is what I ended up with:
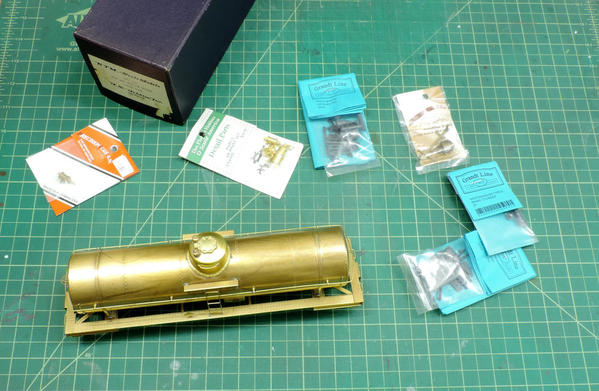
I decided to make mine from an old US Hobbies/KTM brass tank car which I got at the Strassburg 2 rail show for all of $40.00:
Yes, I know the KTM car is an 8000 gallon car, and the prototype is 10,000 gallons. But the proportions and dome are correct, and I am not a gallon counter. I also chose to overlook the beefed up frame over the trucks
In studying the photo (always a good thing to do if you are copying a prototype) two things really struck me: 1) the tank car body has quite a glossy sheen on it. I realize it may have been painted somewhat (relatively) recently, but the paint has held up well. Some of the lettering has streaked with the rain. 2) In contrast, the paint on the walkway, the walkway supports, the tank saddles, and the air tank and brake cylinder has faded quite a bit. It is as if the car had been retrofitted with a new tank. I thought this was a cool effect, so I tried to model it.
The first thing I did was clean the KTM car with detergent. No other paint preparation. I then added a modicum of brake detailing as the existing model was rather sparse in that department. I added an air tank, a 4 way valve, a brake cylinder, some piping to the airline, glad hands, and the brake actuating hardware. I used TIX solder to hold every thing in place. I also redid the cut levers.
I liked the prototypical dimensions of the KTM provided coupler boxes, but wanted to use Kadees, as that is the standard on my railroad. I solved the problem by drilling and tapping a 2 mm hole about 2 mm in front of the existing hole in the coupler box.
I then filed down the height of the Kadee 845 coupler shank (including the protruding stop) enough so the coupler easily slid in an out of the box. I cut a length of 1/8” K&S brass tubing to the same height as the Kadee. I then inserted the Kadee partway into the box, inserted the centering spring, pushed the coupler in a little, and then inserted the brass tubing between the spring and the outboard round part of the slot. In other words the brass has the same function as the boss cast into a normal kadee box. I pushed the coupler all the way in until the brass tube was centered in the hole I drilled and tapped, and then screwed in a 2 mm x 6 mm long screw. This is easier than it sounds, and works surprisingly well. It also looks much better:
Ignore the two extra holes forward of the screw. We all make mistakes. You can see from the above that I used Intermountain Trucks with Intermountain wheel sets.
I painted the entire car with my normal 50/50 mix of Poly Scale Acrylic Color and Polyscale Clear Flat, with a drop of detergent. The color was Steam Power Black, in this case. Set the airbrush at 40 psi, and spray in light mists coats, using a hairdryer to dry the paint between coats.
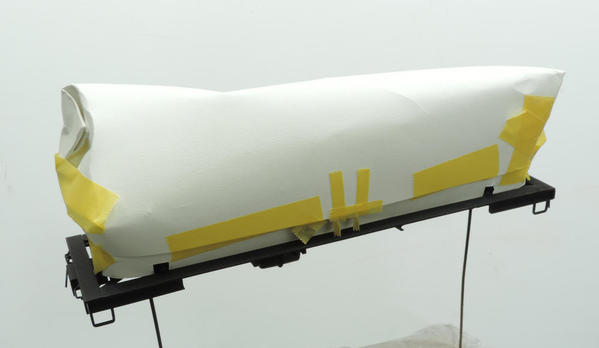
Unlike my other paint jobs, I made accommodations for the weathering at the outset. I masked off the walkway, the horizontal underframe supports, air tank and brake cylinder. This will help maintain their weathered and faded paint. I then sprayed the tank body and central support with Testors #2936 Gloss Clear Coat Enamel.
This is not Testors Gloss Cote, which is a lacquer. This is a gloss ENAMEL.
I have extolled the virtues of using Gloss Enamel before:
1) It dries to a very smooth glossy finish. Spray on two mist coats, then one heavy coat.
2) It is impervious to any decal solvent, including Walthers Solvaset
3) It self heals, so you can lightly slit the decals with a #11 blade to allow the solvent to really set the decal
4) You can over coat it with lacquer based clear coats
Another advantage, if you have a brass car, is it dries even smoother if you put it under a 150 Watt Floodlight
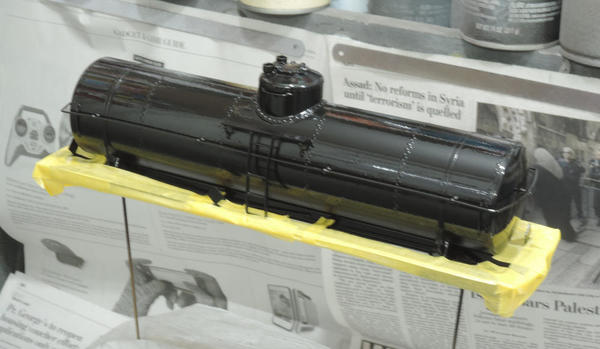
I am not sure you need to have those two guys guarding the car as the paint cures. But the paint really came out smooth and glossy:
The only disadvantage of Clear Gloss Enamel is it takes a day or so to fully cure.
I then applied the decals in the usual manner: Micro Set, apply decal, when reasonably dry apply Solvaset, then go through a couple of slit the bubbles, apply Solvaset procedures.
Again keeping in mind the ultimate weathering scheme, I kept the masking tape in place, and then I sprayed Testors Dullcote on the main underframe spar, and Testors Semi Gloss on the tank. This gives the same sheen as in the photo.
I then masked off the tank, and gave the walkway and most of the underframe components several coats of a “paint fading mix” of 20/20/40/20 Polly Scale Grimy Black/ Polly Scale Reefer White/ Polly Scale clear flat/ water.
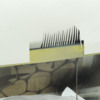
Lastly I weathered the tank. Using the photo as a guide and taking a technique learned from Lee Turner, I cut a “drip mask”
I worked on one section of the tank at a time, and used the same mix as the walkways to recreated the dripping white stuff that is running down below the lettering. I overdid it a little, but I can live with it.
I added a bit more evidence of use, notably some spilt oil around the dome, and some bits of rust on the rivets and saddle points.
All in all, the car came out close enough to the real thing:
This is the second piece I have weathered without using dullcote on the body. The other was an RS3 that was also done from a photo. This prompted me to spend some time looking at color photos from the 50’s, most notably in Don Ball’s books or the Pennsy Calendars. For example, look at the Sharks and the hoppers they are pulling in the November photo of the 2015 PRR calendar. I have come to the conclusion that for diesels, or cars being pulled by diesels, it is not unprototypical for them to maintain their original somewhat glossy sheen. They just get dirty.


