Butch,


I assume your referring to the video posted by Gregg.  If so, that's the original drive, not mine.  The loco was kind of like a lot of us old guys.....lots of various noises emanating from within!  Nope, I think what you're hearing is bolt heads protruding from the clutch hitting it's mount.  That was easy to correct but even after that, there were too many other noises I just couldn't live with.


By the way, what do you think of something like this installed into one of Kelly's nice frames?  No tank drive on that one.  Everything above the floor.


Jay


Originally Posted by Jay C:

Pete,


I do have some of those small speakers.  I may add one, we'll see.


As far as the "Keep Alive", I assume your referring to the use of these new super capacitors.  I was talking to my friend, Joe West (the guy that modifies the Tsunamis for Protocraft) about just this thing.  He told me where to make the electrical connections but I wasn't taking notes and I forgot.  That would be another, we'll see.


I do thank you for your input though.  Sometimes I wish more people would offer tips.  Doesn't mean I'll use them but how else do we learn & improve?


Jay

Agreed. Some of my best learning has come from forum posts and yours have been great for proper pickups, smooth drivelines etc. I started out with DCC (Digitrax) in 1994 and have been wrestling with it ever since.   Here's a link with some info about the connection points for keep-alive add-ons. It's about TCS keep-alives on a Tsunami but the theory is the same for the Soundtraxx version:


http://www.members.optusnet.co.../mainnorth/alive.htm 


Cheers,


Pete

Last edited by Pete M

Jay,


Yep, that's the noise I was referring too. I knew that wasn't your custom drive as your installations are much cleaner and don't use the clutch mechanism, but Stu worked with what was available at the time and I understand when his clutch drives were working right they were quite good.


Yes, the clutch bolts hitting the mount sounded just like wheel flanges zipping along on track using too small rail. I once tried to run a MG loco on code 100 rail and the faster I ran the faster and louder the zipper sound. Never forget that.


Yeah, I think this would make for a great installation in a Kelly frame using your above floor drive shafts.


butch

Ted,


For our small to medium power we use Faulhaber gear head motors.  For large power we use Pittman.


The Faulhabers will coast a short distance because of their inherent design but not as much as they would with a flywheel.  The problem for the small & medium Faulhabers is they don't provide as shaft coming out the brushed end of the motor.  If they did, I'd install a flywheel.  With wipers all around losing power is less likely but not impossible with poor or dirty track.  By using the new "Super Capacitors" this is will probably be eliminated completely.....we'll see.


Typically, I'll install the largest flywheel I can on the Pittmans.

Gregg, et al,


Well the decoder showed up today and I just finished installing it.  Loco seems to run just fine to me.  I attempted to capture it running above my workbench.  Luckily, the loco tuns better than my video.


I forgot I had the momentum turned on and ran the loco off the end of the test track.  With a "Keep Alive" it might have been a disastrous mistake.


 http://s601.photobucket.com/us...zpskrycnpkw.mp4.html


  http://s601.photobucket.com/user/jaycriswell/media/2015-02-23%20001%202015-02-23%20003_zpsifa5fxrr.mp4.html


Yes Butch, that's the RC GP9 in back.


Jay

Last edited by Jay C
Originally Posted by Old Goat:

Jay,

Looks sharp.  Interested to see a photo of the drivetrain connections under the fuel tank.  I'm looking for ideas for my S scale Smoky Mountain Model Works 44 and 70 ton locos.


Thanks for posting.


I'm packing up everything so the loco can go home, where it belongs.  Prior to packing it up I took some photos of what's hidden by the tank.


Okay, that's it.  Hopefully, Gregg is happy with the loco.


Jay

Ted, et al,


You're welcome.  No, what you see is the heat shrink from the manufacturer.  I didn't install the super capacitor.  Two reasons, it will void the warranty and it's not my decoder.  If Gregg has problems with poor pickup we'll first have him clean the track & wheels.  If it continues, and wants to go there, we can look at modifying his decoder.  A last resort if you ask me.


Jay

I was looking back thru the thread and realized a quick recap might be in order.
 
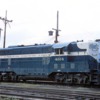
I also want to give a shout out and thank you to everyone on this thread and forum who offered advice and willingness to help sort out this unit’s problems - it is very much appreciated!  Many kind offers were made to help me, but since I was already planning to attend O Scale West in February, I decided to take Jay Criswell up on his kind offer to take a look at it at the show - I took the body off the frame and packed it carefully in my camera bag and flew to California in February.
 
Jay spent at least 30 minutes with me at the show testing and tweaking the existing Kleinschmidt drive to no avail.  He offered to take it home and make some suggestions - I readily agreed.  Since he was going to be diving into this, I also made the decision to have it converted to Proto:48.
 
Jay made this conversion process very easy - I outlined my goals and he took it from there: I’m planning a switching layout so the engine should easily pull 8-10 brass cars up/down a maximum 2% grade with 54” curves, low speed behavior and smooth starts are critical, it needed sound and DCC, no concern about higher speeds as I don’t run fast passenger trains and make it run _perfectly_.  After getting the engine back, he has accomplished all of them - haven’t tried the 8-10 cars yet as I only have a P:48 test track, but I have no doubt that this too will be fine.
 
I had read concerns about custom work before - stories of months to get the job done.  By the time I returned home from OSW, Jay had already begun and I had email waiting - he offered a variety of suggestions, some of which I had no clue about - a geared Swiss Faulhaber motor, Tsunami decoder, new wheelsets, etc.  Via a series of detailed emails, we agreed on an approach and within 3 weeks, it was DONE - with complete photo documentation along the entire way (and even video).  I have to say Jay made this whole process painless for this newbie venturing into 2R and P:48.
 
The engine arrived here yesterday, shortly after I picked up an NCE DCC system from my lLHS.  Inside the well-protected package was the engine, the complete old Kleinschmidt drive completely intact with all of its screws and excess parts, Jay’s detailed handwritten notes and measurements, the decoder instructions, etc.  I set up a test track and for the next 45 minutes, played with it watching it go back and forth about 8 feet.  There is NO drivetrain noise, it takes off realistically and I can’t wait to tear up the 3R layout and get permanent P:48 track laid. (although my better half keeps talking about a new house - maybe not so fast .)
 
Attached is a video of the engine - compare it to the first - no more noise, and jeez, that sound is phenomenal - I did not realize how nice the Tsumani sounds.  And this is their regular unit - the motor pulls such little current, we were able to avoid having to use a high amp version.
 
Once I get the hang of DCC programming, I’ll wire up the LEDs and attach the body.
 
Jay deserves all of the credit for this magnificent job and a BIG THANK YOU - I look forward to working with him a lot more in the future.  I’m now in the hunt for a 2-8-0 like this Missouri-Illinois unit.
 
...gregg


15542643688_79ea837d94_o

Attachments

Images (1)
  • 15542643688_79ea837d94_o
Last edited by Gregg Laiben

Gregg,


Saying thank you for the kind words seems like an understatement.  I was hoping you would provide some feedback but in my wildest dreams I didn't think it would be so glowing.  Again, thanks!  Guess the bar has been raised.


Anyway, I'm really very pleased that you're happy with the outcome.


To be honest here, there are many others that wish I'd finish their projects.  Truth is, your RS just really fired me up.


Jay

My latest update - I tackled wiring the lights to the Tsunami decoder today and re-assembled the engine.  Now we can enjoy the drive rework from Jay and see Bob's beautiful paint job (circa 1989).  The sound is much richer now that the body is in place - and the speaker is right below the fan opening.  Here is a link to the video of it on the test track (your eyes are not deceiving you - the RS11 engine is P:48, but the layout in the background is 3RS - am still in midst of planning P:48 layout so as to not completely eliminate the 3R for the grandkids).


Oh yeah, at full stall, the Faulhaber motor draws 0.55 amp!!  Got to love those things.


Enjoy...gregg

I have a question Gregg,


Even being from MO, I've never been partial to the MoPac's dark blue livery. Your engine looked so different and striking to me, but I think I figured it our after watching a DVD of St. Louis trains today. Was this actually the paint scheme of the Wabash and only the road name was changed to MoPac? I know MoPac took over the Wabash and this paint scheme certainly looks like Wabash.


Butch

Butch,


This is the original Raymond Loewy paint scheme that was applied to MoPac's first diesels in 1939.  From what I understand, switchers were all black.  But passenger and freight diesels received the multi-color Eagle blue/grey/yellow/cream (with some differences).  They all received similar paint schemes at least until 1961, when Downing Jenks became president and, in a cost cutting move, ordered all new diesels and repaints to be done in the single dark blue scheme with 2 end chevrons in white.


As to similarity with Wabash, they are close - am not sure of which came first however.


Here it is applied to a GP.


..gregg

1490921_799507656774772_5683760725967609931_o

Attachments

Images (1)
  • 1490921_799507656774772_5683760725967609931_o
Last edited by Gregg Laiben

A little thread drift.....a friend sent me a couple of mechanisms to have some wipers added.  Turns out they're for GP 7 or 9s and have KES drives already installed.  It took a lot of work to fit wiper mounts into the trucks but we finally got them done.


The locos run fairly well but the clutches make way too much noise for me and really don't run as well as they would with just large flywheels installed instead of clutches.  Don't get me wrong, the workmanship done by Stu far exceeds anything I'm capable of and I don't pretend that my stuff runs better than his works of art.  I think I had the most fun just admiring his efforts.


The only other issue, for me, is the Pittman motors with Alnico magnets.  If these were mine I'd replace them.


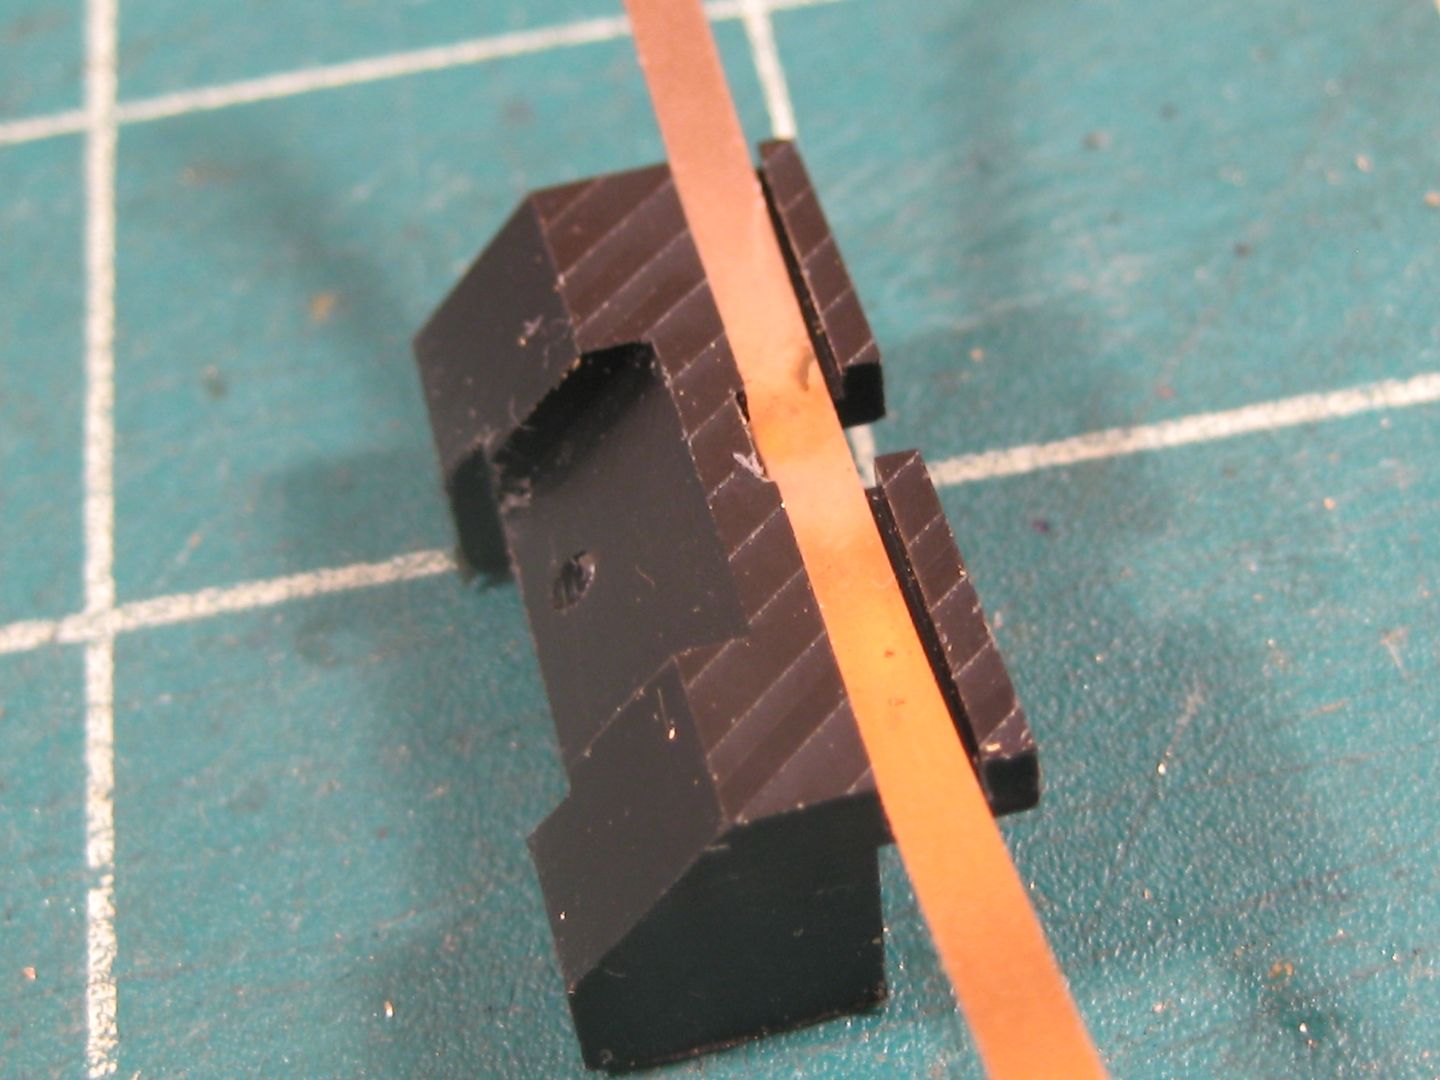
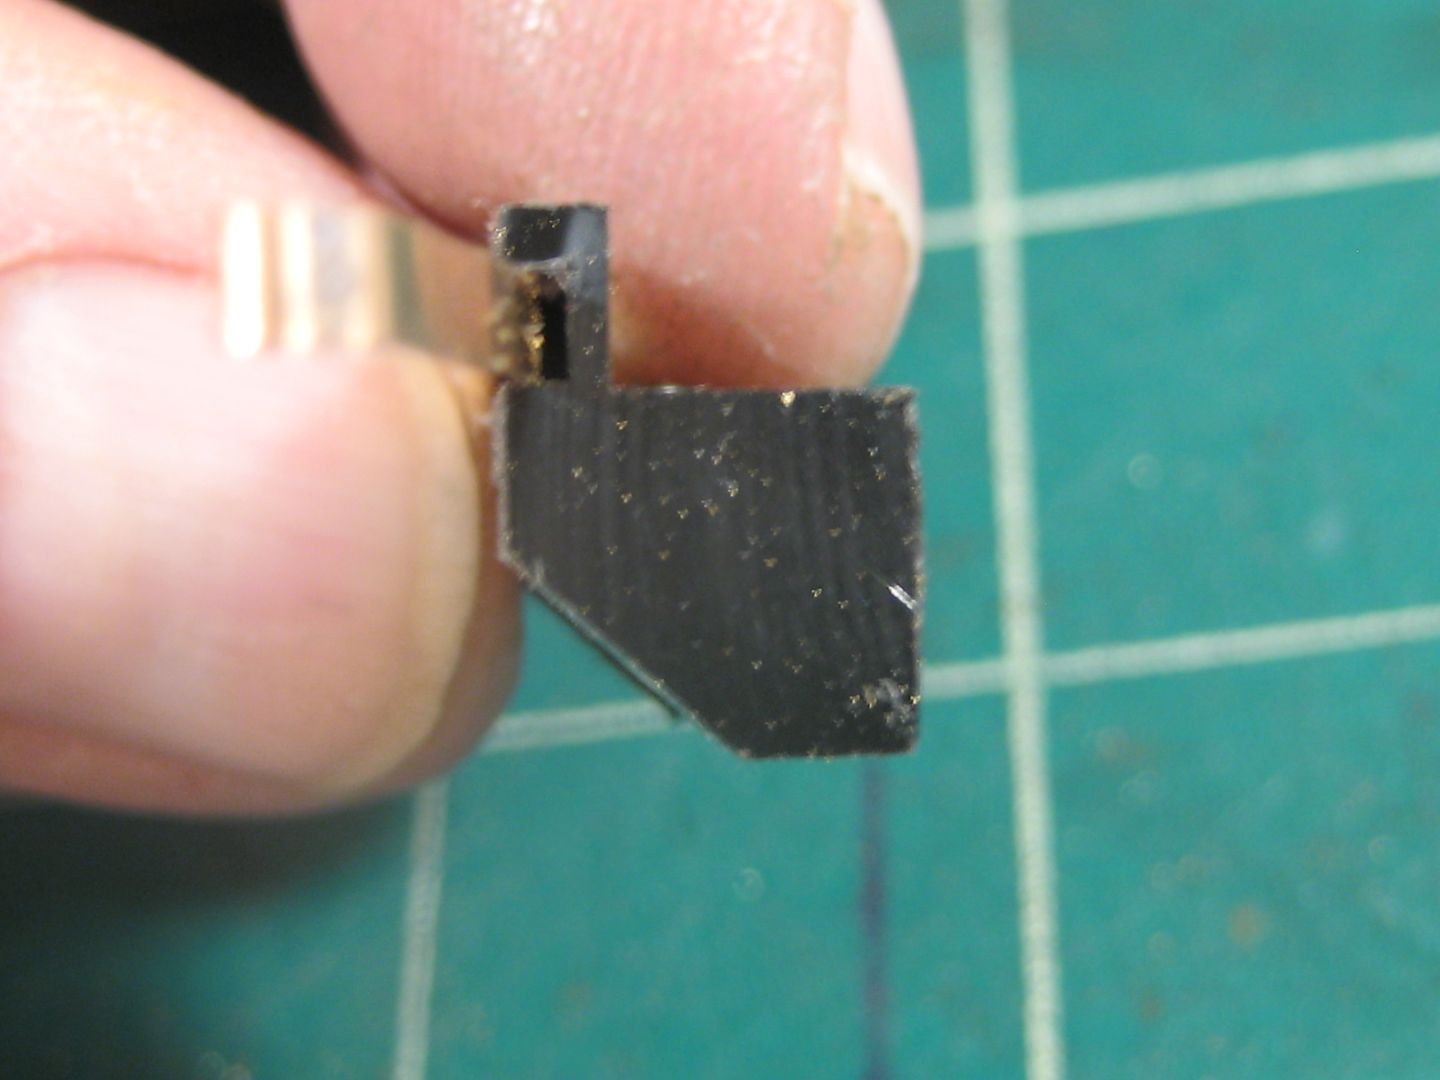
Just for my personal entertainment I've included some photos of an example of the wiper mounts created for this model.  I think a lot of folks think I charge too much to fabricate them.  The truth is, they're a real pain sometimes and not really a money maker.  As an example I probably have four or five hours wrapped up in these examples.


Anyway here's some photos.


Last edited by Jay C

Well, it's not an Overland but I didn't feel like opening a new thread.


Just finished this one. It's a Car Works FM H-16-44. It came with a Weaver drive. The owner wanted a new drive, DCC and concersion to P48. Runs fairly well and draws less the 1/2 amp at full throttle.


I installed a new Faulhaber gear head motor.  The gear head has a 14:1 reduction and is a planetary type.  Everything beyond the gear head is 1:1.  All bearings, including the axle journals, are ball bearings. It has an HO Tsunami decoder, it doesn't need anything larger because at full throttle it draws less than 1/2 an amp.  This particular model was converted to P48.

The bottom two attachments are actually videos. If you click on the picture you may get a video. Since I really don't know what I'm doing when I try to create the videos it's kind of a crap shoot! Hope they work.


Jay

Last edited by Jay C

Very nicely done Jay.  Nice attention to detail, e.g. the grommet for the electrical pickup wires through the chassis to the trucks and the notch with the cover plate on the side of the motor riser stand to secure the wire bundle.  I need to make some risers myself to keep the truck pickup wires from rubbing on the flywheel on some Overland drives.


Scott K.

Austin, TX


Add Reply

Post

OGR Publishing, Inc., 1310 Eastside Centre Ct, Suite 6, Mountain Home, AR 72653
800-980-OGRR (6477)
www.ogaugerr.com

×
×
×
×
Link copied to your clipboard.
×
×