Sarah,
Beautifully done. May I ask what you used to get the deck to look so good?
Ralph
Hi Ralph,
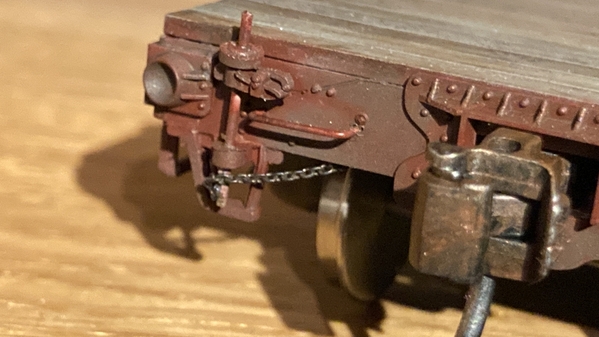
I made a bit of a mistake by gluing the kit together and then thinking about the wooden deck to be painted on. On the next car I will paint the deck and then assemble the sides and ends. So I had to mask off the deck, something that could have been avoided. I used Tamiya light grey primer for a base coat. This helps the acrylic paints to stick on plastic even more and in this particular case the primer is also the actual color of the wood deck.
I've thinned down a light brown Vallejo Air even more and used this very thin color as a stain to certain boards. I did three different tones, one was sand and the third one a more reddish brown. This way I got some variation.
Over all this I went with ENAMEL wash by MIG (Dark Wash). Here I've also thinned down the wash even more with MIG enamel thinner. I've pained the thinner on with a broad head brush plank by plank, adding a bit variation here again. Finally I decided that it could be just a bit more brownish in general and added Vallejo ACRYLIC brown wash.
Here comes my experience so far: If you do multiple layers of paint, you might want to use a combination of enamel and acrylic paints. otherwise any manipulation by brush or just the soaking of the next layer would loosen the paint underneath. These two differently based products don't interfere with each other and give you a lot of freedom.
Lastly I added some fuel stains and splashes with MIG Streaking Grime sprinkling them off the toothbrush with my thumb. I've used a tiny brush to soften up the bigger splashes working in the direction of the wood grain.
Happy modeling!
Sarah