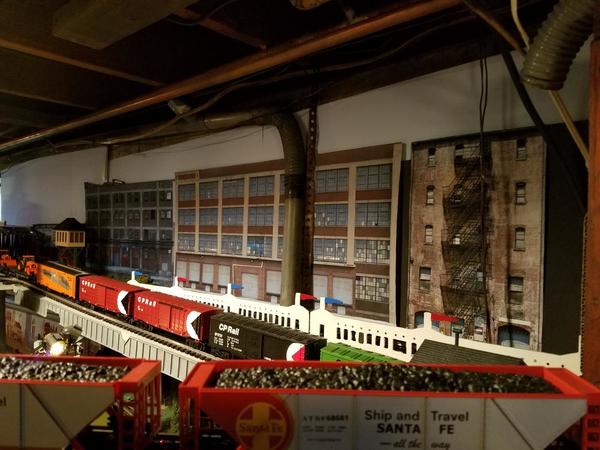
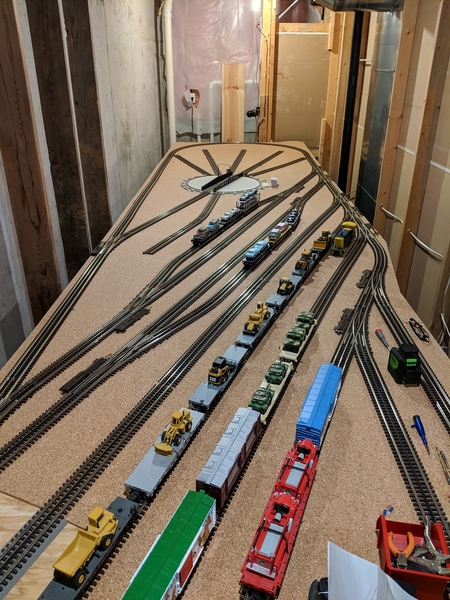
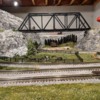
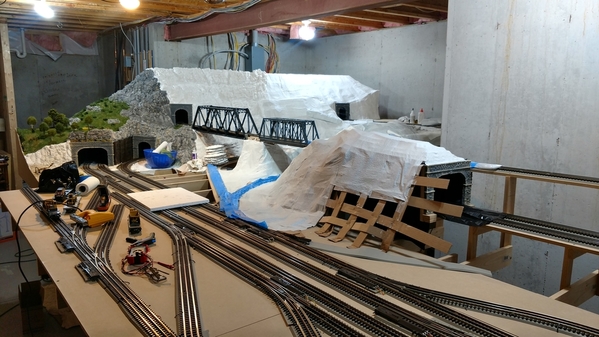
I've been working on my scenery, and I thought I'd post a video to show my progress. I'm planning to put a logging operation in the valley behind the bridge and a silver mine on the upper level behind the valley. As you can see from the video, I still have a lot of work to do.
Replies sorted oldest to newest
Whoa! That’s SOME progress. That layout goes on forever! ![]()
JOhn
Nice progress, You sure did make full use of your space. Keep posting
I really like your rock work and the retaining wall will look good. Do you have a plan for accessing the hidden tracks when the scenery is completed. Access looks tight around the furnace, but that may not be the case and I am fooled by the camera!
John - exceptional work so far, but that's a lot of scenery to complete.
Thanks for the video. Post more photos when you complete your Silver Mine and logging operations.
Sean
Thanks everyone for your comments. I have thought about access, and I think I will be okay. There is actually about an 18" gap between the back of the layout and the wall, so I will be able to walk around and access most of the hidden areas from the back. I am planning on building an access hatch at the center of the valley seen at the beginning of the video. There will also be one hidden track on the far side of the layout that will only be accessible by crawling under the table.
John,
Very cool. I love the work you did with the rocks/mountain. Reminds me of my three-room table layout. It took me a few years to figure out how to build around the existing stuff without interfering with their functions. It's a never ending project. It looks like you left just enough space (in most places) to get under there for backdrop installation. Otherwise, as Mark suggested, you may need one of those topside creepers.
Looks great, and a really interesting track plan. Keep us posted....
Jerry
Attachments
John,
Those access areas in the back are seldom visible to me in photographs and I don’t think of them probably because I don’t have room to do it myself. Sounds like you are covered on access! A very good plan!
Jerry, Those are very nice photographs of yours as well!
johnf posted:There is actually about an 18" gap between the back of the layout and the wall, so I will be able to walk around and access most of the hidden areas from the back.
You will have lots of incentive to remain thin as you age.
Awesome Work!
Ron
Here are a few pictures and a video to show some of the progress on my layout:
I live in Kentucky, so I have to have a horse farm.
I just finished putting together this model of a silver mine.
I finally installed my Atlas turntable on the other end of the layout.
Here is a short video of a new bridge I installed near the center of the layout. I think I'm going to put a small town in this area.
Attachments
All the scenes look great, John! I really like the rock coloring!
Stunning rock work as well as track work! This layout already has a lot of character. Please keep the wonderful progress coming.
Dave
Johnf,
Any chance of sharing your rock creation and painting techniques? Outstanding work!
Thanks for the comments everyone.
Bob,
Here are some more details about how I did the rocks:
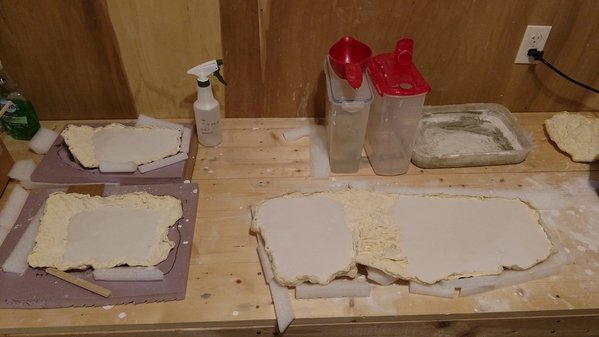
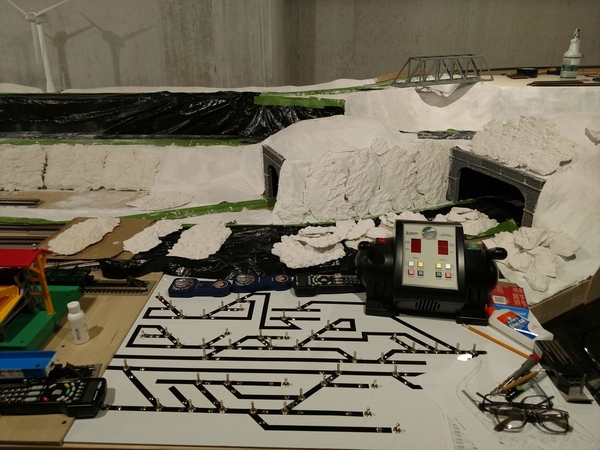
I used latex molds from Bragdon Enterprises to make hydrocal castings. I placed these as close together as possible and filled in the seams with carving plaster from Woodland Scenics. Then I used a small metal scraper to rough up the carving plaster to make it blend in with the hydrocal castings. Finally, I painted the rocks using the "leopard spot" technique that is described in this video from Woodland Scenics.
This is a picture of the latex molds. I made some smaller castings to help fill in the gaps.
This shows some rock castings in place but before the seams are filled in.
This is about half way through the process.
Attachments
Thanks, John. Lots of work but worth every bit! Bob
Nice work, John.
What is the diameter of the curve at the end of your turntable ? I'm trying to figure out if I can install the Atlas TT inside either and O-36 or O-48 Fastrack reversing curve - thanks.
Richie,
The curve is 54" diameter.
Thanks, John - you have plenty of room there, so it looks like I might be able to go with O-48, possibly with eliminating one finger and shortening them a little bit.
Wow! Very nice, I really like the length, you will be able to run long trains and have them look good. Great progress on the scenery, I understand with a layout this large the scenery takes time and some times seems daunting, don't get discouraged, in time it will be done.
Ray
John:
Thanks for this thread. Your layout looks to be great. Keep the progress reports and the "How-to's" coming.


