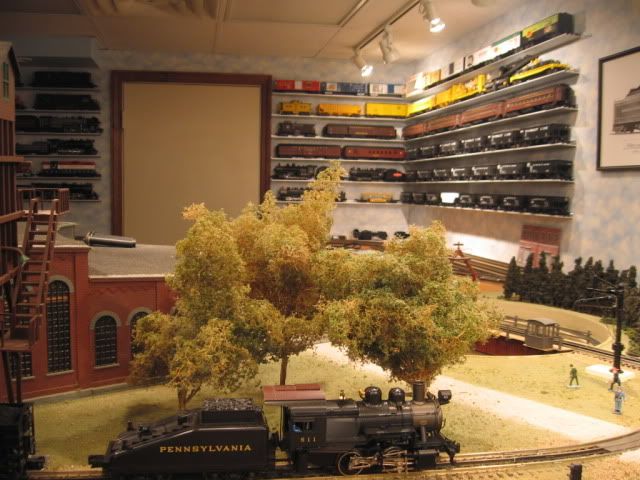
Last week, John Sethian asked a question regarding a "rack" of crossarms just to the left of my new NS Heritage PRR unit. I had no photos of to post of the trackside detail to post at the time, but I shot off a few yesterday, so now I can answer the question.
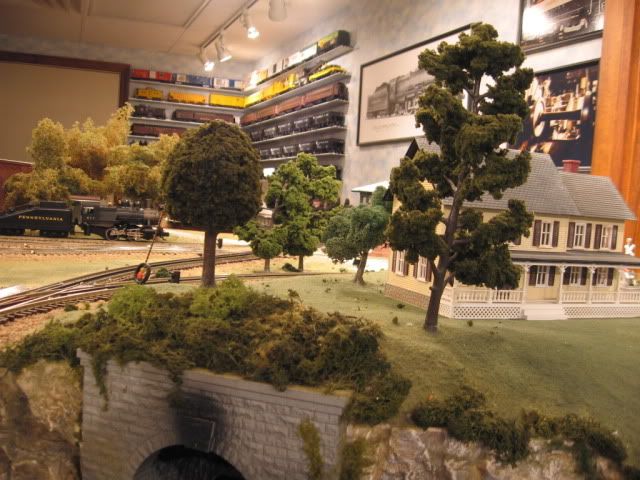
What you were seeing was a line pole installation designed to span waterways. I have photos of the prototype (which I will try to locate and post later). I studied them for a long time before I finally figured out what was going on. Basically, the pole line was installed as a suspension bridge. On the end "towers", two upright poles were used, and the crossarms were mounted low on the uprights, with crossbracing mounted above. Three sets of anchor wires were used to resist the pull of the suspended section.
Two crossarm assemblies were suspended from the suspension wires that spanned the creek. These carried both the usual communication wires attached to the insulators as well as two heavier co-axial cables attached below the crossarms.
I scratchbuilt the entire structure using Weaver line pole kits and, Evergreen styrene strips, gray thread, and twine dyed black.
I never saw the real intallation which was torn down my Conrail in the 1980's, and figured I would never get to see a real one. I was proven wrong when my son and I rode the California Zephyr out west. My son who shares my model railroading interest started yelling out to me as we crossed a dry stream bed where the line poles crossed the chasm by means of an installation very similar to the one I modeled on the layout. Eventually, we saw 3 or 4 or these, and it was very gratifying to see that my modeling assumptions made on the basis of some old phtographs was correct.
So John, that is the story of what you saw in the photos last week.


")

")


![20131102_122531[1]](https://ogrforum.ogaugerr.com/fileSendAction/fcType/0/fcOid/22829637004595840/filePointer/22829637006932503/fodoid/22829637006932498/imageType/LARGE/inlineImage/true/20131102_122531%255B1%255D.jpg "20131102_122531[1]")
![20131102_122531[1]](https://ogrforum.ogaugerr.com/fileSendAction/fcType/0/fcOid/22829637004595840/filePointer/22829637006932503/fodoid/22829637006932498/imageType/LARGE/inlineImage/true/20131102_122531%5B1%5D.jpg "20131102_122531[1]")


