I got my New Year's resolution done, and got my parts box and my workbench drawers organized...


This paid off, as I found a gi-raffe spring I didn't know I had, so was able to replace the rubber band on that 3376 I built from spare bits last year... 

Mitch

Wow that's great organization Mitch. My stuff is spred between 3 rooms and very hard to locate. I'll second your resolution but it'll probably take till March a little at a time.

Fixed a loose banana nut DCS failure.  Also noticed that the looseness caused a few of the terminals to melt, so I ordered some new ones.  Then upgraded my tiu and old handheld remote so everyone can play nice with the new remote I got for Christmas. Then, I figured I’d install some woodland scenic fencing I received for Christmas.  Pretty good product. I particularly like how the double door gate came out -


E1CC237E-5AE9-420F-BB29-6D8246529BA01ACB199B-A89D-4853-9319-569B53235581

Attachments

Images (2)
  • E1CC237E-5AE9-420F-BB29-6D8246529BA0
  • 1ACB199B-A89D-4853-9319-569B53235581

Chris A

Thanks for the tip on track painting. I tried it today and it works great. I did not have any acetone handy (and did not want to use wife's nail polish remover) so mineral spirits was used instead. My shop towels proved too fluffy and were removing too much paint. I cut up some Bounty paper towels and wrapped them (wet) around the wood block. The results are good. even though the paint was adequately removed from the center rail, the rail top retained a slightly darker color. Most of the track is very old and the galvanized surface became discolored which is a plus. The trains run fine on it.

Fixed a loose banana nut DCS failure.  Also noticed that the looseness caused a few of the terminals to melt, so I ordered some new ones.  Then upgraded my tiu and old handheld remote so everyone can play nice with the new remote I got for Christmas. Then, I figured I’d install some woodland scenic fencing I received for Christmas.  Pretty good product. I particularly like how the double door gate came out -


E1CC237E-5AE9-420F-BB29-6D8246529BA01ACB199B-A89D-4853-9319-569B53235581

That fencing is good looking .

Is it a wire mesh ? 🤔

Definitely a lot going on in this scene.

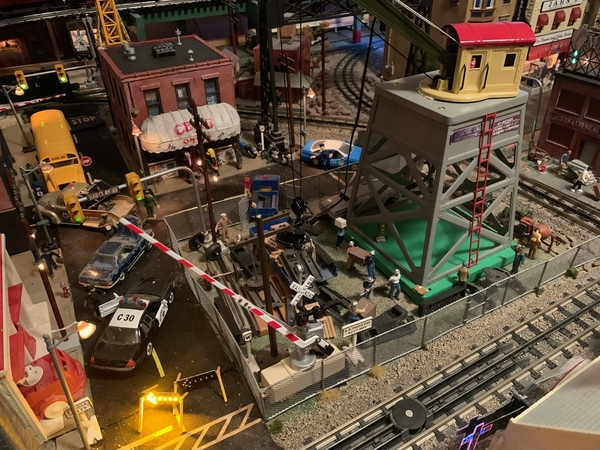
Well, I had some big plans for the layout this week since I was going to be home from work, but didn't plan on coming down with COVID, along with my poor wife.  No fears, we're doing much better and are appreciative of the prayers and help of dear family and friends.

This evening was the first time I fired up the layout since getting sick and I ran one of my favorites - a Korean War era 726rr. As you know, this model was made without Magnatraction, but that certainly doesn't keep her from pulling a long consist of traditional size modern, MPC, and postwar era cars.

L1040206

L1040208

Attachments

Images (2)
  • L1040206
  • L1040208

That fencing is good looking .

Is it a wire mesh ? 🤔

Definitely a lot going on in this scene.

Thanks Dallas. It seemed like it, but it could have also been a brittle, fine soft plastic mesh. It cut rather easy with scissors. The poles were plastic, which also made for easy cutting with an exacto knife when opening up the gate doors.


Hey, @don winslow, wishing you and the wife a speedy recovery!

Last edited by Strap Hanger

@Don Winslow- Good to hear that you are both on the mend. We had a Covid Christmas here in the RSJ&B household too. That 726 is a beauty.

@Strap Hanger- the fencing looks great. Glad you found the loose wires before more severe damage occurred.

@romiller49- the dock looks great. Fit's perfectly in that spot.

@M. Mitchell Marmel- you know there's an old saying about a clean desk.........

Bob

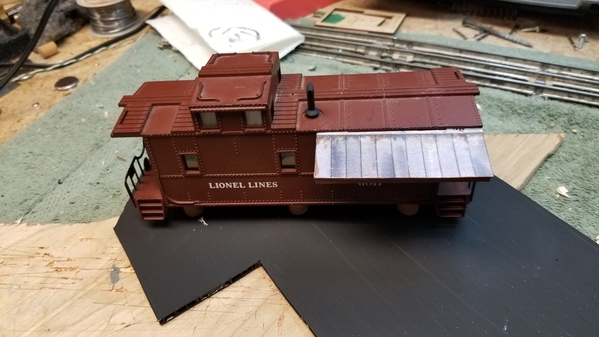
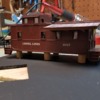
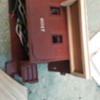
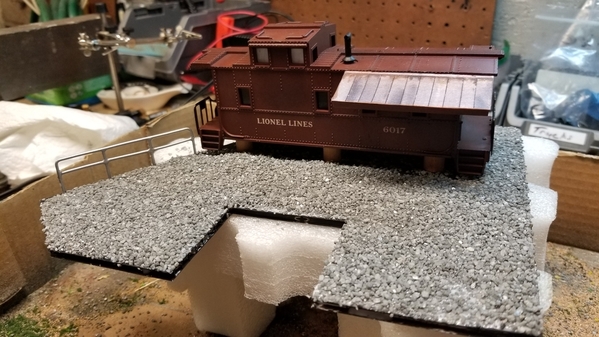
I finished the roof and glued it to the car last night. I'm going to take a shot at weathering it today. I'll spray it with clear matte later.

2022-01-02 08.02.022022-01-02 08.02.132022-01-02 08.02.18

I was planning to show off the layout to the family over the holidays. Covid changed those plans...

I had an idea that would let me run 2 trains on the main loops and add my bump and go trolley along the front. The Menards F7 only needs about 8-10 volts to run at less than light speed which was just right for the trolley. I tried it out and it worked perfectly.

Merry Christmas and Happy New Year to all.

Attachments

Images (3)
  • 2022-01-02 08.02.02
  • 2022-01-02 08.02.13
  • 2022-01-02 08.02.18
Videos (2)
2022-01-01 18.33.02
2022-01-01 18.33.53
Last edited by RSJB18

Very nice video Bob. The yard office is really nice. That’s a great touch with the foundation and the overhang. How is that attached?

I made three "rafters" and just glued it to the car. I was originally going to make the roof longer and have posts coming down to the ground but I didn't want to block the view into the car with a long roof. This solved both issues.

2022-01-01 13.25.51

Attachments

Images (1)
  • 2022-01-01 13.25.51
Last edited by RSJB18

Hi folks

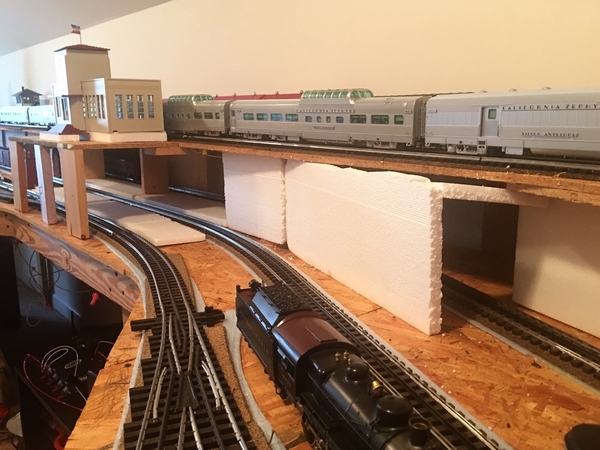
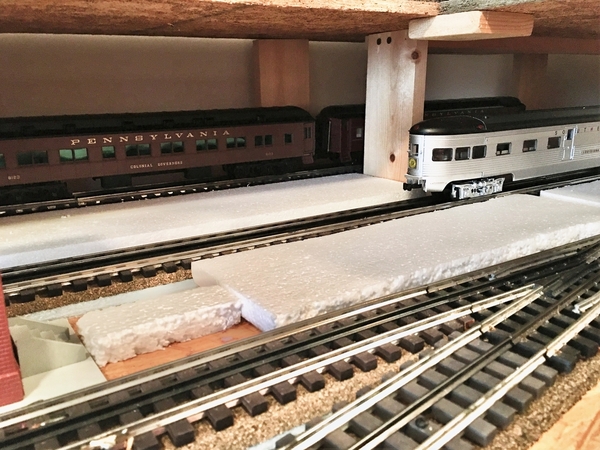
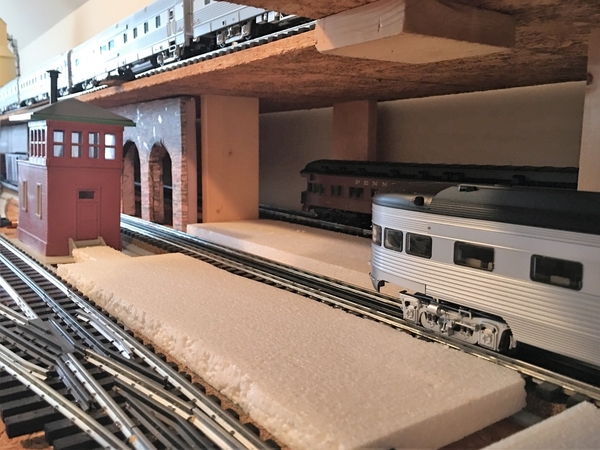
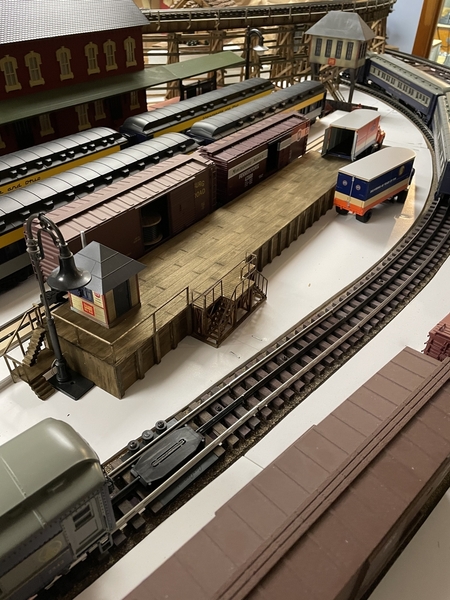
been away for a while. so today I managed to spend a little time on the Waxhaw layout. In the layout room, the waxhaw division is a double deck folded dogbone if you will. There is an area that is quite a narrow shelf area, being about 24 inches. I chose to locate the Union station here, using a American   Flyer Union station sitting on a raised foundation on a platform extending over the lower level railroad. The building seems to have the right proportions and dimensions for the spot. Boyh levels have three tracks in the station.

So today i decided to play with some styrofoam to use for platform bases and structural walls. These are actually sections which were once packing materials. I made cuts with a utility knife yielding the pills as you are sure to know. Fortunately, the resulting edges can be sanded relatively Smooth.  A portable hand vacuum is useful for catching all those little pills that result from the cut.

So here are a few photos of what is happening so far. I think this will work  out  nicely

IMG_1305

The styrofoam i had seems to result in the same height as the rail so using some cardstock for the elevation shoul give the platdorm a slight height above the rail without interfering with operation

IMG_1306

from the opposite direction

IMG_1307

on the right, using the same material to form a tunnel portal for the track below the station.

IMG_1308

looking from above

IMG_1309 [Edited)

added some trains on the lower level

IMG_1310

looking back

IMG_1311

From above with the trains. Looks like a busy place. I have some photos of Uptown charlotte that i want to use as a backdrop at this location.

IMG_1312

twp streamliners departing .

Hope you enjoyed the discussion

Attachments

Images (8)
  • IMG_1305
  • IMG_1306
  • IMG_1307
  • IMG_1308
  • IMG_1309 (Edited)
  • IMG_1310
  • IMG_1311
  • IMG_1312

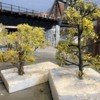
Dave,  Great looking trees.   I'd love to know what are you using for tree trunks/armatures for the "Green Trees" in the photo I copied & pasted below ?   

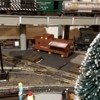
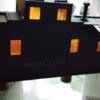
Bob,   Love the caboose project, lighting looks just right, not "brilliant blinding blue white"...  It's amazing how well done the proportions and the tooling was done on those PW Lionel Cabooses,  I always liked them.   Looks great under the deck girder bridge, perfect location. 

@chris a posted:

Bob,   Love the caboose project, lighting looks just right, not "brilliant blinding blue white"...  It's amazing how well done the proportions and the tooling was done on those PW Lionel Cabooses,  I always liked them.   Looks great under the deck girder bridge, perfect location.

Thanks Chris- I got the caboose as a throw in with a loco I bought a while back. I forgot I had it until I found it in a box recently. The lines on the shell are sharp and it is well detailed for a molded body. I used warm white LED's that I stripped out of a dead set of Christmas lights. The one next to the door is yellow. My test power is 4.5v and I have a 200 ohm resistor in line.

Bob

Last edited by RSJB18

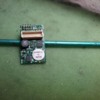
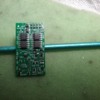
Still trying to figure out how to get the pride of my fleet running after running an errant wire through with a screw.

20220101_10593120220101_10520220220101_104613

Tried this donor board and got lights ,sound  ,coupler operation , smoke and even two bell response on conventional reset and the factory reset on full DCS system.   Full acknowledgement that everything is OK  even after unlocking from neutral ..........still no movement  forward or reverse.     

20220101_10475920220101_104722

Maybe  I'll have to wait until MTH makes the board available................well......at least this gives me something to do at the layout ......at least maybe for an hour or so to try and figure out. 🤔

Attachments

Images (5)
  • 20220101_105931
  • 20220101_105202
  • 20220101_104613
  • 20220101_104759
  • 20220101_104722
@chris a posted:

Dave,  Great looking trees.   I'd love to know what are you using for tree trunks/armatures for the "Green Trees" in the photo I copied & pasted below ?   

Chris,

The fall and green trees are both  made from sea foam material. You can get it from scenery express, most hobby shops, or online vendors. It's what they call their Super Trees. I've been really happy with the appearance these have, especially considering how fast they can be made. Most will be used as "background trees" or in areas where I need a lot of trees but they could very easily be used in the foreground as well.

Dave

https://ogrforum.ogaugerr.com/...9#157970176314749439

Follow up videos from post on page 1071 regards 4 trains running.  I was able to get most everything working in time for Christmas Eve.  The grandkids (and their parents) really enjoyed it.

Also, apologies if this doesn't post correctly. Since it's my first video post it will probably be a learning experience.

Attachments

Videos (2)
2021 Train running 1 - Copy
2021 Train running 2 - Copy

Thank you much, it was (for me) quite an undertaking and mostly above my skill set.

The trestles on the two outer most loops at table top level are Lionel, the sticks holding up the elevated 4th loop are 1/2 x 3/4" wood cut to 8 and 3/4", then screwed to the table top from below followed by attachment to the elevated 1/2" MDF rail bed.  Note, I would determine the location for each stick while using levels to maintain vertical, then I'd drill a hole thru the table top, get off the table top, crawl under the layout, find the hole, put a 2" screw in the hole, get back on the table top and turn the predrilled stick onto the protruding screw.

The simulated trestle / hand rails on the elevated 4th loop came from TW trainworx

https://www.twtrainworxstore.c...oduct/r31-trussrail/

The MDF rail bed for the elevated loop was cut out with a jig saw after I taped paper templates to the 4' x 8' MDF sheets.  The templates were created with craft paper taped to my garage floor then I zip tied the tracks and turnouts together to maintain dimensional integrity, then used a compass to add 2" to each side of the both sides of the outer rails.

Dave thanks for the reply.   I am surprised, shocked actually, that that is Sea Foam.   I bought the large Super Tree  kit from them probably 4 years ago.  When I opened the box, the sea foam branches were horrendously small.  I wrote back to them and told them I wasn't modelling in N or HO scale and wanted decent size branches like I had seen on the YouTube video demonstrations.  They sent me about 6 - 8 more branches that they said were larger...  Still didn't get anything that was able to make a tree even 6 inches tall...   Anyway enough of my whining.  Glad you got a box of realistic size, mature Sea Foam branches.   

I have been cleaning up and organizing both the main work bench and the front and center of the layout.  Opened a box of plaster castings my daughter and I made last year, of the Pennsy Stone Block Walls, knowing that I was going to be needing many more than I was willing to pay $14.50 a section for.   I am so glad she and I took the time to make the Latex cotton gauze re-inforced mold.  I think I have cast 11 wall sections so far.

So here's some photos as I rough things in.  Going to open my painting and weathering file and review my notes from how I painted and weathered these walls 4 years ago.  I'd like to "duplicate" the dark brown" color mix that I achieved on the set around the station.  We'll see how good my notes and memory are ????


DSC07712DSC07713DSC07715DSC07716

Attachments

Images (4)
  • DSC07712
  • DSC07713
  • DSC07715
  • DSC07716

Chris,

You're correct, most of the trees would be considered smaller for O Scale. They are usually put further back on the layout or mixed in with larger and smaller trees for variation.  I really like the idea of creating a mold from the retaining wall.

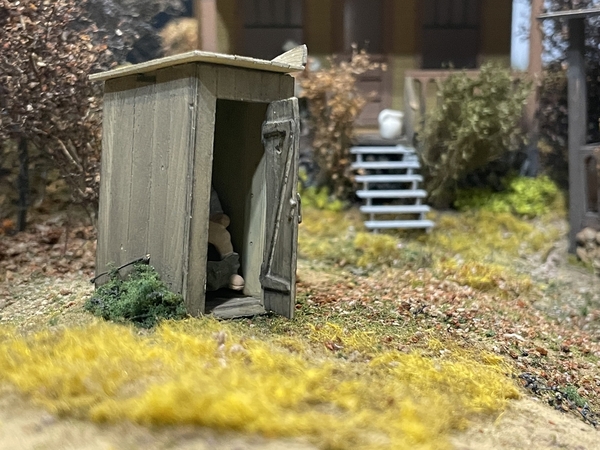
Today, I did some detailing on a pop-up section that is located further back in one corner of the layout. The guy in the third photo says, "Get out of here with your camera and d..n details. I would like to keep my details to myself, thank you".

Dave

corner pop-up homes installed

corner pop-up homes installed close up

out house in corner pop-up

Attachments

Images (3)
  • corner pop-up homes installed
  • corner pop-up homes installed close up
  • out house in corner pop-up
Last edited by luvindemtrains

Add Reply

Post

OGR Publishing, Inc., 1310 Eastside Centre Ct, Suite 6, Mountain Home, AR 72653
800-980-OGRR (6477)
www.ogaugerr.com

×
×
×
×
Link copied to your clipboard.
×
×