In a post I did on new years eve, I asked everyone what their goals for their layout are for 2013.  Most of you said lay track, do scenery, or work on projects that are long over due.  Forum member david1 gave some great advice, and said work on the layout every day, if it is only for 10 minutes or 3 hours.  It doesn't matter just do something.


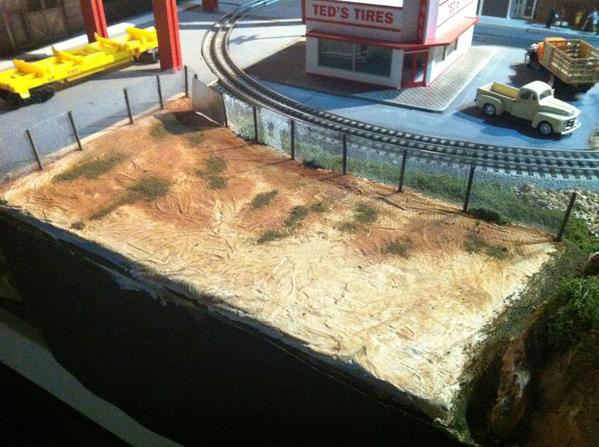
I took that advice and am running with it.  1st day I started a simple custom bridge and cut the river out of the foam that the bridge will go over.  Day 2 I did a little plaster cloth on a small section of my layout.  Day 3 I did a little more plaster cloth.  Tomorrow I might wire up a switch that isn't done yet.  All small projects that take 10 minutes or less.    


My point is normally I would have waited until I had 3 or 4 hours free to do all of this in one chunk, and it wouldn't already be done.  After an hour or so I might get a bit bored and find something non layout to do, like waist time watching TV.   I am much farther ahead then I was just 3 days ago and if I keep up this pace I can really accomplish a lot this year.  


I was thinking we could have this thread to just post each day what we accomplished on our layout.  Some days we would get more then others.  We could look at this thread as encouragement to do more each day.  No a layout is never done but by just putting in 10 minutes or 3 hours each day, we can all be a big step closer to being finished.


So what did you do today on your layout?

Last edited by OGR CEO-PUBLISHER
Original Post

Replies sorted oldest to newest

I plan to "plant" a few more bushes and remove the smaller, more fragile trees along the base of the layout. All too often they are bent, damaged or knocked over from my leaning over them. The slightly large trees will stay as they work best around the edges and are less fragile. That was today's plan but never got to it. 


I did run the track cleaning car around for an hour or so. Picked up a huge amount of crude, even without fluid. Excellent products (Centerline car). 

I've been looking into the possiblity of tearing out my mountain and redoing it with skiers and maybe a cabin if I can squeeze it in. Lot's of napkin scribbling and measuring so far but it's looking like my next project. I did sandblast a pretty beat up set of Lionel 2440 passenger cars today, was going to paint them red and black but my grandson is really pushing me to do a Ravens passenger set since no one makes them, along with a red and black set, along with a red and green Christmas set, along with a orange and black Orioles set, etc., etc. ,etc.


Jerry

I went up to work in the train room for just a few minutes after dinner last night--emerged several hours later.  But did get to work on several things: cut out and super glue pieces of packaging plastic onto people feet, landscaping around the church and Granato's grocery, and final detailed painting on a laser-cut garage.


Time sure flies when you're having a train moment!

I just received my MTH R36 NY Worlds Fair subway set the other day. I was doing a good run of it today along with setting up all the station stops for "auto mode". Added the correct MTA logos (thanks to Steve (SIRT) for the artwork). The cars really look great with those logos added. Next project is to add passengers to the cars.

I have been designing my new Super O Layout.  I designed my way out of a few issues today, and now have a very workable layout design.  22ft x 46ft for phase 1, which is about like the last layout, but now with some room to grow in the future.


Will be up late tonite working on benchwork which is about 1/2 done.  I should be gandydancing in a week or two!

worked 8+ hours, Picked up kids from daycare, Cooked them supper.

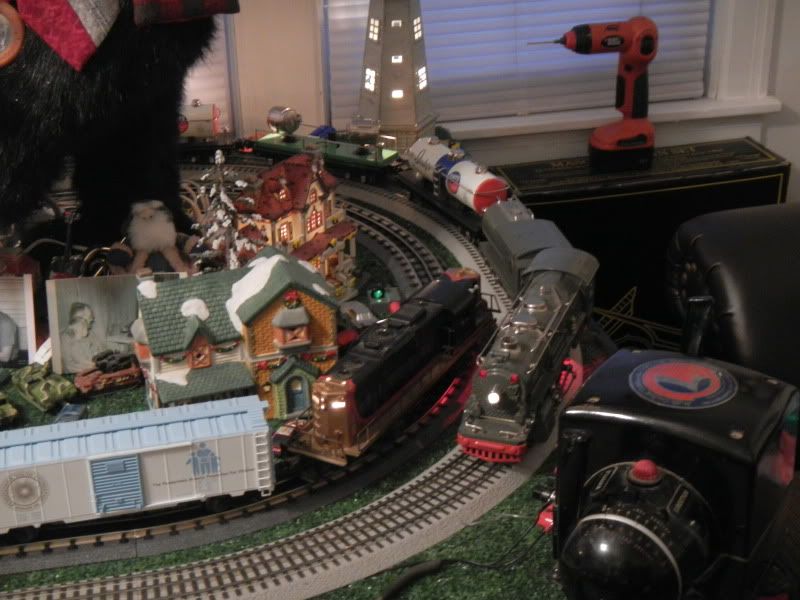
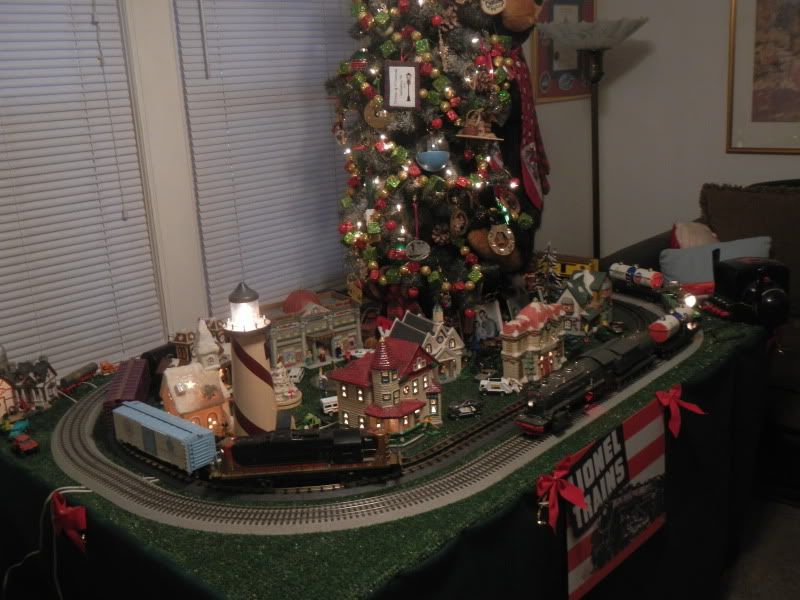
Then ran the Christmas loop for the younger ones for a half hour while I ate.

They still love it despite it being just a elongated loop.

Then I went into the Computer room and worked on designing the corner liftout for my benchwork in Solidworks 3D modeling software. That is ongoing, eventually the entire layout may be modeled. 

Getting this corner liftout right is the key to the new layout. Without it I am dead in the water, I must have access to the basement behind it.

Once It is in place and working I can convert to around the walls for lots more space and trackage.

After several false starts I made my control panel for the South side. I started with a 1/4" ply but it was warped. It's only an 8 X 12 piece.   Anyway I was going to use a piece of 1/2 ply; but the toggles are too short. So I gave up my idea of a wood / paper/ plexiglass sandwich and used a recycled lamenated sign. I'll have to etch the diagrahm on there.  Now I don't like that screwhead on the switch control so I stopped work until I find better screws.

DSC00617

DSC00616

Attachments

Images (2)
  • DSC00617
  • DSC00616

Just for kicks I'm making a gauge panel that lifts up. It's out of site when not using. It contains:
Amp meter
Volt Meter
Timer (it logs the hours and minutes I'm running trains with running total)
Kill button ( big red knob you twist and shuts everything down except TIU)
Thermometer (attached to brick)

I run mostly command and prefer all electronics out of sight. If someone is visits that's interested I lift panels and remove covers to show all the cool electronics. I love this hobby. Just felt like doing it. Total time to complete: 3:45 min of fun? I hooked timer up quickly last week and I'm at 11 hours track time. Cool toy but don't let wife see it...kidding

I swapped a 180 watt brick with a 135w one. Then I took the 135 watt brick and hooked it up to a Powermaster which is now feeding power to all the accessories. After that was up and running, that freed up the last circuit I was using on my ZW, so it's ready to be removed from service.


Of course I was "testing" the new configuration, so I didn't want to unhook any wires from the ZW while the trains were running So for now the ZW is still in place with wires hooked to it.


J White


My railway time was mainly spent on locomotive maintenance. I had been awaiting some replacement parts from Lionel which arrived in the post yesterday. So I was busy swapping out a smoke fan motor and replacing the pilots on my F7s. The Legacy F units are such an absolute dream to work on, they are my favourite locomotives. 

Bought some metal shelving at Ocean State Job Lot to organize my "warehouse" room of trains. At $20 to $40 they are a great buy and I haven't been able to find them anywhere else. These are ALL METAL, no partical board so they are light in weight while still strong enough for storing boxed cars, engins, accessories etc.. The room is a mess right now and I have to get it organized!!!


Paul Goodness

Hey, I like this thread so much I'm posting to it !


I am trying to work on the layout every day. Not drudge jobs, though. I did too much of that prior to the Holidays.


Today I finished the wood planking for platforms by Munoz Station and weathered the tracks with Bragdon powders. I also started work on a small section house. Took some photos of the interior detail of my diesel shed.


eliot


Grandson Micah arrives 7:00AM (Sat. 1/05/13) with his GP20.  We spent some time hooking-up a TIU, Passive mode, signal only to the tracks.
The GP20 did not smoke well so we spent some more time improving smoke output. Re-arranged the fiber wading in the smoke fluid chamber. Added smoke fluid to the dry fiber wading.   By the time his father came, 1:00 AM, we had the GP20 running well. Still a little gear noise, but I think it will wear in.

What did I learn today from a 10 year old. ?
(1.) You can crash you engine without crashing it. Apparently there is a DCS crash sound sequence.
(2.) There are (3) different smoke volume controls.  Low, medium, high.
(3.) The number boards can be turned on an off.
(4.) There is a special place on the train shelves for his engine.

(5.) We'll run the engine "shiney" for awhile, until it gets older, then we'll weather it with grimmy black to make it look used.  
(6.) Lunch is at 11:45AM.

 Now that was a GREAT Day

Mike

Last edited by Mike CT
Originally Posted by pennsyfan:

Mike,

Isn't it great to share the hobby with the little ones? I never had so much enjoyment before my Grandson's got interested.


Great layout pics, thanks for sharing!

I 100% agree.  I have a 2 1/2 year old son and his eyes just light up every time he sees a train.  I have really enjoyed just running trains with him, and he is learning how to use the Legacy remote to control his favorite train, the PM 1225.


As for the work ont he layout today I was able to switch out some pins on some of my Fastrack Switches to make it mate better with my Gargraves track to leads to the wye. I used some Gargraves to Tubular track pins that a forum member sent me and it worked great.  I had to open up the switch and pull out the Fastrack pins.  Took me about 10 minutes per track and now the transition is so much more smooth then what it was.  

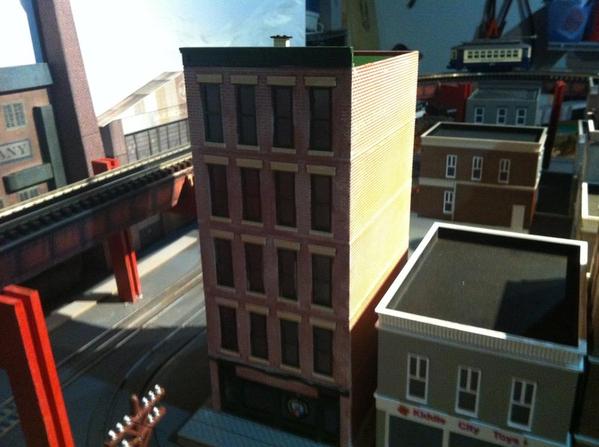
I haven't had much time to work on the layout over the last 2 weeks with my inlaws in town.  But they left on Wednesday and my progress has started to move forward on the layout again.  I have started to install a covered bridge that forum member Alex Malliae has built for me.  He also should have a water wheel done for me by next week, and after I receive it I will finish cutting my river out exactly how I want it.  I will spend the next 2 or 3 weeks laying plaster cloth over the entire layout.  


What have you done on your layout today?

I started applying Roberts Brick Mortar on my new MTH Heartbreak Hotel.  Started building a new Clever Model's structure, just waiting for my lights to show up from China. Started scenicing a yard area on the layout.  I am going to work on another Clever Models Structure tonight and probably weather the Hotel and a Lionelville structure.


IMG_4036

IMG_4037

IMG_4035

Attachments

Images (3)
  • IMG_4036
  • IMG_4037
  • IMG_4035

Stared at it, daydreamed, coughed 23 times, ran out of Kleenex, returned downstairs for more meds and water and to continue rassling the recliner


So, the answer is I did nothing to the layout. But I will catchup.

[there is no bacteria on this post---cough, cough].


Some mighty good looking work shown up above.

I put together a dummy K-line MP-15 today.

Last Tuesday a friend showed up at my layout with 2 K-line Alco FA's and 2 K-line EMD MP-15's. Only 1 FA would run. By the end of the day I improved the Alco FA that would run. Replaced the E unit in one of the MP-15's with one that I had, Installed the trucks from the damaged MP-15(broken shell) on to the second FA. Just like the 1 to 1 scale railroads we had to do some cutting on EMD trucks to get them under the Alco FA.

For my repair work my friend gave me the MP-15 frame and the broken shell.

Today installed Lionel dummy trucks under the MP-15 frame and added my good non-damaged K-line shell to make a new dummy engine. The engine will go to the paint shop in the near future. For now it looks like "Johnny Cash" built it. 

All I did on today on my portable O-gauge layout was look at it because I am working on some N-scale projects right now.


I got the painting and track completed over the last few weeks. The weather is going to be great this weekend and I have three days off, so I will get a good start on the scenery starting tomorrow.

Making a switch control panel out if oak. It will control 16 turnouts. Indicator lights will be tiny LEDs. Keeping it very small so it tends to blend in with the layout front. I  have Legacy control of the switches also. These are just for fun.  Using different color LEDs to represent different areas for turnouts; such as yards, crossovers, coaling area. Routes will light with different LED colors which I'm hoping my mind will recognize after using for awhile which patterns set which routes. Time will tell. Just blew first try by drilling one hole out of place. I'm staining and sanding second attempt now.

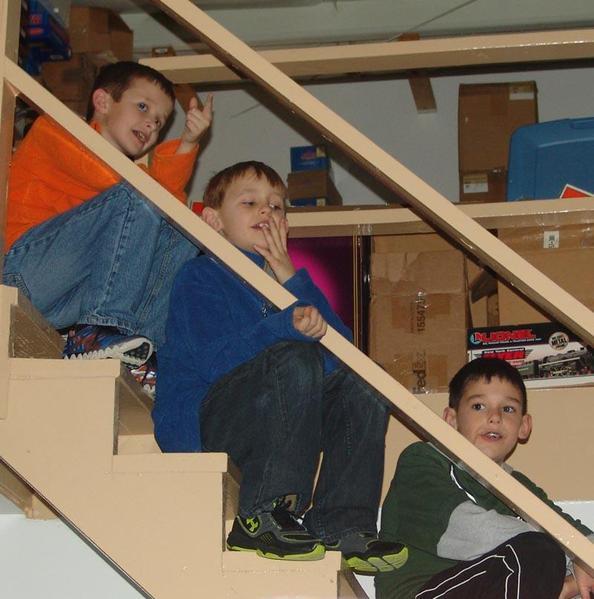
We got to Train Central about noon; ordered "sandmiches" and then being it was a no-school-holiday we had visitors back to back all afternoon.... So we just ran trains and taught 4 or 5 lads how to use the remotes..... we had a couple of engines drive into the caboose in front of them - but no damage..... even when we lost a dozen hopper cars off the track in a tunnel..... One gentleman was an HO guy and he said that it must have cost a fortune to add DCC to all of these engines..... LOL....  


These guys grabbed seats on the stairs to the attic for a bird's eye view....


Visitors_01212013_800

Attachments

Images (1)
  • Visitors_01212013_800
Last edited by MrMuffin'sTrains

Today I uploaded photos to Shutterfly of work I have been completing since mid December.  I have been rather dormant for months and then the “get busy on trains bug” bit me.  I have considered making up a train with some coal hoppers and tank cars.  Several years ago I purchased nine 2 bay coal hoppers.   So in December on a lark I started looking on ebay for tank cars.  I like the K-line versions because they are relatively inexpensive, the trucks are tolerably close to the steam era and the tank cars are close to steam era as well.  I bought a few here and there on ebay that were in good condition but as inexpensive as I could buy them.  I bought 10 at an average cost including shipping for $23.00 each, but one of them was a heavy model that I chose not to use for my project.  I disassembled nine of them and painted them flat black.  I made up some signage on the computer with a black background and white lettering and glued them on the cars.  They are not as good as decals, but it works for me.  I have completed other projects that I will post later.  Here are a few pics.


http://im1.shutterfly.com/medi...0/rx%3D720/ry%3D480/


http://im1.shutterfly.com/medi...0/rx%3D720/ry%3D480/


http://im1.shutterfly.com/medi...0/rx%3D720/ry%3D480/


http://im1.shutterfly.com/medi...0/rx%3D720/ry%3D480/


Last edited by pennsynut

Started painting the frame for the new control panel. Mounted up the broken control panel so that when I'm done paiting the new one, I can just remove a few screws from the piano hinge, and attach it to the new frame.


My Dad took these curves out and smoothed them out as they were just toooooo much for the 4-12-2. With flanges on the 1st and 5th driver.....this "S" curve just wasn't cutting it!


IMG_0590

Attachments

Images (1)
  • IMG_0590

Another project that wanted to get into was making PRR design signals.  I did some research on the web and found this sight.   http://www.railroadsignals.us/signals/pl/pl.htm

The design specs on the signals were just what I needed to start building.  I used , masonite for the bases;  9/16 inch wood dowel for the poles for rigidity (painted nickel to mimic weathered aluminum);  ¼ inch grid screen for the ladders;  Hobby Lobby wood discs that were just a little less than 1 inch in diameter for the faces.  I tried to drill holes in the discs that were properly aligned but even with a template it was quite difficult to do.  Then I glued bright yellow paper on the back of the disc.  It looked pretty good from a far, but the faces were just a little bit too small and the yellow did not stand very well.  Eventually I settled on a different method.  I used the drawing feature on the computer and made close to one inch circles, filled black. Then I was able to make very small circles for the lights filled in yellow and dragged them to precise locations on the black circles.  I did the same for the lower signal arms and cut them out.  The paper was quite thin and was white on the back.  I had some 3M spray adhesive that I sprayed on black hobby stiff paper and placed the print out on the black paper.  I cut each signal (32 round, 32 arms!!!) then glued the round on the discs for the upper signals and skinny stick pieces painted black for the lower arms.  I know that the actual signal displayed are in most cases not appropriate and would result in havoc in the real rail world but I can tolerate the fiction. Here are some pics.


trains jan 21-03 009

trains jan 21-03 010

trains jan 21-03 011

trains jan 21-03 012

trains jan 21-03 013

Attachments

I finished weathering and installing the stockade fence for my scrapyard.  Cleaned the track with ISP alcohol and some old flannel.  I also unpacked and ran the caboose and box car I got from a plankowner110 yesterday.  Bill it was nice meeting you, they look great on the layout! Then just sat and watched the trains run for an hour.


Kevin

Add Reply

Post

OGR Publishing, Inc., 1310 Eastside Centre Ct, Suite 6, Mountain Home, AR 72653
800-980-OGRR (6477)
www.ogaugerr.com

×
×
×
×
Link copied to your clipboard.
×
×