Background:
My dad grew up with American Flyer S-gauge trains. His first set was a dealer-custom Silver Bullet freight set, on which my dad replaced the link couplers with knuckle couplers. He also purchased the hobby store's demo of the 5306T Silver Bullet Passenger set at a reduced price. But the pride of his collection was a the 1955 5570H Silver Rocket Passenger set, which he purchased with his earnings from his paper route. He also had the oil drum loader and number pre-war Marx accessories, including the Grand Central Station. We grew up running my dad's AF trains round the Christmas tree and dreamed of one day having a permanent layout.
In the summer of 2015—inspired by the quite modest O-27 layout that I had begun that winter for my son and I, with my childhood trains—my twin brother, my dad, and my sister's ex, turned the dream into a reality, building a small, layout in my parents' basement.
Over the next eight years, we—especially my twin brother—significantly expanded the size of the layout and my dad's S-gauge and Plasticville roster. With my parents' move to a retirement community this past spring we had to dismantle the layout and move it to my brother's home.
Last runs:
Packed up and ready to go: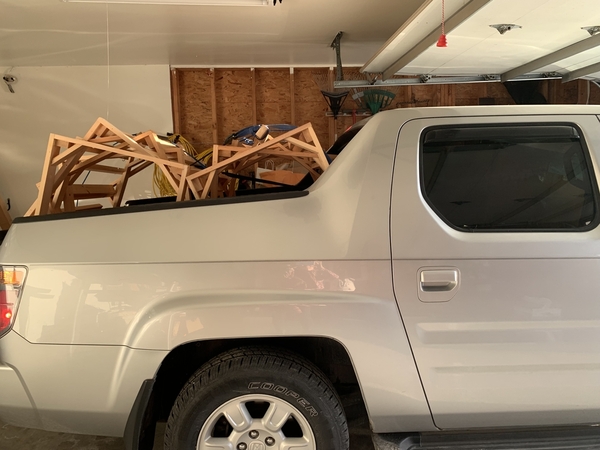
Amazingly, I think that we fit everything into just that truck. The cab was packed full.
Replies sorted oldest to newest
Later this summer, my twin brother and I finally started to build a new layout at his place.
The original plan. (We had to make some adjustments, especially to the yard.)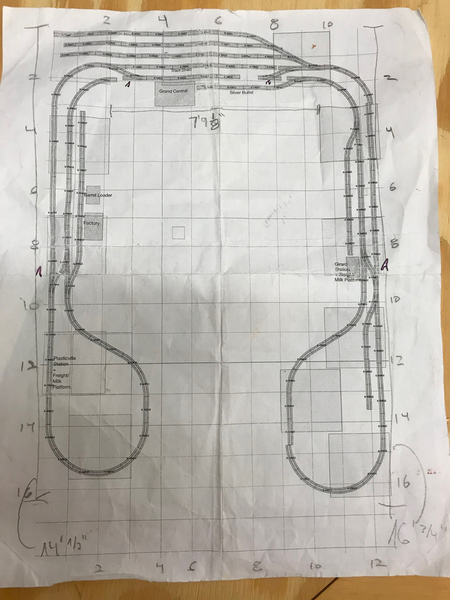
We began by positioning the 2'x2' modular benchwork and extensions that our sister's ex had built and then connecting them with 4"x1".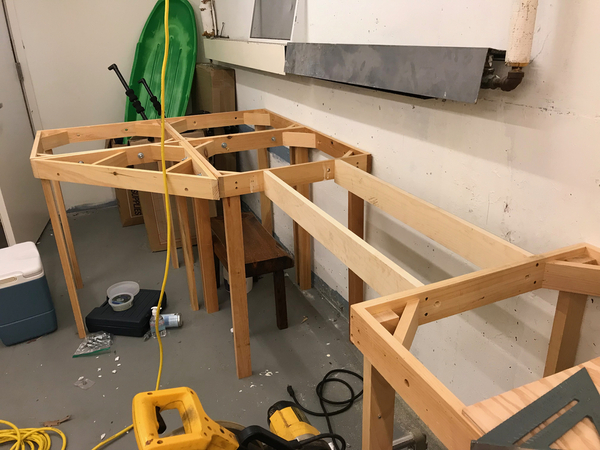
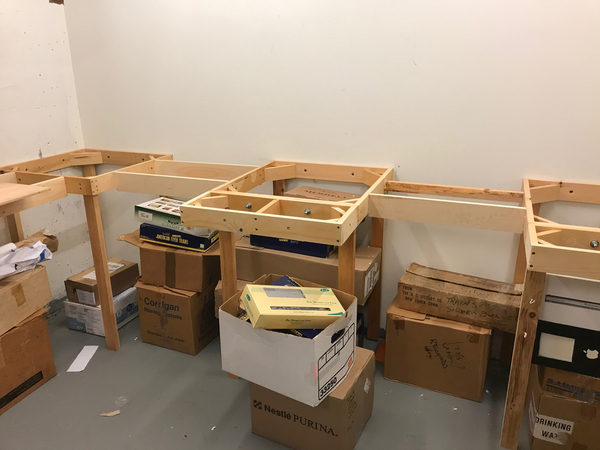
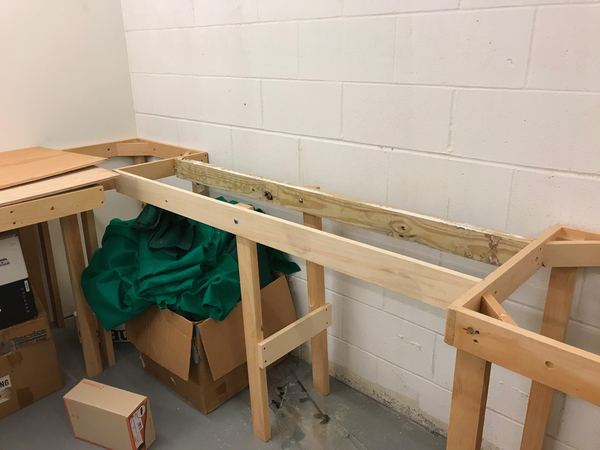
Then we covered it with 1/2" plywood.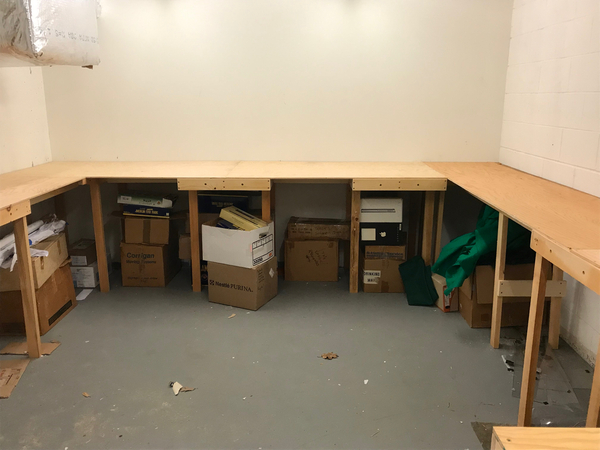
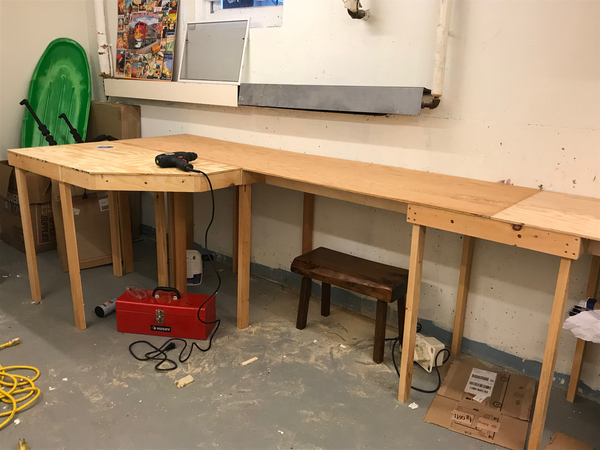
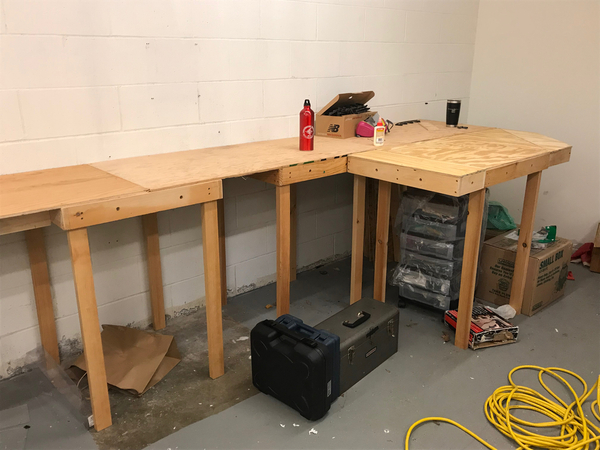
The felt was laid down.
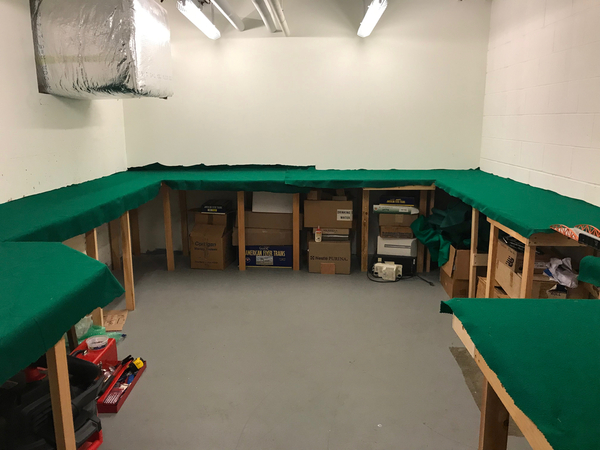
And then the trackwork and initial buildings were put in place.
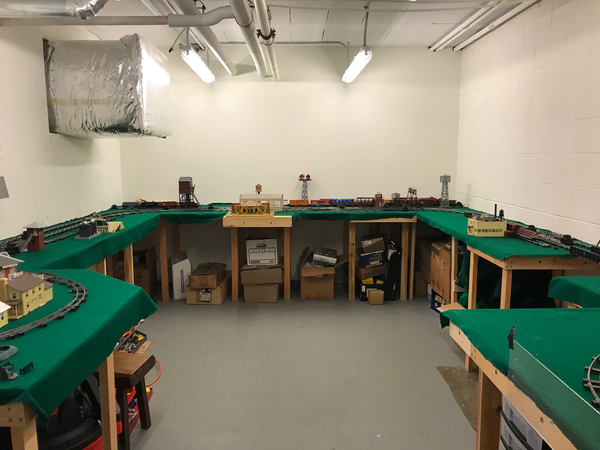
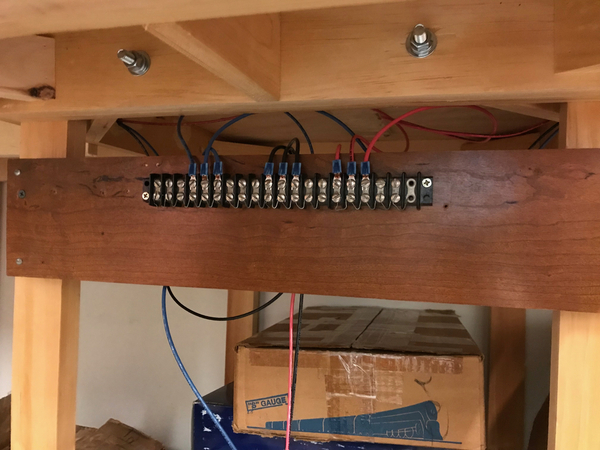
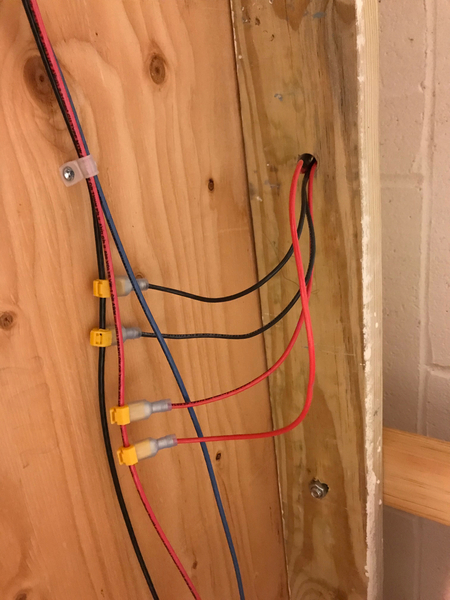
Next up was the wiring. At first Atlas snap relays were used, but those couldn't handle the current, so we switched to Dallee relays.
A view of the yard.
Not all of my dad's Plasticville fit, such as the OG airport terminal and hangar, tollbooth, et cetera, but we did pickup the bank, super market, hardware/drug stores, motel, tv station (repurposed as a motel office), an apartment building, and a second factory.
An industrial spur.
A panoramic view of the layout.
The oil spur.
My brother just picked up the Flyonel NYC PA passenger set.
Attachments
Nice job
I like both the original that was taken apart and the new layout. Classic postwar style layouts, even with the SHS switcher and the Lionel AF NYC passenger set. I also see some American Models full scale 84' sleepers and diner. How do they run, it looks like the main loop is 20"R track? It is nice you included crossovers that function as a reverse loop. The new layout room has a high ceiling. Thanks for the post and the videos.
@AmFlyer, thanks! The NYC switcher is a Flyonel Baldwin. Not pictured are a couple of AF Pacifics and Hudsons, all with NYC logos or script on the tenders. The only non-AF/Flyonel locomotives are the MTH F3 A & B units. We also have the Flyonel NYC Mikado. There is a bunch of SHS and AM rolling stock mixed in. The 84' cars run fine on both the old and new layouts, both of which are made out of OG AF track and a few pieces of K-Line 20"R track.
84' Sleeper train:
What I liked about the old layout is that you could run the inner and outer loops independently, but they were connected. The downside is that they were pretty basic ovals.
With the new layout we were able to have a more interesting loop with, as you noticed, reverse loops with the four crossovers. (Credit goes to my brother for figuring out the wiring.) The downside is that we currently can't run two trains simultaneously. The plan is to be able to independently power the yard and part of the mainline in front of Grand Central so that switching can be done in the yard, while the a second train runs on the mainline.
A note about the Seaboard switcher and the cars attached to it: Save for the recently acquired Seaboard caboose. When my parents were packing for their move, we discovered a box from my late uncle that contained the Seaboard switchers, powered & dummy units, and a bunch of cars. Because my late uncle was younger than my dad, most of his cars were later 5-digit AF cars, so we didn't have any duplicate car #s. Some of them were in pretty rough shape and weren't worth salvaging. It just took cleaning the contacts and a little old, hardened lube to get the Seaboard powered unit running like a charm.
Attachments
My comment was about the Seaboard switchers, at first I thought they were SHS, but now I see they are Gilbert. I have my 84' cars operating on 30"R track, AM states they require a 27" minimum radius. I have never tried them on 20"R track. Everything you have seems to be running like new. Enjoy the layout.
Great job. Thanks for sharing. Hope the layout will bring you and your family great pleasure.
Very nice "classic tinplate" AF layout!
You and your brother have a fantastic layout. I love that Silver Bullet steamer. It's so shiny! It's great to see all those classic AF engines running. They're running great.
The videos take me back to when I was a kid, too many years to count. Trains were just for fun, not trying to duplicate the real world of railroading. Open the throttle and let 'er rip. Thank you.
Ed
A very nicely done "old school" layout. No DCC, or other modern (in)conveniences. Enjoy.
@AmFlyer posted:I have my 84' cars operating on 30"R track, AM states they require a 27" minimum radius. I have never tried them on 20"R track. Everything you have seems to be running like new. Enjoy the layout.
We assume that the 27" minimum is because the 84'ers can't make it through the AF switches. As you can see they have no trouble with the R20 curves. I'm guessing that if you had a low-profile switch, then they could make it through.
It really is amazing that these toys, most of which are 65-70 years old, still run so well. The lone exception is the Silver Rocket. When we first built the old layout, it was struggling, and we realized that it had the wear-issues of the axle wearing away the trucks' bearing surfaces, and sent it in for bushings to be installed. Regretablly, rather than paying extra and it taking longer to receive the original trucks back with bushings installed, we went for the standard already-repaired trucks swapped in. They've never worked well. After much fiddling, we got it running OK on the old layout, where it made right-hand turns only. With the new layout, we discovered that when it makes left-handed turns, it struggles. There's some sort of extra friction, so we've got to explore how to reduce that.
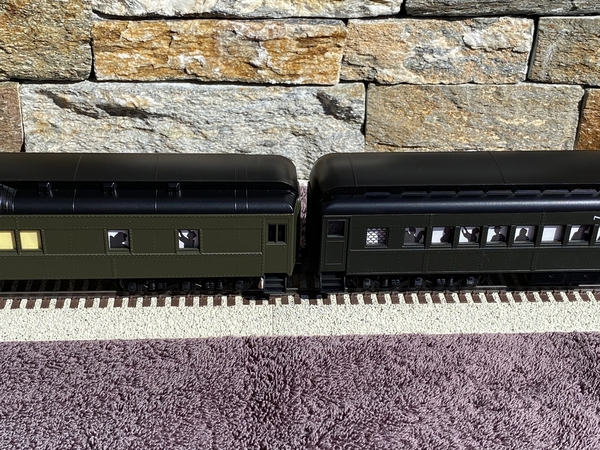
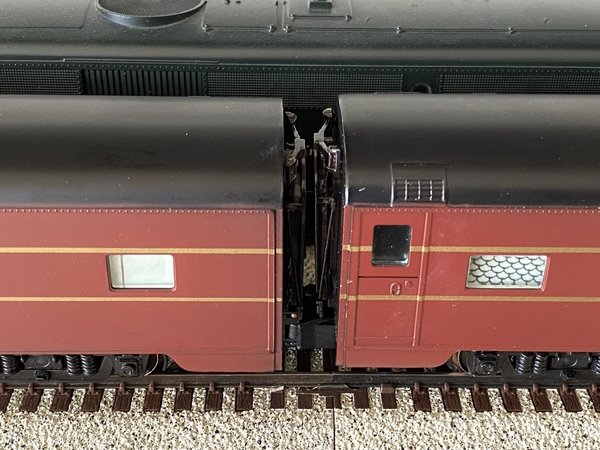
Matt, I set up some 20”R track for a test. All of my American Models cars have been modified for close coupling with the truck mounted high rail couplers. This was done by shortening the coupler arms by 1/4”. The 70’ cars will still run on 20’R track, the 84’ cars will not. The reason is the wider coupler body contacts the steps, limiting truck rotation. Unmodified the narrower arm contacts the steps allowing a larger truck swing arc. The picture shows the underside of an 84’ car with the shortened coupler arms. The other picture shows two 84’ AM lightweight cars with the close coupling and added diaphragms. The trains look a lot better with these simple modifications. The 84’ cars also have AM LED light strips with window inserts added.
Attachments
I like the fire extinguishers in place! Great safety feature
Gunny
@gunny posted:I like the fire extinguishers in place! Great safety feature
Gunny
Thanks! There's just the one, but my dad pointed out that a fire extingquisher should be placed near an exit, so I moved the location. But, yes, I have one near my own O-27 layout and I was insistent that my brother get one.
Great job. Thanks for the background story, in progress and final photos and videos. Well done in traditional postwar layout style. Great fun to run, no doubt. Especially striking, as I'm about to take mine down and get rid of the benchwork in order to move into a house too small for a layout after having this one for nearly 20 years. Good to see a new one up and into action as another goes down. Flyer forever. Keep the tradition alive and enjoy.
Nice job!! Thanks for sharing.
Awesome story, thanks for sharing


