


Bruce, You really did a nice job! It looks great!!
built a small shed out of cardstock and placed it along the main behind the enginhouse.....
Attachments
Images (1)
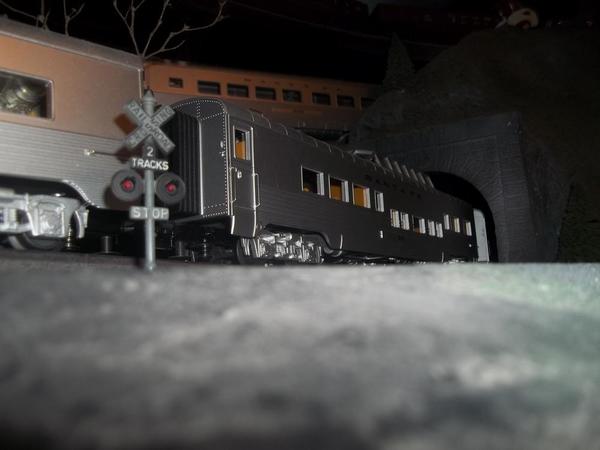
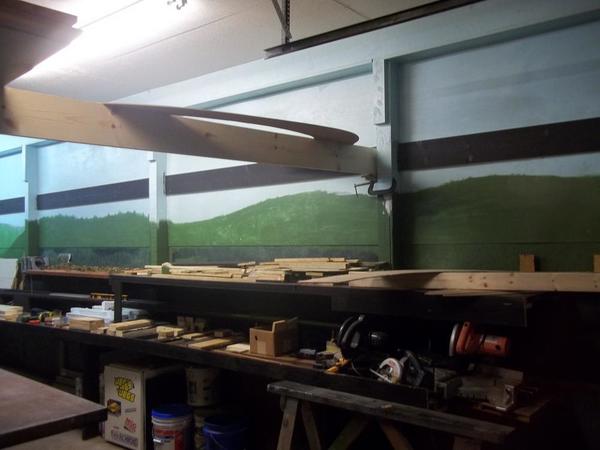
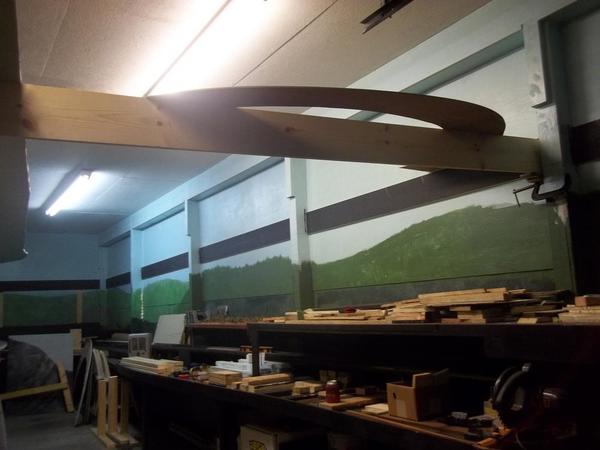
Bruce, real nice bridge. GANDYDANCER1950, the shed added to the scene. This evening with just a little bit of time I cut the girder to length and worked on the road crossing for the three tracks. No more work till Sunday afternoon. Saturday I'll be at the TCA show in Parma selling some things. And Sunday there is a train show in Medina Ohio that I want to catch so no work till maybe Sunday afternoon. Pics..................Paul


Attachments
Images (2)
That's a nice looking shed for the Cuyahoga Valley!!!
Paul, Have a good time at Parma and Medina!!
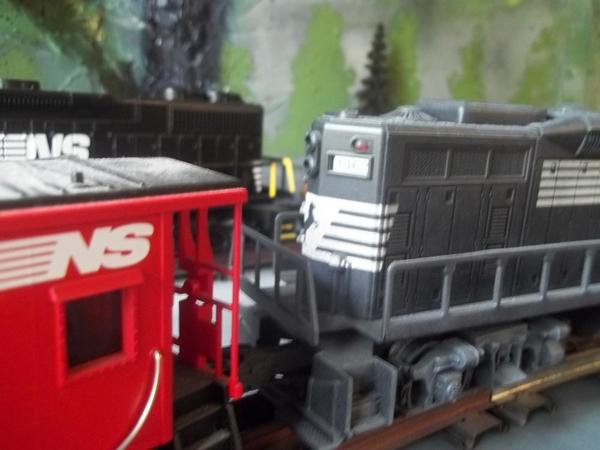
Train World had these WbB scale 44 tonners on sale for $170. Had to have one in Pennsy livery 

 !
!
Took it out of the box tonight, lubed it up, put it on the track, turned on the power and away she went. Runs great!! Looks great!!
Attachments
Images (3)
Mark Boyce posted:Bruce, You really did a nice job! It looks great!!
I agree. Amazing work!
A giant shark just wasn't enough, so I did some work on "The Gaveyard Shift" to have something to pull behind Jaws...a "big" double feature ![]()


Had to work in the wood load; another skeleton loggers car.


Trains; Gooood !
I'm thinking about hooking his neck bolts to a pick up roller ![]()
Because it would take a really big pairs of shoes? ![]()
Attachments
Images (6)
More on the DeWitt Clinton adapter:
Filed down the drawbar and truck for a better fit.

Clamped and glued.

Since anything worth doing is worth overdoing, I filled in the hollow upper coupler with some sheet styrene from a "For Sale" sign:


ProTip:
Baking enamel on die-cast metal: Good idea.
Baking enamel on styrene truck: Bad idea.
At least the enamel came out nice...

Having been sort of forced by necessity to go back to the drawing board, I decided to upgrade things with a metal MTH truck and a brass drawbar:

A couple of wooden Lionel barrels stuck in place with mounting tape temporarily.

(to be continued)
Mitch
Attachments
Images (7)
Took some more photos. I mean you’ve only seen a few hundred. ![]()


Attachments
Images (2)
Bruce, that looks great, may I ask where you learned to do that?![]()
Gandy, nice looking addition to the layout!![]()
Paul, next thing we know you will be running autos up and down your road! Looks good!![]()
Mitch, its coming along, keep up the good work.![]()
Ted, with the work you do, just keep the pictures coming, you have a wonderful layout there!![]()
mike g. posted:Bruce, that looks great, may I ask where you learned to do that?
Gandy, nice looking addition to the layout!
Paul, next thing we know you will be running autos up and down your road! Looks good!
Mitch, its coming along, keep up the good work.
Ted, with the work you do, just keep the pictures coming, you have a wonderful layout there!
Thanks Mike, you’re starting to bump Mark B for that nice guy title... ![]()
No Ted, it is everyone else on here that is nice for sharing what they do, so people like me can learn! Thank you all!![]()
mike g. posted:Bruce, that looks great, may I ask where you learned to do that?
Gandy, nice looking addition to the layout!
Paul, next thing we know you will be running autos up and down your road! Looks good!
Mitch, its coming along, keep up the good work.
Ted, with the work you do, just keep the pictures coming, you have a wonderful layout there!
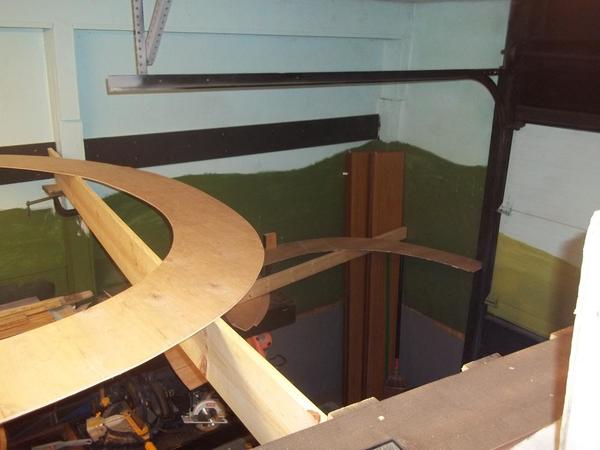
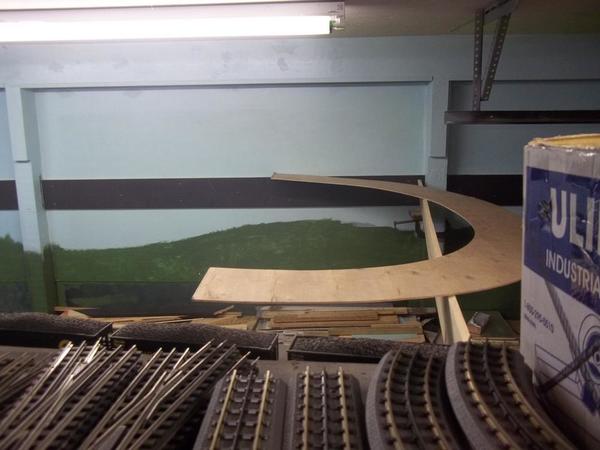
Thanks mike g. This is my first attempt at a trestle and of course it had to be curved! As for learning: I read every article I could find on the forum with "trestle" in it, I watched every youtube video I could find and then searched the internet for anything else related. As a side note I hand milled and stained every stick of oak. I ended up with 700 feet of 1/4 x 1/4 oak sticks and have used almost all of it.
Bruce
Wow Bruce, that's alot of cutting. I won't be building anything for a while now. At the hospital cause I ran my thumb threw the table saw
Waiting to get it fixed! Lol stupid me!
Thank you Bruce!
mike g. posted:Wow Bruce, that's alot of cutting. I won't be building anything for a while now. At the hospital cause I ran my thumb threw the table saw
Waiting to get it fixed! Lol stupid me!
WHAT...oh no !!!! I feel so sorry for you..get well soon..
mike g. posted:Wow Bruce, that's alot of cutting. I won't be building anything for a while now. At the hospital cause I ran my thumb threw the table saw
Waiting to get it fixed! Lol stupid me!
I have almost done that several times. I hope it is not serious and you have a quick recovery. I am having major gum surgery on Tuesday, so I probably won't be in the shop for awhile also.
Oh dear, Mike! Hope your thumb is feeling better soon!
Here's the thrilling conclusion of the DeWitt Clinton build...
At first, I was going to put wooden railings on, but they would have been either too delicate or too thick, so I opted to bend a pair from steel music wire.

First coat: Krylon "Gloss Bright Idea". The drawbar was brushpainted with Testor's Flat Black.

The deck was masked and painted with Krylon "Satin Brown Boots".

For Walleyworld rattlecan, it's not a bad match for the factory colors!

Mounting holes for Lionel wood barrels.


Barrels and railings installed.

Final assembly!


Since the intended motive power is a postwar Lionel Vulcan switcher, I dusted off the Giraffe Express's "Junior" for the inaugural run of the completed product:

A complete success, running flawlessly in forward and reverse!

Mitch
Attachments
Images (11)
Great job Mitch! Just 4 stiches.
mike g. posted:Great job Mitch! Just 4 stitches.
Ah, good. Be more careful with saws! I still have a scar on my right index finger from my Boy Scout days... ![]()
Mitch


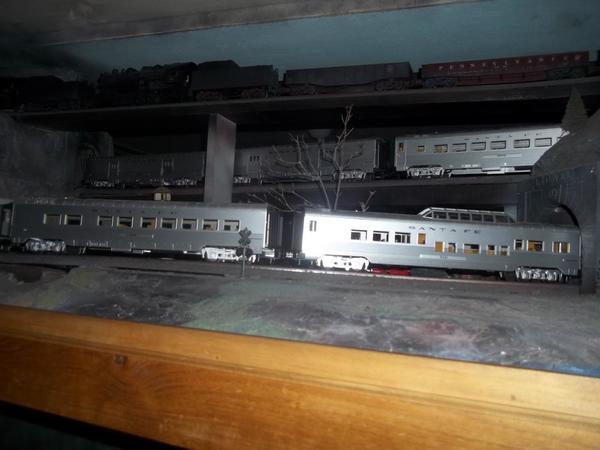
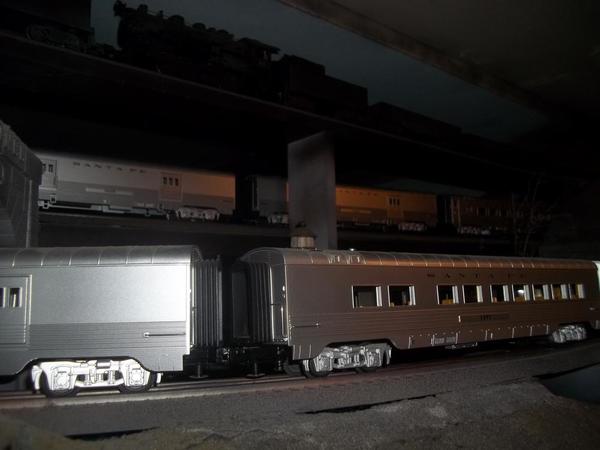
Santa Fe Saturday....passenger trains......
Attachments
Images (7)


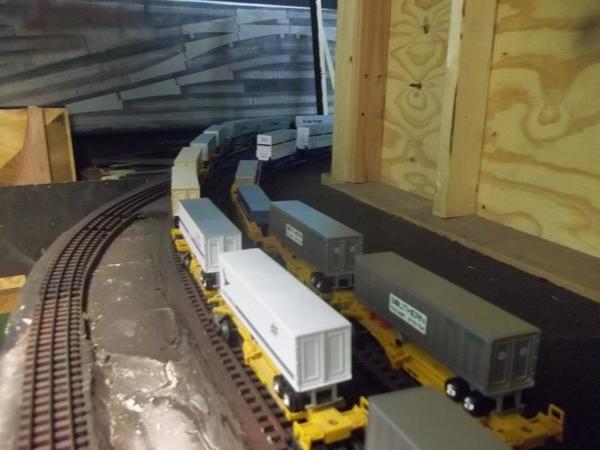
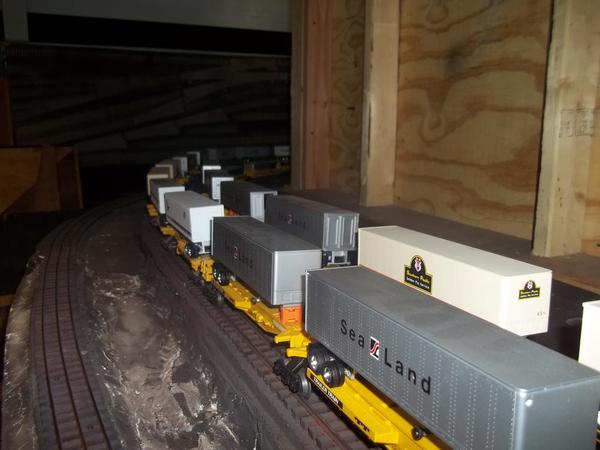
Was at a train show all day but I finally had a chance to open the package I got on Friday. New additions to the basement layout. After dinner I'll head back down to make up some supports for the two small table extensions. Pics............Paul


Attachments
Images (8)

TedW posted:mike g. posted:Bruce, that looks great, may I ask where you learned to do that?
Gandy, nice looking addition to the layout!
Paul, next thing we know you will be running autos up and down your road! Looks good!
Mitch, its coming along, keep up the good work.
Ted, with the work you do, just keep the pictures coming, you have a wonderful layout there!
Thanks Mike, you’re starting to bump Mark B for that nice guy title...
mike g. posted:No Ted, it is everyone else on here that is nice for sharing what they do, so people like me can learn! Thank you all!
Mike,
I agree with Ted!! You certainly appreciate all the fine work here, and those that share are really nice to us!
Bruce, Your hard research sure shows! That's a lot of work hand cutting the timbers.
Mitch, that is a great looking little project!
Mike, I am certainly glad it wasn't any worse than that!! You'll be good as new soon!
I still have a scar on my thumb from my Boy Scout knife! I learned to cut away not towards me.
Two words; sacrificial push-stick ![]() (
( ![]() )
)
Or is that three words? ![]() ,
,
This is two; "long ones" ![]()
I've seen enough of those to have a very healthy fear of all circular saws ![]() . The worst part is waiting to get strong nails again. Get used to needing a pocket knife with a pick
. The worst part is waiting to get strong nails again. Get used to needing a pocket knife with a pick ![]() .
.
I ran trains and showed operating accesories to a young guy who was picking up an old aquarium I had. He'd seen the trains before but never knew about the accessories. He's bringing his nephew by to run them in a few days.
Other than that I just hung out......

Attachments
Images (1)
RSJB18 posted:p51 posted:Got the final stuff ready for the Saturday op session, this sign is for the hardwood floor my wife protects more ferociously than many women look after kids...
As our front door is metal, it'll go up with magnets.
LOL Lee- I grew up with wood floors. Mom's rule was no shoes in the house- PERIOD!
PS- those slip on shoe protectors are a good alternative to removing your shoes.

My solution was when we remodeled our house two years ago to specify a separate outside entrance to the train room (the red door). It will be especially useful whenever i host a NMRA open house in March aka "mud season" in Upstate NY.
Attachments
Images (1)
I finally got to work on the layout today wired up the third track and some how I messed up because I got the inside track hook up to the third track. I guess it will be back to the drawing board tomorrow. I can not wait because I wont to play trains.
mike g. posted:Just putting it out there, if you buy a tool and it has a guard. USE IT! LOL I learned 4 stitches later!
Owie. Funnily enough, I just finished portraying Dr. Waldman in an adaptation of "Frankenstein", and that stitching reminded me of it.
Anyone interested can hear me on the radio on Sunday, 29 October at 3PM Central time here: http://kuaf.com
Mitch
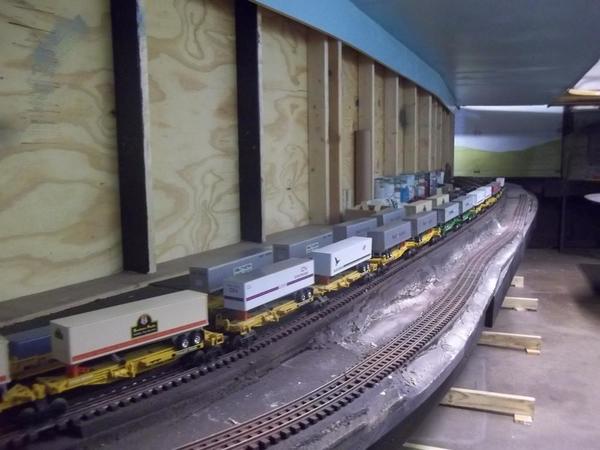
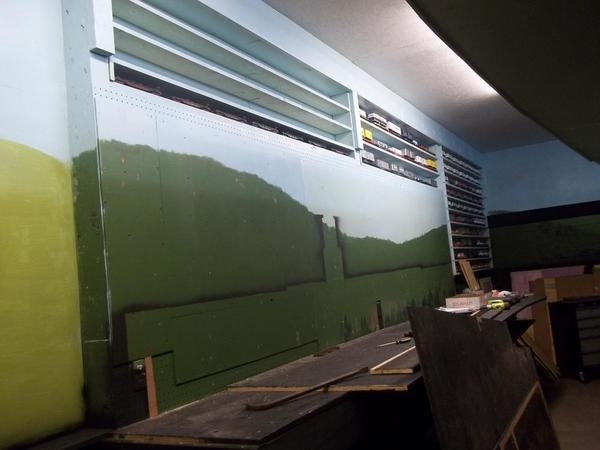
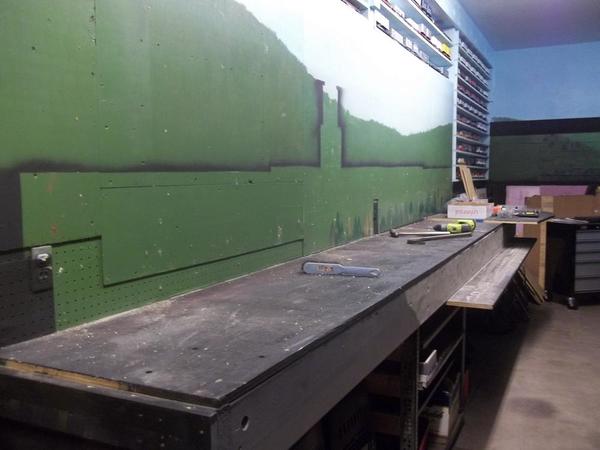
about two weeks ago, started raising the center part of the layout.....
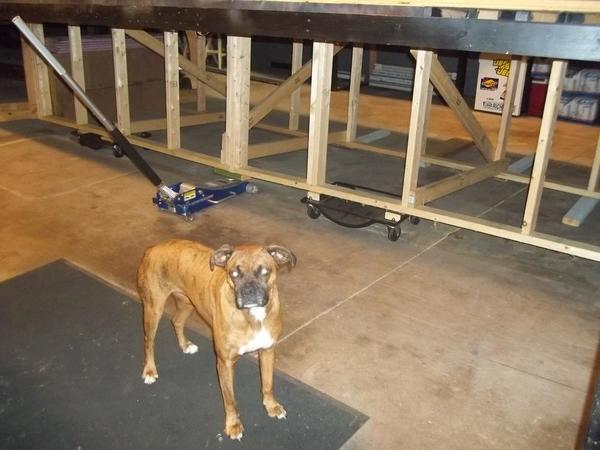
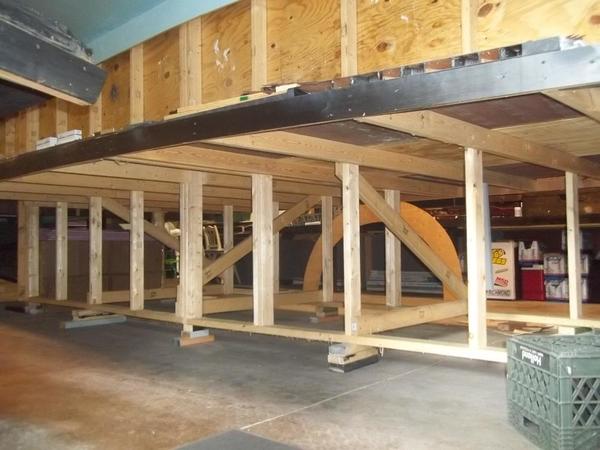
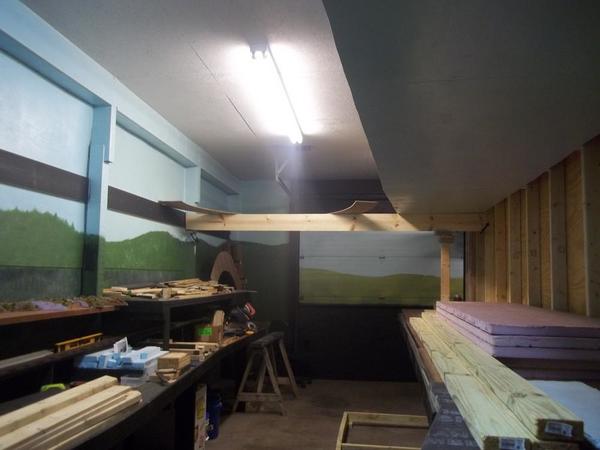
OK, what are we doing today..... We are going to cut all these braces out to make room for the new bottom level.......
Really ? I thought we were going to run some trains.....

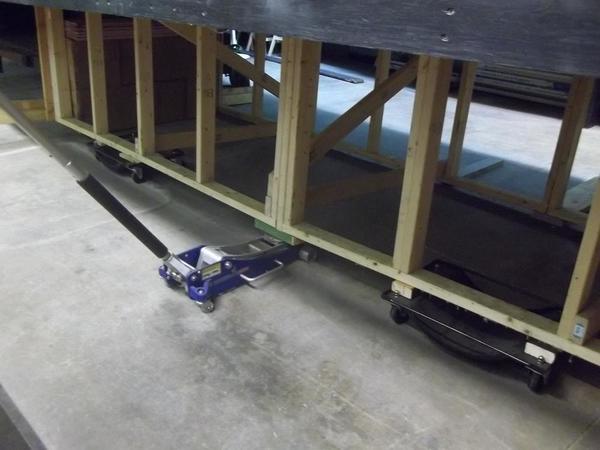
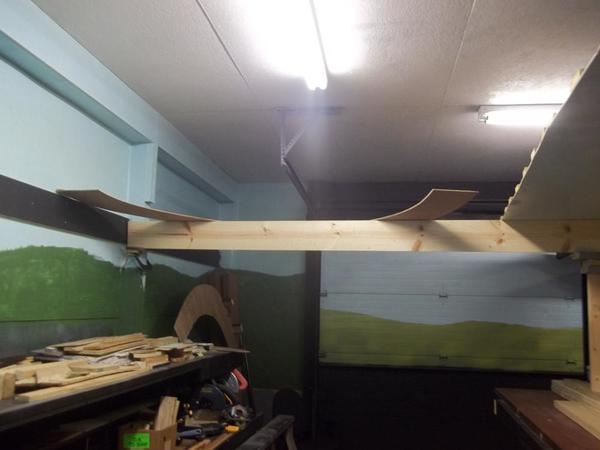
raise it up, put in a new header, then cut out all the braces.....
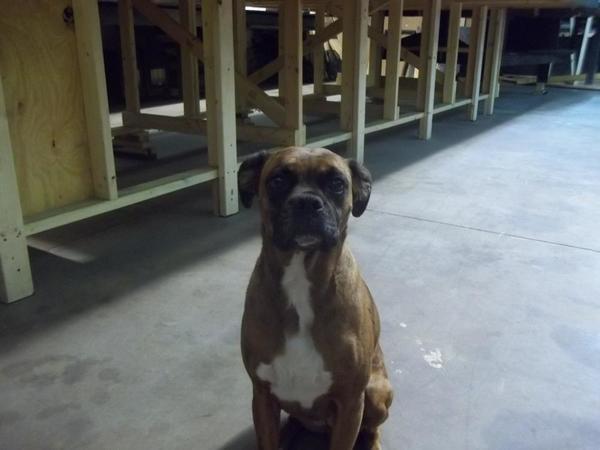
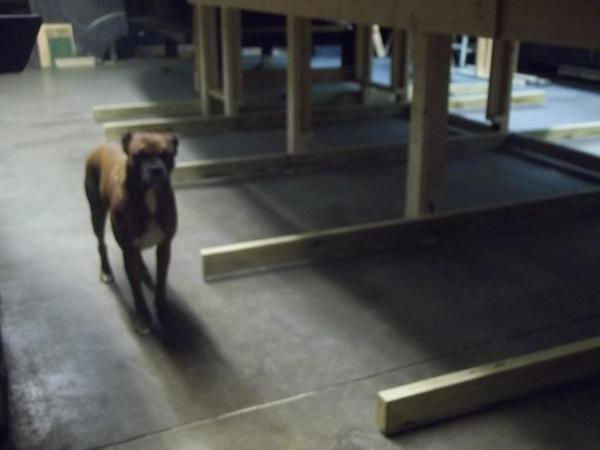
found a new great knee pad.....pink foam......
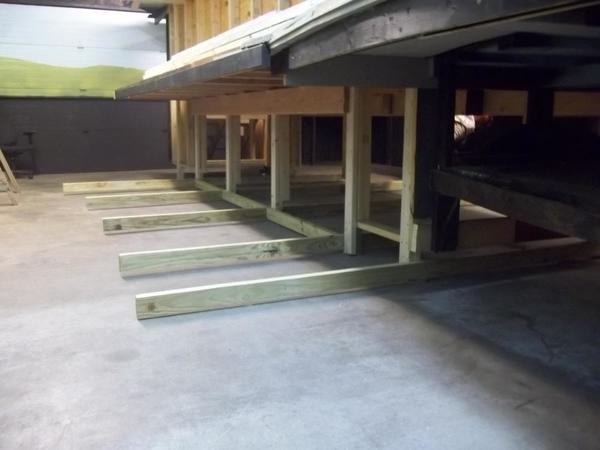
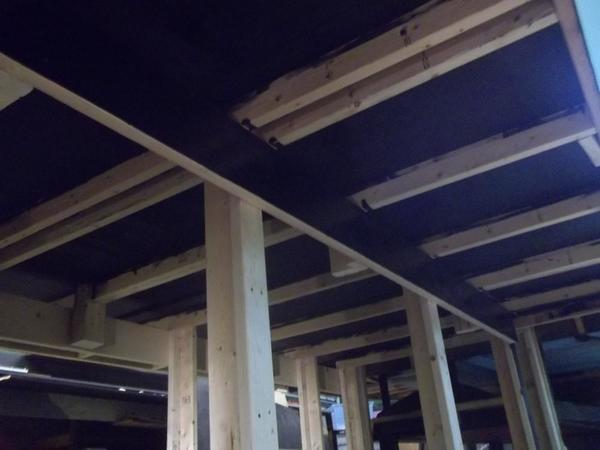
new bottom level area.....

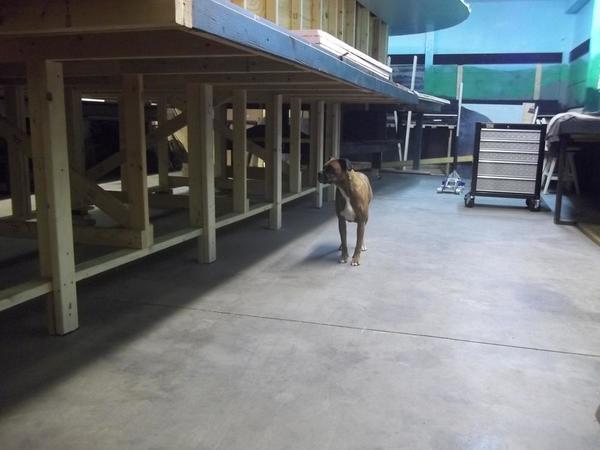
knees are pretty sore working down here....
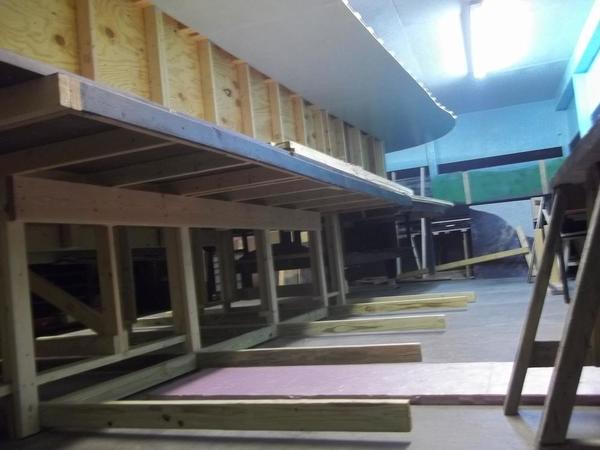
starting to rough in the different levels.....

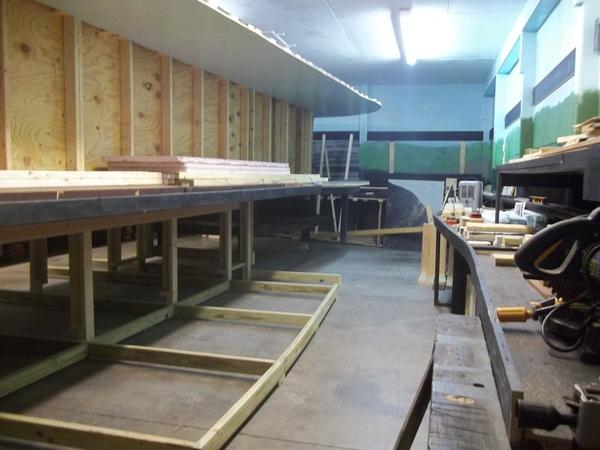
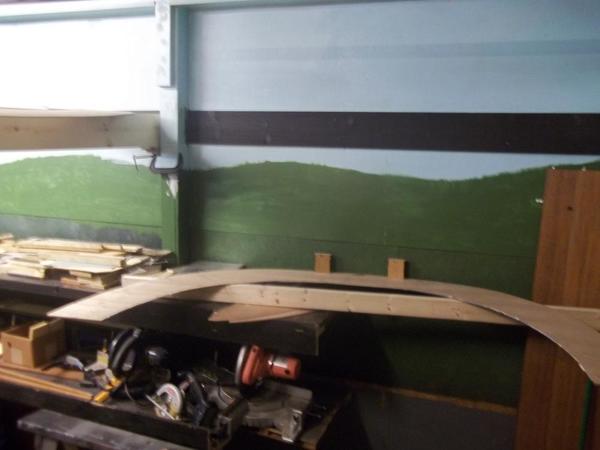
trains will be be coming up a 1% grade, the black boards on the wall.....

turn here, then around the center.....

the middle level.....
Attachments
Images (28)


Brian, you sure get a lot done! are you doing this by yourself or do you have help? Sure is a big undertaking! ![]()
me, my GF and pup, a couple hours a night, and soon Dad when he gets better ![]()
Looks good Brian, keep up the great work! I hope both your GF and pup get treats at the end of the night! LOL![]()
we all usually have some ice cream at the end of the night.....![]()
p51 posted:Tonight, I cleaned the track, changed the car cards to correctly reflect the purpose of the sidings. I also arranged the cars so I know where all going to wind up at. Then I placed the fake switch stands so everyone will know which turnout is which from the fascia pulls.
I think everything is ready for the op sessions on Saturday.
https://m.facebook.com/Olympia...oaders-186688141513/I also took some shots for the heck of it:
 (640x382)")
Looks amazing Lee!
I've been working on some signals for my layout using some signal heads I got off the bay. I've made some single and double head lights on a single pole and a few bridges for the lights.


I've also made some small brackets to attach them to the girders on my bridges.

I am trying to trigger the lights with an arduino and IR detectors and emitters but I'll be ****ed if I can get them to work or even get the code to work, If anyone knows how to do it I could sure use the help
Attachments
Images (8)
Home from the Medina Ohio show today. Picked up a Weaver boxcar and more ballast. This afternoon going to work on the two table extensions. Pics of my buys...............Paul


Attachments
Images (2)
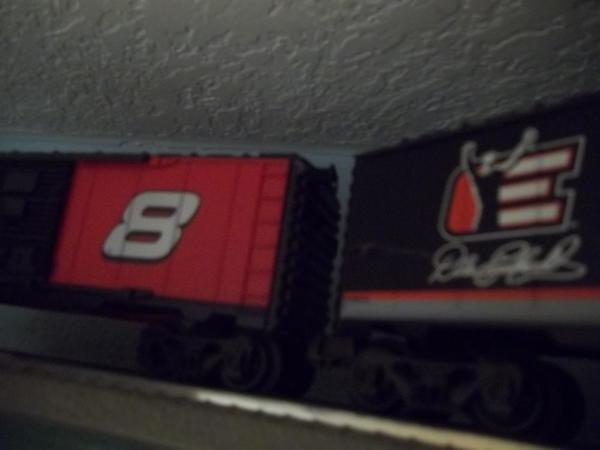
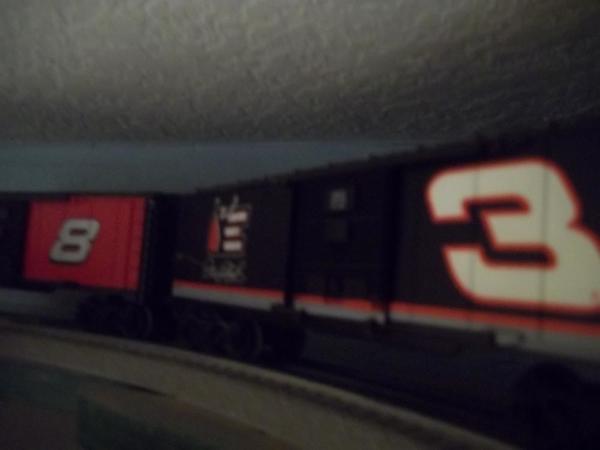
getting ready for the race, go " Grey Ghost" #88
Attachments
Images (3)


old_toymaker posted:
nice signals. can you post some more info and pictures of your bridges please.....
briansilvermustang posted:
about two weeks ago, started raising the center part of the layout.....
OK, what are we doing today..... We are going to cut all these braces out to make room for the new bottom level.......
Really ? I thought we were going to run some trains.....
Brian - it's an odyssey! Love your helper.
mike g. posted:Brian, you sure get a lot done! are you doing this by yourself or do you have help? Sure is a big undertaking!
Remember the story of the shoemaker & the elves?
I figure with factories making shoes, they have rode that dog to Brians because the daily progress is too large for a normal nights work; it's like magic.

Attachments
Images (1)
Old Toymaker, those looks just great! I might have to try one day!![]()
Brian, love the NASCAR train!![]()
paul 2 posted:Home from the Medina Ohio show today. Picked up a Weaver boxcar and more ballast. This afternoon going to work on the two table extensions. Pics of my buys...............Paul
Paul, I am thinking you brought some money home from York! Either that or Dad floated you an advance on your allowance! LOL![]() Great finds!
Great finds!
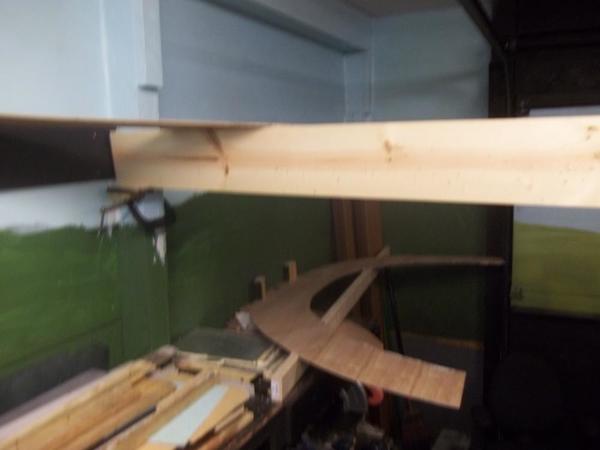
MIKE G, nasty slice you got. Hope it heals fast for you. I did come back from York with "a little money left" LOL. Did not go to Dad to float a loan. I got a better interest rate from the Mob LOL. Lee, that last pic was great. I made it my desk top pic. I think I am looking at the real thing. Brian, I am calling you the flash. You are moving like a Tornado, looking good. Well you think I am not working but I have been. I am waiting for the glue to set up on the wood to hold the extensions on the table. And I am proud. I measured the girder right. I knew I had to cut a bit off the foam at both ends and I painted the ends. Fits like a glove. In a bit I hope I can add screws to the wood. Pics.................Paul


Attachments
Images (3)
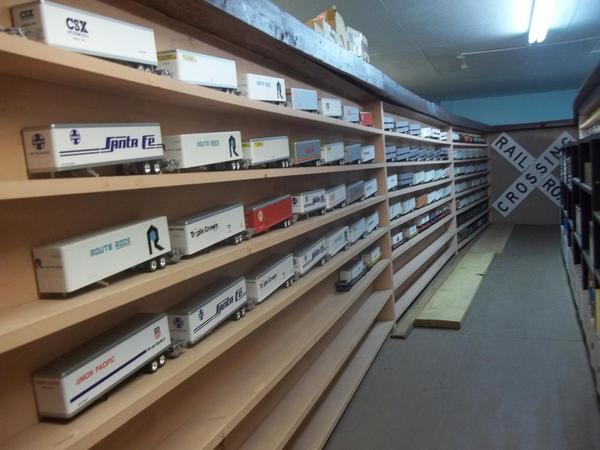
I finally got around to organizing all my boxes. Doing a major purge of the basement 
Attachments
Images (1)
Looks good Paul! The thumb will be fine it time! I am glad it sounds like you had a good time this weekend at the train show!![]()
mike g. posted:Old Toymaker, those looks just great! I might have to try one day!
Brian, love the NASCAR train!
Watching NASCAR now! I'd like to see Bill Eliot's son win in that #24 car!!!!!!


M. Mitchell Marmel posted:While in the Philly area, I hooked up with forum member John D and we visited Henning's Trains in Lansdale!
Mitch

Mitch,
I think I caught some kind of fever from you...

The young lass on the right is asking about Fortescue. Her eyes glow when I tell tales of him.
Attachments
Images (1)
briansilvermustang posted:me, my GF and pup, a couple hours a night, and soon Dad when he gets better
Brian,
I know you have a good plan, but what you are doing is almost overwhelming me. I think I would have to see it all in person to really get a good handle on it all. Keep on posting the photographs; and take care of your knees!!
You know Mark, Brian gets more done in a night then I do in a weekend! ![]()
Yes, Mike! I can see that is the case! He has more energy than I have!!
John D. posted:Mitch,
I think I caught some kind of fever from you...
The young lass on the right is asking about Fortescue. Her eyes glow when I tell tales of him.
LMAO! I'll definitely have to bring Fortescue along, next trip.
Mitch
moved trailers to here.....
started demo on this wall......all this needs to come down for the expansion....
inspector approved....

Attachments
Images (18)


Brian, I'm glad the inspector approved. There is nothing that can hold up a project more than having to rework for a stubborn inspector!
Brian, I agree with Mark, that inspectors can be a pain! I would have to say Brian you must have a master plan somewhere at the rate your moving! I am glad I try to check in daily as it could take awhile to catch up with you again!![]()
I still have some engines that have batteries in them. So I made sure they got a good run to charge them up before we leave for Florida. Doing this I haven't lost one yet. Matter of fact, this is a fun job.
Dennis
BIGBOY4005 (Elliot) and Brian amaze me with the speed that they are building their layouts. If the two of them teamed up together and could go back in time they could of built the Trans Continental Railroad in a week. Today after getting leaves ready for leaf pickup I got my wood painted for the extension of the table. While that was drying I planted some more prairie grass around. Also my Ross switches came today so that will be another area I can now start working on. Pics...............Paul


Attachments
Images (2)
paul 2 posted:BIGBOY4005 (Elliot) and Brian amaze me with the speed that they are building their layouts. If the two of them teamed up together and could go back in time they could of built the Trans Continental Railroad in a week. Today after getting leaves ready for leaf pickup I got my wood painted for the extension of the table. While that was drying I planted some more prairie grass around. Also my Ross switches came today so that will be another area I can now start working on. Pics...............Paul
Nice Paul! Just wondering does Ross switches match up with ScaleTrak?


MIKE G, I don't have scale trax. I use Gar Graves track..........Paul
Greetings Everyone,
Decided to do a little scenery on the south side of the layout. ![]() Didn't get too involved but I just wanted to do a little track work to see if I liked the results.
Didn't get too involved but I just wanted to do a little track work to see if I liked the results. ![]() So far, so good.
So far, so good. ![]()
Chief Bob (Retired) 


Attachments
Images (7)
I had a clash of hobbies today.
I used to collect VW toys (and the prototypes ![]() ), and had many hundreds of them.
), and had many hundreds of them.
Somewhere along the line I picked up an MTH Type I sedan (Beetle) inspection vehicle, and always wanted a Van (Bus, T-2, Transporter, Kombi, etc.) to go with it.
I sold off most of collection, but have a few kicking around that matched the scale of the MTH Bug. I had read the "Back to the Future" thread aboout dreams of powering an O gauge Deloreon, and got to recalling the movies VW Bus scene, and then my MTH, and that lead to thinking about VW's R.R. MOW equipment, VW Fire Trucks, and VW Ambulances; all very interesting builds mechanically; and to make a long story...![]() .....
..... ![]() I finally tore into one of my T-2 VW toys. No power yet. It's just a rolling trailer right now.
I finally tore into one of my T-2 VW toys. No power yet. It's just a rolling trailer right now.
Video won't load right now, so here is some stills of what got me going, and grabs of where I might end up. I'm going to have trouble deciding.

The frame's front axle saddle was too thin to stand the O.D. of these fat axle Rivarossi pilot wheels. I had to add a plate of white styrene to the black frame's top to reinforce the frame and after removing the saddle.

Kinda neat, in the VW scene a popular dress wheel is this 8 spoke, or a rare 10 spoke; so the spoked look "fits" ![]()

The axle rests on the new styrene, in a widened slot that was the saddle. It is held centered by axle grooves with homemade stainless steel U shaped "staples". Run now there is a saddle an inch or so long. Thats a lot of drag so I will likely cut out the center above the axle, leaving two small outboard saddles to support it.

Despite resting on the styrene, it still sits higher in the front than it originally. It was dead level originally. The rear end squating is normal prototypically, and a heavy duty set of springs would raise the front. However, it is still exaggerated here. But I kinda like the extra squat too; you can't help but be reminded of the proto's stance.
A quick set of drawbars. (The MTH Bug got an Erector Set's 'L' bracket, which also accepts a lobsterclaw coupler/adapter for running tandom tenders. The Bug can pull one light car..or this bus till I power it)


This broken bumper was how I decided which toy Bus to hack on. I'm thinking about a vintage push bar/brush gaurd set of bumpers (frnt below)
...or maybe forgetting about a motor, and hack another Bus to make a car?
What do you think?


Maybe a fire truck? Ladder and hose racks go on top, they have pumps powered by a second vw 4cylinder too.

 Hmmmmm.....

Or maybe I should think bigger?

Hey Mike which would you go with? ![]()
(How's IS the thumb ? ![]()
![]()
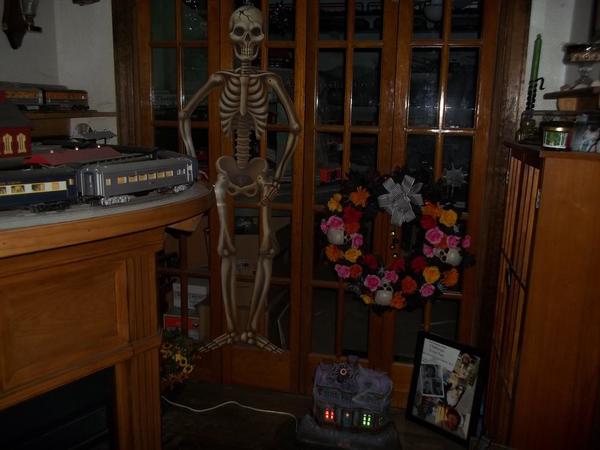
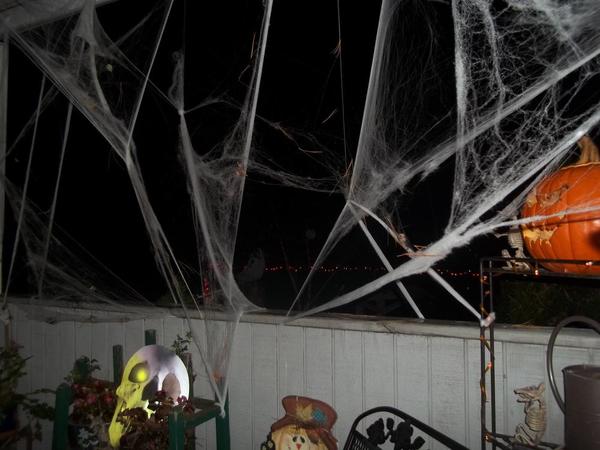
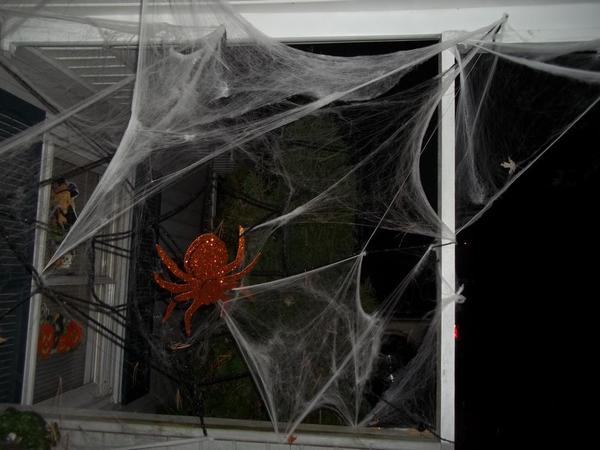
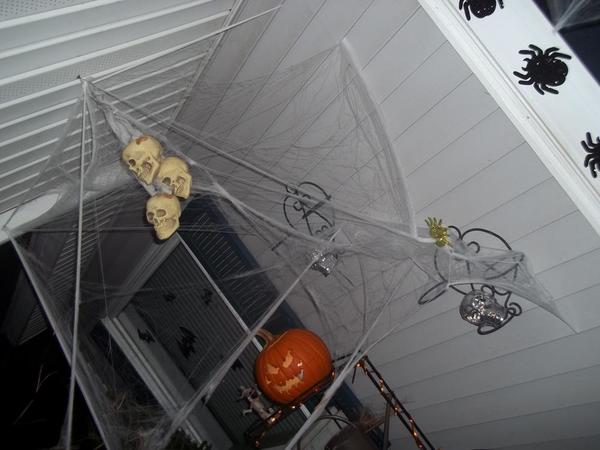
Happy Halloween everyone! ![]()
Attachments
Images (20)


I like it !
Adriatic, I really like the idea of the Fire truck! I was a volunteer fire fighter for 20 years so that would be great! The thumb is doing ok, kind a makes it hard to type, and hurts like hell when I bump it! LOL 9 more days then I go get the stitches out.![]()

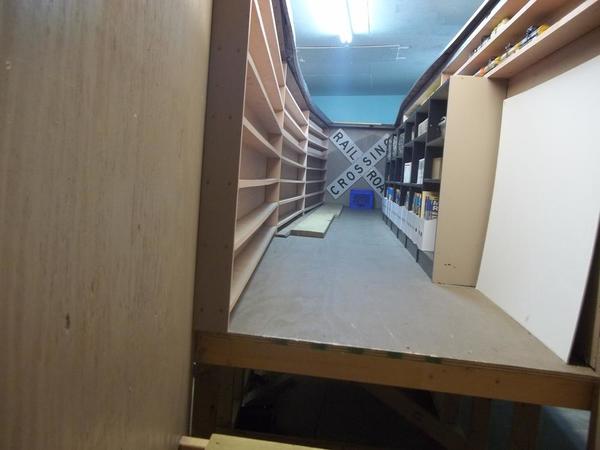
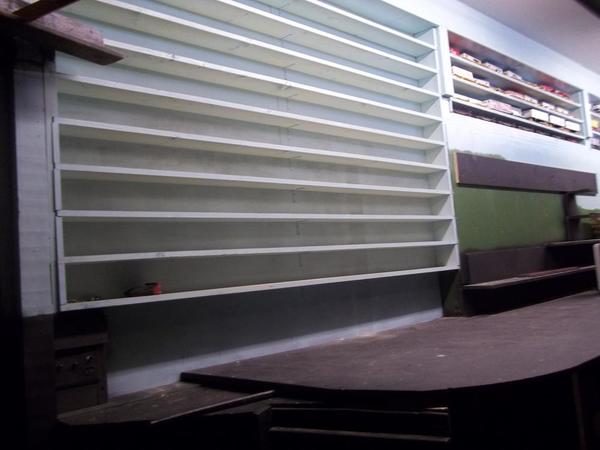
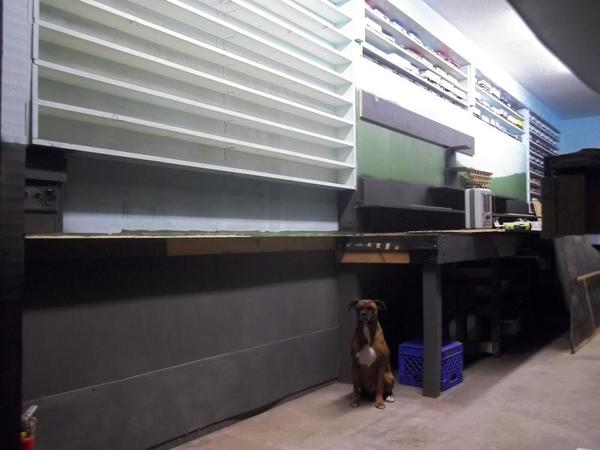
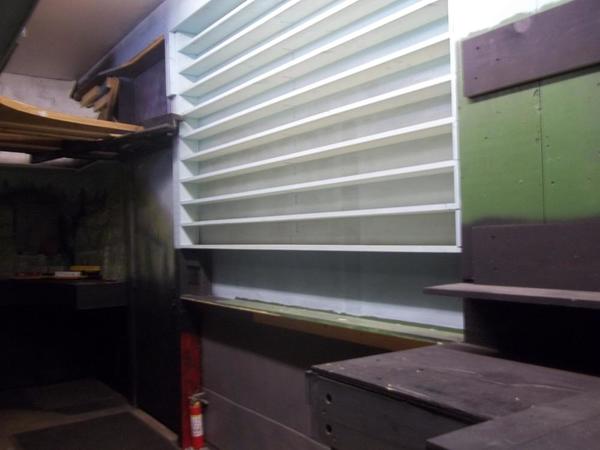
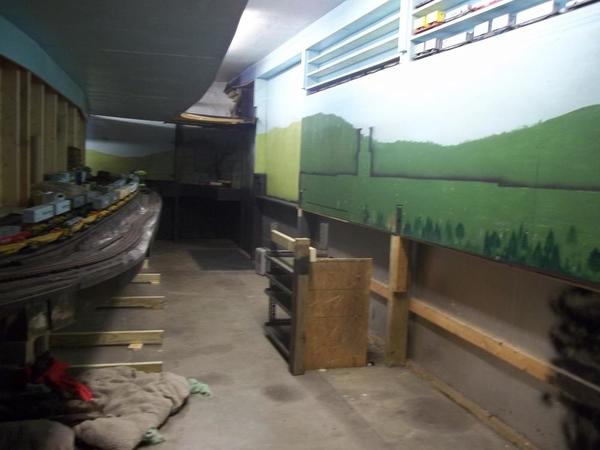
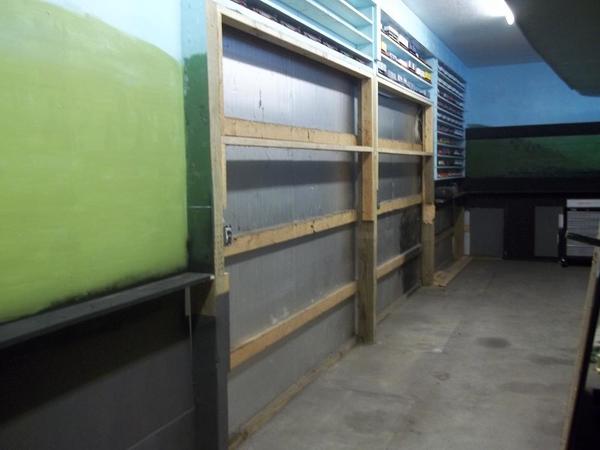
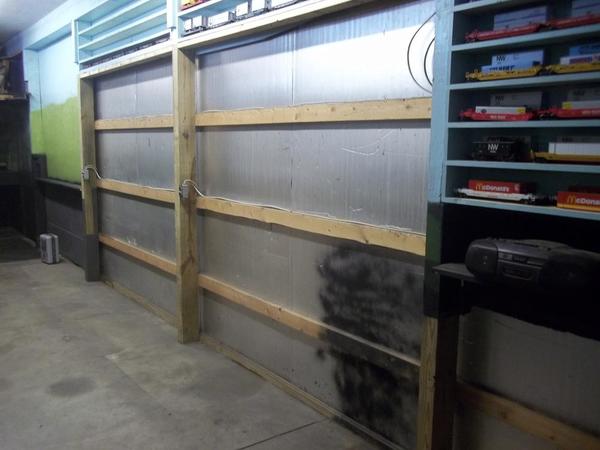
got the 1st row of shelves down....

before......

after......
a lot of painting to do now...... everything down here gets painted flat black.....

are we done yet ?

Attachments
Images (6)


mike g. posted:Adriatic, I really like the idea of the Fire truck! I was a volunteer fire fighter for 20 years so that would be great! The thumb is doing ok, kind a makes it hard to type, and hurts like hell when I bump it! LOL 9 more days then I go get the stitches out.
" Thumbs up " .... That's too funny ![]()

Attachments
Images (1)
Chief Bob, the scenicing looks great!
Adriatic, I love the VWs!!! You showed some great handy work here! I always liked the pickup truck style myself, but it's your RR!!
Brian, More of the same; you accomplished so much!!! Are you retired???
still working, 10hrs a day.......12 more years to go.....
briansilvermustang posted:still working, 10hrs a day.......
Wow!
I'll second that WOW! Mark Brian is just like the Energizer bunny! He just keeps going and going!![]()
Adriatic, thanks for the modified thumbs up! LOL That's just great!![]()


saw this earlier on the web......

went home and ran this one at lunch today.....![]()
Attachments
Images (2)


On Saturday, I had the op session day. I volunteered my layout along with several others in the general area, all for charity. People came from several different states, to run trains on various local layouts.
I had two groups of people, all apparently had a good time.
One guy kept throwing turnouts under locomotives and cars, and had several derailments that the previous group didn't have. Other than that, I think it went pretty well.
Attachments
Images (2)
Lee,
I'm glad everyone had fun on the operating day!!
Finally got my N. P. dummy unit fixed. Bought with all sorts of issues but thanks to a few members on here she turned out great.
Attachments
Images (1)

Sure are some great looking Pictures there Lee! You should think about shooting a black and white video! ![]()
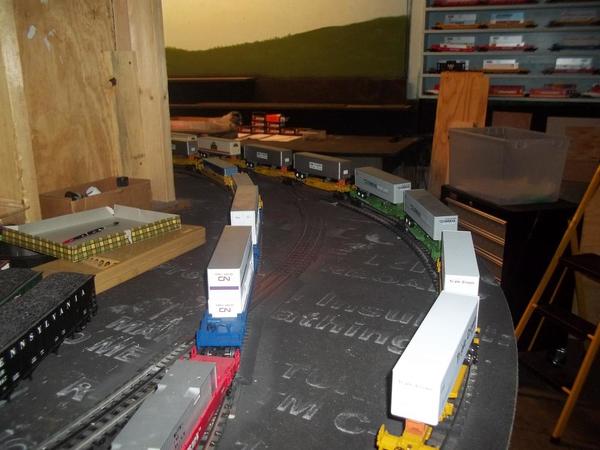
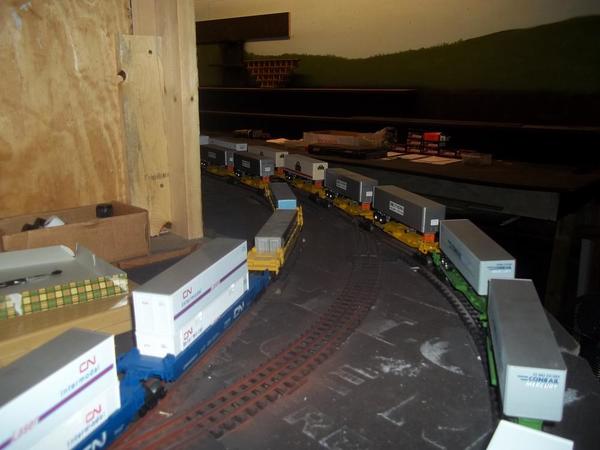
took a few photos of the activity at Elizabeth Station today.....


Attachments
Images (3)
went trick or treating.....![]()


![]() then....
then....

some more layout deconstruction......![]()


Attachments
Images (14)


gandydancer1950 posted:took a few photos of the activity at Elizabeth Station today.....
The station area looks quite busy! Looks great!
")
")
GG1,
LOL!
Slow progress on the mountain. Funny thing, but as a manager I used to be good at making mountains out of molehills.

Attachments
Images (2)
Looks like you are doing it right, Mayor! I like the adage, 'slow and steady wins the race.'
Very nice Mayor Magoo !! looking good ![]()

took a nap
Mess is acceptable, FL9!
I see you are into coal power stations, the older and newer! I like the rotary coal dump. It was cool watching the prototype dump when I worked at the power station many years ago!! It is all looking mighty good!
Mark Boyce posted:Mess is acceptable, FL9!
I see you are into coal power stations, the older and newer! I like the rotary coal dump. It was cool watching the prototype dump when I worked at the power station many years ago!! It is all looking mighty good!
I love it as well there was one by my house in Baltimore were I grew up at so I had to have it on my layout
GG1 posted:Decided to bring my ICBM's up to the launch pads..... just in case
")
DEFCON 4!!! Rocketman better cool it! ![]()
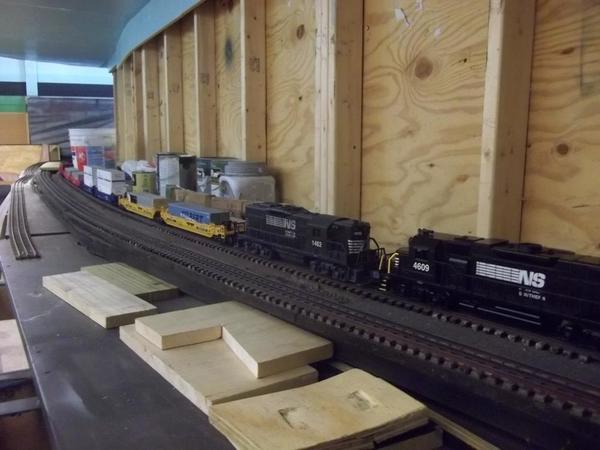
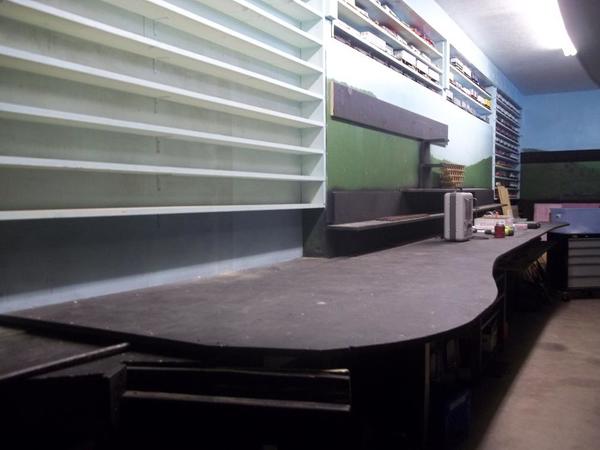
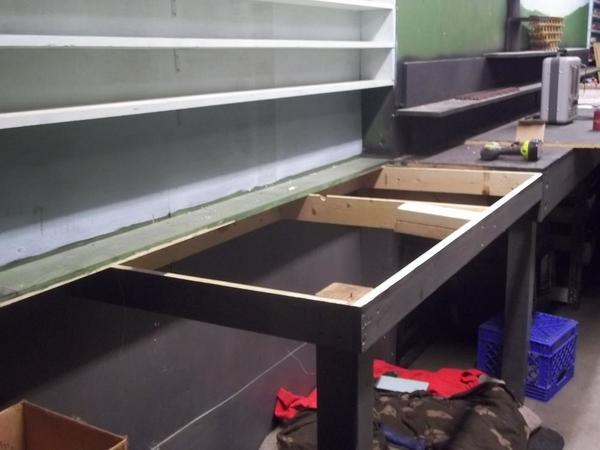
I started the morning finishing off the re routed drain pipe for the furnace. I had Duct putty left over so I packed it around the pipe where I drilled through the walls to get it to the old shower drain. I cut out some more cardboard to see how a road would look crossing the tracks on the lift out. Then I measured for the first table extension and got it cut right the first time. This is the 4 inch wide piece. I still have to cut the 3 inch wide piece for the other side of the lift out and mount the wood brackets for that. Taking time for lunch then back to the layout. Pics............Paul


Attachments
Images (3)
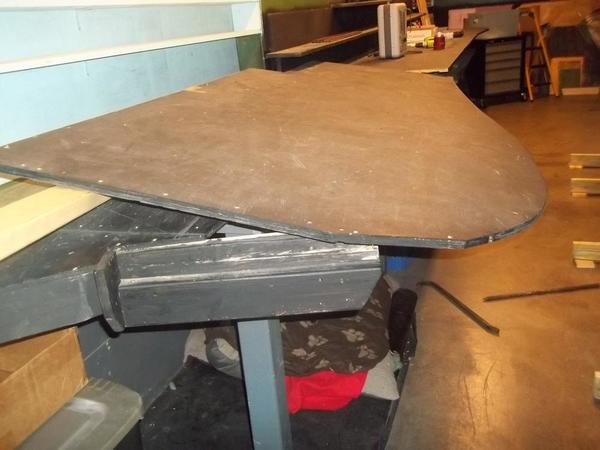
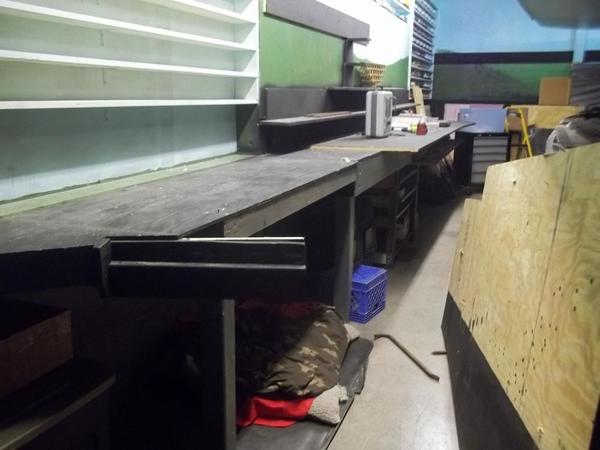
This afternoon I got the other section cut and both are now screwed into place. Also decided to round the end of the long section rather then just have a corner sticking out in the aisle. And the lift out section goes in easy. Pics...............Paul


Attachments
Images (2)
That looks really good, Paul!
Mayor Magoo, I think your on the right path. Go to fast and something always gets missed and you have to go back to fix it. Slow and easy is the way to go!![]()
FL9, thanks for the fun video, I see a lot of Menards stuff there, I can see you agree with a lot of us you cant beat the product for the price!![]()
GG1, I feel sorry for anyone who wants to screw with you and your layout! LOL![]()
Paul, as always things are looking just wonderful! Great call on rounding the corner cause it would really hurt when you hit it!![]()
It's really hard to say a lot when Mark has already said what needs to be said about you wonderful builders here!![]()
Hey Mike, It is all worth saying again and again!
Finished off with painting the edges of the plywood and getting out a few Downtown Deco buildings for the lower level. Pics............Paul


Attachments
Images (2)


a little demo and a couple beers....![]()


looks like puppy joined in on the demo day.....


old garage days uncovered.....


getting there.....![]()

have used wood everywhere now.....![]()

time for another beer.....![]()
Attachments
Images (13)


Brian, sure looks like a lot of work. Do you have a layout plan you can share so we can fallow along? Looks like the pup was just trying to get comfy!![]()
Add Reply
Sign In To Reply
