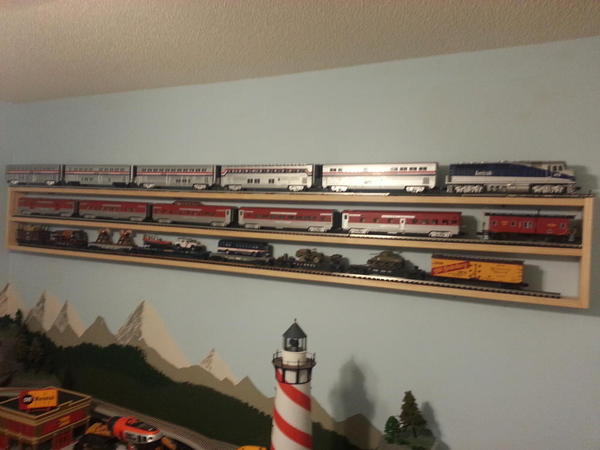
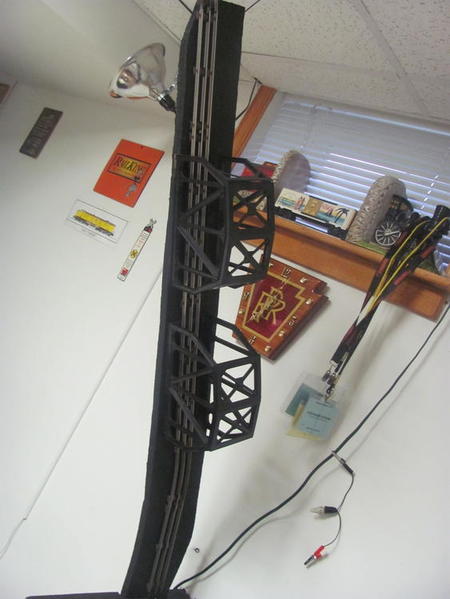
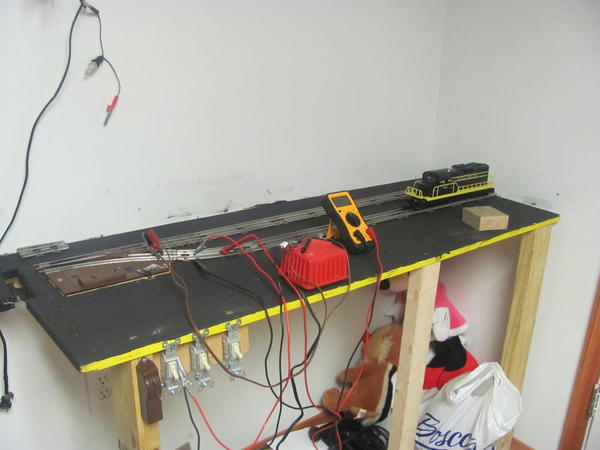
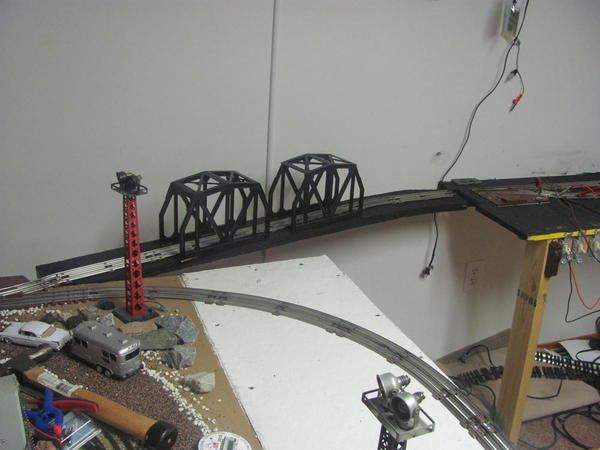
Oh, man, I can see you had a good old time of it, Bryan. I can smell the fragrance of the wood all the way here, in the Land of Imagination. Continue having lots of fun.
FrankM
Finished painting the floor with green epoxy, now the drywall is next. ugh. Also finding the three hundred dollars worth of lighting is not enough. so far I have almost a thousand in to the basement and still have the drywall and drop ceiling to go before one piece of the layout is built. more then the money the time is a killer, not getting any younger. I think it is time to hire some contractors to help out.
This week:
Worked on the subway level.
Made connector pieces for the modular group layout.
Paint and installed new roadbed in certain places.
Made some more ties.
Peter
Attachments
After reviewing photos cited in my previous postings to this thread, I concluded that the
tank I was going to use for creosote transferred from a railcar was too small and bought
a PVC coupling to use instead (with modification). PLastruct probably has tanks, but
you have to download their whole catalog vs. just page through it on the net...and then
wait for the part..that was all that was done today.
Just finished installing the Department 56 lighting kit for 10 ceramic Lemax structures that sit on top of the cabinets for our Kitchen shelf layout. A nice addition that brings out the details.
River City 3 Railers is nearing completion on our new yard modules....
Numerous improvements including:
Manual #8 switches instead of 072 remote 3 ways
8 sidings instead of 6
68' total track instead of 52'
Two 6' sections instead of three 4' sections
Track run to edges of the modules eliminating 10" track joiners (faster setup)
No remote uncouplers (never used them)
Relocated all scenery to the inside.
Attachments
This weekend I worked on my mountain, with my On30 line. I'll post a picture when it is a little farther along. -Ken
I started to make the Mercer Coal silos that are on the New Haven line in my town. Need some Plastruct pieces and some Grandt Line materials to help finish it. Photos will follow as it comes along.
Today I continued work on my mountain division, securing the bracing for my mountain to the ceiling. I also made progress on tunnel liners and installed a portal.
Here are some photos of two hoppers that I recently weathered.
Happy Railroading
Patrick W.
The Free State Junction Railway " Where the trains always run on time"
Attachments
Last night I worked on this 5" PVC coupling ($2 at Lowe's) which with a circle of Evergreen styrene set down into it slightly, and with a ladder and access hatch added,
makes for a great creosote storage tank. Epoxied, as Testor's plastic glue peels right
off the PVC. With various sizes of dowel and plastic tubing at hand, I am trying to figure
out the piping for this complex.
I looked at it for about 30 seconds, then went and played golf. It's summertime! It's nice to be outside in the fresh air and sunshine, getting a little exercise. (Walked 9 holes, then rented a cart...it was 92 deg!) Shot an 82.
Cleaned track. Worked with my grandson, teaching him how to change engines on a passenger train.
First, he had to line up switches in the yard and engine house, move the diesel relief engine to a pocket track for a quick exit to the main, and then stop trains on Main 2 and stop the passenger train on main 1 at crossover 1.
Then he cut the steam engine away from the passenger train, crossed over to Main 2 and moved clear of the yard entry, leaving room for the diesel to come out behind. Next, he lined the yard entry switch to allow the diesel to come out and stop behind the steam engine on main 2, lined the yard entry switch for main track movement, backed through crossover 1 to main track 1, coupled onto the train, and restored the crossover for normal movement. Then he had to turn on the Mars light, whistle off, and depart. Finally, after the passenger train was underway, he took the steam engine to the house.
He did pretty well. And it was a lesson in proper preparation to safely accomplish the engine change with maximum efficiency. We had a job briefing and analyzed the sequence of moves and why we would do them in that order.
He's the grandson, son, and nephew of railroaders, and he can't get away with sloppy railroading ![]()
I like to run my shelf layout at night in a dark room, letting the street lamps supply light to the room, but seeing my transformers can be a problem. Lights off, lights on, lights off, uuhg, argh, groan![]() . So into the garage I went. Rummaging around the old auto and trailer parts for a small light of some kind. I emerged smiling with a WRRSCO swinging crossing gate lamp and an idea.(It was with Grandpa's crate of boat trailer parts). It had its J bracket, and a 10v bulb in it already too. I decided to build a wooden tray for my transformers and bolt the lamp bracket to an El-bracket held to the plywood and corner trim tray, by t-nut and machine screws. Its hooked to the 6v posts of the KW and supplies enough red light to see the transformers well, but being red, it does not distract the eyes.
. So into the garage I went. Rummaging around the old auto and trailer parts for a small light of some kind. I emerged smiling with a WRRSCO swinging crossing gate lamp and an idea.(It was with Grandpa's crate of boat trailer parts). It had its J bracket, and a 10v bulb in it already too. I decided to build a wooden tray for my transformers and bolt the lamp bracket to an El-bracket held to the plywood and corner trim tray, by t-nut and machine screws. Its hooked to the 6v posts of the KW and supplies enough red light to see the transformers well, but being red, it does not distract the eyes.
"Do it right or do it over". Another post is addressing how good models come from
that attitude. While testing track clearance between buildings, found I need to tear up
from their glued foamboard base a couple of buildings and move them. Wanted to run two parallel sidings, between them, one for untreated lumber cars and one for the incoming creosote tank cars. As now, too close for clearance. Luckily, all will be hidden under later scenery.
Colored rocks
Getting the ground cover and ballast in before installing the roundhouse. Once that goes in, we won't have access to these rear tracks.
Ground cover, ballast, and cutting in the hill to the tunnel portal.
Attachments
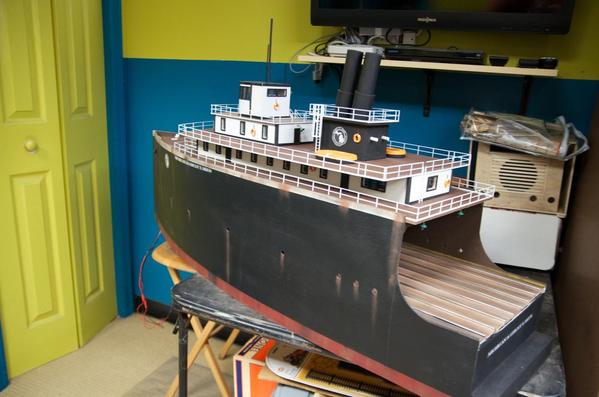
Visited Alex's layout today with my son and picked up my Great Lakes Car Ferry that he built for me. It is killing me that I have to wait until Sunday to go home and start the install! I have some great plans for it and will keep everyone posted on how the install is going.
Attachments
My son came over today, and I fired up the layout for the first time since $oo Line was here back in May. It was anything but smooth operation.
Right off the bat, cars derailed coming out of the hidden yard. I crawled down by the helix and fixed that. Got up the helix OK and around past Hoffmann, and the back truck on the engine froze up. On closer inspection, that engine had magne-traction, and managed to pick up a loose staple that we had dropped weeks ago.
Around through Newport, and I forgot to check the track in that back aisle. Patrick had leaned the small ladder against the layout, and the train stopped with a small thud. I moved the ladder and rerailed the engine, but for some reason there was no power in the block. I pushed it down to St Croix Junction, and it fired right up. I parked it outside Red Wing and gave up.
Perhaps the worst 300 foot run I ever had. And people may wonder why I don't run them more often. All of this construction has been hard on the layout. We'll get it all cleaned up eventually. And when we do there will be even more track to run on.
Yesterday I got started on preparing the present layout for expansion, started removing the back of mountain as that area will be getting a 5' x 12' expansion. It will connect to a 42" x 20' expansion from the main leg of the present L. I will end up with a basic U shape of 32' x 12'.
My son came over today, and I fired up the layout for the first time since $oo Line was here back in May. It was anything but smooth operation.
Right off the bat, cars derailed coming out of the hidden yard. I crawled down by the helix and fixed that. Got up the helix OK and around past Hoffmann, and the back truck on the engine froze up. On closer inspection, that engine had magne-traction, and managed to pick up a loose staple that we had dropped weeks ago.
Around through Newport, and I forgot to check the track in that back aisle. Patrick had leaned the small ladder against the layout, and the train stopped with a small thud. I moved the ladder and rerailed the engine, but for some reason there was no power in the block. I pushed it down to St Croix Junction, and it fired right up. I parked it outside Red Wing and gave up.
Perhaps the worst 300 foot run I ever had. And people may wonder why I don't run them more often. All of this construction has been hard on the layout. We'll get it all cleaned up eventually. And when we do there will be even more track to run on.
Yup, and I don't even have any working switches to worry about. Everything is set for one way around. Turned it on again today just to check that bad block. Worked fine, so Patrick and I got down to work.
We finished the ceiling tiles and all the light diffusers.
Then we got started on the upper deck. First three sections of backdrop, next the rest of the electrical boxes for the lights.
Finally, 24' of decking. The last 8' still need to be screwed down. That roll of chicken wire, on the far right, is being used to create a ground plane for TMCC. This section is going to be an intermodal facility, sandwiched between 2 double track mains.
Next week Patrick will come over Monday and Friday. Should see a lot of progress.![]()
Attachments
I completed and posted on YouTube the third short video on the rebuilding of my layout. It shows six different operation options for the layout, given my use of a TPC-300, Lionel Legacy, and a postwar ZW transformer. The video is at
I completed the wiring on my Southside control panel. The final stage was installing the controls for the 213 bridge, the gantry crane and the tug boat. The tug gave me some trouble. The directions indicate that pressing the whislte button for several seconds will turn the sounds on and off. They turn on OK; but if I hold the whistle button for several seconds to turn them off all I get is the horn blaring. I inserted an on/off button in the powerfeed since the onboard one will be unreachable. At some point I think that I am going to have to install a volume control.
Does anyone else have a problem turning the sounds off?
Now I can cover the last part of the table and finish laying track. Yippeeee!
Yeah I know it's now considered "outdated", but bought a second TMCC Cab-1 off the bay a few days ago and it finally arrived. Now guests can run an engine too! Why I never bought a second Cab-1 before defies me!
Yeah I know it's now considered "outdated", but bought a second TMCC Cab-1 off the bay a few days ago and it finally arrived. Now guests can run an engine too! Why I never bought a second Cab-1 before defies me!
If it makes you feel any better, I don't consider them outdated. As a matter of fact, I prefer TMCC over Legacy for a number of reasons. I bought 5 more Cab-1's in the last year, for a total of 9.
Now all I have to do is finish the layout and find 8 people to come over and run it.![]()
yo Elliot if one of those cab-1's can be run remotely from afar I would gladly run a train with you maybe I can get it stuck on the helix like i did in may!! LOL
your making real progress the ceiling really helped to brighten the area up you did good so did Patrick pat yourselves on the back.
so when do the switches become operational? will they be manual only or cab-1 operation?
Is your son interested in the trains as much as you are? if you have a video camera a video of a train going from the lower level up the helix and so on am sure the folks here would love to see it and it would show them more of the true size as photos only give one perspective.
$oo
Yeah I know it's now considered "outdated", but bought a second TMCC Cab-1 off the bay a few days ago and it finally arrived. Now guests can run an engine too! Why I never bought a second Cab-1 before defies me!
I don't consider it outdated. I capped purchases at TMCC and DCS 2.0. Anything beyond that is more stuff that I don't need.
Busy day finally.
Got some black Ritz dye and made the old re-lay rail ties the same color as the new Gargraves I'm using so it looks better. Took one hour per 3' section of track ... brush, not spray.
Today we are unpacking the new ash hoist, 2-stall engine house, and yard office from Crescent Locomotive Works!
Now when the five bottles of Rail Brown arrive I can paint the tracks and get the engine service terminal in operation ... after detailing the turntable bridge and getting it in place.
Thank you David!!!
I froze our operating systems at TMCC, not Legacy, and 4.2 DCS. Don't foresee a need to change or upgrade in the future.
Just about finished with locomotive and car purchases ... have more than we can display or run already.
Now it's just settle down and spend the rest of the days detailing and playing with trains!
your making real progress the ceiling really helped to brighten the area up you did good so did Patrick pat yourselves on the back.
so when do the switches become operational? will they be manual only or cab-1 operation?
Is your son interested in the trains as much as you are? if you have a video camera a video of a train going from the lower level up the helix and so on am sure the folks here would love to see it and it would show them more of the true size as photos only give one perspective.
$oo
Remote operation isn't out of the realm of possibility once the computer gets hooked up. Seeing your train move is the tricky part. It wasn't part of my grand plan, but there is technology out there, and given more time, who knows.
Getting switches working, is a matter of locating the old power supply and figuring out how to wire up the motors. After the first one it is all academic. Once I get this next batch of track down, I'll turn my attention to electrical.
As for my son, he enjoys seeing the trains, but he doesn't have the passion.
There is a very crude video of the layout, runs about 7 minutes.
http://www.youtube.com/watch?v=pdmK4VfeFcE
I've got to head down and work a bit and then move trains and clean up. It's my nephew's thirteenth birthday, and my sister is throwing a big party. I have no idea how many might be coming over. It may be one or two, it may be 30 or 40.
well seeing everyone else has been doing something on the layouts thought I'd better get off my retired b--- and fix my lift bridge.
and am happy to say I did just that temporarily as I needed a new set screw to hold sprocket tight to the shaft.
down side in my haste years ago I never drilled a second hole and tapped it for a second setscrew.
I also need to figure a way to drill a recessed hole into shaft so set screw can insert itself solidly so it can't spin as it will in time as it it is now!
Elliot..... have fun at the birthday party> and 30-40 gee maybe a train party instead? just sayin!!
$oo
Finished staining the ties on some old re-lay rail so it looks like the rest ... sorta ... and then opened the box of toys from Crescent Locomotive Works! Three beautiful structures, high-level professional work and worth the wait.
David did the Cinder pit and hoist, furnished Yard Office, and 2-stall engine house for us.
Have to wait a bit to put them on the layout (track work not completed yet in that area) so they stay in the box for now. Really nice work.
Mounted an SC-2 underneath the upper level. I will be using it to control 5 Lionel tinplate O72 turnouts.
I thought about the ways I can run fixed voltage power to the switches.
Peter
Not one thing.
But I did load up my little portable pike this morning and toted it to church. The pastor's grandson has been wanting to play trains so I obliged.Left it there so we'll probably play trains a little after church tomorrow too.
Gotta keep the youngsters happy if we want this hobby to have a future
I packed up the car ferry for the trip to NJ tonight. After a full day at the NJ shore I think I might skip all the stops I was planning on my drive home and get home as fast as possible. I hope to be on the road in 6 hours so good night!
News from Patsburg
I worked on creating a removable access area that will be located on the lower front face of the mountain on the mountain division This removable access area is needed so that I can gain access to a lockon and to fix derailments. The mountain is up against a wall and is not accessable from the back side. Since the mountain already sits on an elevated level of the layout, the area needing access is out of arms reach if I try accessing from underneath the layout.
A drawer type pullout automobile/truck tunnel will serves as my access. I used a HO tunnel portal made by Scenic Express set on 18 by 8 inch rectangular piece of styrofoam with styrofoam walls and a black piece of construction paper covering the opposite end from the portal..... all sitting on a styrofoam base. This way the tunnel will be 3 D and when finished I will have a vehicle sticking half way out of the portal.
That's all the news from Patsburg
Happy Railroading & Keep driving those spikes.
Patrick W
Free State Junction Railroad " Where the trains always run on time"
Today I wet sanded the rust spots and did some body work on an old #313 Bascule Bridge I'm restoring.I bought it off the bay for $42.00,and when it arrived I was so disappointed,I was going to send it back.But I tinkered around with the motor,and got it to run,so I decided to keep it.After I wet sanded the rust off and old paint,I took it outside and shot it all with sandable auto primer.It is starting to look like I got a deal now!Only thing is,I am thinking it would look so much more realalistic painted flat black,and weathered to look like it has a little rust,instead of using silver like Lionel originally had them.I've never seen a real Bascule bridge in silver,your thoughts about the new color?


