
Hi everyone , 

Now that I've decided to  revise my layout  to gargraves track I naturally have some questions about it. I am planning to paint it to make it more scale looking and would like to know what paint type and color of paint you would recommend. I guess you paint the whole section and just wipe off the top of the Rails correct? What is the best method to painting and wiping the rails? Also I am wondering about laying the track itself and would like   recommendations. Any advice you could give me would be well appreciated.

Thanks everyone, Jerry

Original Post

Replies sorted oldest to newest

I've had the best results painting Gargraves by using aerosol spray paint. They cover a lot for the money. I tape the outside of the ties and center rail, to keep it black, and spray the outside rails whatever color I need at the time, usually a rust colored prime or greenish-gray, either Rustoleom or Krylon. Choice is yours. Wipe of the rails with paint thinner or acetone. If you use a dark colored ballast or plain black vinyl roadbed the center rail blends in.  Rail paint pens are good for small sections too.      

Last edited by PAUL ROMANO

type and color of paint you would recommend:  SPRAY paint--browns, black rust...yes wipe top of rails.  Good method:  use liquid track cleaner and apply to the section of rails you want to paint.  Spray the rails.  Immediately wipe off the top of the rails.  APPLY YOUR BALLAST FIRST BEFORE ANYTHING.

Laying track...easy...attaching it is another story...if you get Gargraves WOODEN TIES drill a pilot hole for the screw that will secure the track to your surface.  Gargraves does make 1 inch long track screws.  Also, don't over-tighten these screws because you will damage the wooden ties.  If you don't drill the pilot hole, you will break tie after tie.

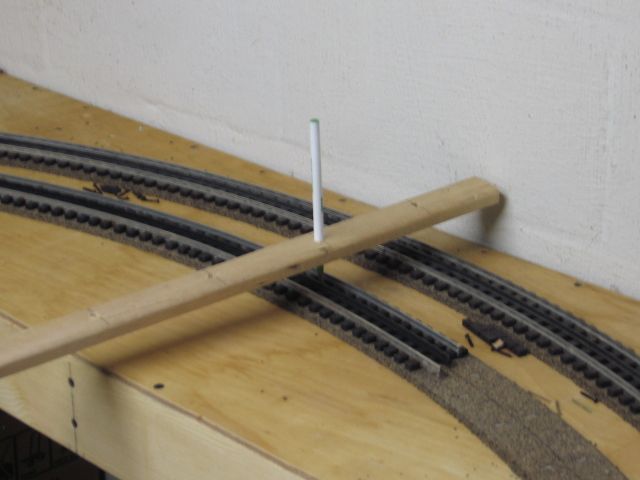
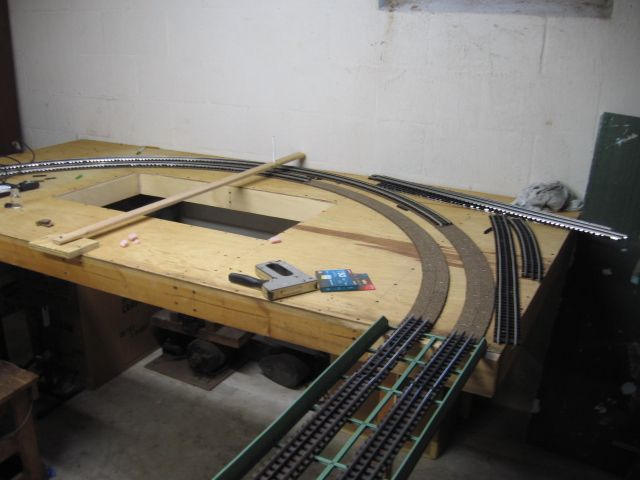
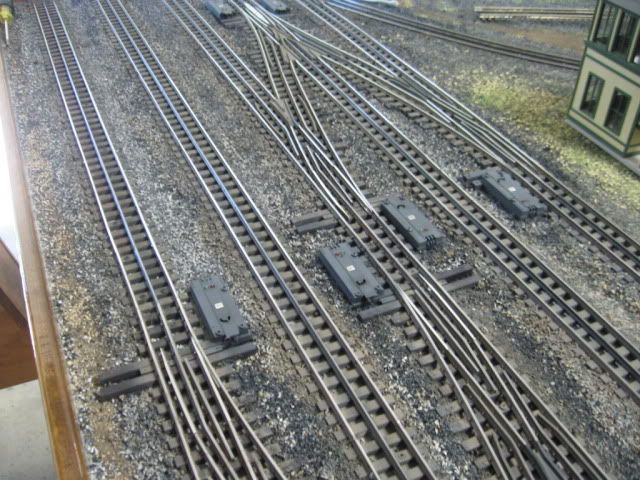
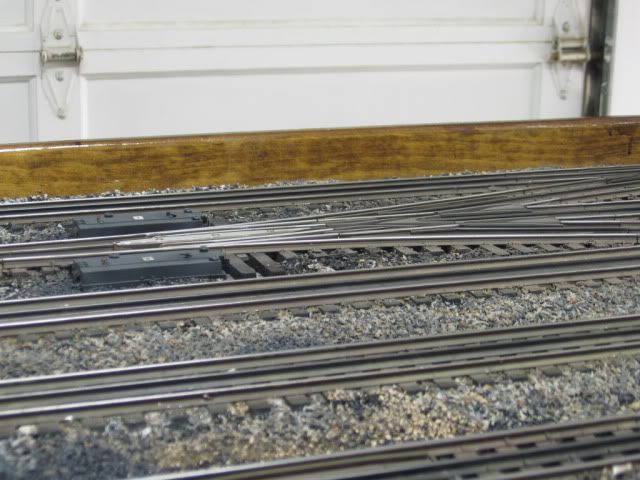
The most challenging task is bending Gargraves flex track.  There are many recommendations/suggestions.  My advice is whatever you do, do it s.l.o.w.l.y.  I actually hold the flex piece against my chest and begin "fitting" it around my chest slowly bending it into a curved section.  It will take, practice, patience and time to perfect your own technique.   IF YOU DON'T OWN A DREMEL ROTARY TOOL, BUY ONE NOW.  You need it to cut track rail without smashing the tubular rail flat.  PRACTICE on crappy piece of rail.

Look on youtube for how to videos...hundreds.


One thing I noticed. If you spray paint a straight section of Gargraves, later when it's dry and you go to bend it to your desired curve, the painted parts of the rail web do not slide easily in the slots of the wood ties. (Really hard to bend.) So early on, I began painting the rail sides (and ties if desired) after all curved sections were installed. 

Another trick for bending Gargraves to your curve is to lay the track and attach to the last straight section you attached to layout surface. Drill your holes in ties closest to joint and attach with screws or nails. Then gradually work the bend and drill holes and attach as you progress into the curve. At the end, you'll have three rails of different lengths. Adjust ties and cut rails where desired/needed with Dremel and large cutting disc. It takes a long time to describe this, but it's not really hard to do. Worked well for us. IMG_0203

Attachments

Images (1)
  • IMG_0203

In my opinion, using Tamiya red-brown (TS1) aerosol gives the best natural rust appearance. Simply spray, focusing spray pattern on all side rails including the center rail. This best helps disguise the center rail. Then wipe off the top of the rails using a rag, a flat 3 or 4 inch piece of 2x4, and goof off (or acetone) same thing. The over spray on the ties give the very realistic mottled appearance. Note! wipe off the top within 10 minutes and its a lot easier to remove. The 2x4 is used so you don't accidently wipe off the paint you just sprayed. Some people also use the rust looking brown color for camo that Walmart sells in the hardware dept. Its much cheaper, however I think the Tamiya is more spot on for accuracy. But that's just me.

GTW posted:

MIKE CT:  Very nice job on the track paint! You mention "railroad tie brown acrylic," is that something from over-the-counter or a home brew?

Neil


You should be able to find Railroad Tie Brown,  Model Masters acrylic paint.  Available 1/2 Oz bottles. 704-4885 The last I purchased was from Walthers.  Click on the underline phrase to link.

Last edited by Mike CT

On my past layouts with Gargraves flex, I would slowly bend the track back and forth on my water heater.   You need to even out the tie spacing as you go.   Then when I lay it on the platform, it is already 80-90% curved to how I want it, making minor adjustments to finish it out.  I also made some curved templates out of plywood to several radii to bend the track.   Somtimes I would spray WD40 on the track so the ties slide easier.  I use 2" fiberglass wheels on my dremel for cutting the ends.

Right now my layout is all 027 tubular.   

Lots 'O' Trains here


Attachments

Images (1)
  • mceclip0

We had made a gauge, (large compass), to set the curves, my friend Tom's layout.  All track pictured was used Gargraves flex track.  We would screw the track and adjust ties ever (2) to (3) inches as we worked the curves. Lots of screws.  Ball point pen has to be dead center of the center rail. Inside two rails were adjusted/cut with a dremel, before the next piece of track was added.  As we worked around the curve, the track joints were monitored to be sure they stayed tight/closed.

Last edited by Mike CT

There are a couple of brands of camouflage paint in spray cans.  Rather than sweat the details I just sprayed each section of track before installation.   A few passes with a thinner soaked cloth removes paint from the rail tops.  After ballasting I dusted inside the rails with soot and rust chalks. 

Bruce


Lots of excellent advice above.  On my last, modest layout, I used Floquil rust brown and brush painted the rail webs on the outer rails (leaving the center rail unpainted; and, the shiny flanges visible between the ties was concealed with ballast); a wood block and hammer to close the gaps between rail joints; and, countersunk the #4 black track screws.

Good luck.

Drummer3 posted:

On my past layouts with Gargraves flex, I would slowly bend the track back and forth on my water heater.   You need to even out the tie spacing as you go.   Then when I lay it on the platform, it is already 80-90% curved to how I want it, making minor adjustments to finish it out.  I also made some curved templates out of plywood to several radii to bend the track.   Somtimes I would spray WD40 on the track so the ties slide easier.  I use 2" fiberglass wheels on my dremel for cutting the ends.

Right now my layout is all 027 tubular.   

Lots 'O' Trains here

 Do you have a source where you got these cutoff disks?

Thanks


Add Reply

Post

OGR Publishing, Inc., 1310 Eastside Centre Ct, Suite 6, Mountain Home, AR 72653
800-980-OGRR (6477)
www.ogaugerr.com

×
×
×
×
Link copied to your clipboard.
×
×