Always wondering what designs other folks are working on.  Please share.


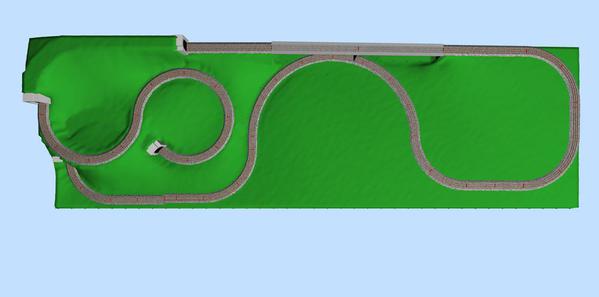
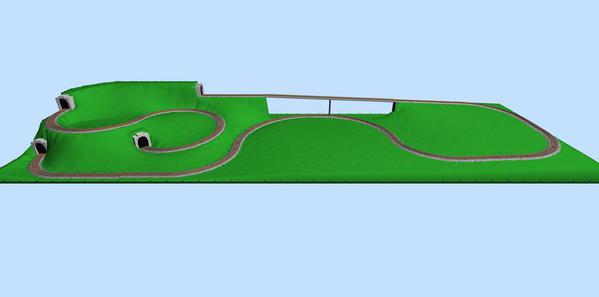
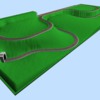
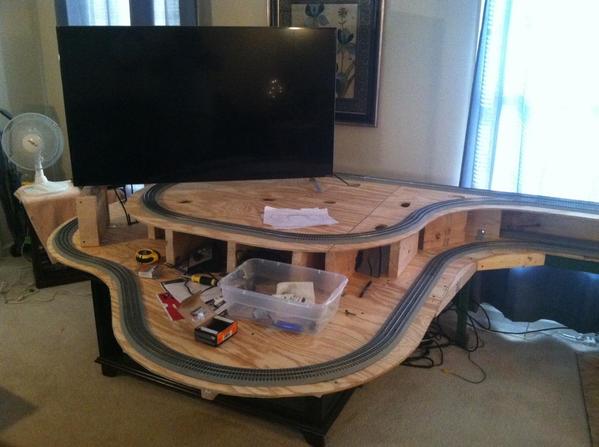
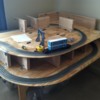
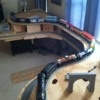
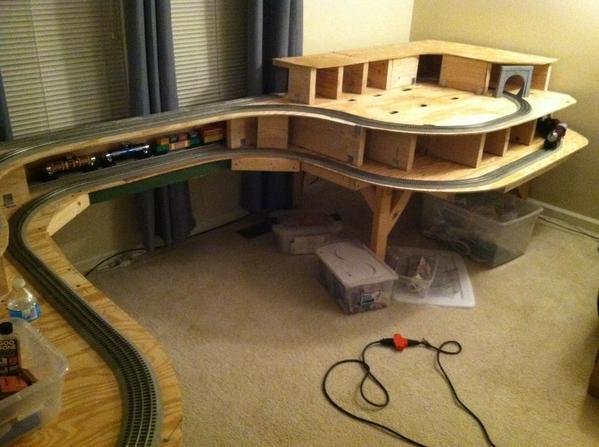
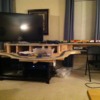
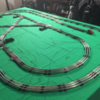
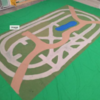
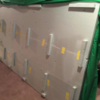
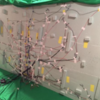
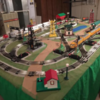
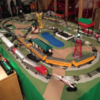
This is my grand design for the living room along the front windows.  Train movement direction is counter-clockwise.  It's about 55" deep and 160" wide.  The entire platform is elevated to 24" in height so the right side can rest on top of the entertainment center cabinet.  The center and left are supported by painted wood benchwork supports.  The semi-circle in the middle is O-60 Fastrack.  The curves in front and right are O-36 Fastrack.  The switchback descent on left is O-31 Fastrack.  My intent is to build this in October and start populating with Dept 56 Snow Village in November.  The goal is for everything to be complete by Thanksgiving.  The live Christmas tree will be positioned in the semi-circle at center.  The tv will go on a custom platform at right so the train can loop around behind it.  I have a few operating accessories like dump car and flagman.  I may add some pushbuttons along the front for guests to have some interactive fun.


I would enjoy seeing your plans and/or works in progress

01 overhead

02 front

03 left

Attachments

Images (3)
  • 01 overhead
  • 02 front
  • 03 left
Original Post

Replies sorted oldest to newest

Neat!  I'll be lucky to even start construction on mine this year (due to other pressing priorities), but the most recent version of what I'm working on is here: https://ogrforum.ogaugerr.com/t...to-the-drawing-board


For Christmas I'll just be doing a large, O-72 oval around the tree & TV/entertainment center. for my gold PE set, as well as the ESE Set I'm eagerly awaiting.... 

Looks like a great design. Please post as you start/complete. 


Ours will probably just be around the tree this year. We are scheduled to do North Pole but time is crunched and that requires 100 hours to put up/take down/store.


Except one couple on here has already teased all of us with their new Christmas layout. When they begin to show more, it might get us in the mood. Can't wait to see it. Maine snow has melted so it might be a few more months.

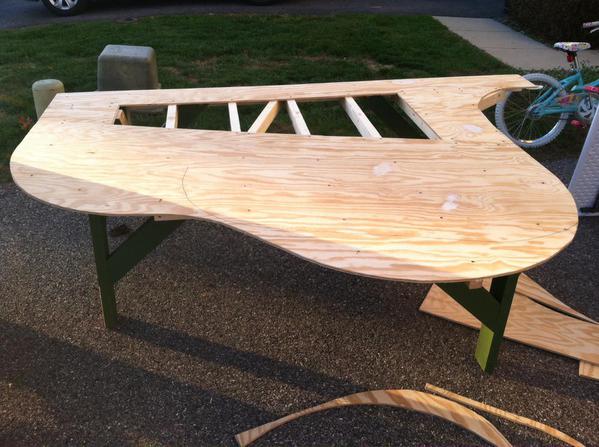
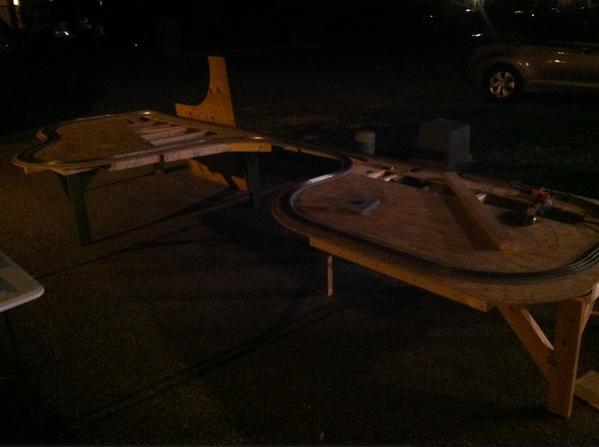
I made a few revisions and finally settled on track plan # 45 as the layout to build.  Construction thus far took about 4 times longer than anticipated, of course.  I did get the first level finished and aligned in the driveway.  It was a bear to carry into the house, one half at a time.  Construction on the second level will hopefully be completed this weekend.  I'd like to start assembling the Dept 56 Snow Village during the week of Thanksgiving.  More pics to follow.

xmas-rev45-left1

xmas-rev45

photo01

photo02

photo03

Attachments

Images (5)
  • xmas-rev45-left1
  • xmas-rev45
  • photo01
  • photo02
  • photo03

Oh, and whether you use my lift, or another person's idea, don't forget to put something to cut track power if the bridge is up. Ask me how I know you should.

I know you would never run your train off of the end of the track with the bridge up...but you can't be too careful...as you can see from the picture below. Note the coupler - not from the factory like that, I can assure you!! Greg (yes that is cement dust on the end!)


coupler

Attachments

Images (1)
  • coupler

G,

I was wondering why the serious supports were there, then I scrolled up and recalled that you'll be putting equipment on there.

Will that level be a r-loop to an r-loop?

if you need something quick to cover the tables, Joann fabric has 60" wide poly felt at a reasonable price. It could save you time for this year.

Looking good. Thanks for update.

Thanks.  There were multiple design revisions.  Both tracks are loops on level grade to minimize problems at the inaccessible track points.  My LionChief Plus Hudson likes to stop at certain areas when moving at crawl speed.  Track may be dirty though I cleaned it before assembling.  I may have to create a makeshift track cleaning car and run it for a few passes.  I have an MTH z1000 to power the other track, but I may be having a problem with it.  I bought it used and only attempted to use it to power the LionChief which did not work together.  I dont' know if there's a problem with the z1000 or the LionChief does not like it.  I have been dealing with other priorities and will get to the track power stuff soon enough.


Still working on it.  Experiencing some track power issues that never existed before.  The LionChief Plus hudson stops in multiple areas on the top level.  The track appears clear and I went over it several times yesterday.  I have to get it resolved because the back areas will be inaccessible after decorating.  I haven't been able to power the lower track because I think the terminal wire is bad.  I have a Lionel CW-80 and a MTH z-1000 and neither of them seem to work though I've tried using different track pieces for terminal connection.  I do not have a second set of terminal wires, so I will hit the LHS today for a spare.  Fingers crossed.   The tv needs to be lifted to allow clearance for the second level train.


train 3train 1train 2

Attachments

Images (3)
  • train 3
  • train 1
  • train 2

Garrett76,

    I really like the engineering in your Christmas layout, fantastic stuff multi level and all.  Simply a beautiful Christmas layout, wish I had the space to make one similar to it!

Great Christmas Layout!

That Christmas layout Screams Tin Plate Trains are needed!  Real nice Christmas Candy Train also.  Garrett I have a Christmas Box Car Train with over 45 Box Cars on her, that would look incredible on your Christmas layout!

Nice job buddy.

PCRR/Dave

Last edited by Pine Creek Railroad

Garrett, are those 2x6's or 2x8's you're using to support level 2? I like how you left the 1" overhang on the 2 pieces in the corner near the window. My layout is also going to have a similar 2nd level, but a section of track will be directly above the track below, so I need enough clearance. A 2x8 with a 1" overhang would give me the clearance I need and give the track a kind of floating appearance. I had intended to use plywood to make cantilevers, but I think the overhang on a 2x8 would support the 1/2" plywood roadbed and might be easier to make/attach. Those simple angle brackets would also work for me.

Dave, the levels are separated by 2x8s.  Between the first and second level, I traced the inside of a Lionel portal.  I cut the horizontal and vertical with a circular saw.  I used a jigsaw to finish off the inside curve.  (see first pic below) I would have followed suit between levels two and three, but I have a husky stack car that is too tall for the Lionel portal dimensions.  Instead, I cut a right angle at 7 inches high and installed a metal bracket to add strength.  (see second pic)  I will have to add blocks under the Lionel portal to raise it up

Garrett


train 5train 4

Attachments

Images (2)
  • train 5
  • train 4
rtr12 posted:

Have you seen this video from Lionel? Fastrack Continuity

I am not that familiar with Fastrack anymore as I went with Atlas, but it could possibly help with your problems?

Layout looks very nice and good luck with fixing the problems.

Ok, so every solution has a problem... I followed the advice of the video and bent the center pins.  The tradeoff is that the track doesn't "snap" together like normal.  It has to be gently forced together.  I discovered that if you hold the track at a certain angle while forcing together, the track buckles, the rails can separate from the roadbed, knuckles can get skinned, and track can go flying to the space between the wall and the benchwork.  Needless to say, I have just weakened the integrity of a few pieces of fastrack.  I may have to make another trip to the LHS to replace as many of the 10in straights with 30 in straights to minimize the problems I'm having.

I guess that is the stuff they don't tell you in the video? Although I did get a pair of Mechanic's gloves for working with my Atlas track when putting it together. It may all hurt after assembling it for a while. I just have to remember to put on the gloves before starting...
I fiddled with Fastrack a little bit about 4-5 years ago (I still really like it) and I don't remember ever having a problem with it, but I didn't have it long. I fiddled with Realtrax too and didn't really have trouble with it either, but the rails at the joints didn't line up real well. I think that video is fairly recent too. Wonder if they changed suppliers or something in the Fastrack itself? The 30" pieces may be better anyway?

The other thing I thought of was adding more track feeders, but the Lionel video seemed like the pins had been a problem and some of the folks here reported that it had helped them with their problems. Hope you have better luck with the 30" pieces.

Garrett76 posted:
rtr12 posted:

Have you seen this video from Lionel? Fastrack Continuity

I am not that familiar with Fastrack anymore as I went with Atlas, but it could possibly help with your problems?

Layout looks very nice and good luck with fixing the problems.

Ok, so every solution has a problem... I followed the advice of the video and bent the center pins.  The tradeoff is that the track doesn't "snap" together like normal.  It has to be gently forced together.  I discovered that if you hold the track at a certain angle while forcing together, the track buckles, the rails can separate from the roadbed, knuckles can get skinned, and track can go flying to the space between the wall and the benchwork.  Needless to say, I have just weakened the integrity of a few pieces of fastrack.  I may have to make another trip to the LHS to replace as many of the 10in straights with 30 in straights to minimize the problems I'm having.

Garrett,

Sorry to hear that. A very slight bend is all that is needed. Mike (Reagan, in the video) doesn't emphasize that strongly enough. The goal is to slightly increase the contact pressure of the pin to the other mating surface.

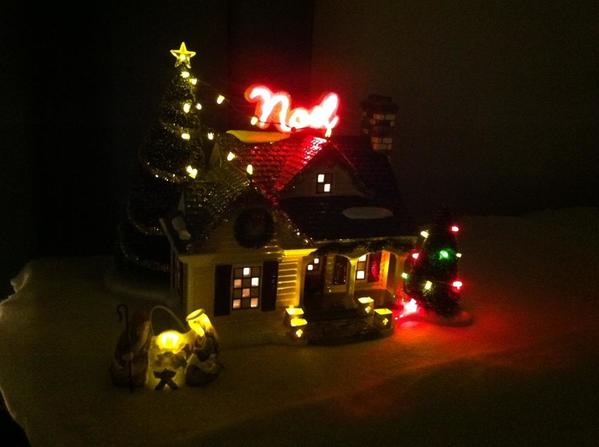
Adding more village houses.  The tv will need to be lifted so the picture is clear of obstructions.  Once complete, my wife and daughter will place the accessories.  That is their favorite part.  The layout is designed for the Christmas tree to be placed in the middle, between the two sections.  The layout is 16 feet end to end with an approximate 5 ft diameter semicircle opening in the middle for the tree.


photo 3 [2)photo 2 [7)photo 1 [12)photo 3 [1)photo 2 [5)photo 1 [4)

Attachments

Images (6)
  • photo 2 (5)
  • photo 3 (2)
  • photo 3 (1)
  • photo 1 (4)
  • photo 2 (7)
  • photo 1 (12)

Our Christmas layout.

I posted this in the main forum as well.

Not much of a Winter theme here. This year we built a loose interpretation of the Ozzie and Harriet layout in postwar style on a 5x9 ping-pong table.

Painted muslin is the topsheet. The original plan was to have it sit directly on the table top and just fish the wires under the fabric. That quickly proved to be too difficult so the foam sub-bed was added.

We glued sections of 2" thick foam to make a sub layer and added scrap pieces as risers to provide underside airspace for wiring. All wiring was done before moving the foam onto the table.

All tubular track, switches and postwar repro accessories.


Screen Shot 2015-12-17 at 11.23.32 AMScreen Shot 2015-12-17 at 11.23.40 AMScreen Shot 2015-12-17 at 11.23.48 AMScreen Shot 2015-12-17 at 11.23.56 AMScreen Shot 2015-12-17 at 11.24.06 AMScreen Shot 2015-12-17 at 11.24.13 AM

Attachments

Images (6)
  • Screen Shot 2015-12-17 at 11.23.32 AM
  • Screen Shot 2015-12-17 at 11.23.40 AM
  • Screen Shot 2015-12-17 at 11.23.48 AM
  • Screen Shot 2015-12-17 at 11.23.56 AM
  • Screen Shot 2015-12-17 at 11.24.06 AM
  • Screen Shot 2015-12-17 at 11.24.13 AM

Add Reply

Post
The Track Planning and Layout Design Forum is sponsored by

AN OGR FORUM CHARTER SPONSOR

OGR Publishing, Inc., 1310 Eastside Centre Ct, Suite 6, Mountain Home, AR 72653
800-980-OGRR (6477)
www.ogaugerr.com

×
×
×
×
Link copied to your clipboard.
×
×