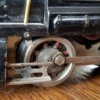
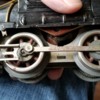
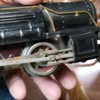
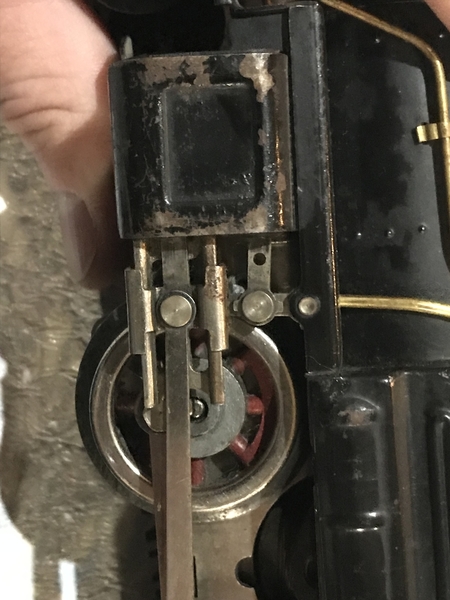
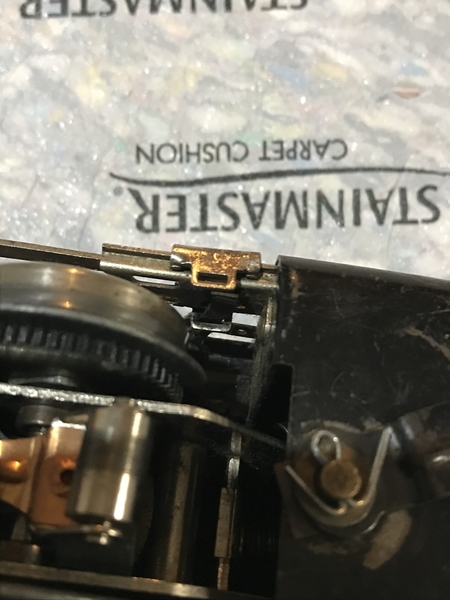
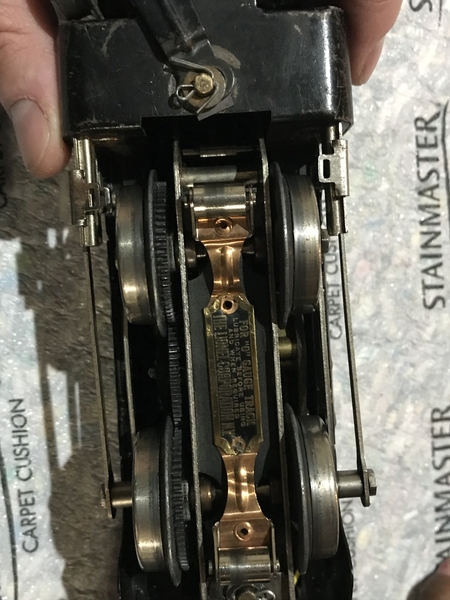
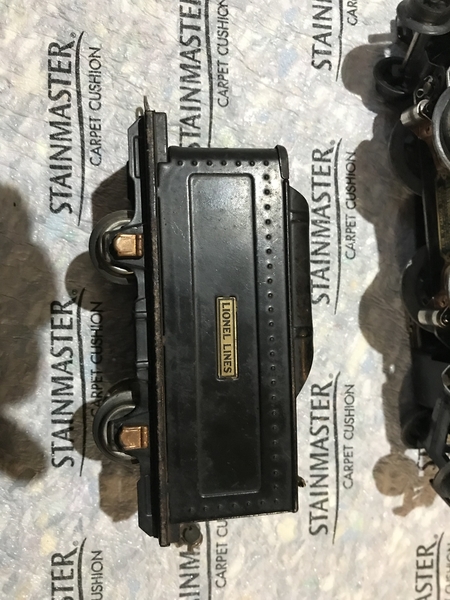
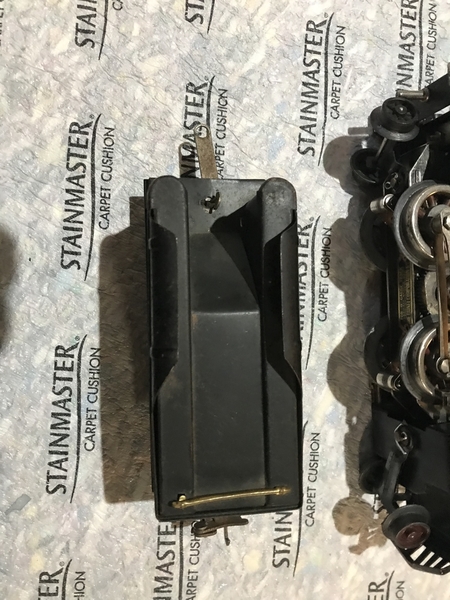
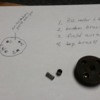
Hey guys -  After a few months of hemming and hawing, I bought a little set of 800 series freight cars and a 259 loco....not sure of the tender.  The cars are really decent, but need some cleaning, But, I am going to need some help with the engine.   The thing I was trying to avoid, I'm afraid happened....the 259 is missing some linkage/rods...steamchest...not sure what the correct terms are.  The train is supposed to run in both directions, and I'll get it on a track tomorrow or Wed....I'm greener than green and am going to need lots of direction....I'm somewhat mechanical as I have repaired and fixed up old radios, but this is the first train I've owned.


I don't have much time right now, but will try to include a couple pics of the engine.  I'll have more time tomorrow evening, but wanted to shoot some questions out there...  Are parts available?...should I try to do this?....I want to learn to take it apart and clean it up and service...so no time like the present, huh?  Is there a good video available to learn from?...

I'll share some pics of the cars, when time allows.

Thanks in advance!

Dean

Attachments

Images (4)
  • 20180730_170313
  • 20180730_170338
  • 20180730_170412
  • 20180730_170606
Last edited by papawdal
Original Post

Replies sorted oldest to newest

Looks to me like what's missing is just the connecting rod and the cylinder rod that rides in the cross head.  I'm green enough to not know if replacement parts are available.  I suspect that they can be found if not after-market then from donor engines of the same model/vintage.  

The good news is that you have a complete example on the opposite side of the engine that, most likely, is identical to the missing parts if not the mirror image.  As such, carefully handled they could serve as templates to manufacture your own replacements if you are so inclined.

Just took a second look and it looks like there's one other piece broken off on both sides that pivoted on a rivet on the lower edge of the body.  This was supposed to represent a mechanical oiler, I believe.  Again, if you were inclined you could fabricate two identical pieces that would go on both sides.

Last edited by Byrdie

Thanks for the great help!....I've found the parts.  But I'm kind of unsure about drilling (?) that little rivet out and re-riveting that linkage that's mounted to the frame (or shell?) ....the rest I could probably figure out.  Any hints or thoughts?  I don't want to goof it up (it's not a mint example, but the finish is in decent shape). 

Thanks again!

Dean

Drilling is an option, but hardest to keep from spinning, which "from paint to scratches" never looks as good again. Not to mention accidental grabbing and hole enlargmeenl possibilities.  So, grinding wheel or a (preferably reinforced) cut off wheel in a Dremel is my go too. Cut the backside, grinding back and forth shaving the top off....and mask with tin can scraps, a putty knife, old butter knife, etc, if fussy; even tape though that is a "grabby" danger imo. You can set rivets by hammer & drift, anvils, special arbors in vices, pliars, or presses, some purpose built. Squeezing with non discript pliars works to set at times, and is also often the last bit of effort needed when one hangs up just short of removal  

Cutting a slot across a head can allow you to hold a blind head (or rounded hex bolts, stripped carrage bolt holes, etc) with a screwriver, hacksaw blade, exacto saw blade, feeler gauge, wire, etc.

Always buy extra rivets; cheap and you inevitably will screw one up; side collapse, head scratched, too tight, too loose, broken knurle(curl), bowed shaft, etc, etc. Not really hard; the job is Murpheys favorite. Tiny mistskes and swearing because you just know it IS so easy you'll want it to be perfect looking but corrective blows can never satisfy, so start again  

Adriatic posted:

Drilling is an option, but hardest to keep from spinning, which "from paint to scratches" never looks as good again. Not to mention accidental grabbing and hole enlargmeenl possibilities.  So, grinding wheel or a (preferably reinforced) cut off wheel in a Dremel is my go too. Cut the backside, grinding back and forth shaving the top off....and mask with tin can scraps, a putty knife, old butter knife, etc, if fussy; even tape though that is a "grabby" danger imo. You can set rivets by hammer & drift, anvils, special arbors in vices, pliars, or presses, some purpose built. Squeezing with non discript pliars works to set at times, and is also often the last bit of effort needed when one hangs up just short of removal  

Cutting a slot across a head can allow you to hold a blind head (or rounded hex bolts, stripped carrage bolt holes, etc) with a screwriver, hacksaw blade, exacto saw blade, feeler gauge, wire, etc.

Always buy extra rivets; cheap and you inevitably will screw one up; side collapse, head scratched, too tight, too loose, broken knurle(curl), bowed shaft, etc, etc. Not really hard; the job is Murpheys favorite. Tiny mistskes and swearing because you just know it IS so easy you'll want it to be perfect looking but corrective blows can never satisfy, so start again  

This is such good direction and advice.  Thanks for taking the time to share it with me.   I don't have a ton of money in this set, so realistically, it should be a good engine to learn a little on....and not feel like I've ruined a high dollar collector piece, if it doesn't go perfect.  


It will be a week or so before I can give any time to this engine or getting the cars cleaned up....but I'm looking forward to it!....I want to have it running around our small 'table tree' this Christmas. 

 Thanks to all of you for sharing your experience with me....and I'd still love to hear from any of you with whatever advice you may have.

Keep us updated in this thread. 

   One of the smoothest and best rivet set tools I recall wasnt a common rivet set. It was my grandmother's clothing snap & eyelet tool in her sewing box, It was a chromed "compound pliar" about 18" long and 4-5" deep jaw, a mean bite for delicate hands. Heavy sewing/leather shoe eyelets need drifts, anvils & arbors and they set hollow rivets well too.  I bought a small eyelet kit and drift set at a "big-lot discount" store before (Out of Biz?) 

I restored three of these. I'm pretty sure I popped that linkage off the rivet from the backside with a small screwdriver between the linkage and the frame. The rivet then came out of the frame easily. I did not replace the rivet, I reused it. I reset the rivet to the linkage with a pair of needlenose pliers. No drilling necessary and I did not scratch my paint job. 

George

Last edited by George S
George S posted:

I restored three of these. I'm pretty sure I popped that linkage off the rivet from the backside with a small screwdriver between the linkage and the frame. The rivet then came out of the frame easily. I did not replace the rivet, I reused it. I reset the rivet to the linkage with a pair of needlenose pliers. No drilling necessary and I did not scratch my paint job. 

George

Great.....I'll probably give this a try....I hope you will be around and willing to answer (sometimes silly) questions when I get started.    Thanks so much for the info.   

Dean

jhz563 posted:

Here’s some pictures of mine.  Maybe they will help2535D842-0060-44B3-910B-321B69650BF39F999D8D-AA80-4D78-ACBA-5BCD6047DD45AD2B2AD9-544E-42FE-99B8-B8F9D0B7E90F70C82B25-F3AC-4D85-B7E3-268BA87D0839

And the tender that came with mine.

DA091780-75D2-4480-9C92-23E98B00AD960F04B63B-184E-4826-8271-0CEFDA94C28C

@jhz563 - These will be very helpful!   I appreciate you sharing them!

What a valuable resource this site is.  I have absolutely no local contact to help me along....and this is absolutely the first train I've ever owned.  Needless to say,  I sure need the help.   Thanks to all of you.

Hi again....well life got kind of busy, but I finally got the engine on a loop of track, as is.  On the test run, it started out real sluggish, but I suppose after a bit, the grease/crud warmed and loosened up some and it ran pretty good.  The reverse lever has no resistance when you move it and doesn't change the direction...so in addition to the linkage that is missing,  I want to think about fixing that, too.  I'm wondering if there is a good tutorial type video or thread on disassembly/reassembly....I've searched youtube and did find a decent one on a 262 by ChooChooVille.

I've also noticed on the #807 caboose that one of the axle boxes (?) is a little bent and causes slight rocking of the caboose. It likely got dropped or something and landed on it, I suppose....I'm not sure whether I will try to address that, or not.  I'm nervous that I might add to the problem.  Cosmetically, you can't see it at all, except for the slight  teetering...I'll share some pics of the cars at some point....I currently have them safely packed a way but will be getting around to cleaning and oiling, soon.

Attachments

Videos (1)
20180903_171645

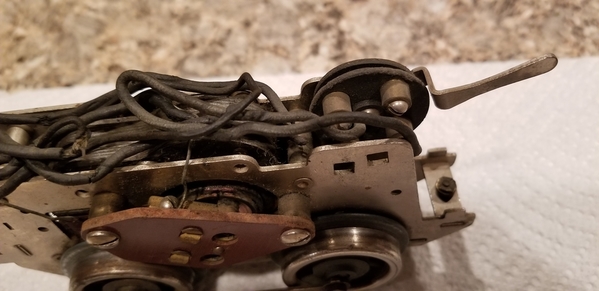
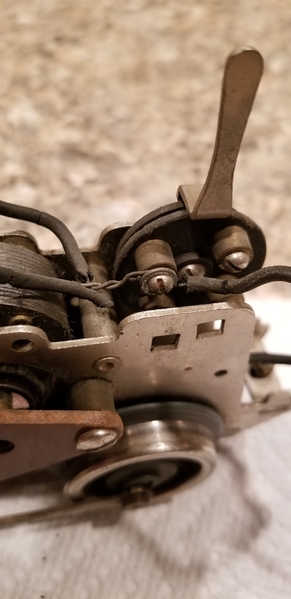
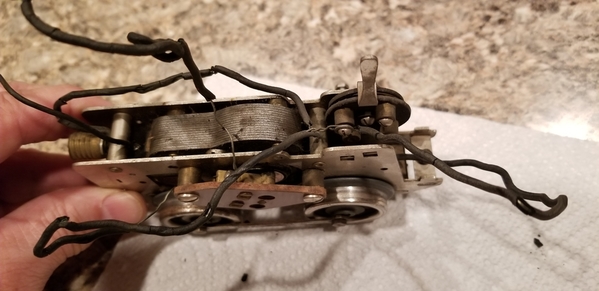
Forgive my ignorance....but I don't see anything but what looks like a switch to me.   This is an early 259...does it have an e-unit?  If you look at the pics, the screw on the right side of the 'switch' was loose...and no wire on it..and no spare wire hanging anywhere. The screw on the left has the wire to the light socket, twisted together with another wire....and another wire leading to the bottom of the unit somewhere.  

20180903_20503520180903_20562620180903_205712


Attachments

Images (3)
  • 20180903_205035
  • 20180903_205626
  • 20180903_205712

I don't think there's an E-unit there. That looks like a mechanical reverse lever. You need to have conductivity for that to work. Check that the connections are solid and there is no shorting. The wires could be the problem. The lever could be loose and the lever may not be conducting. Try to clean and tighten it.

George

After thinking about it...and staring at it for a bit...I bet the switch quit working and it was wired around, so it is always running forward.  All four screws should have leads on them I bet..one from each brush, one from the pick up roller and one from the field coil of motor.    I will un hook the wires and try to attach leads from transformer ...and then reverse them to figure it out...hopefully this week.  I wonder if I can repair it  or find a replacement for that switch.  

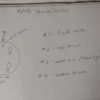
Looking at your photo that switch may not be bad. You should be able to tell before pulling it most times. One or more of the little round contacts may not be mating due to being smashed flat or the spring is missing/weak.  Attached are some drawings - bear in mind that both use the same switch but orientation is a bit different. I like to paint/draw orientation stripes on the old switch till you get used to doing these. New switches are available but will run about $25.

Looks like a rewire is needed for sure. Hope it helps.

Attachments

Images (2)
  • 258 reverse switch
  • 252 reverse switch

So I just jumped head-long into it tonight.   It looks like I was partially right with my theory...I'm not sure how I missed it, but 2 of the screws are missing from the switch. My guess is they fell out and were lost....and somebody just wired it to run one direction...Messing around with a multimeter, it looks like it will work fine with screws.  Are the screws something special (besides teeny)?  I will use a lock washer of some type, too, if I can find them. 

I took the motor apart and cleaned it up...It needs re-wired and I imagine I will install new brushes.    And a new headlight. ,


So a couple beginner questions: 

-is 20 or 22 gauge wire ok for rewire?...

-what lubrication at the ends of the armature shaft?...if any. 

-I was thinking 'zoom spout' oil (turbine oil) for wheels (axles) and pickup wheels?....or something heavier?


I'll order the parts I need soon , including the linkage kit and extra rivets....When I get the motor and switch figured out, I start in on the that linkage....anything I am missing?


Thanks-

Dean


Add Reply

Post

OGR Publishing, Inc., 1310 Eastside Centre Ct, Suite 6, Mountain Home, AR 72653
800-980-OGRR (6477)
www.ogaugerr.com

×
×
×
×
Link copied to your clipboard.
×
×