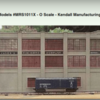
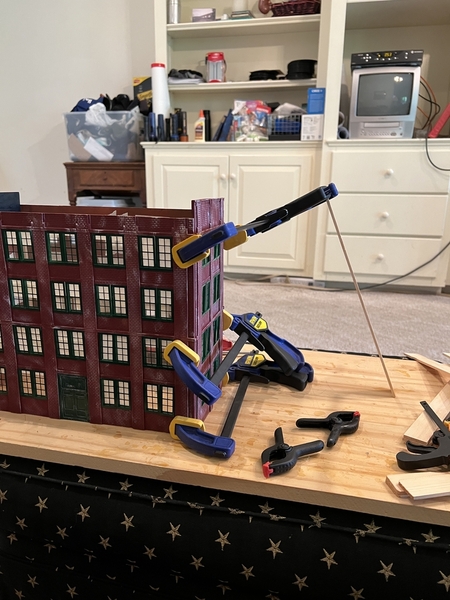
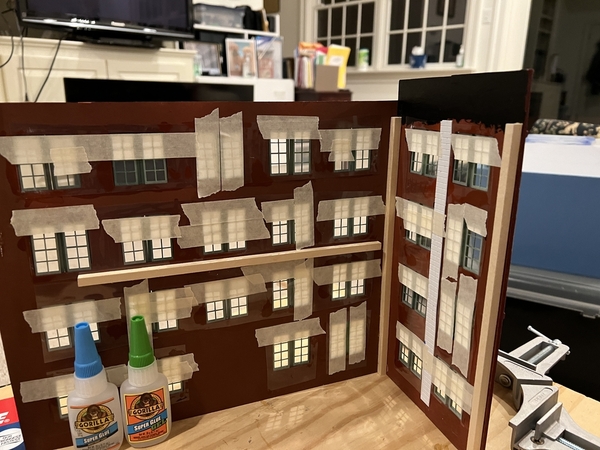
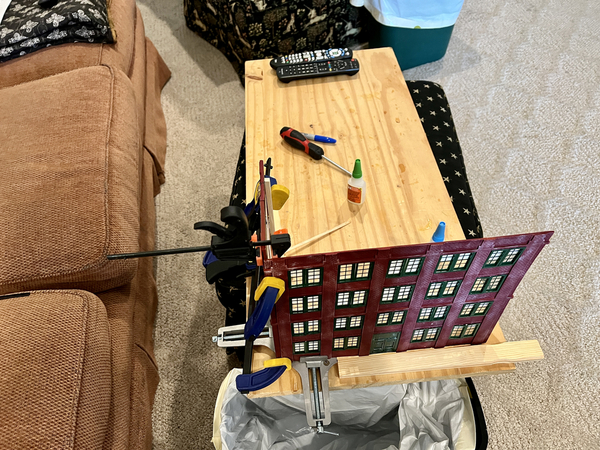
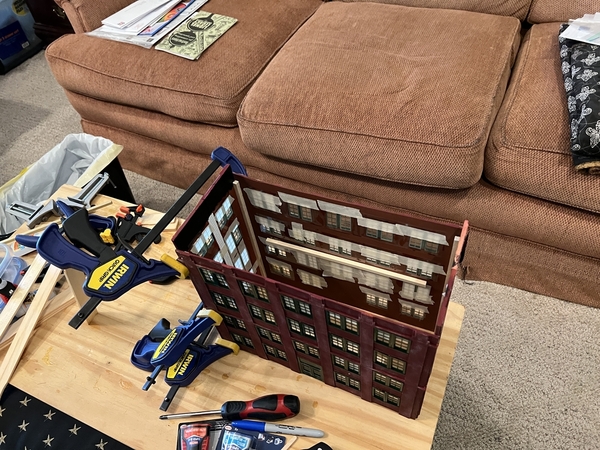
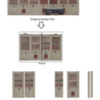
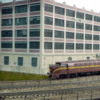
Would anybody on the Forum be able to give me advice and counsel on kitbashing the Korber MRS1101X Kendall Mfg Co. flat?

I’d like to turn it into a true building (i.e. not just 2” deep) by adding sides and a back.  

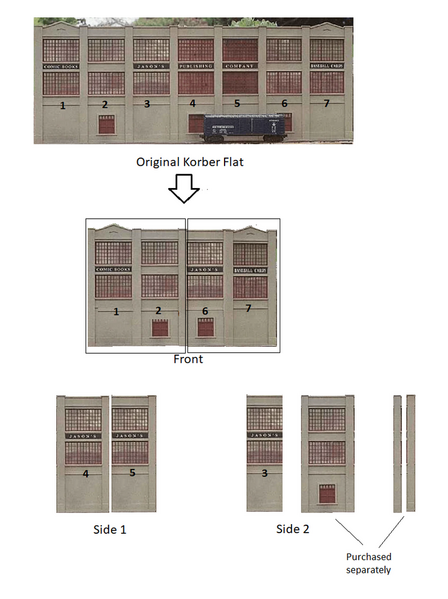
I think it can be one with one of flats by using 4 of the 7 walls on the front, and the 3 for the 2 sides, along with one additional wall from Korber.   Since the back will not be visible, I was thinking of fabricating it from foam core board.

Attachments

Images (1)
  • Korber MRS1101X Kendall Mfg Co.
Original Post

Replies sorted oldest to newest

Build the entire front, paint and weather it to your taste

Photograph the front.

Crop the photo to make the sides you want

If you have the skills/desire, use Photo Shop to change some details, window aspects, add doors, etc

Print to full size photos on semi gloss photo paper. Cut out the windows on one.

Use 3M  spray glue or Photo Mount spray glue to attach the one with cut the cut out windows to Gatorboard (preferred) or foam core

Use the same glue to attach the one with the windows cut out on top of the first. Take care to carefully match the window openings.

Add some 3 D details (downspouts, electrical conduit, architectural features, etc.)

Use ½ x ½ Basswood and hot glue to attach the side wall to the front. End the basswood about 3/8” from the top of the walls

Repeat the entire process for the other end wall

Attach the back wall, again made from gatorboard (referred) or foam core

Add a roof made from carboard. Either paint it flat black, or better yet, use 3” wide strips of gaggers tape or other suitable flat black tape.

You will be surprised at how realistic this will look.

I love kit-bashing……..however, it would help me to see the parts of the building front laid out on a table.

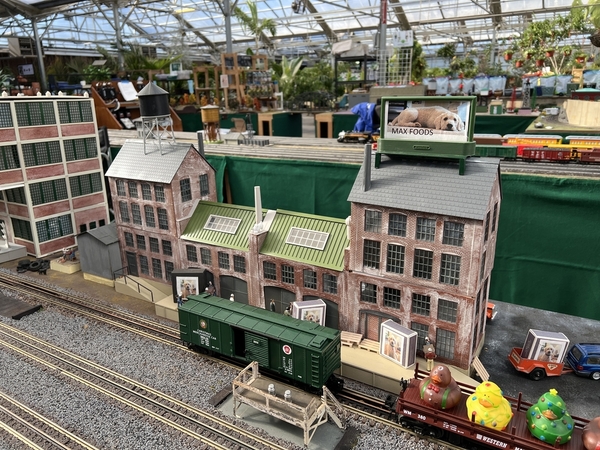
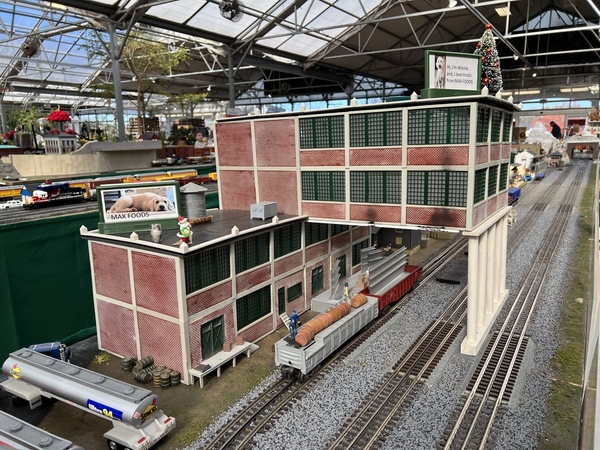
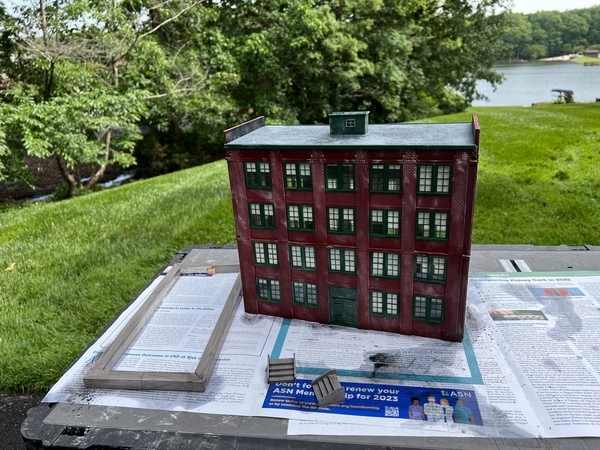
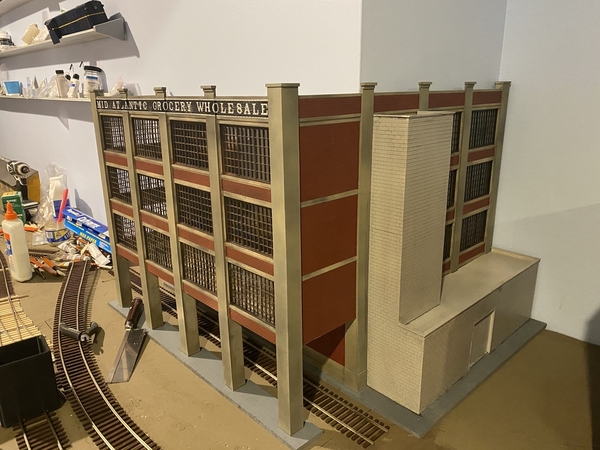
I’ve doubled a Korber apartment front and I have kit-bashed a factory out of Lionel kits and old Korber kits……..but, for me, it would help to give a recommendation based of the parts your kit already has……

The long brick building is the one from  Lionel kits.

The one with the overhang is an old Korber kit from the early 90s.


IMG_3545IMG_3537

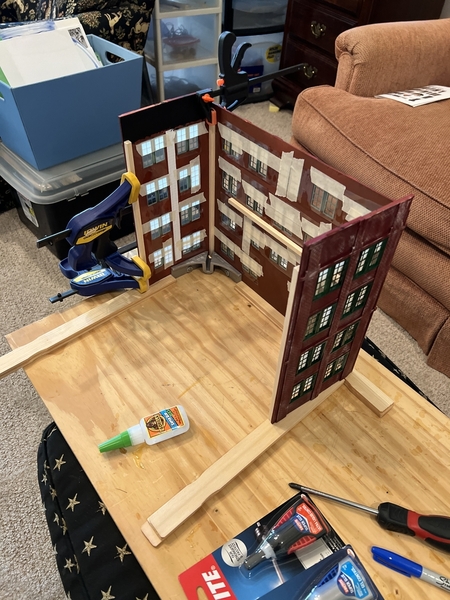
This one is a Korber apartment flat that I just doubled……..doing something similar is, as you surmised, probably be the easiest approach.

70559046943__F29858FC-C98C-4285-855E-F29462F7037BIMG_9987IMG_9978IMG_9973IMG_9989IMG_0045

I look forward to seeing what you decide and how it goes!

Peter

Attachments

Images (9)
  • IMG_3545
  • IMG_3537
  • IMG_3538
  • 70559046943__F29858FC-C98C-4285-855E-F29462F7037B
  • IMG_9987
  • IMG_9978
  • IMG_9973
  • IMG_9989
  • IMG_0045

That building is modular, there’s not much to “bash”, just arrange the wall sections however you want.  Buy another kit for extra walls.  On the sprue of columns should be a set of corner pieces. If you want to make 3D, use them.
Ted’s Textiles + extra walls from the engine house kit. Elevator shaft is scratch built styrene.
IMG_4860

Attachments

Images (1)
  • IMG_4860

John -- Thanks for a great idea.  I appreciate your laying out the steps in how to actually do it, and as you point out, the eye is not likely to distinguish the end result from an actual 3D model.  And it's a lot cheaper.  I have a quick question:  What's the purpose behind gluing the second photo with the windows cut out onto first photo -- to give the illusion of some depth around the windows?

Peter - thanks for the pics of your kitbashed buildings -- they're very nicely done, and inspirational, especially the Max Foods factory building.  In my case, I was thinking of re-arranging the wall sections in the Korber Kendall Mfg. Co. flat (extended version, MRS1101X) to get a front side with only  4 wall sections and 2 sides each with 2 wall sections, one of the latter bought separately from the flat.  The attached pic shows how the Korber flat might be re-configured.

Boilermaker1 (Purdue?) -- very nice work.  You're right -- it's not really kitbashing, instead "reconfiguring" the original flat.

Thanks again to all for your thoughts and pics.  Will post a pic of the final product, but it may take me a while.


Reconfiguration of Korber Kendall Mfg. Co. MRS-1101X

Attachments

Images (1)
  • Reconfiguration of Korber Kendall Mfg. Co. MRS-1101X

John -- Thanks for a great idea.  I appreciate your laying out the steps in how to actually do it, and as you point out, the eye is not likely to distinguish the end result from an actual 3D model.  And it's a lot cheaper.  I have a quick question:  What's the purpose behind gluing the second photo with the windows cut out onto first photo -- to give the illusion of some depth around the windows?


Precisely!  Your eye doesn't see a smooth surface, it catches on the window openings to give exact illusion of depth you refer to. I have done this several times, but can't post a photo because I am away from my computer right now

Bob,

the entire MRS line of Korber kits are as boilermaker notes modular.  You can design your desired building, and the count up the sections needed and buy from Korber.

when I design with those’d kits, I would print out copies of-the window, door and blank wall sections, and place them on a table to get the design of thefull building you want, similar to the photos you posted cut up to make the look you had in mind.

i know once you done, you can make just about any look you want, I have multiples on my layout built with these kits.

Rich

John -- Thanks for the clarification.  

Rich -- Thanks.  The website (Mr Muffins Trains) shows only the completed structure, so I thought they only sold the whole 7-wall section set.  I'm waiting to hear back from them on the prices for individual window, door and blank wall sections.  Is there a different website I should be using?  I didn't see anything on the Google search.

Your suggestion to print copies of the different sections and arrange them to get the desired look is great -- not only to customize the structure, but also to make sure the right pieces are being ordered.

Bob

I found the photo I was looking for. from my post of 6/4/2014:

The right side of the building is scratch built.  The left side is a photo of the right side, suitably photo shopped

Electra

You will notice the windows have different height to width ratios, different window panes are blocked out, there are more loading dock doors, etc.  There is a lot of flexibility with this approach

Attachments

Images (1)
  • Electra
Last edited by John Sethian

John -

Thank you very much for the photo of your kit bashed MRS1101 building.  It looks terrific, truly one-of-a-kind, and I can see why you said the eye won't see the change from 3D on the front to 2D on the side.  After your previous post, I was secretly hoping to see the end result of your method, but didn't want to ask and be a burden.   I shudder at the thought of all the additional sections needed to build it all in plastic, and, even worse, with no visible gain in realism.

I thank you again for laying so nicely your method for extending flats into whole structures, and I appreciate your taking the time to describe the steps so clearly.

Best personal regards,

Add Reply

Post

OGR Publishing, Inc., 1310 Eastside Centre Ct, Suite 6, Mountain Home, AR 72653
800-980-OGRR (6477)
www.ogaugerr.com

×
×
×
×
Link copied to your clipboard.
×
×