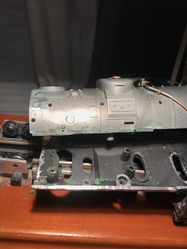
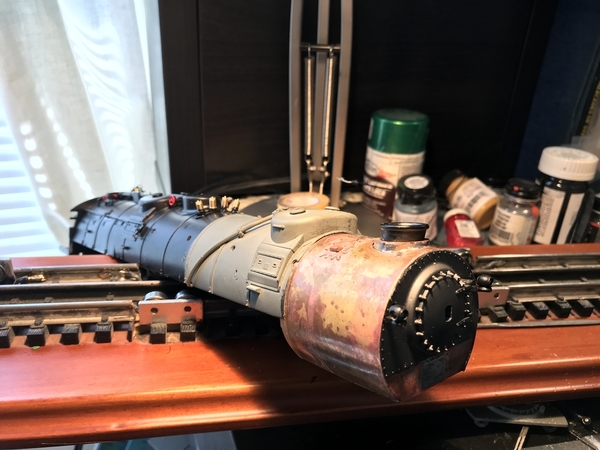
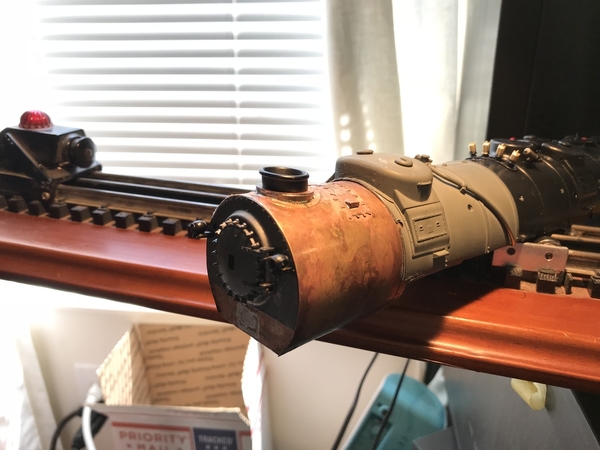
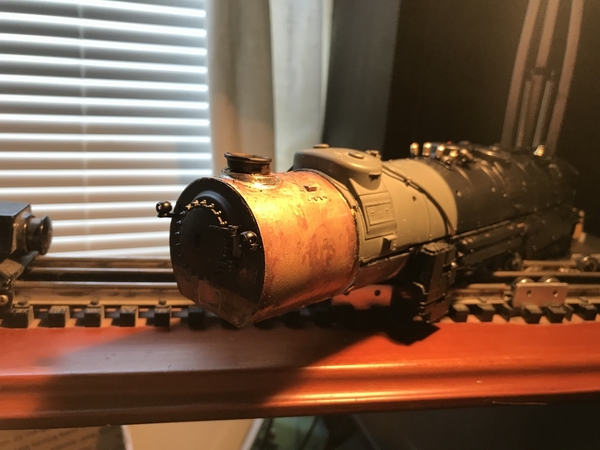
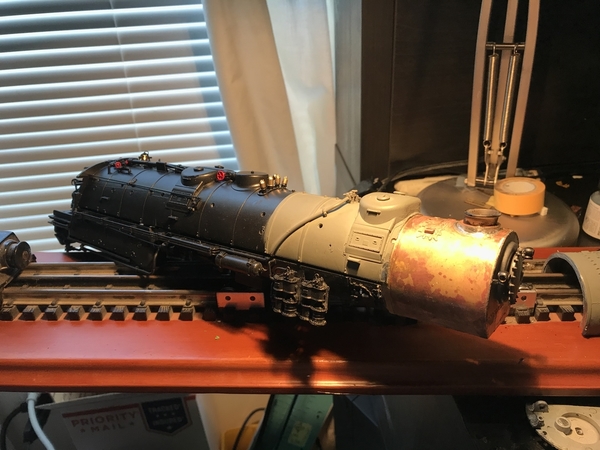
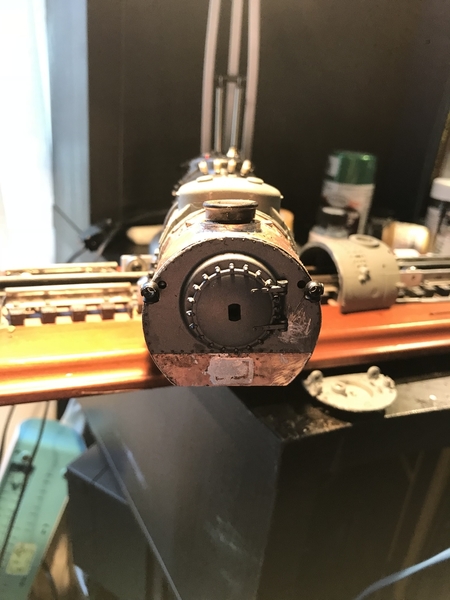
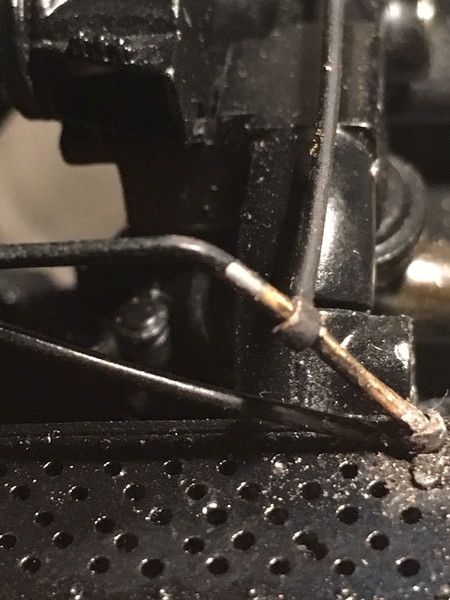
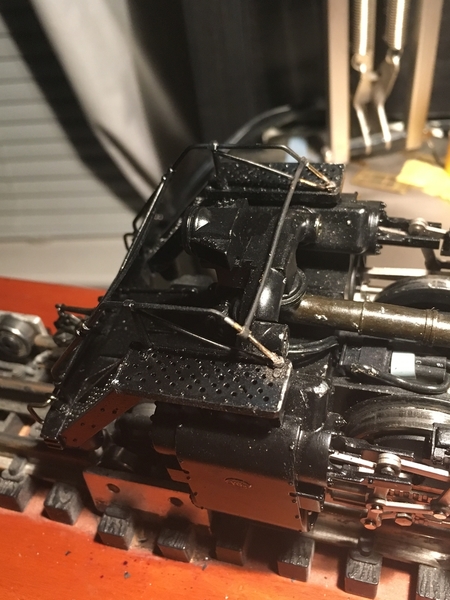
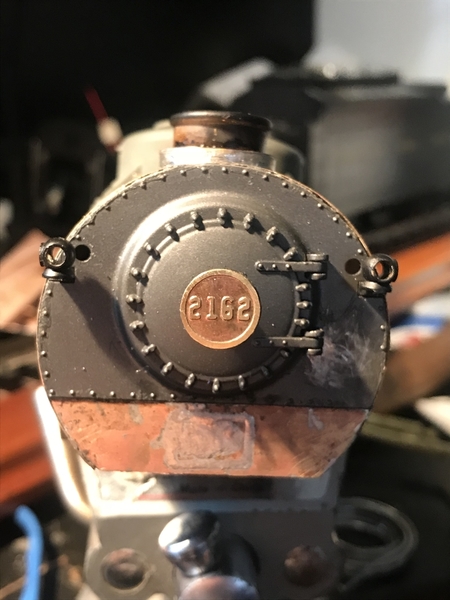
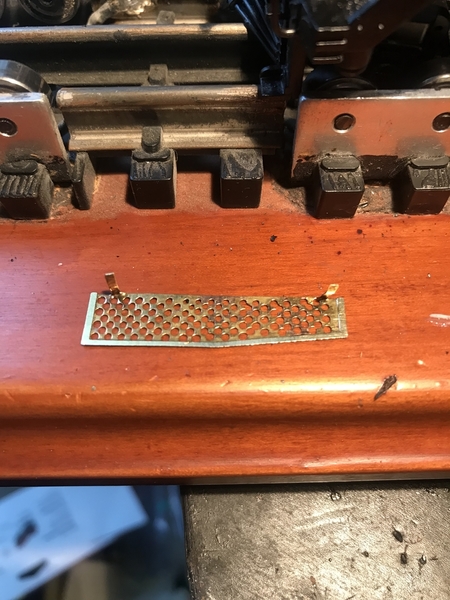
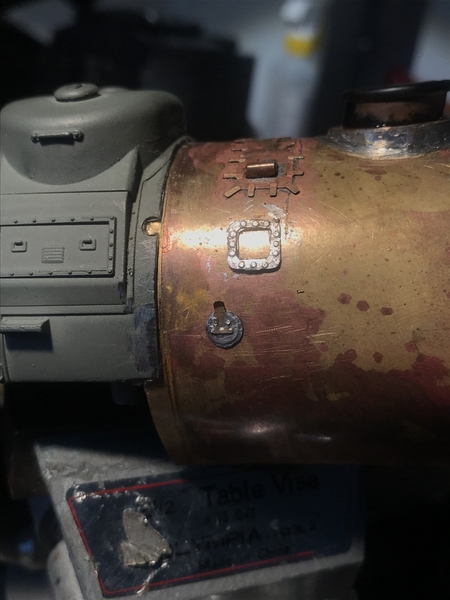
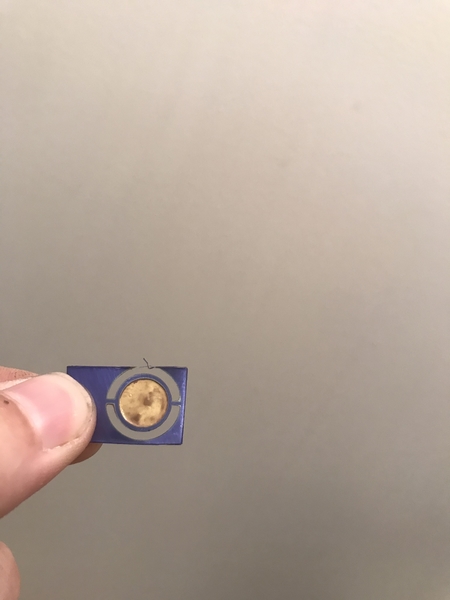
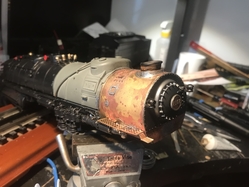
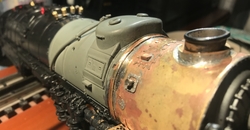
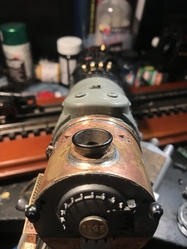
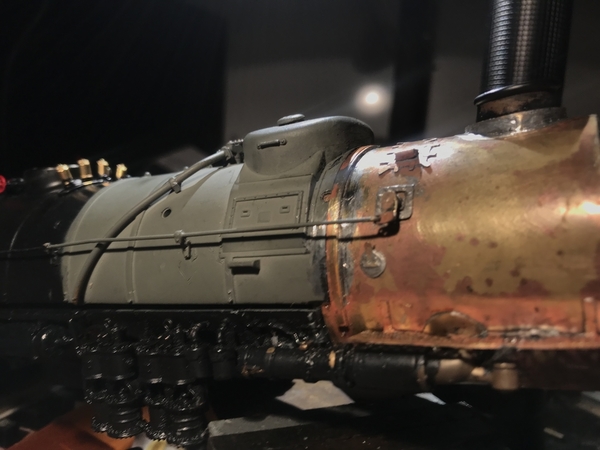
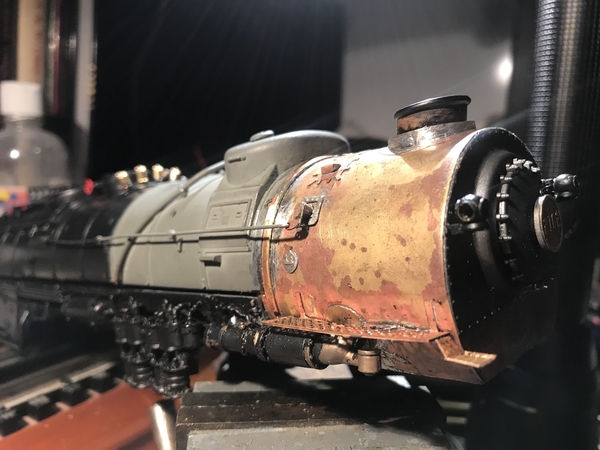
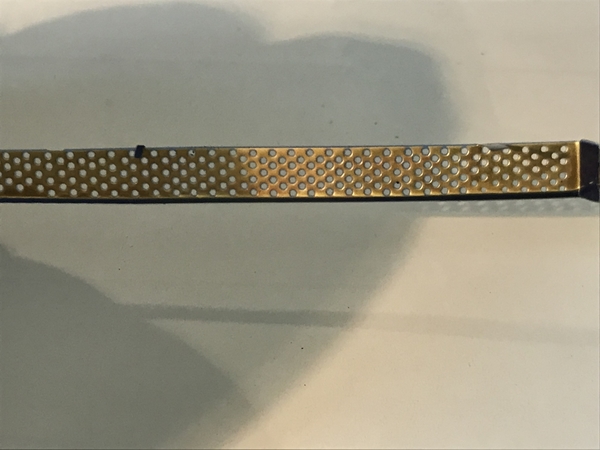
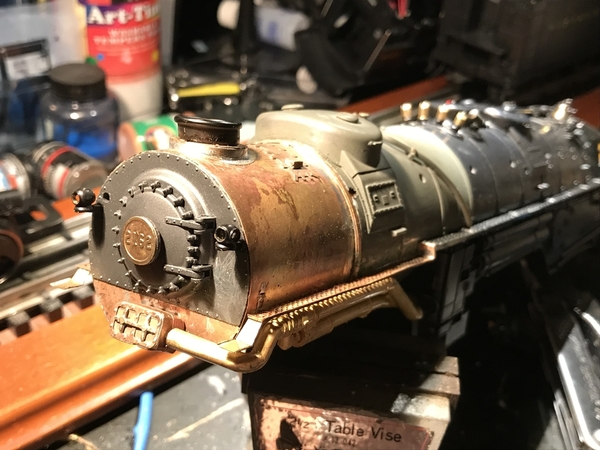
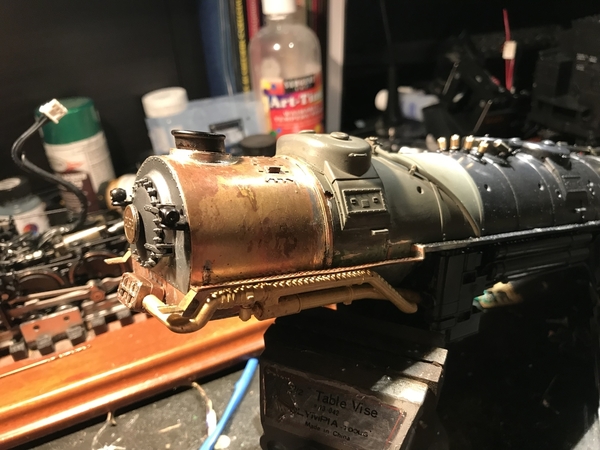
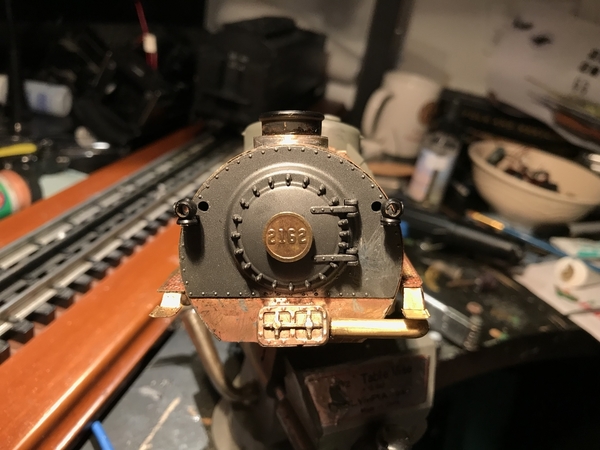
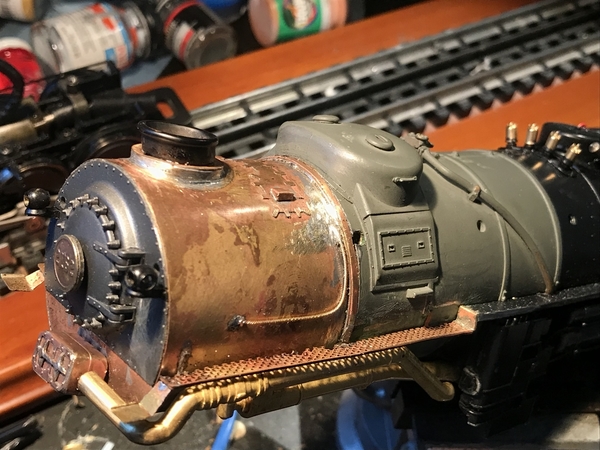
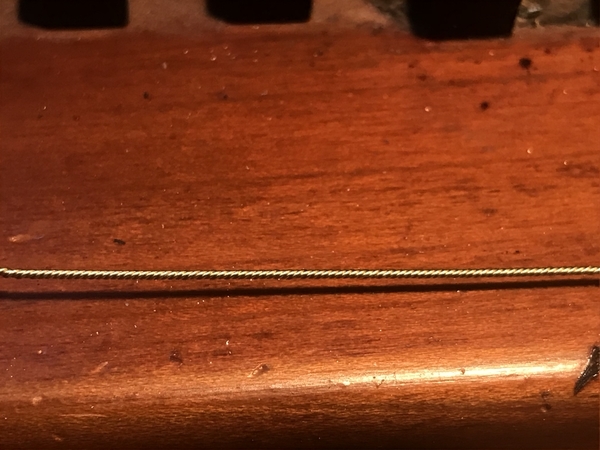
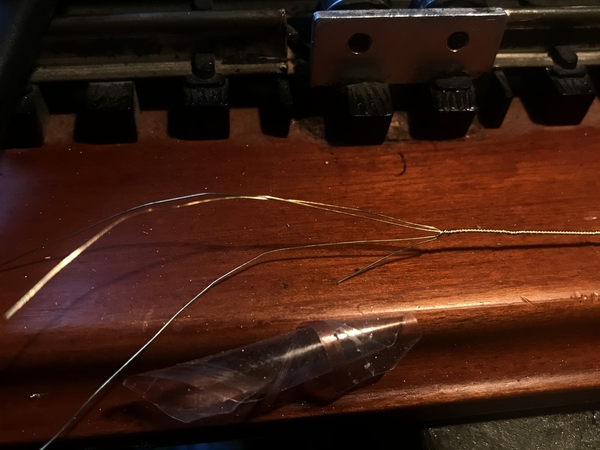
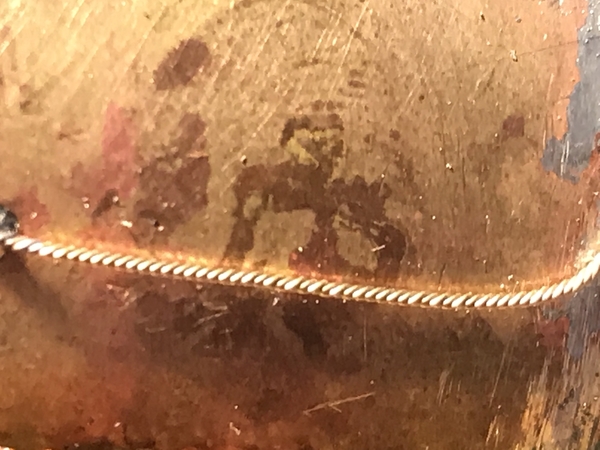
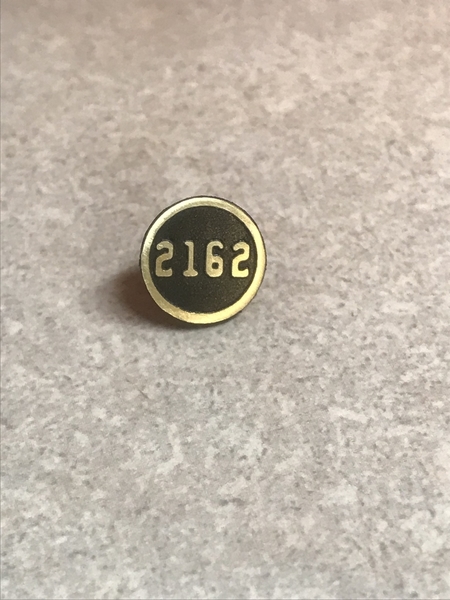
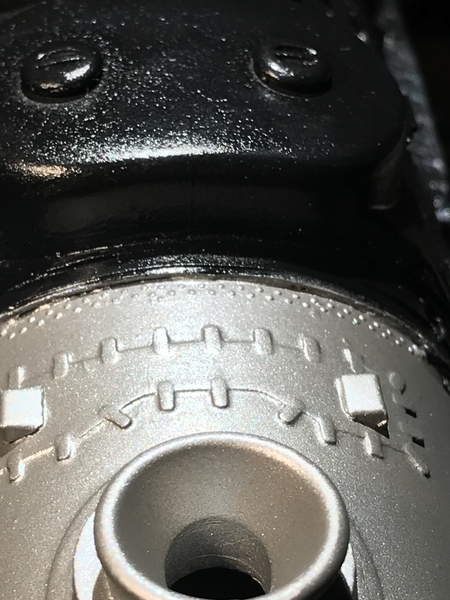
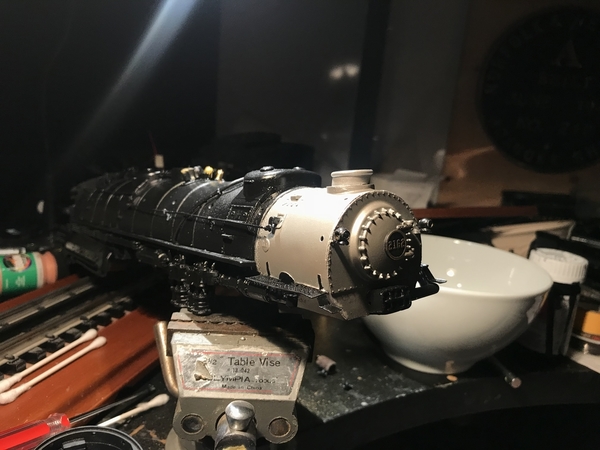
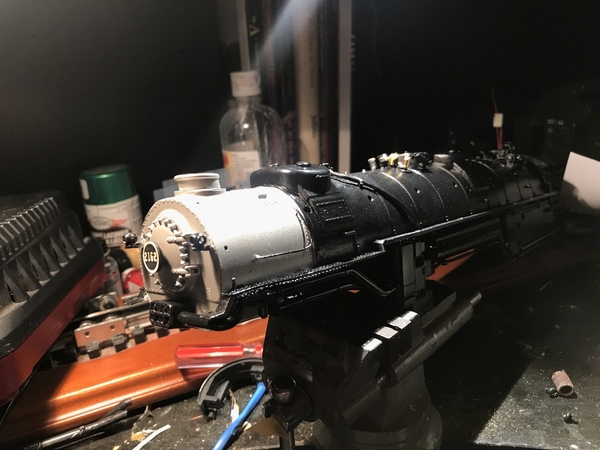
I figured I might as well do it right the first time. Smoothed out the rough walkway that was filled in and the holes around the boiler. The lower half is getting a brass sheet that will be held down by screws inside the boiler. This will give it a perfectly round boiler shape and allow me to solder the new walkway and brass details on

8EB13D77-7E41-4DC2-A26F-F521D9E9A864


Attachments

Images (1)
  • 8EB13D77-7E41-4DC2-A26F-F521D9E9A864
Last edited by n&wsteamfan
pennsy484 posted:
n&wsteamfan posted:

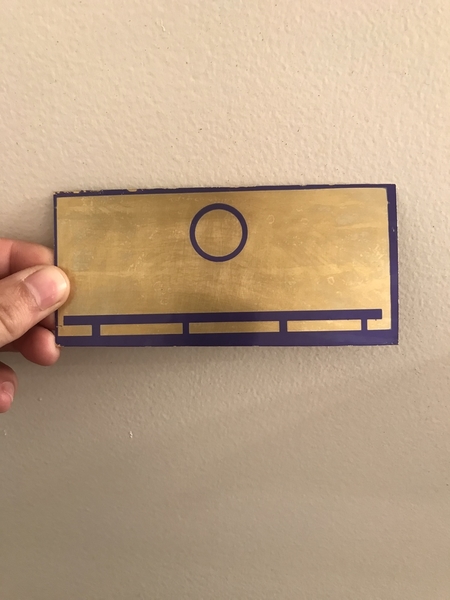
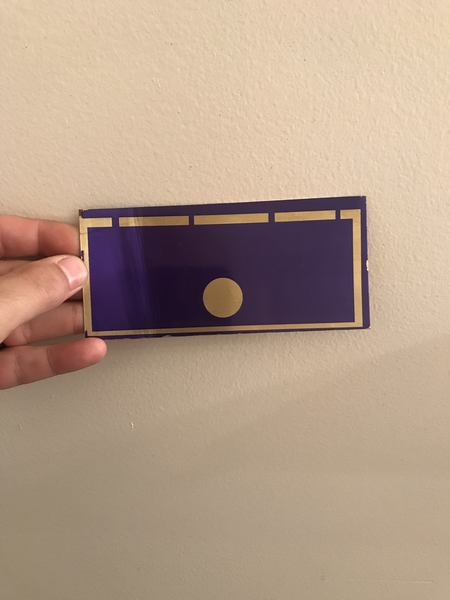
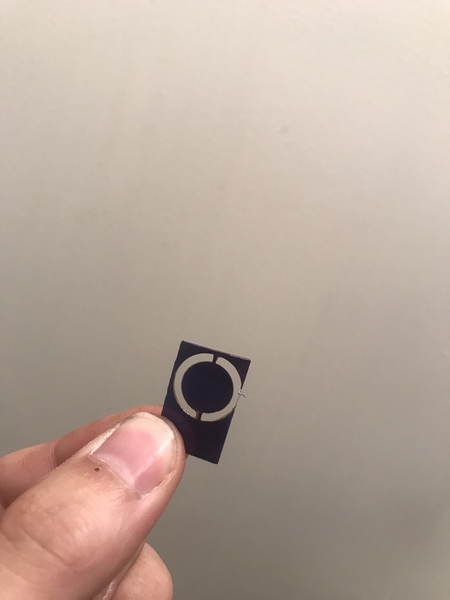
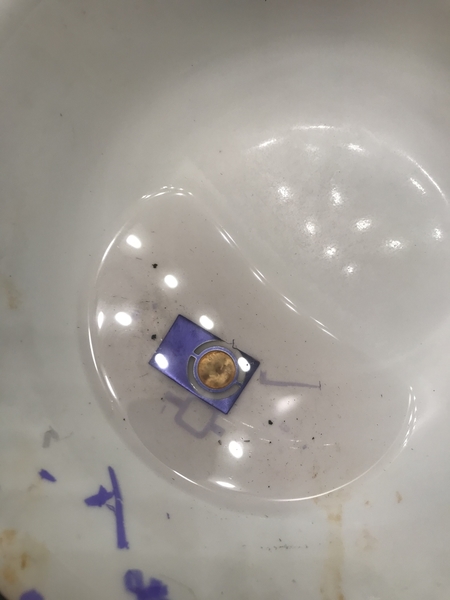
A day off spent etching parts. Number board, walkways, and other detail parts etching. I really like how the number board turned out. 

I don't know anything about etching.  Would you mind explaining how you do the etching (and possibly show the tools), for example the number board?

I'll second that request. Also, that is the front number PLATE, not "number board", which turned out VERY nice too.

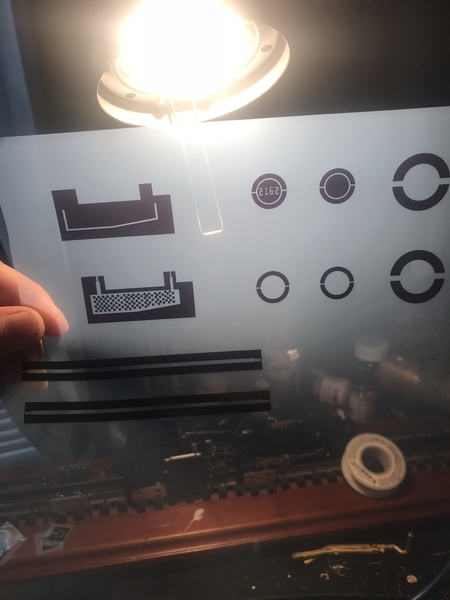
The photo etching process can be difficult and there is certainly a learning curve to it but once you get through the learning stages you can create almost anything. Different parts can be layered to make a 3D effect. There aren’t any special tools to do this. A design needs to be drawn with a front and back. It’s printed on a special transparency and the brass is exposed to it under UV light. 

I don’t want to get ahead of myself though. The brass needs to have a special film applied to it called photo resist. This is laminated on the brass. The brass can then be cut to different sizes so you won’t waste any as the prep work to laminate the brass is labor intensive and very time consuming. One mistake and you’ve wasted time, money, and have to do it all over again. 

After you get expose your brass it needs to be devoloped. This is done with a diluted solution of sodium hydroxide. The diluted sodium hydroxide removes all the unexposed areas that were not hit with the UV light. The UV light hardens the resist areas and the unexposed areas wash away. 

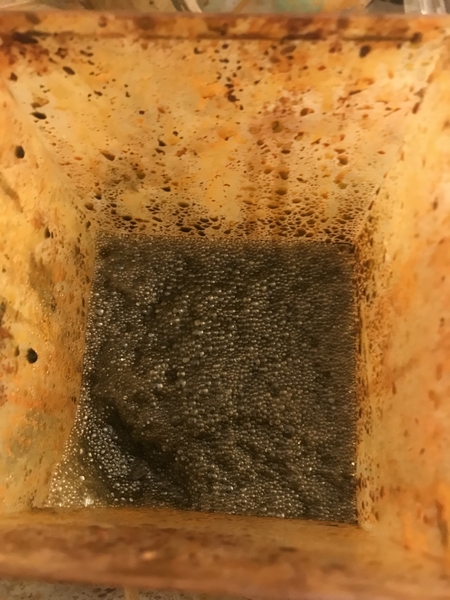
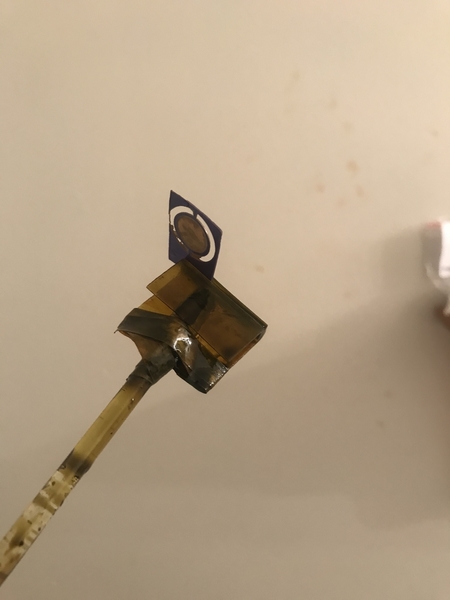
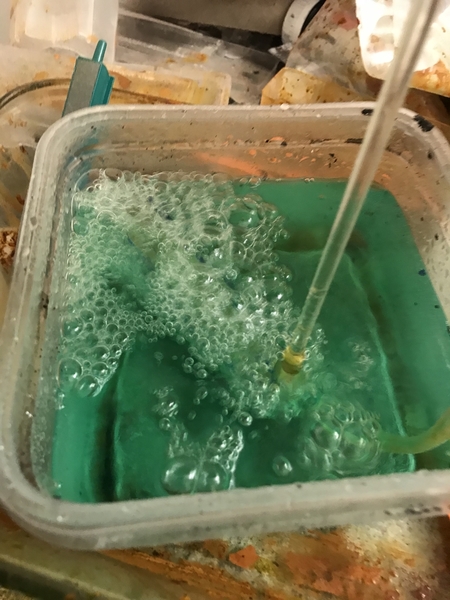
Now you are ready to etch. I use ferric chloride for my etching solution. Timing depends on the thickness of the metal and how many details you have. 
C4626D2F-E0CE-4FC2-89DA-C7975FABAEEFFCFDB1F7-F8E5-41F8-AE61-D10EC1C4A31C9F3A3DF8-EEFA-43CE-9A7C-F57940F85D5EBC76B90B-3754-4CC5-8F1D-03A4223D8DAA4D796FA0-D736-472A-AD24-133E784B8E80

Attachments

Images (5)
  • C4626D2F-E0CE-4FC2-89DA-C7975FABAEEF
  • FCFDB1F7-F8E5-41F8-AE61-D10EC1C4A31C
  • 9F3A3DF8-EEFA-43CE-9A7C-F57940F85D5E
  • BC76B90B-3754-4CC5-8F1D-03A4223D8DAA
  • 4D796FA0-D736-472A-AD24-133E784B8E80

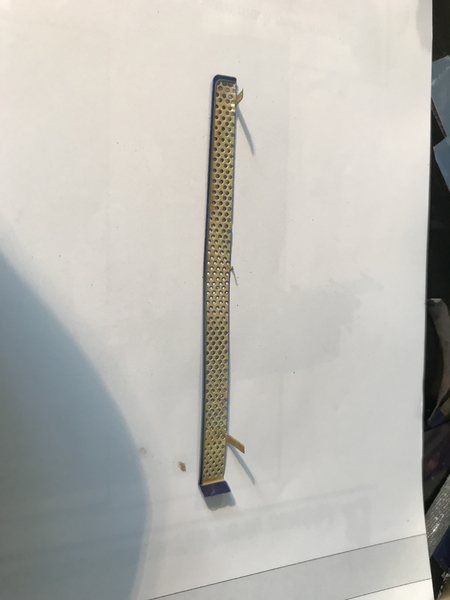
I made a new batch of etching solution. I ruined the fireman’s side walkway trying to etch with old, well used enchant. I’ll have to make a new piece to etch, hopefully this evening. When the etching solution is used the etchings take much longer and they don’t etch evenly as is the case of the walkway. The center etched too much while both ends weren’t etched enough. 

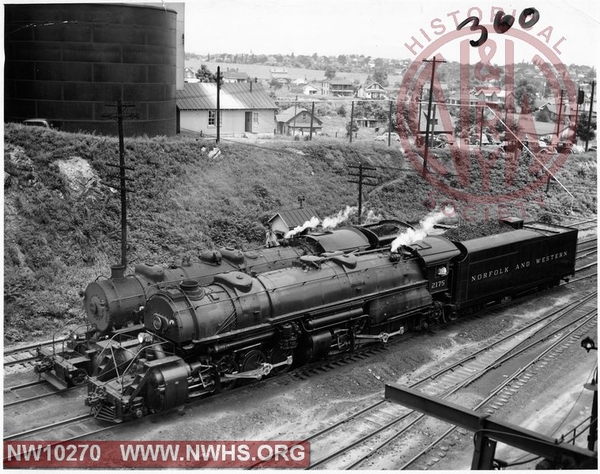
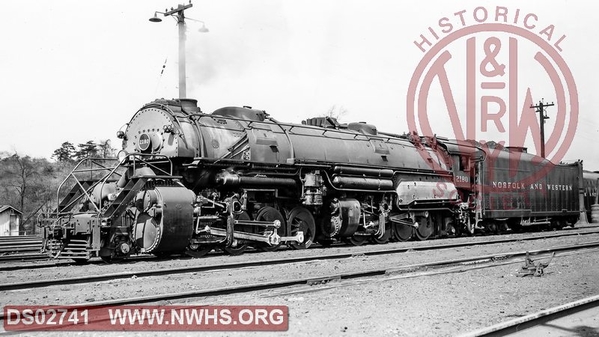
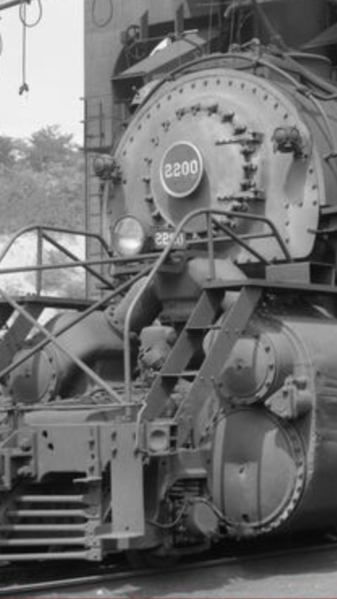
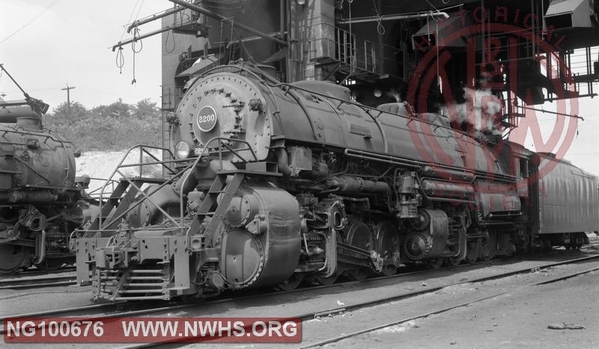
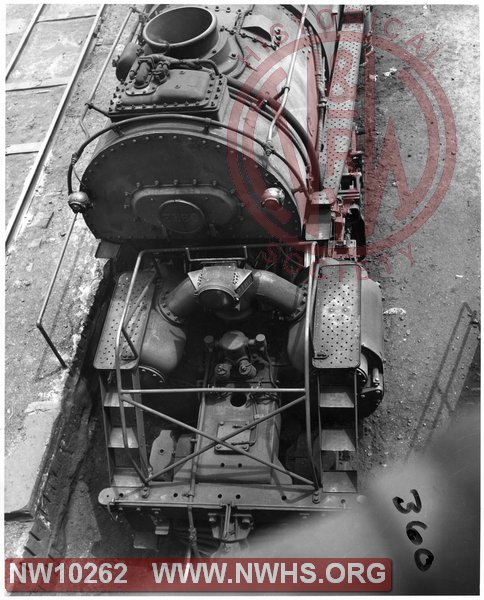
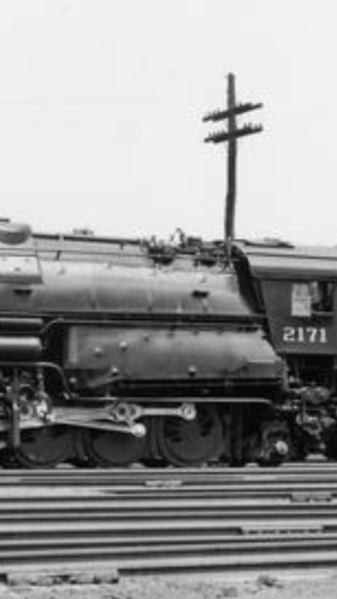
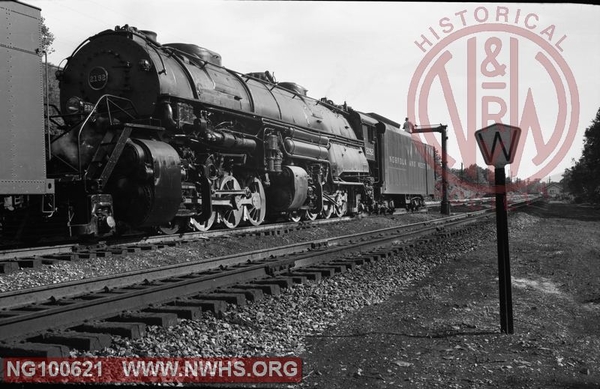
I spend hours searching through google and the nwhs page for picture references. What I have found shows that the y6b engine also had the rear railing on the pilot by the smokebox. I haven’t found a picture of one without it yet. Even the last y6b 2200 shows one. It’s really interesting to me to see the different variations of the y6b. It’s interesting to see 2171 with a swinging bell too  

I have a oval smokebox door that I had always planned on modifying a model to represent the early version 

ECE5EBAD-EBF9-499F-9490-811A1274482FBBB33CA6-7977-442D-9D53-9C7B432BBA2777A1F09B-563E-4972-8638-F2089143AB900C5C5CA8-BC45-413C-B35D-B9619D350D35366D055F-AF72-4A23-8ACD-16CB2831063BFA781E8C-A903-433B-893F-BFC687CB52B63A7C9BAB-1D98-4C13-B68E-298DEE81460E

Attachments

Images (7)
  • ECE5EBAD-EBF9-499F-9490-811A1274482F
  • BBB33CA6-7977-442D-9D53-9C7B432BBA27
  • 77A1F09B-563E-4972-8638-F2089143AB90
  • 0C5C5CA8-BC45-413C-B35D-B9619D350D35
  • 366D055F-AF72-4A23-8ACD-16CB2831063B
  • FA781E8C-A903-433B-893F-BFC687CB52B6
  • 3A7C9BAB-1D98-4C13-B68E-298DEE81460E
gunrunnerjohn posted:

I'm guessing there's a lot of people that will have no idea how much work goes into something like this, I'm sure it'll be a magnificent locomotive when you're done.

Now this comment means a lot to me. I think so few people realize just how much work goes into doing something like this project. The time involved with research, drawing it on autocad, making the parts, soldering, redoing parts...etc. Now take into account I’ve taken a $1000 model and chopped it up just hoping it’ll look like a y6a when I’m done 😁

It might sound crazy but I’ll usually paint a model 3-4 times when I’m doing something like this before it’s finished. Little imperfections or details missed show up when the paint is applied. It doesn’t take long to strip and repaint. I made an oops on the smokebox paint anyways so it will have to be stripped. 


I want to create a new walkway on the engineers side that matches the fireman’s side. Same diameter holes. Curved edge. Shorter mounting strap. 

Add Reply

Post

OGR Publishing, Inc., 1310 Eastside Centre Ct, Suite 6, Mountain Home, AR 72653
800-980-OGRR (6477)
www.ogaugerr.com

×
×
×
×
Link copied to your clipboard.
×
×