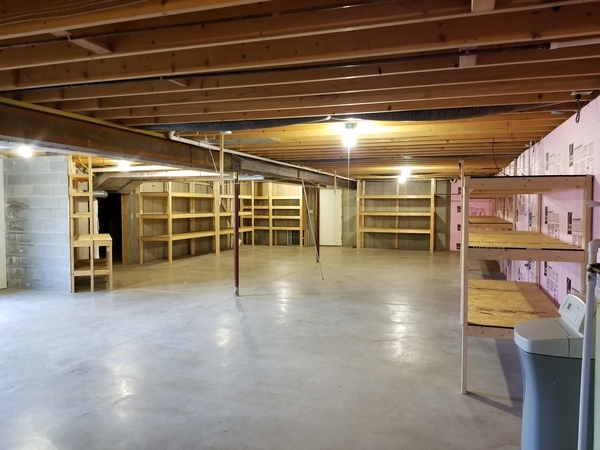
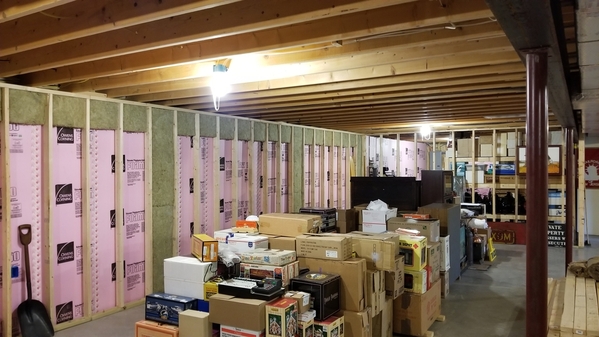
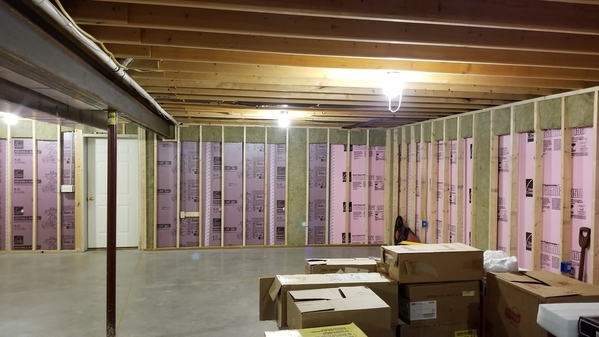
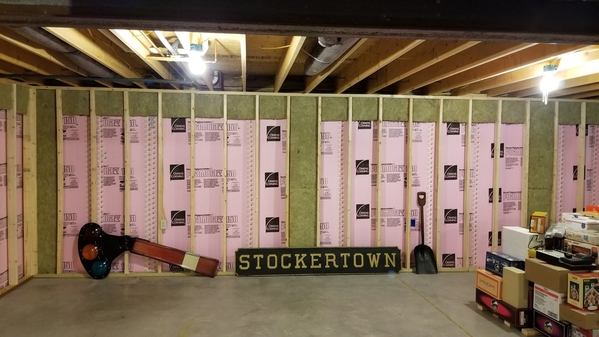
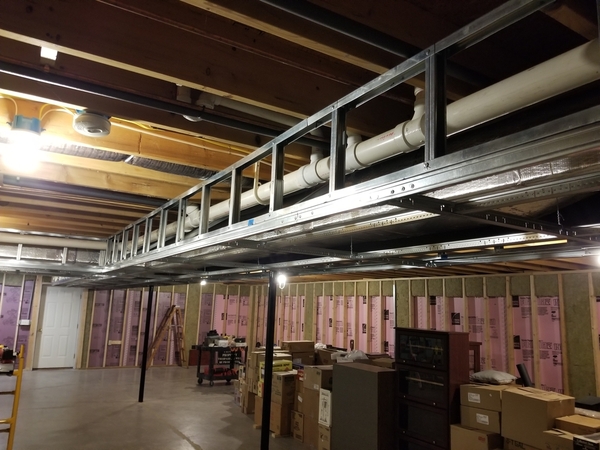
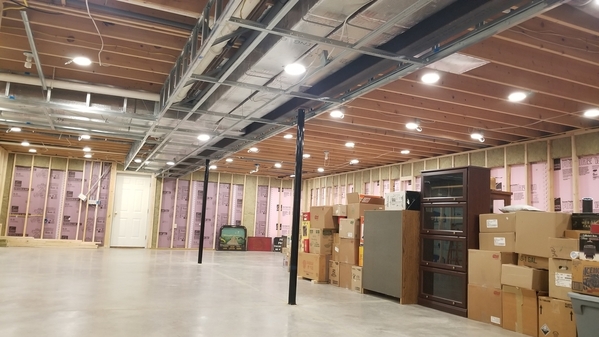
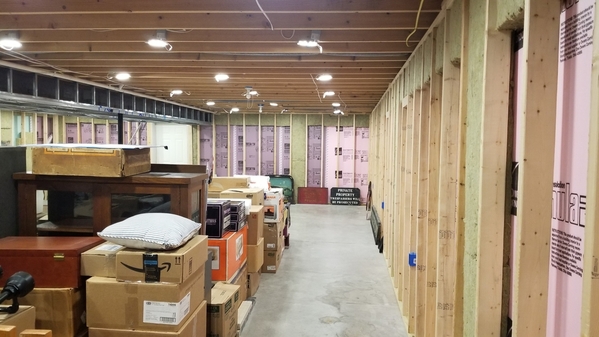
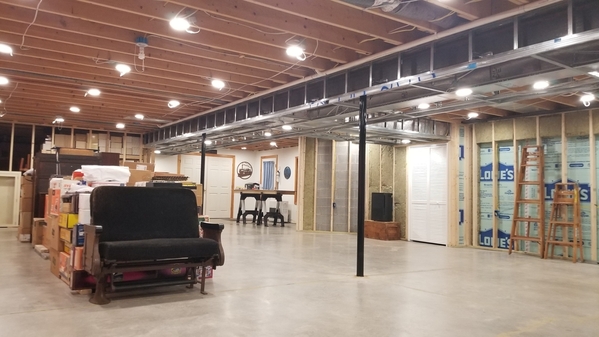
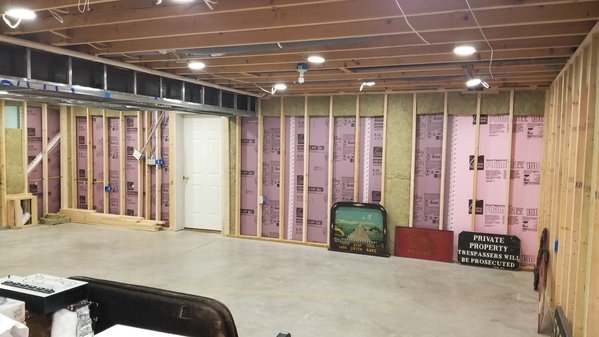
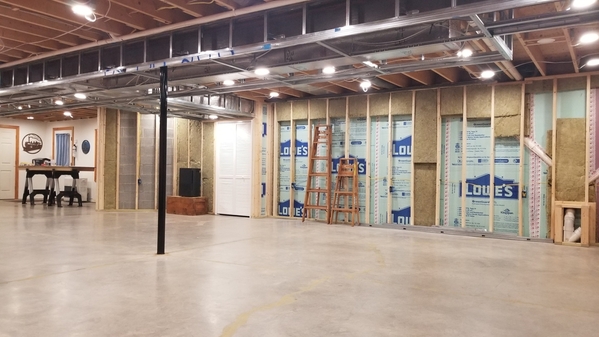
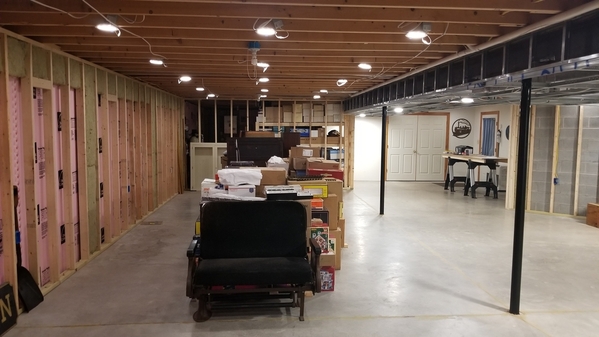
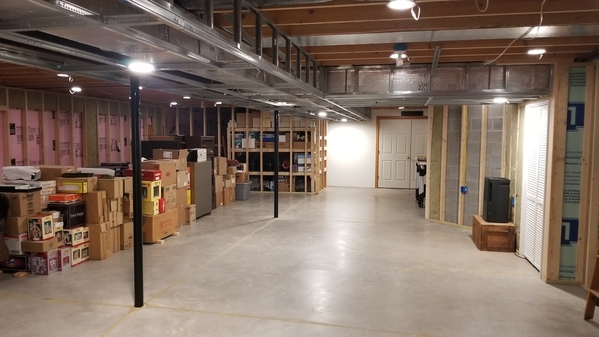
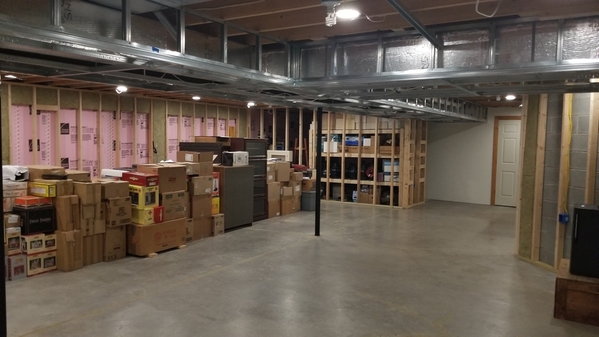
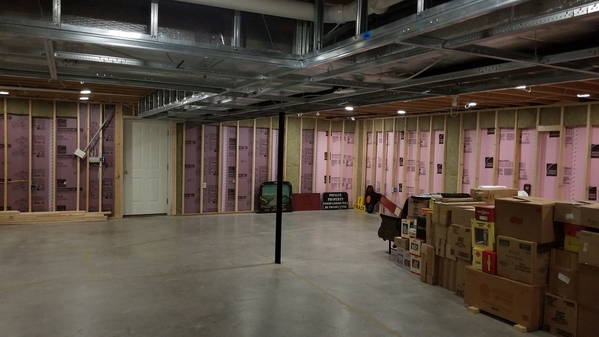
So, a little over two years ago I was finally able to start on finishing my unfinished basement which will become my layout and railroadiana room. Since I wanted to do most of the work myself, progress was slow last year but has greatly picked up this year. As of today, 3/22/21, I only have the suspended ceiling, carpeting and trim left to do. I did have some great friends help me along the way. I could not have done it without them.

I know a lot of Forum members enjoy the layout build threads, and even though I’m still a ways off on my layout, I figured some may be interested in the basement finishing portion of the project to help with their future projects. I’ll go back to the beginning and describe the process with photos. I will update as time allows.

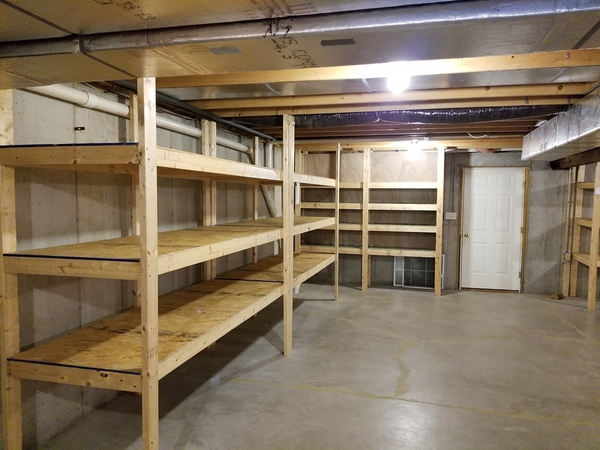
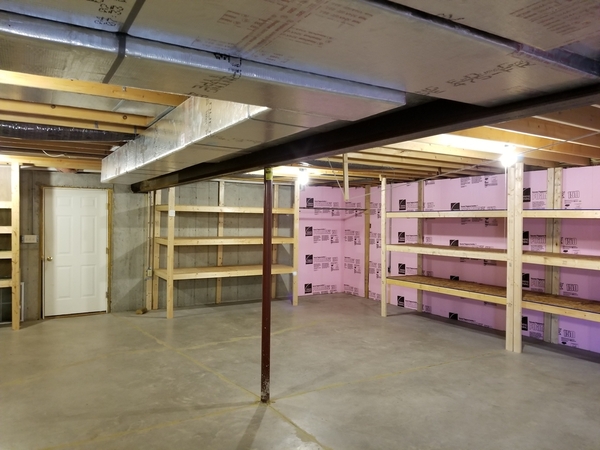
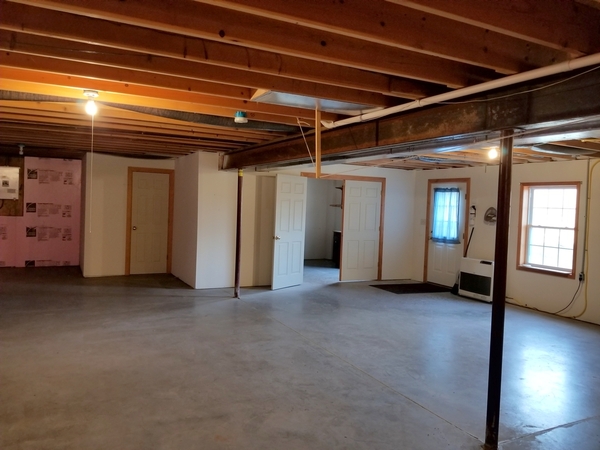
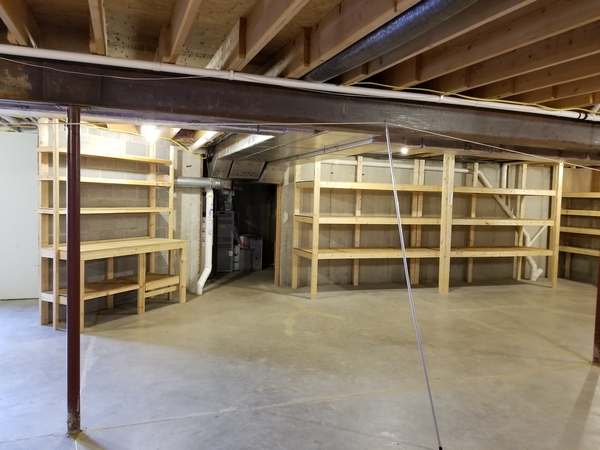
2/28/18 - Well, this is how it started. This was the day we closed on the house. Although the basement was not the only reason I wanted this house, it was a big part of that decision. The basement already had a bathroom and a workshop installed. One side of the train room is approximately 42’-0” by 15’-6”, which will be the layout side. The other side measures about 49’-0” by 11’-8”. This side will be for the railroadiana display. The shelves were left by the previous owner. One of the neat things about this basement is that the entrance stairs are actually in the garage, so there is no stairway in the basement itself to contend with.

20180228_15264620180228_15261820180228_15262520180228_15464320180228_154628


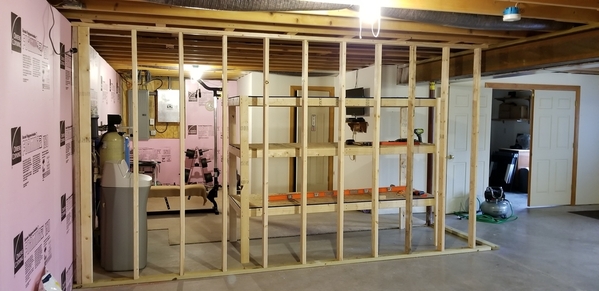
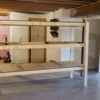
2/8/19 – Almost a full year past before I even had a chance to start on the basement. Ah, the joys of moving into a new place. I decided to section off a small area in one corner for storage and a workout room. In this photo, the door behind the shelf is the bathroom and the double doors to the right lead to the workshop.

20190208_150418

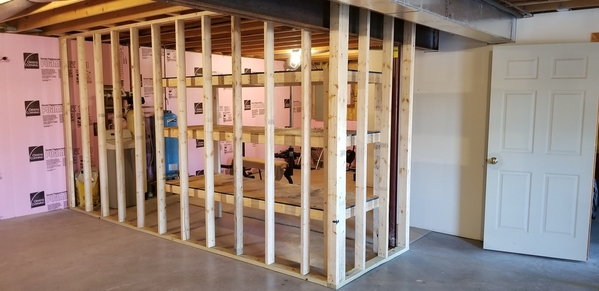
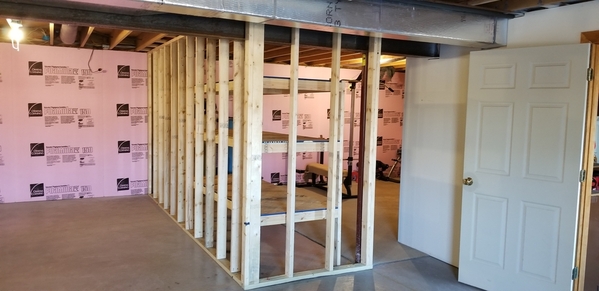
I never did any framing before. I bought a small compressor and framing nailer. What an awesome tool! I also needed a 6’ level, square and some other basic items. I decided to use wood 2x4s for the framing. If I had to do over I would have went with steel studs. Even though I got all my lumber from a local lumber yard, I still had trouble with would warping and twisting. The fact that younger and younger trees are being harvested for lumber is a big part of what leads to these issues. Metal studs would have eliminated this and what not have been that much more expensive. Right now, with the price of lumber, steel may be cheaper. Here is the partition wall going up.

The shelves that the previous owner left came in handy to store my stuff on and keep most of it off the floor. When I got closer to the end of the framing work, I dismantled the shelves and used any good 2x4s for my framing. The plywood and press board shelf tops were saved for possible inclusion in the future layout.

20190210_16052820190216_15184820190216_151906

Attachments

Images (9)
  • 20180228_152646
  • 20180228_152618
  • 20180228_152625
  • 20180228_154643
  • 20180228_154628
  • 20190208_150418
  • 20190210_160528
  • 20190216_151848
  • 20190216_151906
Last edited by NJCJOE
Original Post

Replies sorted oldest to newest

What a great space in a really nice basement. I like the no stairs too, as you pointed out. Also looks like a walkout, can't beat that either. Looks like the perfect setup you have there. Looking forward to following along with your layout build.

How well does the pink insulation do for keeping it warm? I'm thinking about adding that to my basement walls, gets a little chilly in the winter with just bare concrete walls. Looks like that was existing when you moved in, but do you have any idea how it was attached?

rtr12 - The front wall of the house had 2" of insulation attached before we moved in. I put up the rest. It is just attached with some adhesive from caulking tubes. I believe I used a Liquid Nails version good for foam board. The insulation does help. It's not the best insulation, but in a basement where you are always wary of moisture it works well.

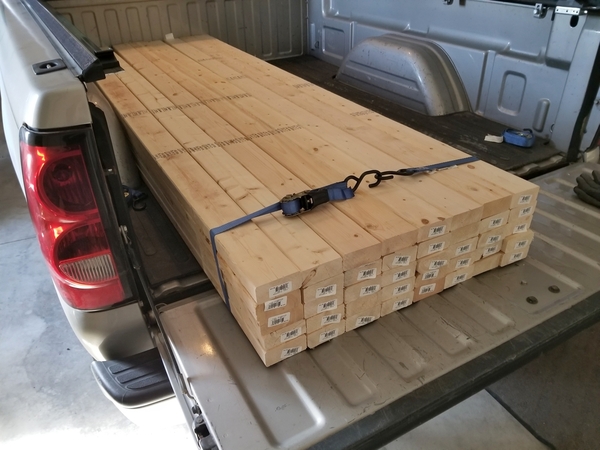
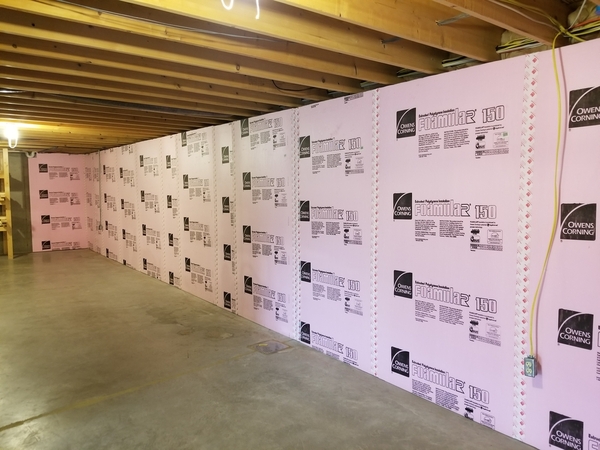
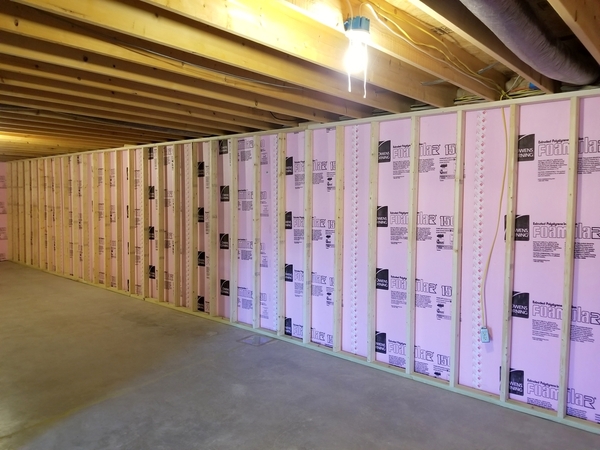
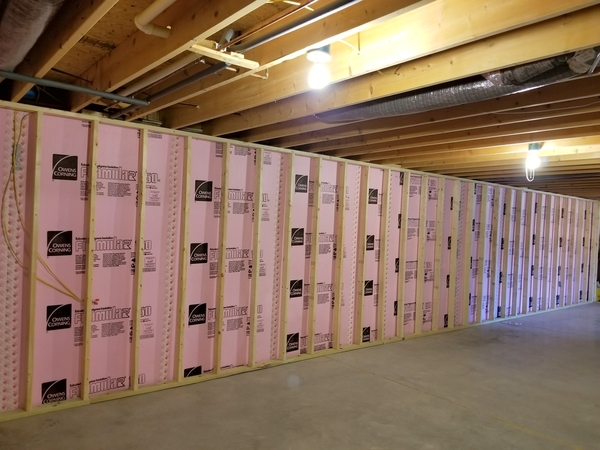
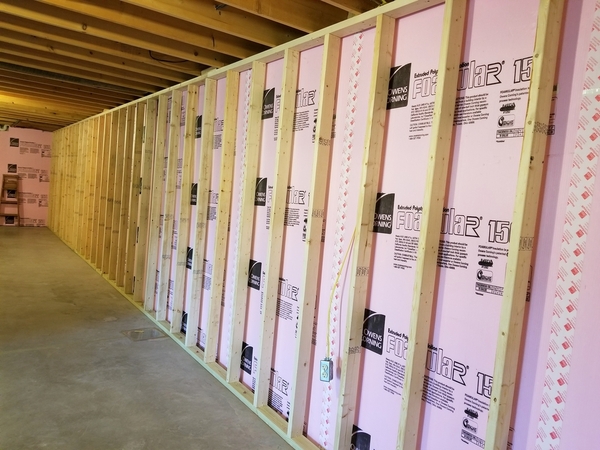
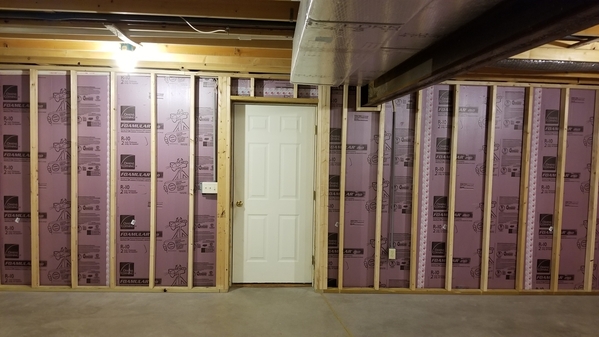
3/13/19 – Nothing like the smell of fresh lumber! The next wall to get framed was the long wall which will be behind the layout. The previous owner had already insulated the wall with 2” insulation board which saved me the time and expense. The insulation board joints were sealed with sealing tape and the framing commenced. That is a long wall.

20190313_10423620190313_16372020190317_16423220190317_16425820190317_164329

Attachments

Images (5)
  • 20190313_104236
  • 20190313_163720
  • 20190317_164232
  • 20190317_164258
  • 20190317_164329

Wow, that is a great space for a build! Really look forward to seeing your progress. After a while you might consider putting up a couple of battery backup light fixtures unless you have a generator. I remember being in this LARGE confusingly laid out basement of a house where the owner had used black paint on all the walls. It definitely made you focus on the layout which was his intent. He mentioned that he had a couple of flashlights around if there was an electrical outage. Having been in the electrical design business for years I then did a heads up on looking for exits. People not familiar with that space would have been in trouble ever trying to get out. Now this is just MHO and if you never have anyone over no problemo. Peace.

Train ON,

Jim K

1/28/20 to 2/10/20 – Believe it or not, that was all that really got accomplished in 2019. Looking back, I can’t tell you what else I was busy with, but we all know how life just seems to get in the way of our hobbies sometime. Anyway the next wall was finally insulated and framed.

20200128_19465920200128_19470620200210_06555720200210_065626


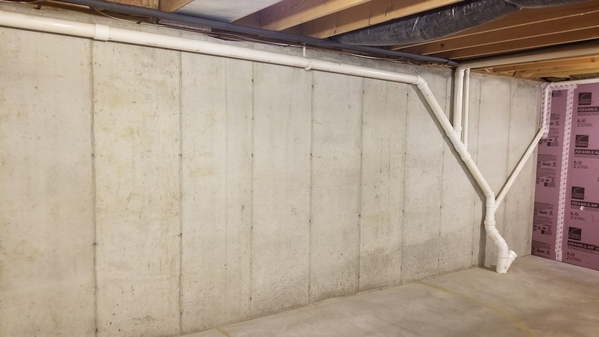
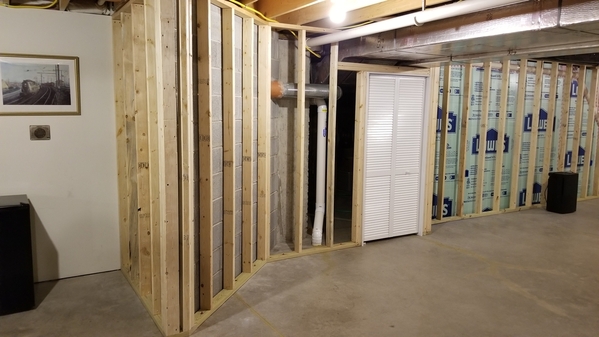
2/23/20 – Another wall is insulated and framed. I had to install this wall in front of the soil lines, which meant I also had to relocate a cold water line at the ceiling where the top plate needed to go. It all worked out in the end.

20200201_13060920200223_15470920200223_154725


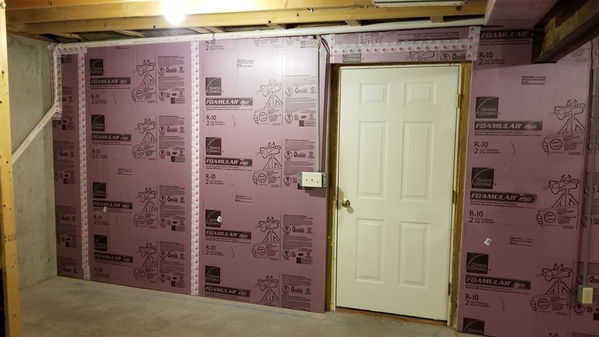
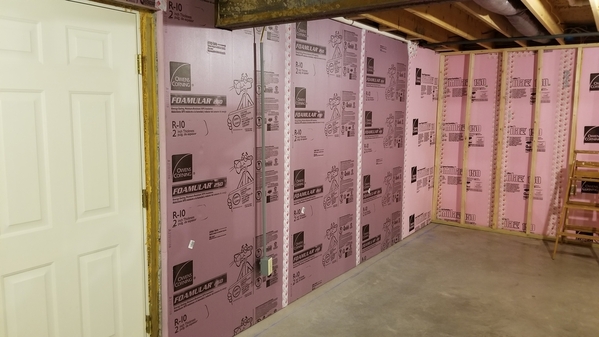
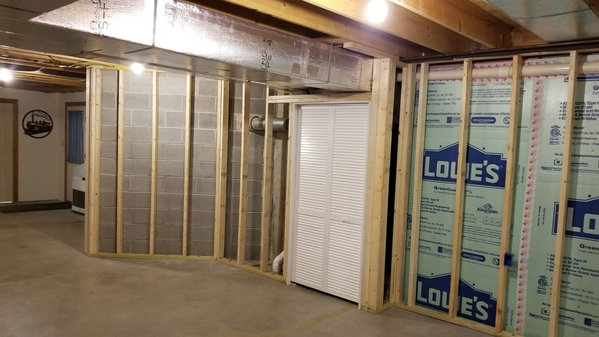
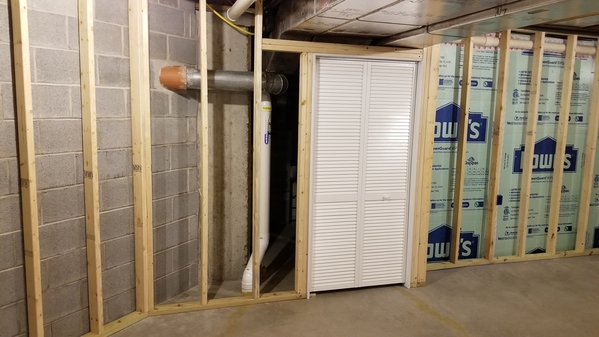
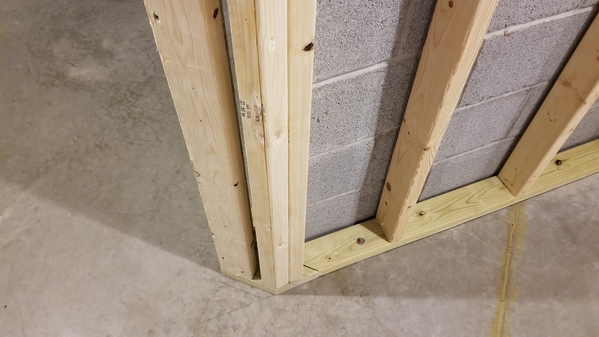
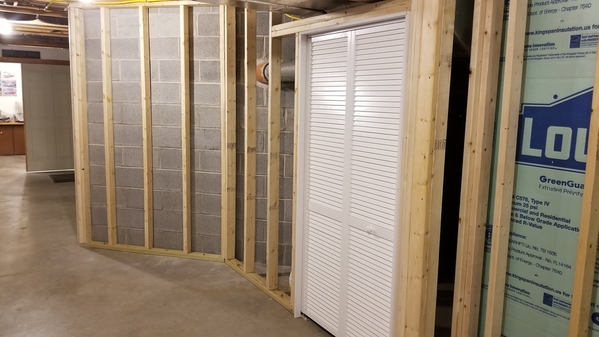
3/1/20 – On the last area I had to frame, I had to install a doorway into the furnace room. Time to watch more YouTube videos. I was happy with the way it came out. I also had to frame around a triangle shaped bump out. We have a corner fire place upstairs and this is the foundation for the fireplace. Since this is inside the basement, I did not insulate these walls.

20200301_18264220200301_18285720200301_18291020200301_18293420200301_182945

Attachments

Images (12)
  • 20200128_194659
  • 20200128_194706
  • 20200210_065557
  • 20200210_065626
  • 20200201_130609
  • 20200223_154709
  • 20200223_154725
  • 20200301_182642
  • 20200301_182857
  • 20200301_182910
  • 20200301_182934
  • 20200301_182945
Last edited by NJCJOE

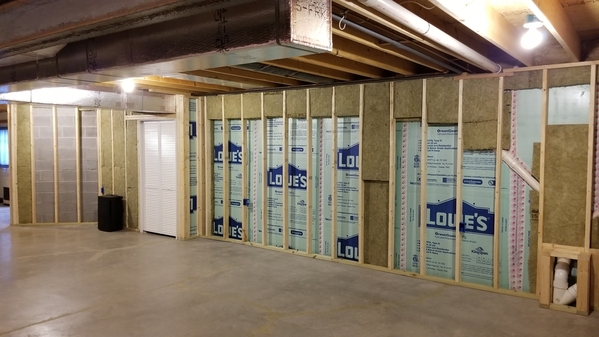
3/28/20 – A lot of people will look at these next photos and wonder what’s up with the insulation pieces. These were not installed for insulating purposes. Most codes require fire blocking. Many people do not know what that means. I didn’t until I looked into it. Back to YouTube again. Fire blocking does not prevent a fire from happening in a wall cavity. It limits the oxygen to the fire causing it to starve so it doesn’t spread. This is accomplished by blocking off the space between the back of the framing and insulation, or top plate at the top of the wall. Then, vertical fire blocking needs to be installed a maximum of every 10’.

There are many ways of doing this, but I found using Rockwool insulation to be the easiest. It cost a little more than other methods but went very quickly. Another misnomer regarding fire blocking, is that the material you use for the fire blocking does not need to be fire resistant. It’s there to block the supply of oxygen only. These photos show the fire blocking complete. Looks weird but it serves the purpose.

20200328_16004420200328_16005220200328_16002720200328_160058

Attachments

Images (4)
  • 20200328_160044
  • 20200328_160052
  • 20200328_160027
  • 20200328_160058

I too remember the end of your previous layout.  Just recently you posted some pics in another thread and I wondered if they were from the old layout or if you had completed a new one.  I now know the answer to that.  Joe your framing work looks great.  Since you've never done it before I guess you learned a lot from YouTube.  Did you attach it to the top and bottom? What did you use to fasten to the concrete floor.

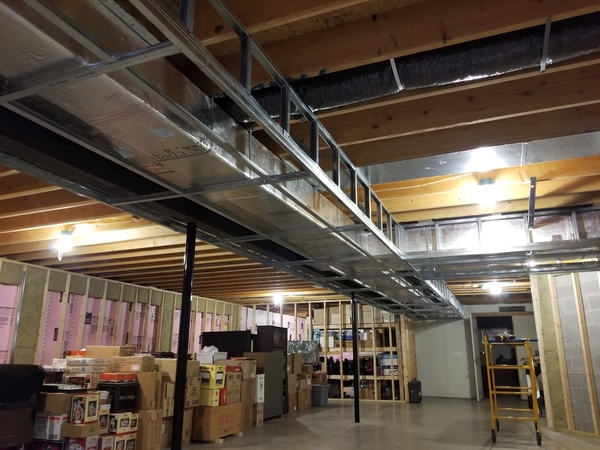
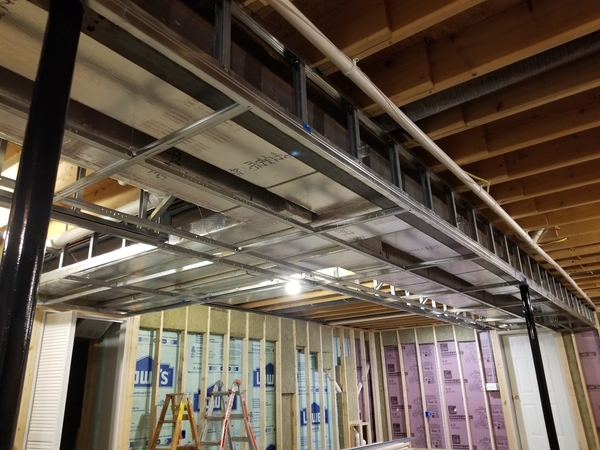
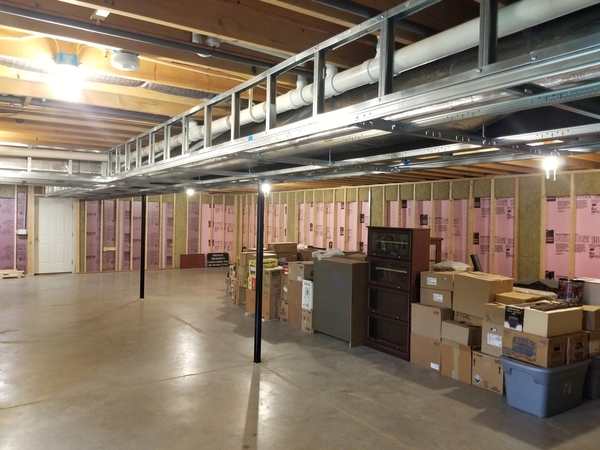
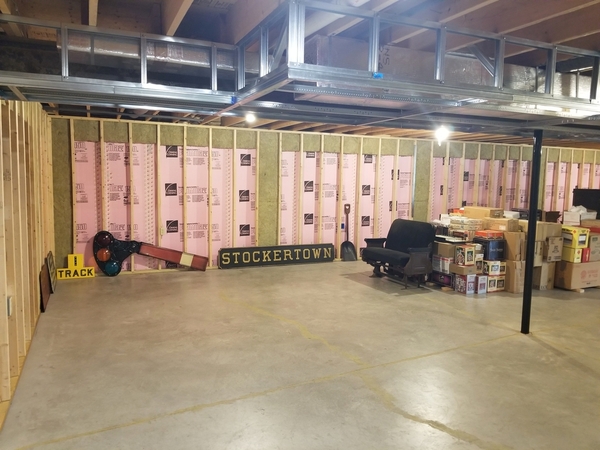
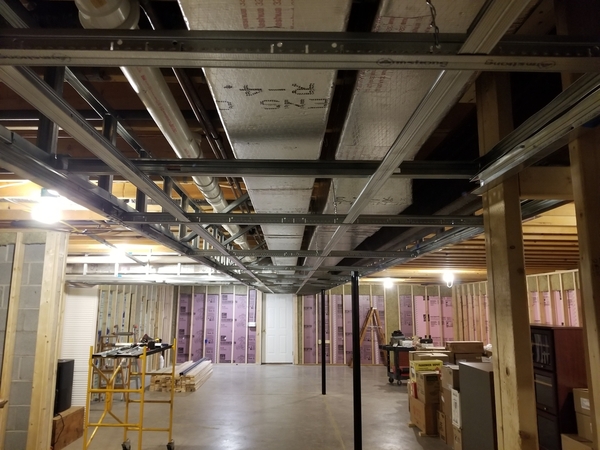
8/16/20 – When it came time to frame out the soffit area, the area around the ductwork, I originally planned on sheet rocking it, but since my framing skills were limited, I decided to have the ceiling contractor frame around it with ceiling drops. This is where the suspended ceiling is continued down and around the ductwork. A contractor friend said I would not be happy with this as it doesn’t look all that great. He suggested using 1-5/8” steel stud framing and covering it with drywall. He offered to help so that was what we did. I’m glad I went with this method.

20200827_06020720200827_06023720200827_06022120200901_14311920200901_14320420200827_060200

Attachments

Images (6)
  • 20200827_060207
  • 20200827_060237
  • 20200827_060221
  • 20200901_143119
  • 20200901_143204
  • 20200827_060200

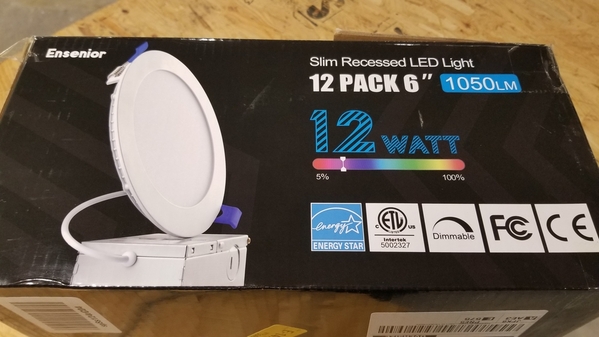
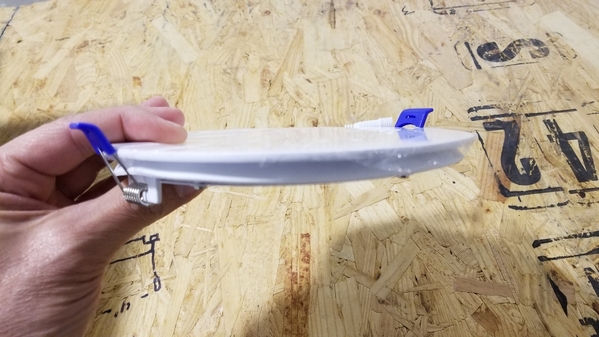
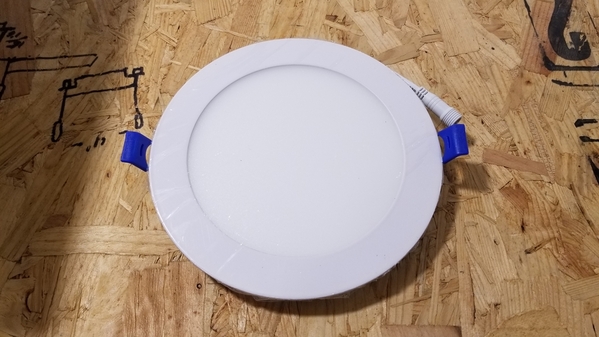
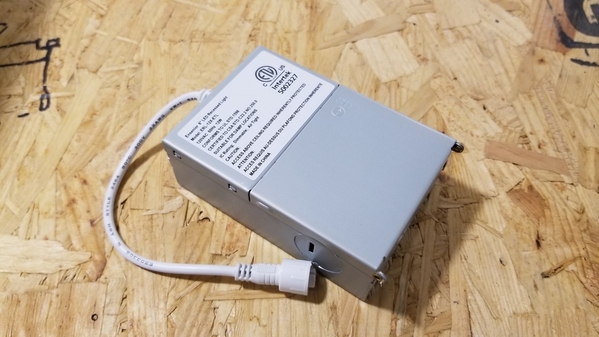
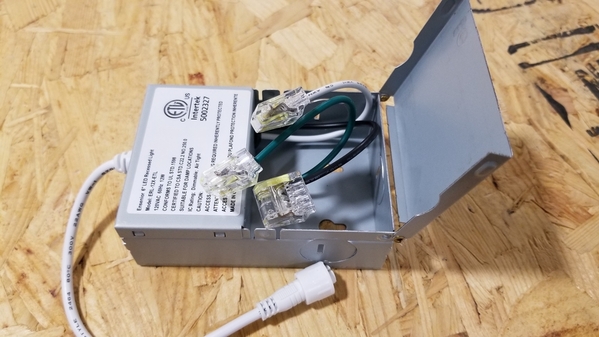
11/8/20 – Let there be light!!! This is where things started getting exciting. Lighting and electrical. You’ll notice all the pictures above are dark. That’s because the only lighting in the basement came from seven incandescent light bulbs. Time to change that. After many hours of research, another friend, who is an electrician and helped with the electrical work, suggested using these recessed LED light fixtures. They are not your typical LED can type fixtures. The body of these lights is only .47” thick. They each come with their own junction box and snap into the ceiling with spring clips. The lights are available in a variety of color temperatures. Some are even switchable between colors. I chose the 6” models which are 12W each in the 4000K color temperature.

20210322_17232420210322_17235920210322_17241120210322_17244620210322_172501


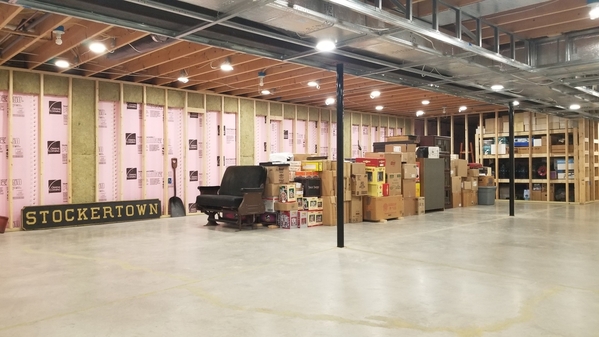
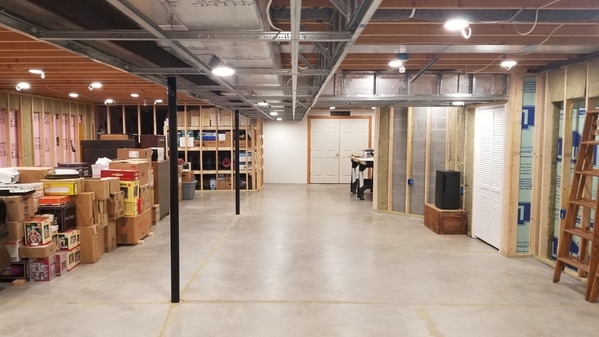
When I told my electrician friend that we were going to install 46 of these lights in the basement, he thought I was crazy. And I have to admit, there were times when I would think about that number of lights and wonder if I was not thinking straight. But I explained to him that I didn’t want the room to look like a living room, but rather a museum. Additionally, we were putting most of the lights on dimmers, which would allow me to control the amount of light for different conditions. The one thing to keep in mind with these lights, is that they need to be installed not only at certain distances from each other, but also certain distances from walls. 2’ to 3’ is recommended to avoid large shadows on the wall. I decided to install the lights before the ceiling installation by temporarily supporting them from the floor joists with wire. This provided much needed work light during the rest of the construction. No more drop lights required. I highly recommend these lights.

20201108_17323120201108_17321620201108_17325220201108_17331020201108_17333420201108_17332220201108_173340


Like I said, dimmers were installed to control most of the lights. There are a total of four dimmers controlling different areas. The lights under the soffit were not installed on a dimmer. They are either on or off. This works out well because if I want to just go across the basement to my workshop, I just turn on the soffit lights and it illuminates a walkway without lighting the whole basement. Here are some photos of different areas dimmed, and these are not turned all the way down either. If I remember correctly, they are dimmable down to 5%. Additional outlets were also installed in the room giving me a total of 14 outlets.

20201108_17340920201108_17335820201108_17341920201108_173431

Attachments

Images (16)
  • 20210322_172324
  • 20210322_172359
  • 20210322_172411
  • 20210322_172446
  • 20210322_172501
  • 20201108_173231
  • 20201108_173216
  • 20201108_173252
  • 20201108_173310
  • 20201108_173334
  • 20201108_173322
  • 20201108_173340
  • 20201108_173409
  • 20201108_173358
  • 20201108_173419
  • 20201108_173431

Wow Joe. That's awesome.  I second those lights as I install them into the front half of my basement. When I do my train room I'm going to put them in there too. They work well and the LEDs use a quarter of the power of regular lights and supposedly they'll  last 1200 hours. Your layout room is looking beautiful so far. preparation is the key and I know when you set up all your railroadania items you trained room will look as beautiful as your last one. Keep the updates coming I'm enjoying this.

Joe, Great work! I agree with GRJ: That's an empire! People are already drooling...

Regarding extra LEDs: A great idea! I expect mine to last close to 50000 hours. I'll be pushing up daisies by then... But having said that, I have a couple that  periodically flicker. I need to change them out and take advantage of the warranty.


Chris

LVHR

Last edited by lehighline

Opinions, random  thoughts, ...

a) nice lights, will keep them in mind, and yes you will need more, they are recessed for Pete's sake.

b) I am allergic to black mold. I have found that although metal wire shelves may cost more than building wood shelves with plywood, they cannot pick up moisture and they let air circulate around and thru them. Great for holding train boxes. Downside is you cannot put anything small on them. Just put a plywood or a piece of plexiglas on a few.

c) Clever co-worker said not to let the drywall touch the basement floor, leave a gap so it can't wick up the water, and have the baseboard cover the gap. If you have <8' ceiling you have to trim it anyways. I assume he put them on a strip of wood before screwing to the wall then took the wood out. Never got the chance to try this.
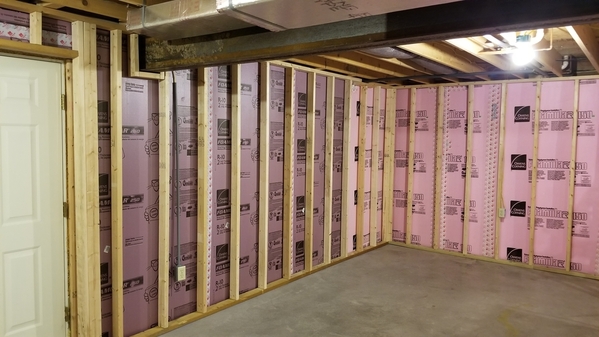
d) Same clever guy said tear down the drywall on the basement ceiling, it will make the room seem bigger. Then use a Wagner spray gun and paint everything white. I only did the tear down part in the work room and yes seemed less claustrophobic. I like it unpainted, wife disagrees. I could see how yours is not well suited for that.
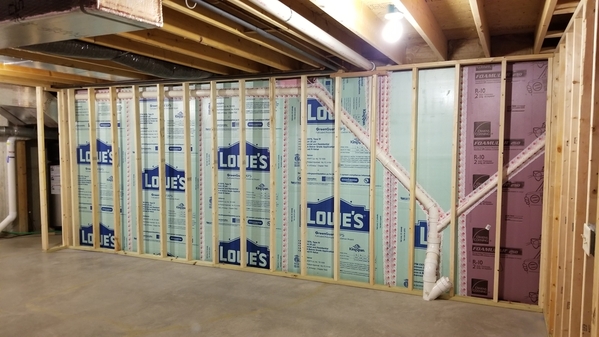
The future's so bright you're gonna need shades!

The room is really looking great Joe. Having spent the first half of my working life an an electrician, I am really jealous of these new LED lights. I probably installed thousands of Hi Hats over the years. Always running into obstacles in the ceilings or piping that ran right where I wanted to put a can. These things are barely thicker than the sheetrock. No putting a 6" deep can under the ductwork in the old days.
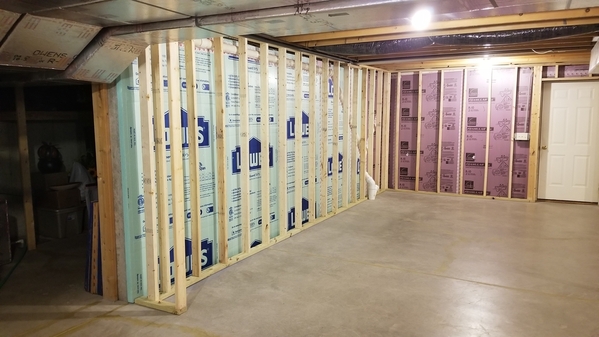
Having spares is a good idea too. The technology is constantly changing with LED lighting and what you bought today may be gone tomorrow. Not like going to Home Depot to pick up a 90W flood lamp any more.
We use all LED's at the College I work for now. Typically if they are going to die it will happen early in life (within the first 100 hrs or so).

Any thoughts on what the layout is going to look like? Your old one was a beauty.

Bob

Add Reply

Post
The Track Planning and Layout Design Forum is sponsored by

AN OGR FORUM CHARTER SPONSOR

OGR Publishing, Inc., 1310 Eastside Centre Ct, Suite 6, Mountain Home, AR 72653
800-980-OGRR (6477)
www.ogaugerr.com

×
×
×
×
Link copied to your clipboard.
×
×