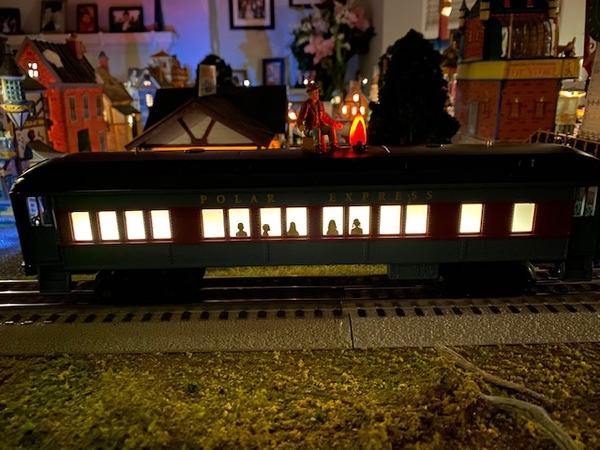
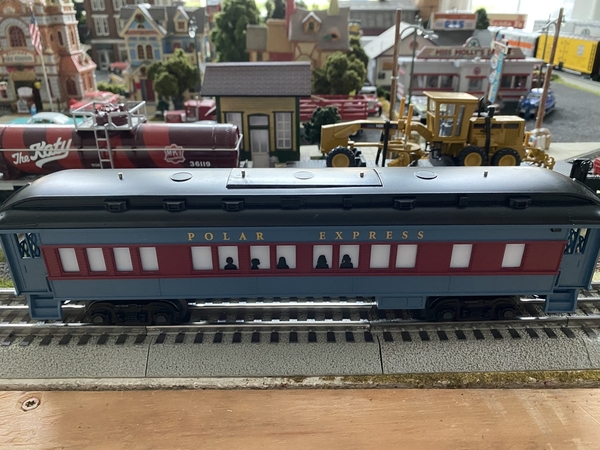
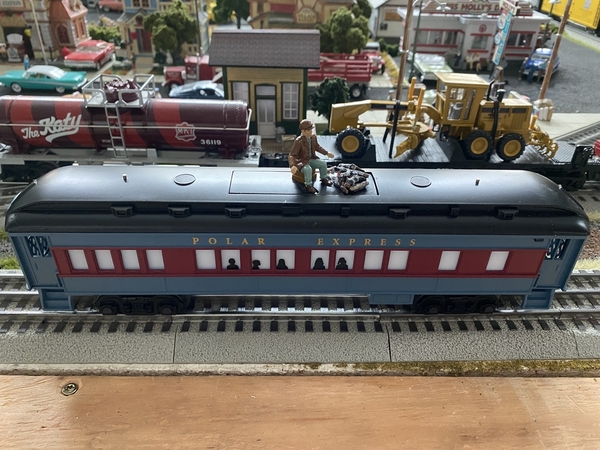
I recently purchased the 18” Pol-Ex Lionel hobo car to add to my set. I was less than impressed with the hobo figure and camp fire. The hobo measures roughly 9 scale feet tall from my estimate! Not bad for a moving train, but I preferred something a little more to scale.

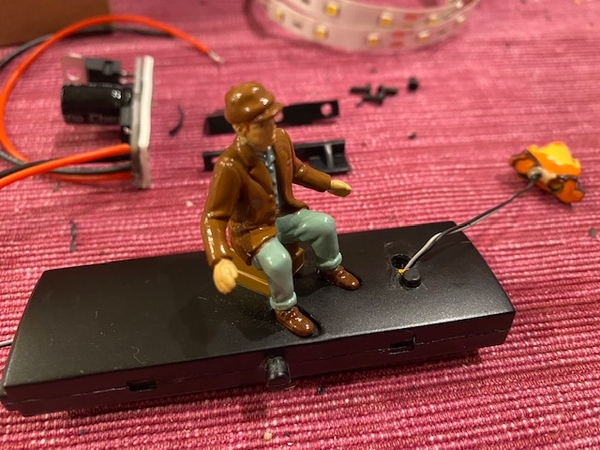
The flickering effect is impressive but I wanted to modify the figure and campfire to look less toy-like. In searching the web, I saw a few examples where people made their own PE hobo car using Arttista’s kneeling brakeman figure. I think this figure makes for a good replacement with some painting touch-up to better match the movie hobo.

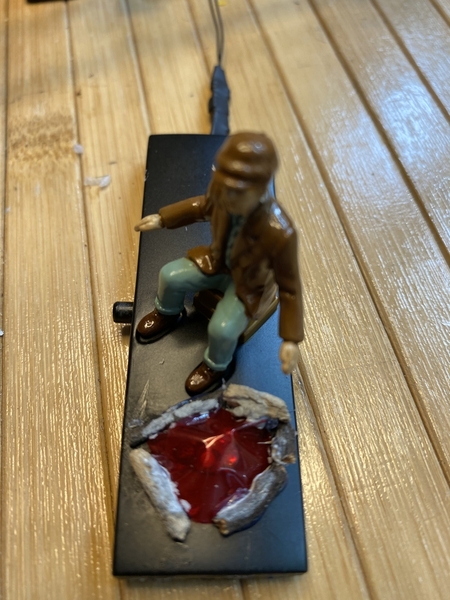
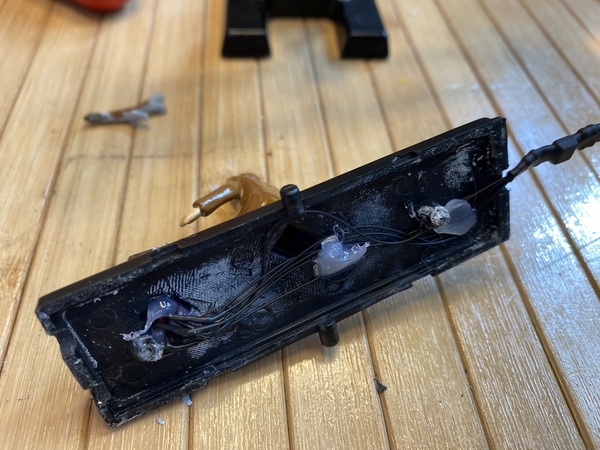
I then built a campfire using crumpled up Saran Wrap, painted with Tamiya X24 Clear Yellow. The firewood is small twigs I broke up and super glued around the fire, and added black acrylic paint to simulate charring.
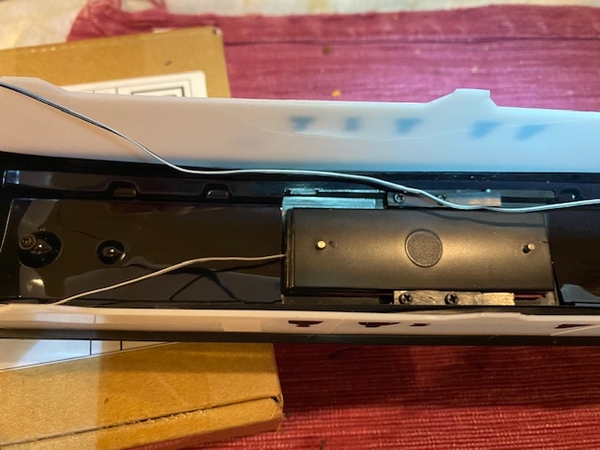
I then constructed cooking stakes and an ‘S’ hook from thin gauge brass wire formed and soldered together. I painted it black with a gray wash to give it a used effect. I did drill two very small holes to mount the stakes, but that is the only modification made to the car itself.


Lastly, I found an O scale coffee pot on the bay and super glued to the ‘S’ hook with a black wash for the finishing touch. Here is a video of the completed project with Lionel’s Stationsounds Diner providing the sound clips.