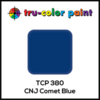
I've bought an MTH SW-1 in GN livery that I want to repaint/reletter as B&O 208 in the early 1950s. My first questions are how best to strip the factory paint/lettering, best blue paint match, and best decals, but would welcome other advice related to successfully completing this project.
Replies sorted oldest to newest
My suggestion is don't strip it. Start with a coat of primer that matches the paint you'll use.
@third rail posted:My suggestion is don't strip it. Start with a coat of primer that matches the paint you'll use.
I agree. The paint MTH is using recently is pretty durable. I found the lettering on the Woodside passenger cars is tougher than the base paint. Resorting to lacquer thinner which typically makes short work of lettering, took the base paint off before the lettering.
Pete
I’ll triple that, …best to leave the original paint be, wash first to remove oils and fingerprints, lightly scuff with fine scotchbrite, wash again, and you’re ready…..
Pat
I used to paint samples for MTH for their catalogs, if you get a loco that is already painted use steel wool. The shell obviously has to be removed. OOO steel wool followed by acrylic primer.
OK... I'll go the other way. A coat of primer and paint on top of factory paint will diminish the details in the shell. You need to strip it.
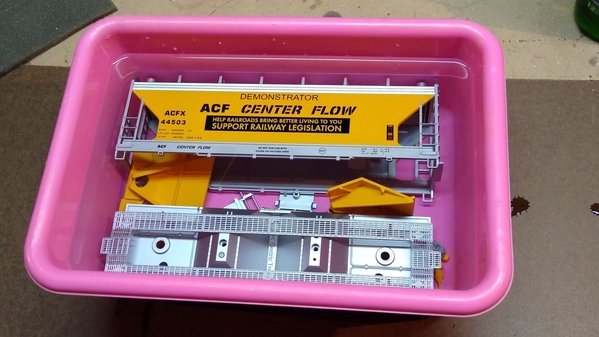
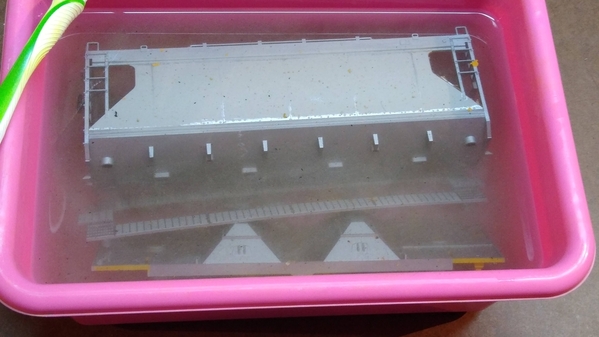
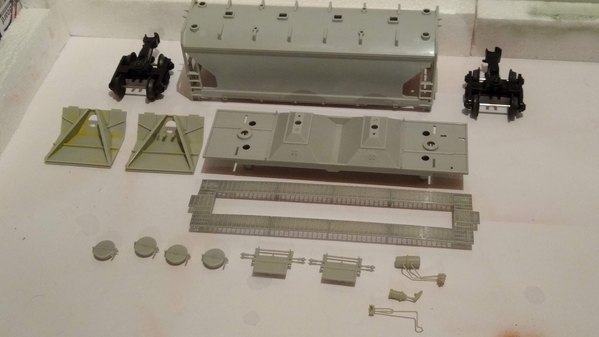
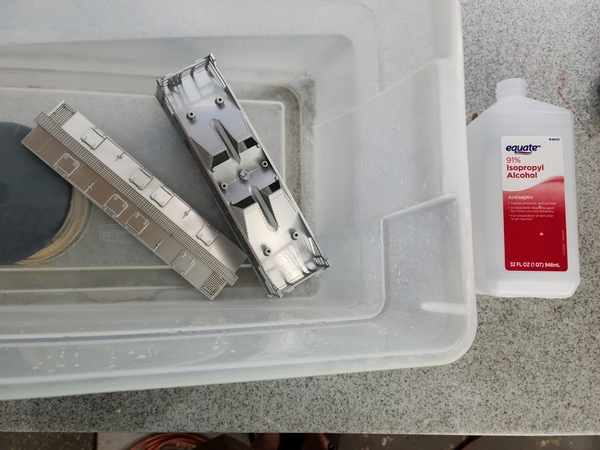
I used 91% isopropyl alcohol and give the pieces a bath for 24-48 hours. Get a toothbrush and after 24 hours rub off any leftover paint and soak again.
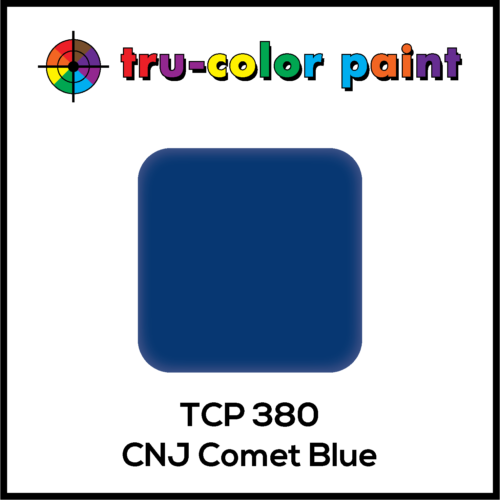
I like Tamiya paints the best for airbrush use and clean up, but if you want the best Railroad color match try Tru-Color paint.
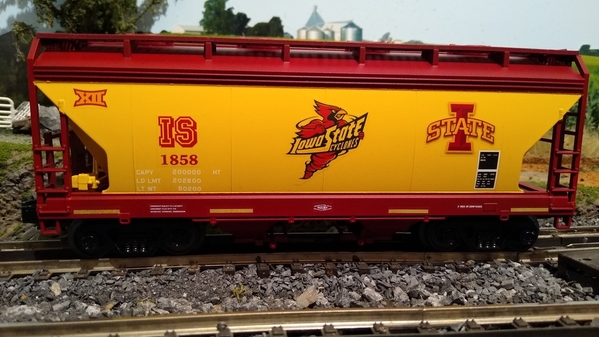
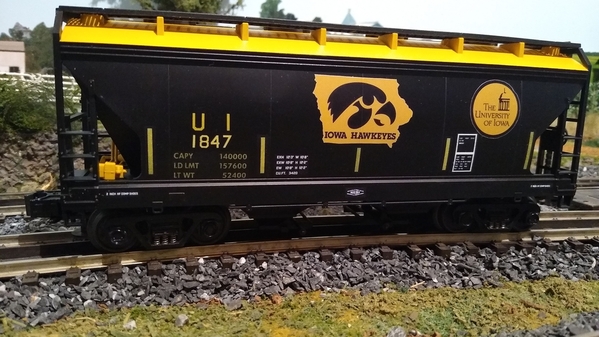
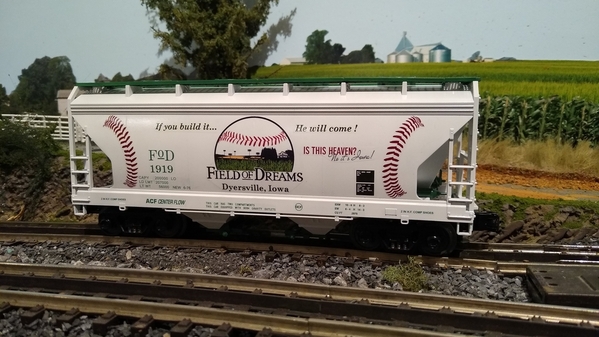
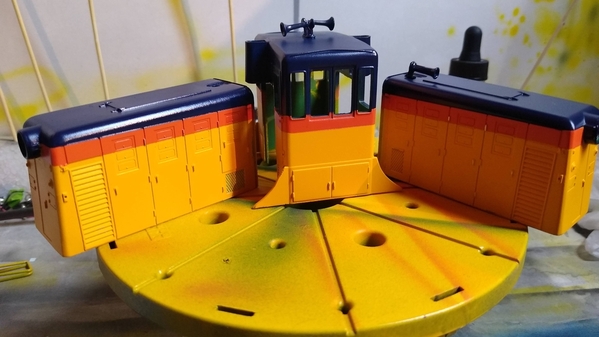
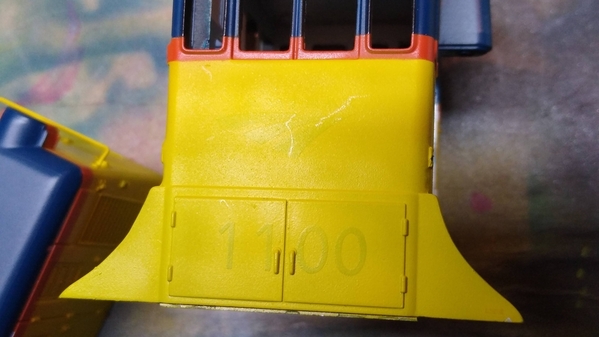
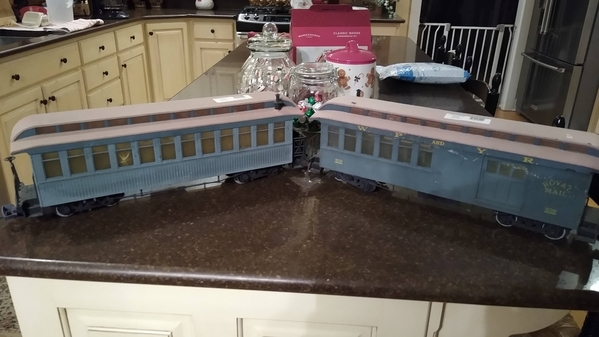
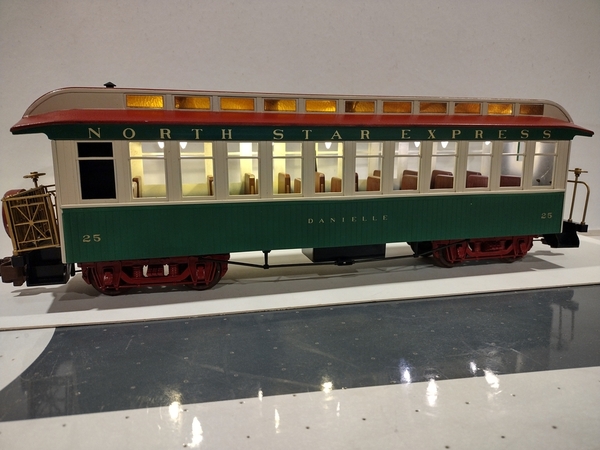
I have a friend from Iowa and did these cars for him.
Attachments
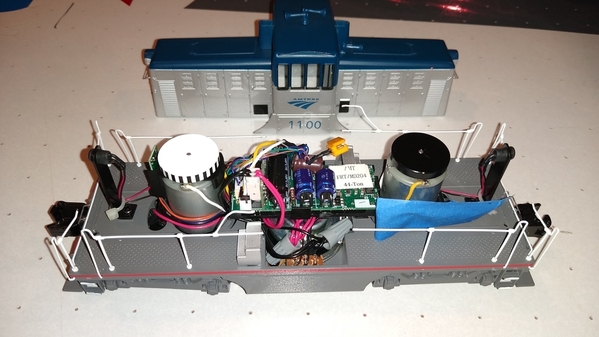
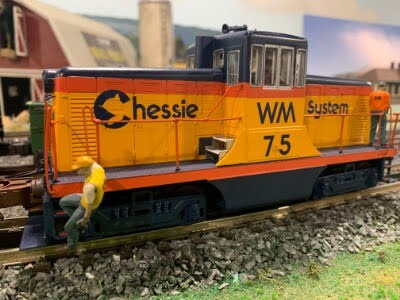
And... Since you are talking about an engine. Here is a 44 Ton that was Amtrak and I stripped and made Chessie. Notice the vents and louvers. You will lose that detail if you paint over factory paint.
Attachments
@Ron045 posted:
44 tonners are diecast. SW1s have a plastic body. Different paint and aggressive strippers that make short work on metal can damage plastic.
Pete
@Norton posted:44 tonners are diecast. SW1s have a plastic body. Different paint and aggressive strippers that make short work on metal can damage plastic.
Pete
You obviously did not read/view my post above the 44 ton. 3 PLASTIC MTH cars successfully stripped and painted.
I was able to remove MTH paint with Scalecoat wash away (apparently the same ingredient is in SuperClean but I havent tried that). It took a long time, some scrubbing with a brush and it comes off in the color layers it was painted. If you're patient with it you can get it down to bare plastic.
If you paint over paint you run the chance of the bottom layer ghosting through. You would definitely want to wet sand any stripes or lettering to reduce the layers in the original paint or you'll probably see them through your new coat.
Do what Norton says. Use lacquer thinner and lightly sand off any lettering, etc. I use Tamiya primer, which is super thin, and then paint. I've never lost any detail and the old paint doesn't show through. I don't want to risk taking out the lights and electronics in newer engines. I just mask over the areas I don't want to paint.
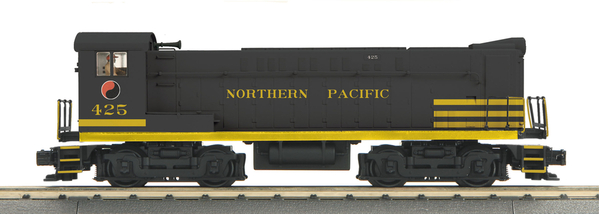
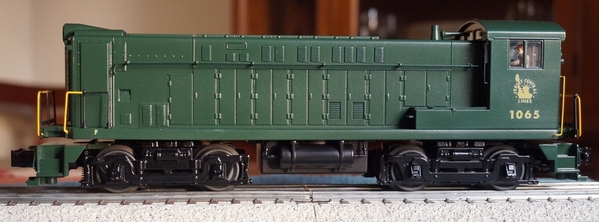
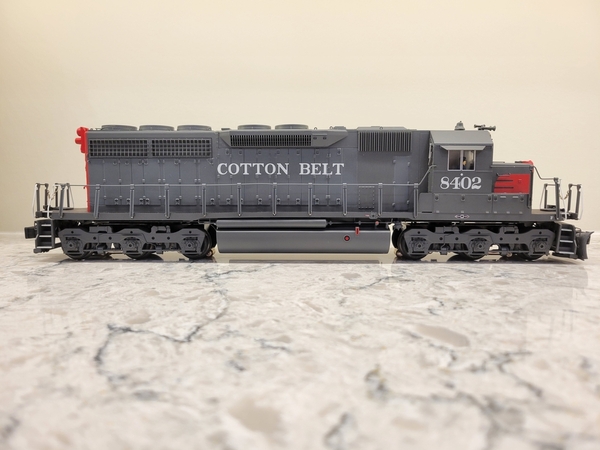
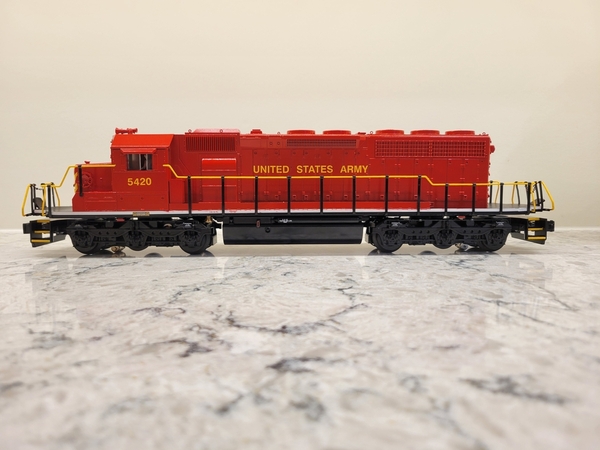
I used fine Scotchbrite and soapy water to remove the lettering and striping on the former Northern Pacific VO-1000, stripped the die cast chassis and primed it all for a Jersey Central repaint.
At the very least remove the logo from the cab sides as you'll see the outlines of the logo and lettering if it's lit from the side as above.
Attachments
@Ron045 posted:
That looks fantastic!
Thanks to all posters for sharing your experiences.
Great thread !!!
My SW-1 came yesterday, so I need to make a choice. I'm thinking of trying the 91% alcohol on a car retired from the layout first. Thanks for all the contributions.
BTW, the sound and directional lighting impressed me right away on the test run.
@Ken Wing posted:My SW-1 came yesterday, so I need to make a choice. I'm thinking of trying the 91% alcohol on a car retired from the layout first. Thanks for all the contributions.
BTW, the sound and directional lighting impressed me right away on the test run.
I wouldn't strip it. Just take off the lettering and logos, mask it off, and put some primer on it. Or don't prime it at all. It will look great. If you strip the whole thing, you risk messing up the lighting. At least that's been my experience.
@emrlaw posted:I wouldn't strip it. Just take off the lettering and logos, mask it off, and put some primer on it. Or don't prime it at all. It will look great. If you strip the whole thing, you risk messing up the lighting. At least that's been my experience.
Ahh... How will he mess up the lighting??? You don't strip it with the lights or lenes in. Everything must come off or apart.
Look at the 44 ton pics. No lights, no windows, no handrails. Even took the plastic stairs off and left them silver color. Anything that goes in the alcoholic bath gets stripped.
Ron
@Ron045 posted:Ahh... How will he mess up the lighting??? You don't strip it with the lights or lenes in. Everything must come off or apart.
Look at the 44 ton pics. No lights, no windows, no handrails. Even took the plastic stairs off and left them silver color. Anything that goes in the alcoholic bath gets stripped.
Ron
I just think you risk damaging the lights and wiring when you pull everything out. I think it's easier and safer to just remove the lettering and mask off the rest of it
@emrlaw posted:Or don't prime it at all. It will look great.
No it won't look great. It will look like my first attempt without striping and priming.
All you folks dead set against striping... Where are your before and after pics with step by step procedures? Please, share. I don't like taking the time to strip. But I can't get it to look right without stripping. Tell me how you get a light color over a dark color without bleed through.
Ron
Attachments
For stripping I use ScaleCoat stripper or 91% alcohol. If i need tom "sand" off lettering, the use of a 1200 or higher grit wet/dry sand paper. The wash it, let it dry, then Tamiya primer.
Dick
@Ron045 posted:No it won't look great. It will look like my first attempt without striping and priming.
All you folks dead set against striping... Where are your before and after pics with step by step procedures? Please, share. I don't like taking the time to strip. But I can't get it to look right without stripping. Tell me how you get a light color over a dark color without bleed through.
Ron
Lacquer thinner to take off the lettering and logos. Light sanding with 1200 if necessary. Tamiya white or grey primer. Tamiya rattle can for final paint. No loss of detail and no bleed through.
Attachments
@emrlaw posted:Lacquer thinner to take off the lettering and logos. Light sanding with 1200 if necessary. Tamiya white or grey primer. Tamiya rattle can for final paint. No loss of detail and no bleed through.
Fantastic. I would like to give that a try. I have three freight cars all numbered the same. That would seem like a good trial run for me.
Thank you.
Rob
@Ron045 posted:Fantastic. I would like to give that a try. I have three freight cars all numbered the same. That would seem like a good trial run for me.
Thank you.
Rob
I started by practicing on freight cars. I'd also go very light with the lacquer thinner. It's potent stuff. I also spend a ton of time masking everything. I really like Tamiya tape. Also, I guess with light over dark colors I've always used white primer. I can't remember if I ever applied light paint directly over dark without priming first. Good luck with your projects! I think custom painting is extremely rewarding.
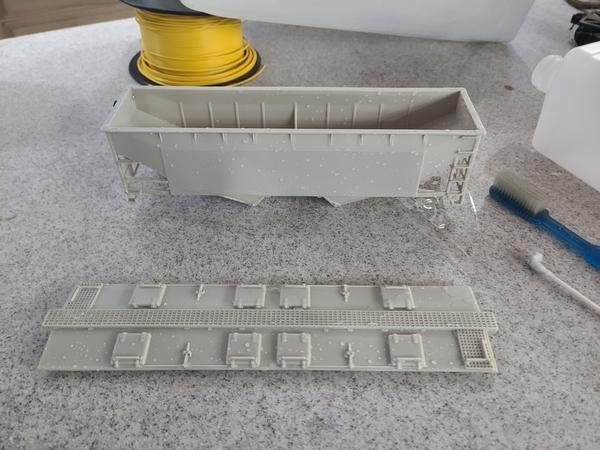
6/6/22 12:10pm, after soaking for 42.5 hours, ten minutes of light scrubbing with a toothbrush, a little work with a cotton swab in some tight spots, and a water rinse.
Very successful: no damage to car, and pretty painless for me.
Attachments
Hopefully you SW1 will be just as easy. As pointed out MTH and everyone for that matter used different paint over the years.
Pete
My experience with MTH is earlier cars and various engines strip well with 91% isopropyl. Like Ken noted, I leave it soak for a couple days. The warmer the room temperature, the better it works.
For more stubborn paints, I use Scalecoat wash away stripper. I haven’t needed to use it on MTH cars, but the Weaver cars definitely are better done with the Scalecoat product.
I have stripped MTH SW1500s, S1 Alcos, RS3s, GP9s and F7s using isopropyl but if the paint is stubborn, I use the Scalecoat stripper. I stripped a K-Line EP5 once. It was very stubborn. It took a week of soaking in Scalecoat stripper to loosen the paint.
Never had an issue with any damage to the shells using the mentioned products…
Tom
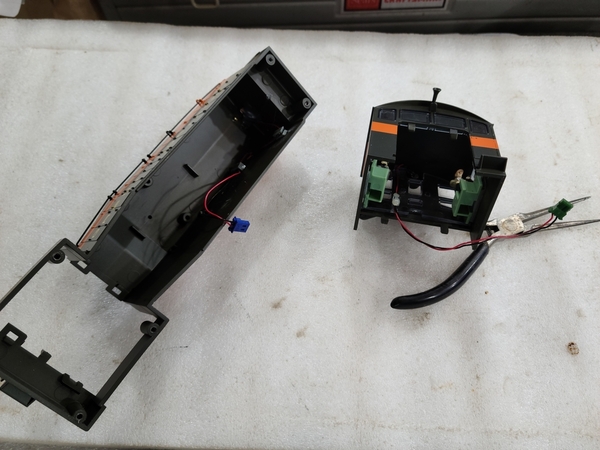
With a gentle push on the outside with your finger and a gentle pull on the inside with some tweezers, the lights should pop right out. Try to get the tweezers right where the wire would solder to the bulb. Avoid tweezing the actual bulb or it could break. Are you replacing these with LEDs?
MTH uses a week glue on those green seats. A small common screwdriver with gentle pressure should loosen it up and pop off.
That horn, if brass, should also be removable if you want to paint it separate.
Looks great.
Ron
Been soaking the SW-1 shell minus cab for 26 hours. Two lessons learned:
1. 26 hours is not enough--too much effort to scrub the paint off
2. If you don't wear gloves, you rapidly learn where any cuts or scratches are on your hands.
I was able to remove the crew and lightbulbs thanks to Ron's advice, but I couldn't get the headlight lens or cab windows out, so I'm experimenting on the main part of the shell to see if the lens is affected by the alcohol in any way.
Photo shows shell after 4 days soaking and quite a bit a scrubbing with a toothbrush. No damage to lens, but orange paint inside the headlight means I have to find a way to remove the lens. The bell turns out to be a brass casting; paint has stuck to the base of that as well. Also, metal parts have retained a lot of paint: grabs and their supports. Some of the plastic remains dark, but I don't think there is any more paint on it: not sure what it is. I need to put this project aside for a bit, but will get back to it.
Perhaps the fresh alcohol works better; this was already used on the hopper? Perhaps the MTH paint is affected differently than the K-Line paint on the hopper? Perhaps alcohol works differently on metal than plastic?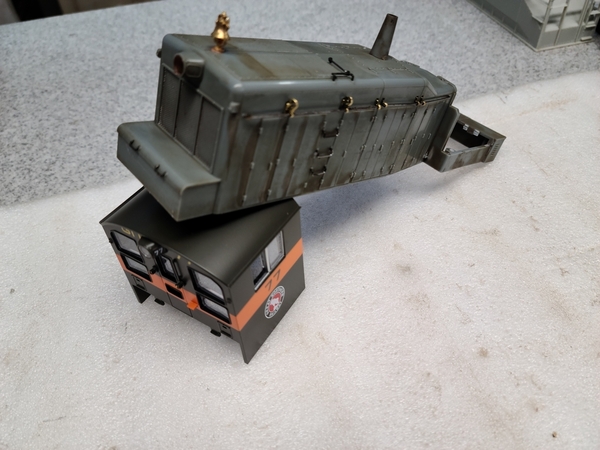
Attachments
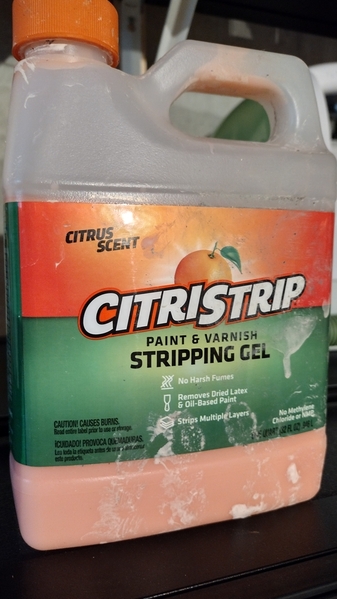
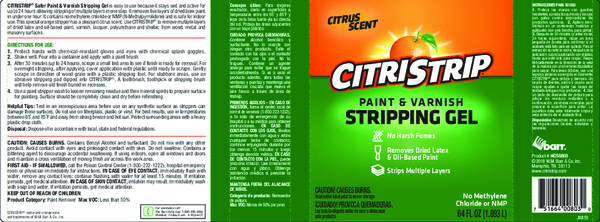
I have used this product on stubborn Bachmann plastic / paint with success. It's safe and natural. I would assume it would work on MTH plastic too. Available at Home Depot.
It's a gel. After I brushed it on and rubbed with a toothbrush, I dipped the car body in the old alcohol to rinse it all off.
Attachments
Today, I managed to get the headlight lens out and detach the bell, so back it goes in the alcohol. I was not able to remove the "glass" from the cab, but it seems to have stripped okay anyway. Turns out the horn is also brass. While soaking the cab, I put the main shell back in, and the paint came off the grabs and other metal parts with the additional time. 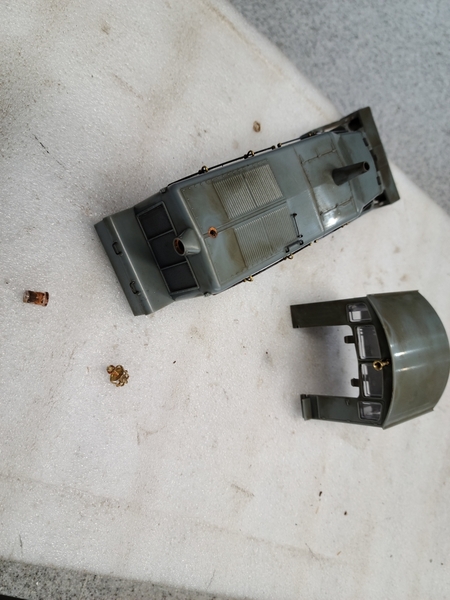
Attachments
Does anyone on the forum paint old tinplate? if yes give me a text- drummer324@yahoo.com
Attachments
I reached a major milestone today: shell stripping is complete. The paint on the headlight lens, bell, and opening for the bell on the shell was tenacious. I needed to use a knife and dental tool with the optivisor to dig out that orange. I don't plan to strip the whole frame, but will try to remove the silver on the side frame only.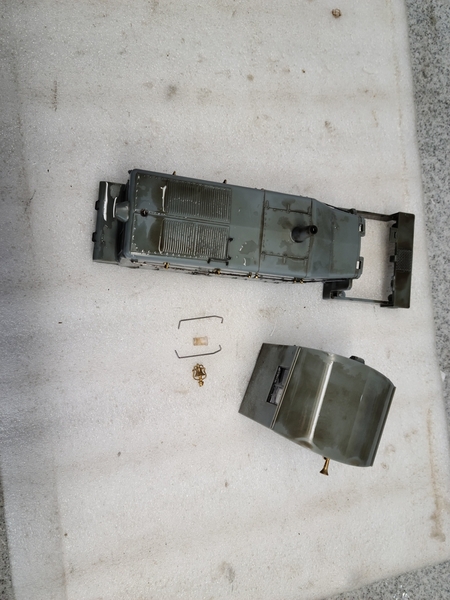
Attachments
So the silver on the side frame is also stripped. I masked with tape and tried applying alcohol with a paintbrush, but it just evaporated and did nothing. I applied alcohol to 400 grit sandpaper and the silver came off quickly. I did not strip the white on the edge of the steps or on the handrails. I think I can simply paint over that. So painting is the next step. Stay tuned...
I feel your pain. I had to strip and re-paint three times to get it right. Here are some tips and lessons learned.
Use a good model primer like Tamiya. Do not use regular off the shelf spray can primer from Lowes or HD.
Spray your base color. Let that sit and cure for 24-48 hours. Preferably closer to 48.
Add your tape. No painters tape from the box stores. Go buy good modeling tape. Again, I use Tamiya.
Modelers tip. Spray your base coat again over the top of the tape. This will create a seal and prevent bleed though at the edge of your second color. Let that dry.
Then add your second color and let that cure. Then pull your tape.
If your tape appears extra sticky, you could apply it to your pant leg first. Then apply to model. You lose some glue doing that.
Good luck.
Ron
Attachments
@JET posted:
Alcohol dissolves fiberglass gelcoat. Boaters found that out when they started adding it to gasoline and the gum from their fiberglass gas tanks ruined their engines.


