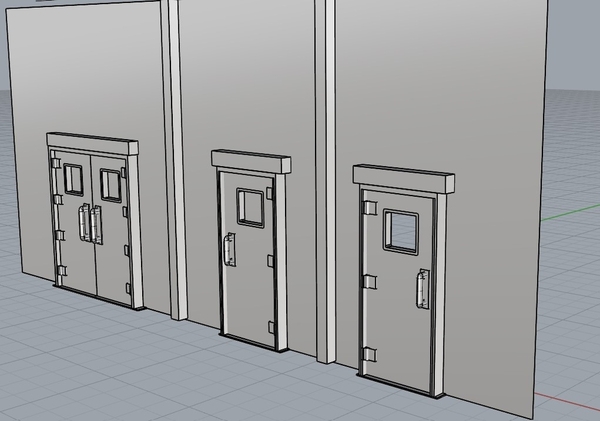
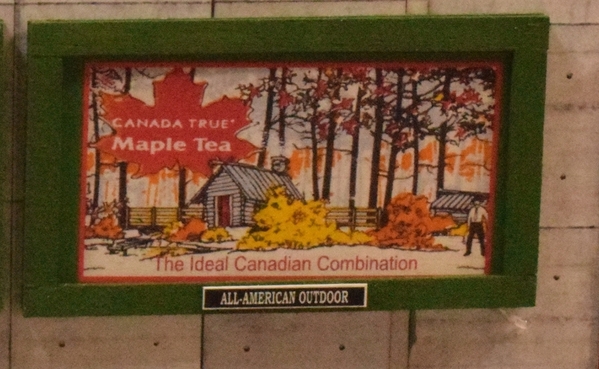
"Evan Designs offers E-Z to use computer programs for printing buildings, window treatments, advertising signage, and window inserts. They offer pre-wired LEDs and decal paper for use in ink-jet printers. Their Modelbuilder Software upgrade download available to install." (As found in the Scenery Resources today)

Has anyone on the OGR Forum ordered and used the Evans Designs sign producer?  Is the product simple to use?

thanks

Seth

Original Post

Replies sorted oldest to newest

I would love to customize signs but am weary of having to download software programs nor messing around with a laser printer. I would pay someone for signs, within reason, after giving them the dimensions of the area and the letters for what I want. My experience in buying water slide decals has been a bust...despite following instructions they fall off within a year, all crinkled up.

I use Word Art in Microsoft Word for signs.  It allows you to format and size text as needed.  I've downloaded railroad fonts to give me additional fonts.

The first photo is a pair of buildings created using Microsoft Word; signage is Word Art.  Kwik-E Mart is inspired by the Simpsons with doctor's offices on the upper floors.

The second photo is a Williams 72' streamliner with replacement letterboards created using Word Art.DSC_0172DSC_0178

Attachments

Images (2)
  • DSC_0172: Tardis Theatre.
  • DSC_0178: Relettered passenger car.

I make text for signs using MS-Word™. Many colors, fonts, sizes and outlines are available, although I use mostly black text on a white background. I then copy the text into Powerpoint™ - save it as a photograph – and email it to my local photography store for printing on matte photo paper.

First photo shows three signs – Long Hill Fire Department, Corner Deli (italic) and RAILROAD CROSSING (bold caps).

Second photo shows Bridgeport Scrap Metals in bold script font.

MELGAR

MELGAR_2024_0714_01_SIGNSMELGAR_2024_0714_05_SIGNS_BRIDGEPORT_SCRAP_METALS

Attachments

Images (2)
  • MELGAR_2024_0714_01_SIGNS
  • MELGAR_2024_0714_05_SIGNS_BRIDGEPORT_SCRAP_METALS
@MELGAR posted:

I make text for signs using MS-Word™. Many colors, fonts, sizes and outlines are available, although I use mostly black text on a white background. I then copy the text into Powerpoint™ - save it as a photograph – and email it to my local photography store for printing on matte photo paper.

I just make signs directly in Powerpoint using the vast array of possible fonts, colors, and effects that that software provides.  Save as a Powerpoint file and print directly here at home (inkjet or laserjet) using on to whichever paper I think might look best - gloss thick or thin, several different matte papers, stuff that some might use for certificates, etc.  Smaller packs of specialized paper is readily available at the office supply stores.

@AlanRail as always... verrry nice!

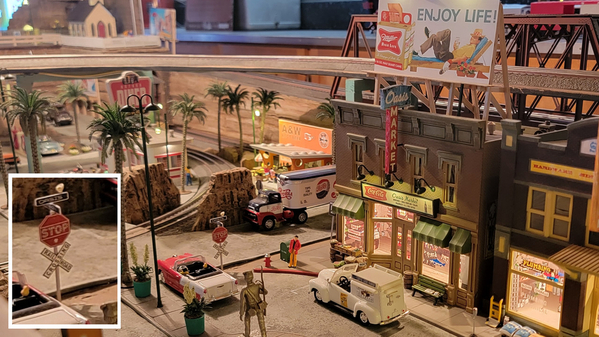
I'm half high-tech/half low-tech. I start with internet images (I like old neon signs). I import them into Photoshop, manipulate the image, and inkjet print them on heavy-weight matte photo paper. Then I glue them to foam core, fill the edges with lightweight spackle, and paint the edges.

20231211_164929

Flat signs and billboards are easier.
20240122_155922 [1)

I also used heavy photo paper to make all my street/stop signs.

20240430_162437

I'm working on replacing my transparent widow signs next. I like making custom signs that help tell the story of my little desert town.

Attachments

Images (4)
  • 20231211_164929
  • 20240122_155922 (1)
  • 20240430_161917
  • 20240430_162437
@Paul Kallus posted:

I would love to customize signs but am weary of having to download software programs nor messing around with a laser printer. I would pay someone for signs, within reason, after giving them the dimensions of the area and the letters for what I want. My experience in buying water slide decals has been a bust...despite following instructions they fall off within a year, all crinkled up.

I think the key to long lasting water slide decals, whether store bought or homemade, is surface preparation and finishing. Even if you ultimately want to end up with a flat finish, you need to start with a smooth, high gloss finish surface to lay the decal on and use Micro Set or Micro Sol to get better adhesion, especially over uneven surfaces like rivets. Then finish with at least two more coats of gloss finish over the decals and they should blend in nicely with the background with no noticeable edges. You can then use a matte or dull coat final finish if you desire.

in addition, allow plenty of drying time between each step - this is not a rush procedure.

Add Reply

Post

OGR Publishing, Inc., 1310 Eastside Centre Ct, Suite 6, Mountain Home, AR 72653
800-980-OGRR (6477)
www.ogaugerr.com

×
×
×
×
Link copied to your clipboard.
×
×