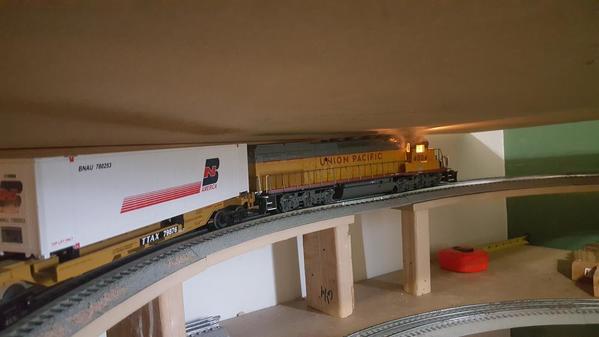
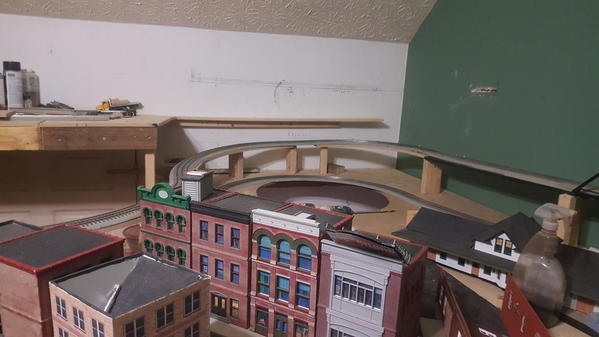
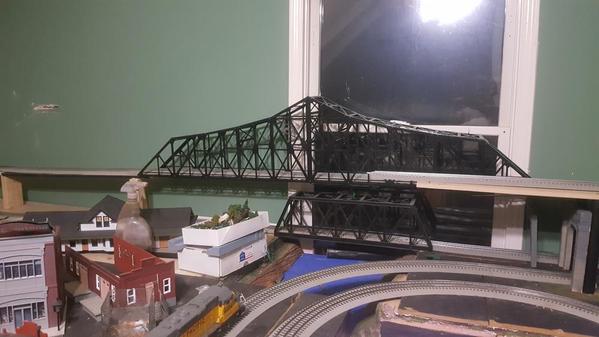
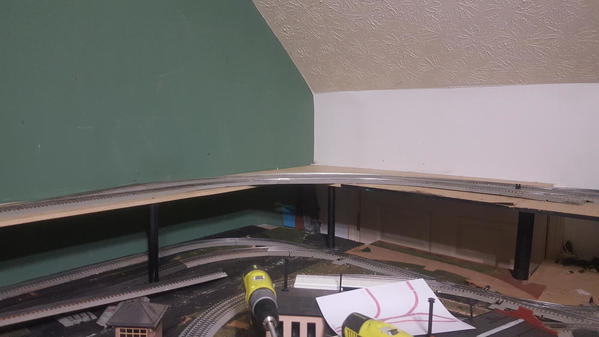
mike g. posted:

Hey there Woodson, What I did is took the end with the claw coupler off the trucks and cut the claw off. I then had to mill down the thick part half way so. I then positioned the Kadee so the butt of the coupler shaft was against the remaining part of the shaft I milled down. Drilled holes for mounting screw and bolts as I don't have a tap. I then joined them together, put them back on the trucks and checked them with my Kadee height gauge. If you would like I can send you some pictures later. In it's really easy if you take the time. My cars are also Railking.

Mike nice work..  I would to see how you did it too. Pics please.

Today I added a couple trees to the layout, tested a couple of engines, and then ran some trains for a while: a Southern Pacific SW 1, a Southern Pacific cab forward, and finally a Shay log train. I changed the trucks on the logging caboose last night. Here's a short video of the log train today. 

Attachments

Videos (1)
trim.22DD1220-6103-4D6C-B818-497CA1366B54
Last edited by WP

Well yesterday I pulled up one section at a time of track to put the quiet board back down . I got 3 sections done and feeders dropped to those areas and now have one full loop per say its really not a loop it would actually be a dog bone working so now I can have a  train running while I'm working again. it seemed once I got the one loop running I didn't get much more done other than running a train or two. I guess that's what it's about running trains. My granddaughter came up and wanted to dust off the buildings again I think she likes this layout better as it's more her height. she grabs the 5 gallon joint compound bucket and stands on it and can see everything now I was making a video of the trains running and of course a 5 year old has no concept of papa is recording but it's all good . I have a feeling the older she gets the more she will do on the layout hopefully I really enjoy her company when up there working on the layout but sometimes when I am doing major rebuilds like  right now she has a tendency to get in the way but it's funny at the time I get upset but after I think about it and wouldn't have it any other way.

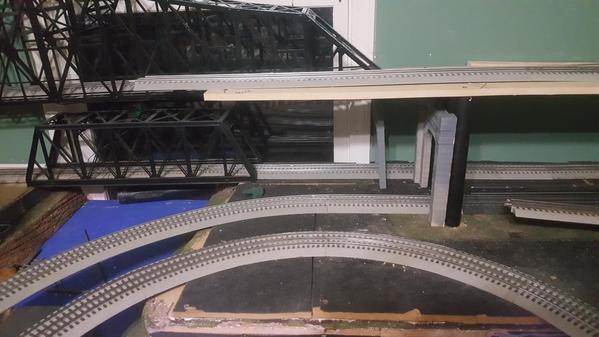
Made this piece to finish bridge over the hallway.IMG_2404  IMG_2403

this is where it goes. Need to make it look like a railroad accessory instead of a chunk of aluminum hanging from the ceiling.  Open to suggestions as to how to accomplish that?  Right now thinking some plastic to make the sides look like girders and some flat silver, rust or black paint.

IMG_2401

Attachments

Images (3)
  • IMG_2404
  • IMG_2401
  • IMG_2403

Went to the train show in Kirkland Ohio today but came home empty handed. Although there was a decent number of three rail product there what I was looking for wasn't. But ran into a bunch of the local train group guys and it was nice to chat with them for awhile. So I think I go up and run some trains for a bit then head to the basement and layout some track because I got an idea and do not want to take too long to lay it out otherwise I'll lose the thought .......Paul

Mmmmm...I can smell the arc and taste the disc.

   C&O if its not too late or impossible could you flip it and do an "under girder" to retain as much view of the train as you can? Or use that metabo and cut some out to leave railings? Leave excess and bend in an angle iron look? You will lose a lot of view from the floor due to the angle, as an up girder.

suzukovich posted:
M. Mitchell Marmel posted:

Santy is getting a new ride!

GEDC2731

His postwar flatcar kept derailing, so I temporarily moved him to a shorter MPC flatcar.  But this K-Line job will suit much better, once I get it sprayed a nice Xmas red... 

Mitch

DOD to the rescue. You have to like that.

Hey, that's great you pointed that out, Suzukovich!!  Since I have over 40 years with utility companies, I guess if it had been a utility company car, I would have noticed that right off!

Mitch, I do you have any cars for the rest of the reindeer??

Don't usually contribute to this column because I don't want to bore you guys.  BUT, over the weekend I determined that i needed to replace a Gargraves switch in what is the most important, most used area of the whole layout.  Right here the main line tracks go from a double track to a single track main.  Every train that runs on the layout must go through this switch, actually twice as it circumnavigates the layout.

Everything was fine until I had a minor (?) derailment just before the switch and a derailed car was drawn across the switch.  Naturally, it completely derailed and caused a short.  So when I lifted the train off the track, here the cars had snagged the Gargraves points and bent them all to heck.  Tried straightening the points but it just wouldn't work.  The switch was toast.  That particular switch is a "controlled spring switch" so it has to move easily to allow the wheel flanges to pass through without having to turn the switch each time.

So I ordered a new, Ross #6 switch to replace the Gargraves and spent most of the weekend replacing it.  Had a lot of ballast to remove plus a loading platform for one of my stations so there was a lot of futzing around just to do the job.  So I get the job done (?), refasten the Gargraves track down to the cork roadbed and the Homosote underlayment and I figure the job is done.  Wrong:  the first train I run over the new switch bounces and shakes around, although it stays on the track.  Further examination shows that with my poor eyesight, plus trying to get the job done in time, I missed one of the six track pins on the track leading from the switch.  Nuts!  I wasn't going to lift that whole section up again just to fix it.  The old trusty Dremel came in handy and I took a HD cutting wheel and cut right through the track pin, lifted one of the rails while pushing down on the one on the switch and got it running smooth again.

Heck, I might even need that rail cut if I ever decide to wire up my Atlas signals for the area!

Paul Fischer

Mark Boyce posted

Mitch, do you have any cars for the rest of the reindeer??

No, but BOY do I have cars for the gi-raffes!  

fisch330 posted:
The old trusty Dremel came in handy and I took a HD cutting wheel and cut right through the track pin, lifted one of the rails while pushing down on the one on the switch and got it running smooth again.

Attaboy!

Mitch

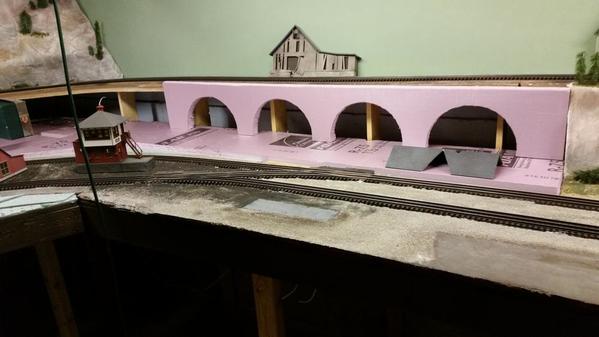
Inspired by others creations, I cut arches on a 60 inch long foam retaining wall. It's 1.5 inches thick and 8 inches tall. I will make shallow groves for stone blocks and mortar lines. I will place something in the openings to hide the road bed supports. Maybe in one a wood wall with a office door and garage door. I want a small passenger station trackside, about 4 x 6 inches.

20161218_230349

Attachments

Images (1)
  • 20161218_230349
C&O line posted:

I can't really do much on the underside because of head clearance, tall guys already have to duck it.  I think you are right it hides too much of the train need to hack on it some with the metabo.  

You forgot to mention the black boogers with the smell and taste

 Some small v notches or even deep Vs with a railing left along the top might be enough. Or lowering the wall. It just seemed tall.

I can hold my breath a loooong time.

  Theres been so many K-line GG-s mentioned recently, I ran mine fast pulling 14 mixed passenger cars behind it like it was nothing, just because I could.

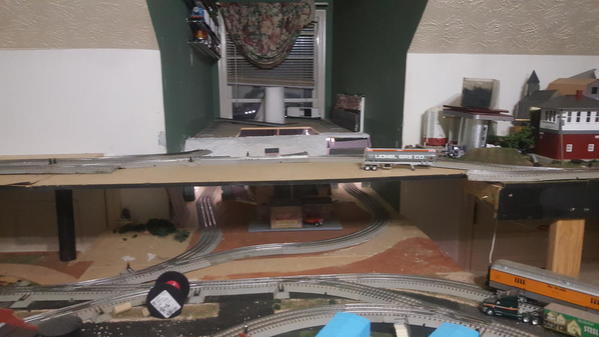
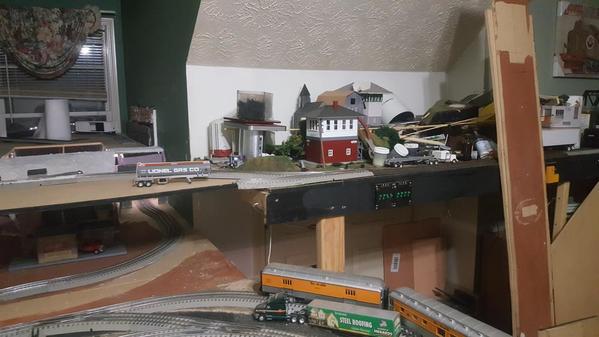
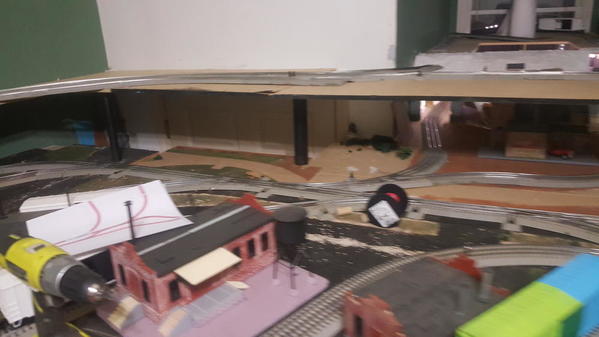
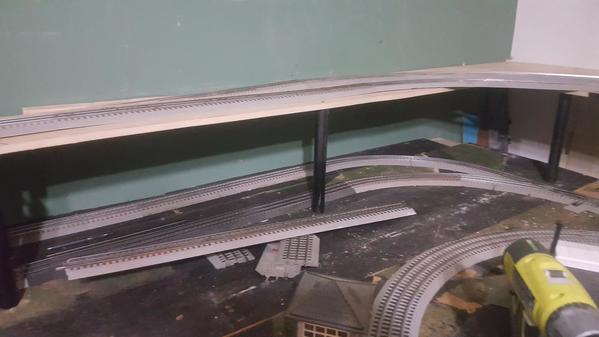
well since I have granddaughters that live with me major construction can't happen during the week the littlest one goes to bed about 2 hrs after I get off of work so by the time I get started she is going to bed. so I spent the weekend doing said construction. to get to a point I can wire up more track and have things to do during the week.


opps not enough clearance had to fix that .

20161218_121013

now theres room no clearance issues anymore

20161218_190733

found a place for the bridge again.

20161218_19074020161218_190743

well the upper yard is tied back into the layout.

20161218_190746

20161218_19074920161218_19075320161218_19075620161218_190758

Attachments

Images (9)
  • 20161218_121013
  • 20161218_190733
  • 20161218_190740
  • 20161218_190743
  • 20161218_190746
  • 20161218_190749
  • 20161218_190753
  • 20161218_190756
  • 20161218_190758

Still chipping away!  My layout is getting greener by the week in spite of the cold and snow outside.  Still have areas that need to be planted.  Have added some trees and foliage but realize that I have just begun.  Finished installing street lights.  They were rated for 3 volts DC so I added a 240 ohm resistor to each since I’m using a 6 volt DC power supply.

I have been ignoring for too long, the completion of the mountain (note the pink and blue styrofoam at the far end of picture #8).  I need to get started on this project after the first of the year even though, I don’t like the mess created by carving the foam and it is too cold to do the work outside.  I guess I just need to “get over it”.

But for now, I am wishing you all a Merry Christmas, Happy Hanukkah and happy New Year.  

May your stockings be stuff with trains!

Dave

DSC09629DSC09638DSC09647DSC09673DSC09674DSC09679DSC09682DSC09684

DSC09685DSC09701

Attachments

Images (10)
  • DSC09701
  • DSC09685
  • DSC09684
  • DSC09682
  • DSC09679
  • DSC09674
  • DSC09673
  • DSC09647
  • DSC09638
  • DSC09629

I spent yesterday finishing that bank of 10 manual switch throws for the Minnesota Commercial yard.

IMG_7147

Red spaghetti.

IMG_7148

When it comes to mudding and taping, I get pretty good results. I'm just really slow. A pro would have this done in an hour. I've been dragging it on for a couple weeks. My shoulder hurts.

IMG_7149

I took the LC+ NW2 out for a spin and had it push the track cleaning car. I took it to tracks that no train has gone before. Big success! Though I did discover one trouble spot.

IMG_7150

It did not want to go through this 3 way. It kept shorting out.

IMG_7151

Best I can figure, these two rail segments are permanently tied to ground. The problem is when the rollers cross them there's a momentary dead short. What I need to do is find the connection and break it, then install micro switches connected to the throwing mechanism to route power. This sounds more difficult than it is.

IMG_7155

Attachments

Images (6)
  • IMG_7147
  • IMG_7148
  • IMG_7149
  • IMG_7150
  • IMG_7151
  • IMG_7155

Alan, great work with scraps just laying around, it looks like a great match. I sure hope you have fun on your train ride later on. Its been years ago when I last road a train.

Elliot, Good job on the switches and great looking mud work on the walls. Your moving right along, I am so happy for you that with such a big layout you only found one problem. Also it sounds like you have it handled with the fact you say its an easy fix. I would be scratching my head for days!

Dave, your layout just looks wonderful, it really shows pride in what your doing! I hope to be there someday like the rest of you all!

I don't have photos of it, but yesterday I went to a small local hobby shop and found he had scenery stock from a now-defunct Canadian company. I bought a huge bag (which almost completely filled two tamped-down Woodland Scenics shaker containers) of ground cover which, to me, looked mostly like the dead stuff you find under any deciduous trees. I sprinkled some at the base of most of the non-pine trees on the layout (none for the background ones as I'm not a contortionist). I think it really makes a difference. All deciduous trees of course have this little pile of previous year’s leaves at the base unless they’re in someone’s raked yard. It’s the small things that make a layout look correct, I think. Many visitors probably wouldn't even notice, but I consider that big bag well worth the ten bucks I paid for it.

I talked with my folks late yesterday on the phone (they live at the opposite corner of the country from me) and both said that now I have all those trees in place, the layout is really looking like what they recall from their childhood (less the trains of course). I’ve decided I am going to put a small enclosed fenced 'farm' area, based on a neat photo I have of the ET&WNC in its final year. The gates around the area were all made of two posts on each side with slots, and beams would go horizontally across the opening. My parents tell me that having one or two (but no more than two) milk cows wouldn’t have been unusual back then, so I’ll make some scale cow pies and get a good ‘moo cow’ figure to paint to the correct breed.

Last edited by p51
Alan Rogers posted:

Thanks mike. I used wood which I soak in India ink to get it looking old and weathered, then airbrushed it with a light coat of paint I like to use acrylic paint from the craft store and mix my own colors. This turned out a little too mustardy in bright light, but seems okay in darker conditions. 

Hey Alan, I really like the color, but if you think its a little off in bright light, that's an easy fix! Keep it in a lower light corner LOL, but honestly I think it looks great~!

Add Reply

Post

OGR Publishing, Inc., 1310 Eastside Centre Ct, Suite 6, Mountain Home, AR 72653
800-980-OGRR (6477)
www.ogaugerr.com

×
×
×
×
Link copied to your clipboard.
×
×