Chris, beautiful job on your building. I to like the down spouts. Where did you get the HVAC?
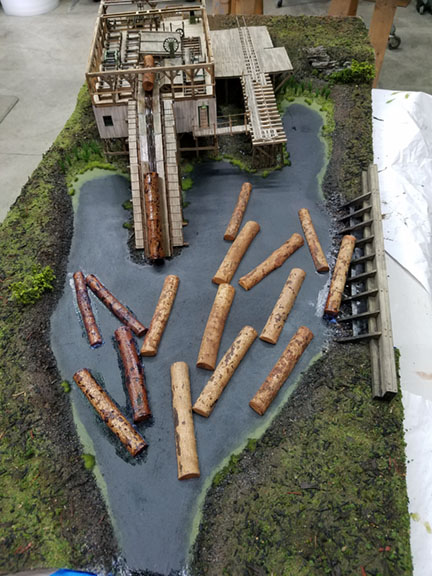
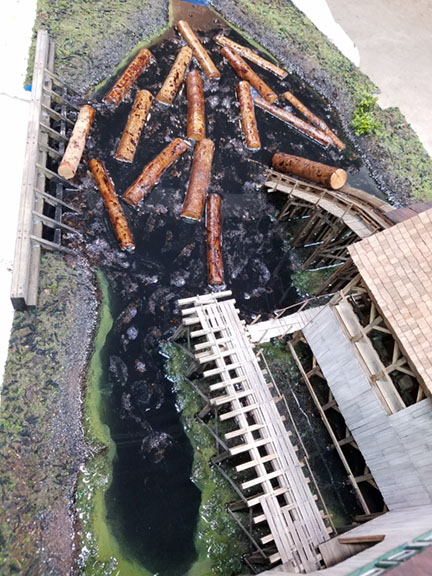
I did some more work on the sawmill pond & complex.
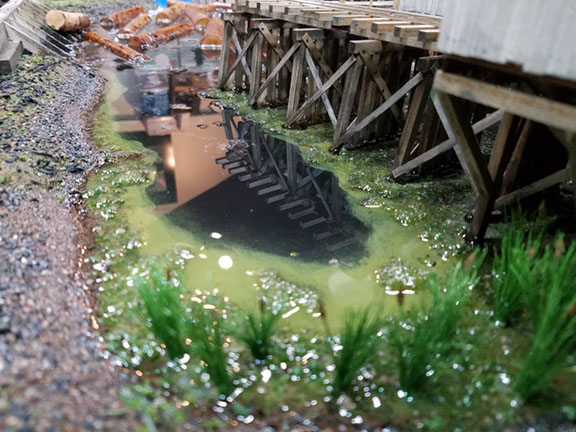
I added some wood chip debris around the log dump and glued in place with artist gloss medium. I also add around the pond surface, since there would be a lot of debris (hunks of bark etc.) floating around the pond.
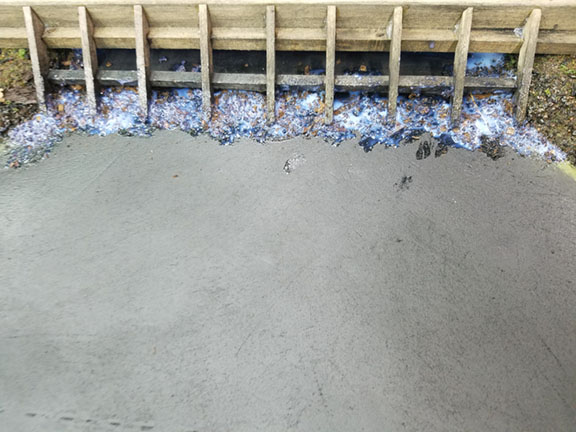
After the gloss medium dried
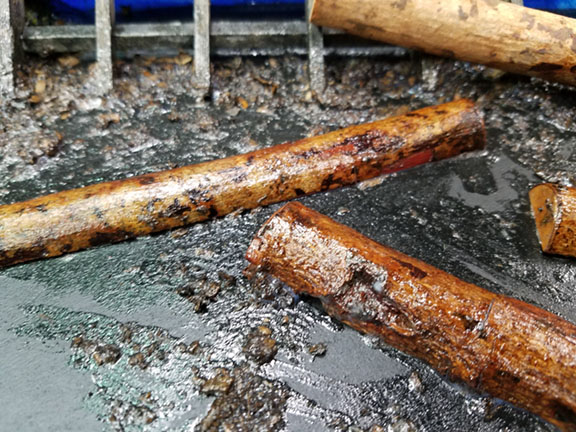
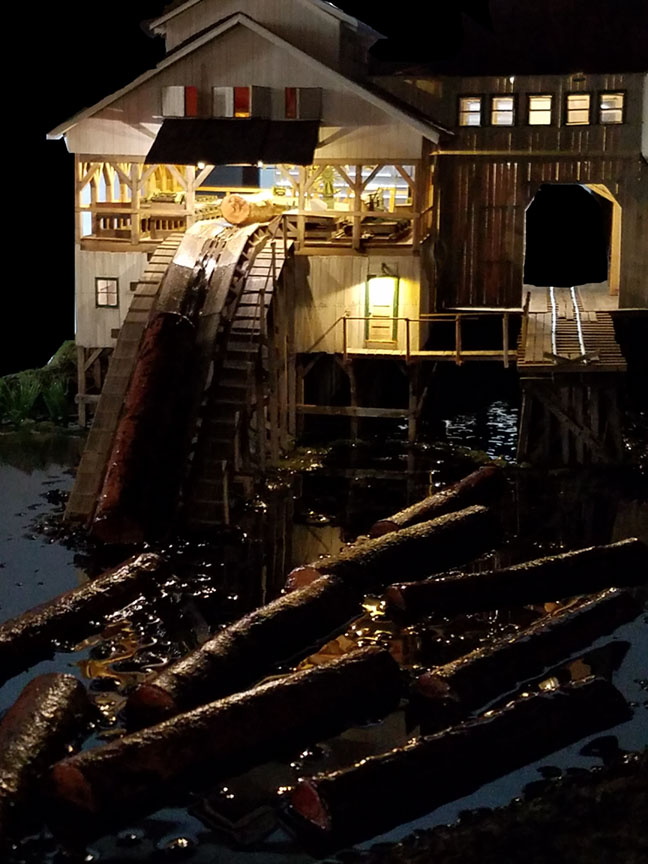
I cut logs in half for the pond surface and hot glued them down, then coated them all with gloss medium, since they would be wet from rolling around the pond. I also added gloss medium to the surface of the jack slip and the logs on the jack slip.
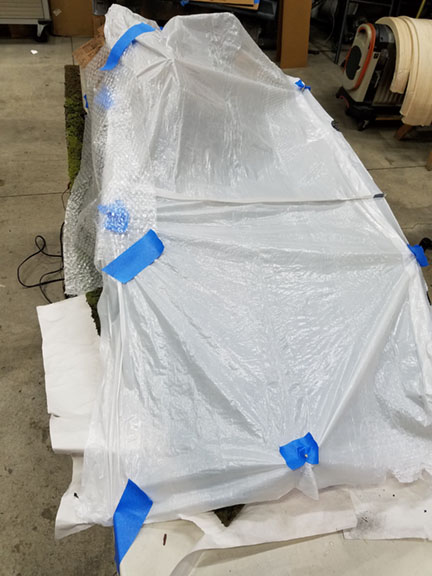
Then after everything dried I did the Envirotech lite pour. (Actually two pours 16oz each, totaling 32oz. )

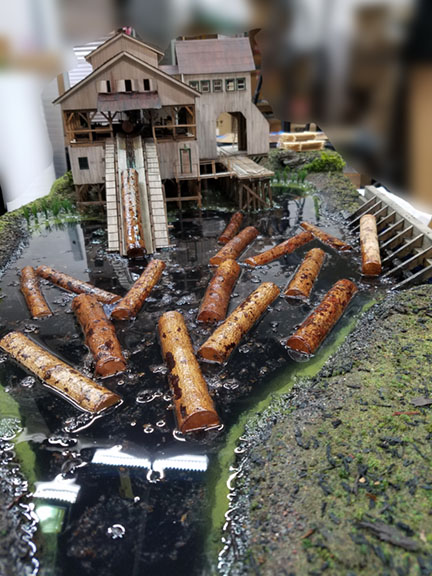

And now I wait with it covered, to protect it from dust for a day until it sets up.


")
")
")
")


")
")


")
")
")
")


")
")
")
")
")
")


")
")
")
")
")
")