Johan, Thank you for the wonderful BNSF video! I have been to all the locations in the video more then once! Its really a sight to see when everything is covered in snow! Thank you and your Friend Hannu again!
Jim, Looks like a good group of kids and leaders! Congrats to you all! I sure hope you find a place to store the engine, I would hate to see it get scraped!
Lirr, sure sound like a good plan! If you do expand please be sure to post more photos of that also!
JHZ563, Nothing wrong with iron as a display shelf! Plus if it works then you can do the same thing on the other side!
John, Wonderful looking work on your new switch!
Paul 2, The module is really looking good! The lake is really going to be an amazing addition ! Great work!.
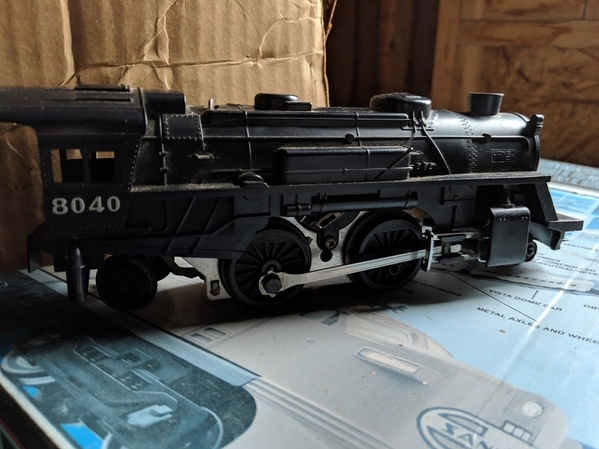
Well I did get out to the train room after the Seahawks win!!! I started working on the fixed pilot and Kadee conversion. I forgot how hard can bee so it will be a slow and careful project on my half. I am sorry Lew I did not take any pictures, maybe tomorrow there really isn't a lot to show!
I hope everyone had a great weekend and your teams did well! Yes Brian I see your Browns Whooped some Butt today! LOL its about time! LOL


")
")
")
")
")
")
")
")


")


")


")


 & putting the tree up tonight