


Looks great Bruce!! That takes patience and determination
Adriatic
Using a proper silver leaf process would likely have produced better results, conforming tighter to the small details. And the time spent might have been reduced by using a commercial kit. This was only a practice in making do with the materials at hand. I keep a roll of this tape around the house for a multitude of chores besides sealing duct work. I'm just another Canadian infamous for finding new uses for duct tape. Thanks uncle Red! ![]()

Bruce, unless someone is moving as fast as the train, no one will ever see the wrinkles! Great work, I like it!![]()


 Well I’ve had this on the bench for several years I started it at my brothers house in Kansas City Where I stretch the frame and added two tanks from the honest John kit. I painted and built it in 1995 though anyway I brought home and then I set it aside until the day. The above pictures was when I was working on it in Kansas City, the top ones are what I got done today. I’m not going to be using the radiator as pictured the radiators were in the back of the engine so I’m going to attempt to try that Enjoy the pics
Attachments
Images (10)

brwebster posted:Adriatic
Using a proper silver leaf process would likely have produced better results, conforming tighter to the small details. And the time spent might have been reduced by using a commercial kit. This was only a practice in making do with the materials at hand. I keep a roll of this tape around the house for a multitude of chores besides sealing duct work. I'm just another Canadian infamous for finding new uses for duct tape. Thanks uncle Red!
Tim who? Wahat?, Allen-wrench, what?. "No time for tools with Red Green" ![]()
You did better than I expected for sure. Ive used a few miles worth. I'd call it a keeper myself, I just thought you might be unaware of the foils.


Looks great Chris!!
Very nice Chris. Very creative way to hide the controls.
Nice job Chris, If you would have not pulled out the control panel I would have never known it was there! What a great idea to hide things!![]()
Thanks Mike and Mark.
Give it a try if you have the chance. Minor parts like the kick plates on cab units make an easy, quick enhancement. Totally reversible if you mess up or don't like the overall effect. When carefully beginning to remove by lifting an edge with a pointed exacto you'll see how well it adheres,even more so once you can grasp the foil and pull it off.
Bruce
WOW Chris !! looking GREAT ! ![]()

really nice scene ! like it !
Attachments
Images (1)

Mark, Mike G, BRIANSILVERMUSTANG and RSJB18, thank very much for kind words, and thanks to all those who hit the Like Reply button. It's been a journey working on this centerpiece part of the layout scenery, but I am glad I didn't take any shortcuts. I wasn't feeling that way last night !! Definitely makes be want to add more "scenery" below the lower track level in some other areas so the scene doesn't end at the hard edge of the table. Paul 2: you had asked a couple of days ago, if any of the weathering was done to stock Woodland Scenics block walls. The narrow joiner sections plus the 3 full size sections below and in front of the station are stock WS foam parts.
Chris, great job on that scene! You have a very good eye for creating and detailing. Very nicely done.
Art
A little gi-raffe maintenance this morning. The ca. 1960 actuators are prone to some shrinking and cracking as they age. I repair this using a small plate of styrene, so:

Once the Testor's cement dries in a few hours, I'll unclamp and trim around the edges. I've repaired 2-3 actuators in the same fashion over the years.
Mitch
Attachments
Images (1)
I have been working every day on my layout and have been getting a lot done. I hope to post some pictures soon, but need to keep at the task at hand.
My towns of Spencer and Ruthven are nearly complete, but then I have felt that way for quite awhile now. But there is always just a few more things that "have to get done" before I can say that. All the building placements are finalized, streets are finished, and street lights are installed, but not lit yet. All buildings are lit. Track is 95% ballasted in this area.
My Spencer Packing Co. building is completed and just needs final landscaping and accessories. Back drop buildings scratchbuilt and placed. Grass and trees mostly done, street signs 50% done.
Shifted to my downtown Chicago area behind my Union Station. Have all the high-rise buildings completed and retaining walls done. Began ballasting track on the upper line last night. Have to light the buildings by routing the wires down conduit between the station tracks. Also completing the streets in this area.
Completed two major missing pieces of fascia that make the layout so much more complete looking. Worked on gluing pieces of Masonite on the backs of my fascia joints so they have a smooth finish.
Art
Art, by the sounds of it you have completed quite a bit. Look forward to pics, after you get done what needs to get done.........Paul


Attachments
Images (19)


I didn't really like the path that led to the back door of one of my stations. So yesterday, I ripped out a path, relayed in real dirt from the area that I'm modeling, and added some static grass along each side. I think it looks much better than it did before, and these little projects are making the layout look one little bit more realistic at a time.
Here's the before and after...


Attachments
Images (2)
briansilvermustang posted:
Uff Da...
TedW posted:briansilvermustang posted:
Uff Da...
OOPS! That doesn't look like a manufacturing defect to me. Could alcohol be involved? HMMM!
I went and found a few gremlins on my main lines that I had been struggling with. Seems one of my relays had gotten flipped, not sure how or why but it did. I kind of felt like I was looking for a needle in a haystack but at least I found it.
I also found a loose solder joint that was causing a dead spot. At least now trains can run, both directions on my railroad.
p51 posted:I didn't really like the path that led to the back door of one of my stations. So yesterday, I ripped out a path, relayed in real dirt from the area that I'm modeling, and added some static grass along each side. I think it looks much better than it did before, and these little projects are making the layout look one little bit more realistic at a time.
Here's the before and after...
great work. I use real dirt on my layout also because to me....nothing looks like real dirt like "real dirt". I have a layout photo in the current issue of OGR.


Chris, slow and easy as they say! Get it the way you want it so you are happy!![]()
ART, sure sounds like you have been busy, I cant wait to see the up coming pictures!![]()
Mitch, it sure is nice you are able to do simple repairs yourself! Great idea!![]()
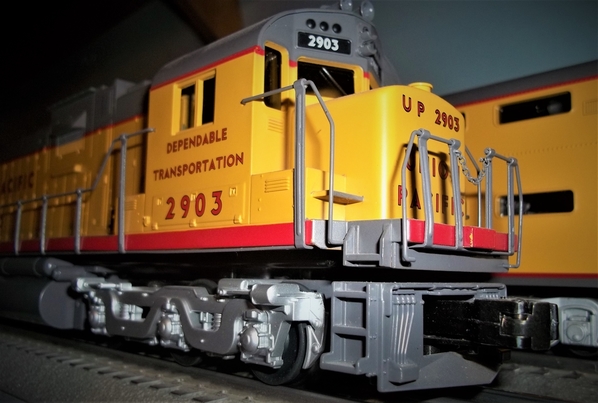
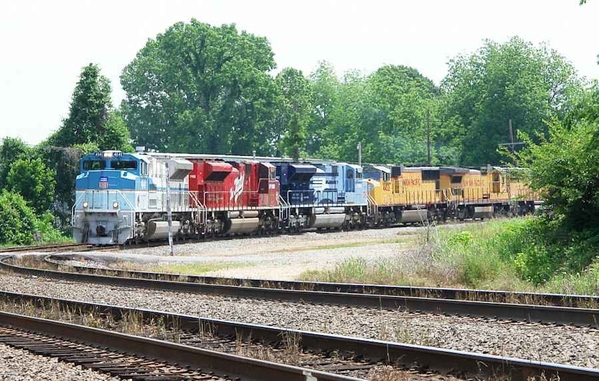
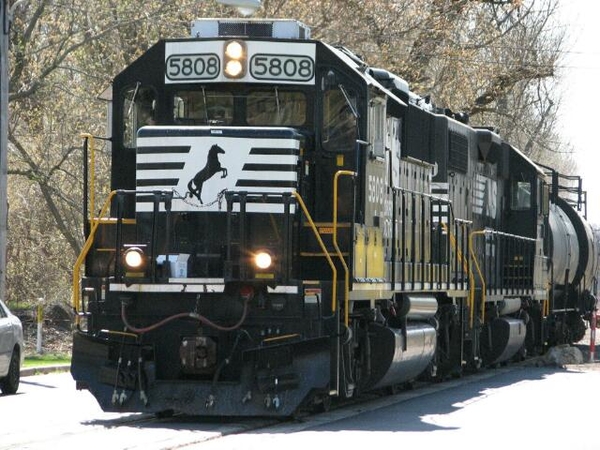
Brian, I swear you must have one of every engine ever built! I am jealous !![]()
Lee, You sure cant beet real DIRT! Looks great!![]()
LOU1985, Great work on the cars and such a nice wonderful little video's!![]()
It was a very hot day, so I stayed inside and painted a few more (48) Seated People. My new paints arrived on Saturday, and I tried a violet with flat white added. It gave me one more color variation for the people's clothes.
Oh wait, I'm supposed to be working on another project: bedroom remodeling. I must be procrastinating when I paint. I have boxed up all the Preiser 65602 people and I am ready to begin major cleaning --- unfortunately with minor energy.
Sincerely, John Rowlen
Finished building problem, jinxed, ore tipple. Murphy's Law applied applied. Put first paint coat on after fitting chute door is and their borrowed hardware (from another kit). Should build a shaft house kit to serve it and call it Murphy's Jinx Mine.
briansilvermustang posted:WOW Chris !! looking GREAT !
really nice scene ! like it !
Chris,
This is one heck of a project and scene. The retaining walls are amazing. You are creating a masterpiece before our eyes. Thanks for posting.
Dave


Attachments
Images (13)


gandydancer1950 posted:p51 posted:
great work. I use real dirt on my layout also because to me....nothing looks like real dirt like "real dirt". I have a layout photo in the current issue of OGR.
Thanks! The funny part is once the glue dried, the surface cracked in several places (very thin cracks). I actually like how it looks, as I model the summer time and it could be an area that had dried too fast after a rain previously. I don't think I'm going to fix that.
I matched paint to that dirt when I was making the scenery original (you should have seen the look at the gal at Home Depot's face when I asked her if she could match it, though she said it was far from the strangest thing she'd had to match). When I had the scenery forms done, I painted everything but the track in that color, using it partially as an adhesive for the gravel and ground foam. Once I was done with the ground foam and such, I ripped up a few spots to put down real soil from the area. I also got a few small rocks, which I also placed into the scenery as well. My parents got me the jar or dirt/pebbles, from Dad's childhood home less than a mile from where the railroad would have run (if it'd existed in real life).
As for the magazine photo, you mean Run 300 – AUG/SEP 2018, right? I have a photo in that issue as well.
mike g. posted:
Lee, You sure cant beet real DIRT! Looks great!
Thanks, Mike!
p51 posted:gandydancer1950 posted:p51 posted:
great work. I use real dirt on my layout also because to me....nothing looks like real dirt like "real dirt". I have a layout photo in the current issue of OGR.
Thanks! The funny part is once the glue dried, the surface cracked in several places (very thin cracks). I actually like how it looks, as I model the summer time and it could be an area that had dried too fast after a rain previously. I don't think I'm going to fix that.
I matched paint to that dirt when I was making the scenery original (you should have seen the look at the gal at Home Depot's face when I asked her if she could match it, though she said it was far from the strangest thing she'd had to match). When I had the scenery forms done, I painted everything but the track in that color, using it partially as an adhesive for the gravel and ground foam. Once I was done with the ground foam and such, I ripped up a few spots to put down real soil from the area. I also got a few small rocks, which I also placed into the scenery as well. My parents got me the jar or dirt/pebbles, from Dad's childhood home less than a mile from where the railroad would have run (if it'd existed in real life).
As for the magazine photo, you mean Run 300 – AUG/SEP 2018, right? I have a photo in that issue as well.
mike g. posted:Lee, You sure cant beet real DIRT! Looks great!
Thanks, Mike!
Lee it's Run 301. And if you get the digital version there are a few more photos at the end of the issue.
Lee, you have a way of making a scene that was very good and make it even better. Chris, one word awesome job. Today I got my order from Plastruct. They had a few things that will work on the top of my silos that I myself didn't want to mess with trying to make from scratch. Now if I could only get some layout time in instead of outdoor work. Pics............Paul


Attachments
Images (2)
gandydancer1950 posted:Lee it's Run 301. And if you get the digital version there are a few more photos at the end of the issue.
Oh cool! I don't subscribe to it (my wife goes a little bonkers when I pay for subscriptions as she thinks I subscribe to too much stuff already but doesn't notice if I buy issues individually). I'll keep an eye out and will likely buy a copy as OGR is pretty easy to find here (even a local Wal-Mart carries it).
paul 2 posted:
Lee, you have a way of making a scene that was very good and make it even better.
Thanks, that means a great deal! I'm at a point where I am looking at very small portions of the layout and asking myself, "Does this make sense?" When it doesn't, things get changed.


 I finally got a turnout switch in over the long weekend
Attachments
Images (3)
This is not today. I have just had a chance to post "Matter's Mill", which will be renamed, and Gray's Elevator, an AMB kit for a grain elevator, which was named. Matter's Mill was bashed from an undershot wheel to an overshot one, and a flume was added, and other details were tweeked. Gray's Elevator got its hoist house moved to the center of the roof, and other tweeks.
Attachments
Images (7)
")


Lee, congratulations on the new siding on your layout!!
Colorado, the elevator and mill look great!
Mark Boyce posted:Lee, congratulations on the new siding on your layout!!
Colorado, the elevator and mill look great!
Thanks mark this is my first O scale layout it’s been a lot of fun maybe soon I can get some landscaping done so it won’t be naked
Lee Dennen, congrats on your turn out! One leads to two and so on! LOL Keep her going!![]()
COLORADO HIGHRAILER, Looks very nice, its always nice to kit bash something into what you really want!![]()
mike g. posted:Lee Dennen, congrats on your turn out! One leads to two and so on! LOL Keep her going!
COLORADO HIGHRAILER, Looks very nice, its always nice to kit bash something into what you really want!
Thanks Mike and yes I have another one to use
Add Reply
Sign In To Reply
