We apologize for not being here sooner but things have been quite busy as we work to complete the engine service/Roanoke Shops portion of the layout. My job ends when track, ballast, etc are complete and things are ready for scenery, people, etc. Then Paula and Rich take over.
The section leading to the turntable via a 3-way Ross turnout is just about complete. Sand, coal, platforms, accessories, figures, lichen and grass, etc have been added by Paula.
Later this week, the road contractor is scheduled to pave Randolph Street, yard lights will be installed, and word has it that locomotives will begin to populate various Roanoke Shops buildings including the roundhouse. Paula said that 9 steam locomotives and 6 diesels are scheduled to arrive before Friday so it will be a busy week.
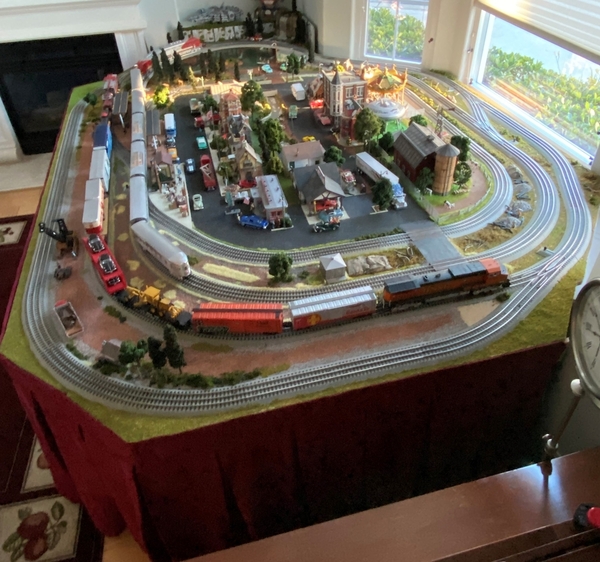
These photos are primarily of the turntable entry, exit, and steam service tracks, which are 80%+ complete. All buildings are lighted and have interiors. Lighting is wired to allow for different scenes depending upon time of day.
Many of the steam service buildings were built by Harry Hieke or are one of his kits. Most lighting is from Evan Designs.
Photo from front of layout

Left side includes Crescent Locomotive platforms, ash pit, water and oil columns, Weaver Sand and water towers.


Rear boiler house and stack, wreck train, Roanoke Shops #1, sand tower, fuel tanks, Lubritorium, and Randolph Tower. The Coaling Tower can’t be missed.