Originally Posted by tackindy:

I'm sure I need to add some power to the tracks as I only have one on each loop!  It was running the trains fine but when I try to add or do anything with engines in the yard it doesn't see them.  Ha ha.


So how many power drops do you guys think I should put on each loop?  I was thinking three?

Its the FasTrack switch internals blocking the DCS signal. Gunrunnerjohn suggested to place a 22uF choke across the Aux IN and Gnd terminals to isolate the interference of the DCS signal by the switch control electronics in place of the jumper.


See DCS signal and FasTrack switches.   email Grj. I think it's just a capacitor, but I may be wrong.


Your power is fine(and signal, I presume) otherwise, so hold off on the power drops until you resolve the switch\yard stub issue. DCS wiring convention would recommend more.

Last edited by Moonman

Ok, I went back and looked at some of my notes(bookmarks).

It is a 22uh choke. It's not a capacitor. A choke blocks RF, which does not need to go to or come from the switch control board.


Mouser electronics has them in the 1/2A (560ma) that Grj recommended in the other thread.

Order some of the those. Use the axial leads to replace the track power jumper under the switch and it should solve your problem with the DCS signal not getting past the switch. Putting a power and common drop on the yard spur will only mask the problem.


You should put them on all of your remote or command switches.

Last edited by Moonman

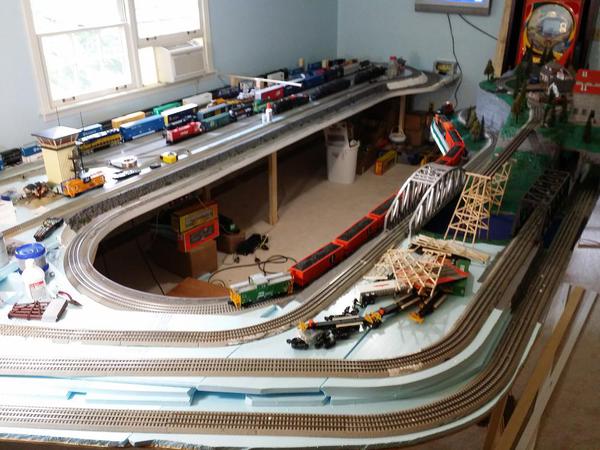
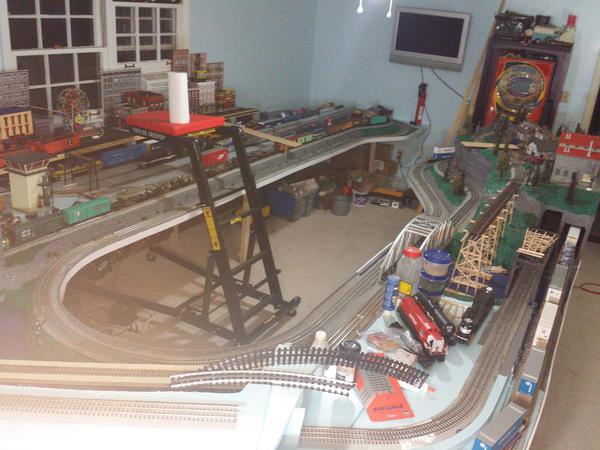
Yes the ALASKA paint scheme has always been pretty to me, but after watching that RailRoad Alaska show I just had to have one represented on the layout!  Over this weekend I didn't do a ton but I got some stuff done.  The chokes from DigiKey came in and I put one on the yard switch and that cleared up a lot of the problem with the remote not seeing engines.  I then added a power lead next to the switch and now ALL engines in the yard are being seen and controllable.  I was really excited about that so that is why you now see trains actually staged in the yard.  Only the two that were running the upper mainline are in there along with the steamers but it does make the yard look good doesn't it!  


Next up is probably going to be work on the city that will be above that yard on an elevated platform extending only about 20 inches from the wall.  All of my buildings, lights, people, and vehicles are in boxes and I'm itching to get a few out to fire up the Miller Designs signs!  

Here's the latest!  And yes that is a topside creeper you see in the pictures.  Its a new addition that I must admit is very handy!  


17


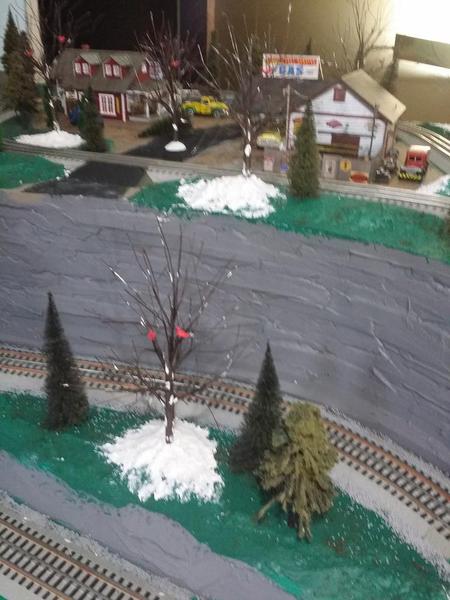
You can see the city taking shape.  This wasn't shown on the original plans but was planned for that location all along.  I used a few AmeriTown store fronts to build a cover for the window AC unit.  The other window with the Ferris Wheel in front of it will be a park in order to keep my view out the window fairly open.  You can also see a bunch of Dept56 armature trees appearing.  I bought them from Amazon for about $17 per six thinking I would add foliage to them but honestly I kinda like the bare branch look.  We'll see.  


16


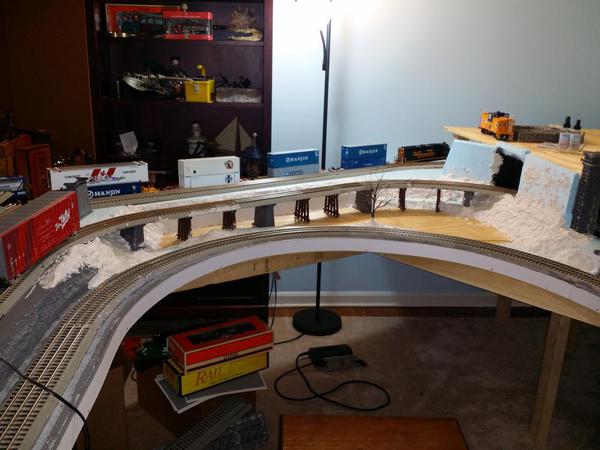
In the foreground the mountain will be build up for the upper line to go on, and the 2 lower lines closest to you in the pic will be covered in tunnels.  This will give me a little more needed room for some structures and such.  


15

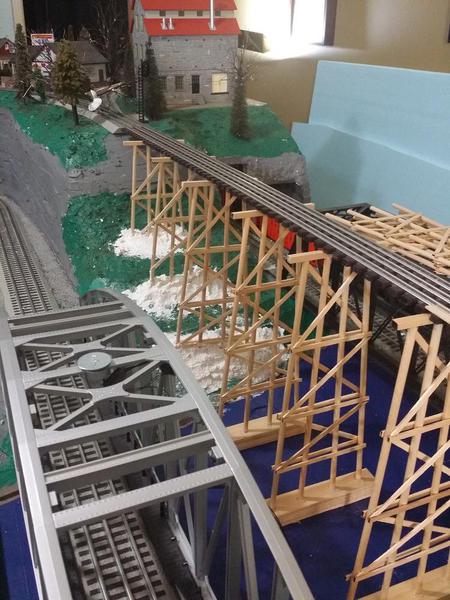
 The view from the river back to the peninsula part of the mountain.  You can see the upper line that will cross the river via my home built trestles and continue on once the mountain gets built on the other side of the river!  A stone casement will be built on the points where the track leaves the ground and goes airborne using Dr Ben's granite building blocks.  

Attachments

Images (3)
  • 17
  • 16
  • 15
Last edited by tackindy

A few updates on projects....


20141012_174645


Installing the trestles for the bridge.  I used a little hot glue on the base to secure, and then sculptamold around the base to finish it off.  Once it's dry I'll paint it and apply some bushes and grass. 


20141012_174652


Used some more Sculptamold to blend the Amazon.com Dept 56 trees into place!  I'm really liking these trees that I got for $17 for 6.  


20141012_174704

The city area over the yard is getting an edge to it.  I'll either paint it grey or possibly put a brick pattern over the wood.  It extends about three quarters of an inch above the street level to make a wall.  I'll be putting some street lights in against it also so that will hide the bases.  

Attachments

Images (3)
  • 20141012_174645
  • 20141012_174652
  • 20141012_174704

So guys (if anyone is still following this), what color should I put on the trestle bridge?  I had thought about staining the wood, painting it dark brown, or even diluting black and painting it that to simulate the creosote look?  


What do you think?


And I didn't pre-paint it due to adding runners and braces after getting it all up and done.  

Originally Posted by tackindy:

So guys (if anyone is still following this), what color should I put on the trestle bridge?  I had thought about staining the wood, painting it dark brown, or even diluting black and painting it that to simulate the creosote look?  


What do you think?


And I didn't pre-paint it due to adding runners and braces after getting it all up and done.  

I always liked the look, and smell, of creosote!

That's my two cents.

If you mean the trestle bents, I would make some black lines with a fine point sharpy to simulate a grain, only a few for highlights. Then take some artist chalks and use some browns, umbers, whatever makes it look like wood. You don't need complete coverage. Then spray it with a dullcoat to seal it. New railroad, new logs.

The skinniest area just looked like it should have a lake/swamp area in it.  Plus it gave me a chance to use up some supports that were boxed up and put away.   I know its a mixture of stone and wood supports but you know the guys just ran out of stone work and threw in the wood supports.  Sigh.... what do you do?


20141026_181219

20141026_181307

Attachments

Images (2)
  • 20141026_181219
  • 20141026_181307

Add Reply

Post
The Track Planning and Layout Design Forum is sponsored by

AN OGR FORUM CHARTER SPONSOR

OGR Publishing, Inc., 1310 Eastside Centre Ct, Suite 6, Mountain Home, AR 72653
800-980-OGRR (6477)
www.ogaugerr.com

×
×
×
×
Link copied to your clipboard.
×
×