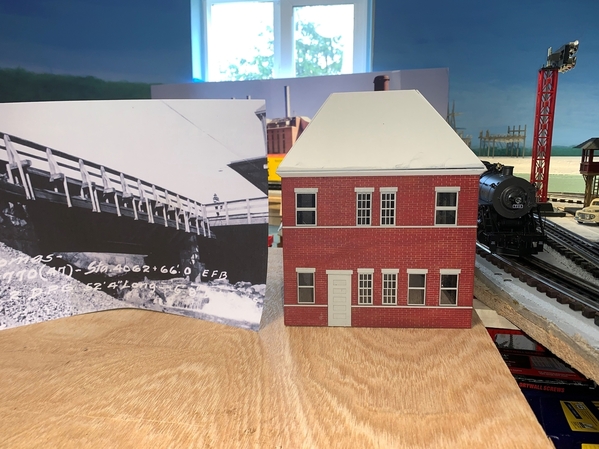
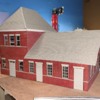
Mark, I constructed a base for my Thomas station. I will see if I can take some photos of it to show you how I did it.
Thank you, RJ, Mike, Dave P, Bill, David E!
RJ and Bill, Yes, I am looking forward to getting the shingles in the mail and seeing the station shingled too!
Dave, the kit came with paper signs with the name 'Thomas" on them. I thought I could cut some of the left over material used for the windows and doors, and use that for placards. That's a good point, about a Mark Boyce figure. ![]() I'm planning on having his dad Jim Boyce and late friend Bill Saul fishing in the Blackwater, so why not ?
I'm planning on having his dad Jim Boyce and late friend Bill Saul fishing in the Blackwater, so why not ? ![]()
David, that would be great if you posted a photograph or two!! I was thinking about whether material I have on hand would be suitable. Masonite would be pretty thin. I have a little high quality plywood left from before the prices went through the roof. Styrofoam may be too light weight.
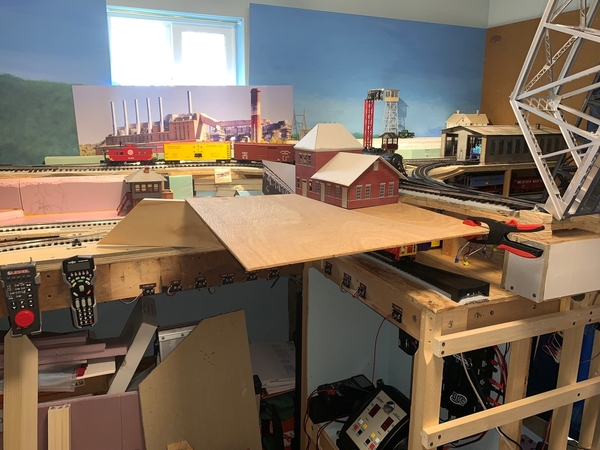
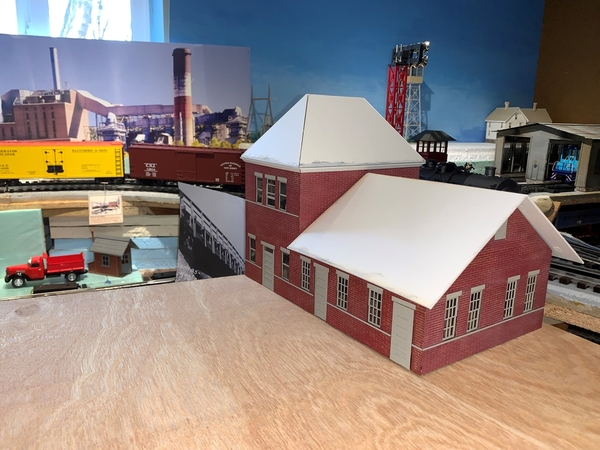
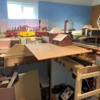
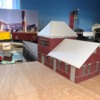
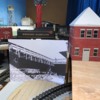
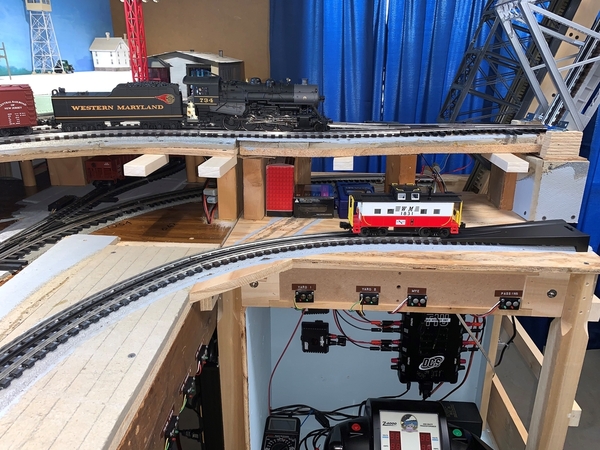
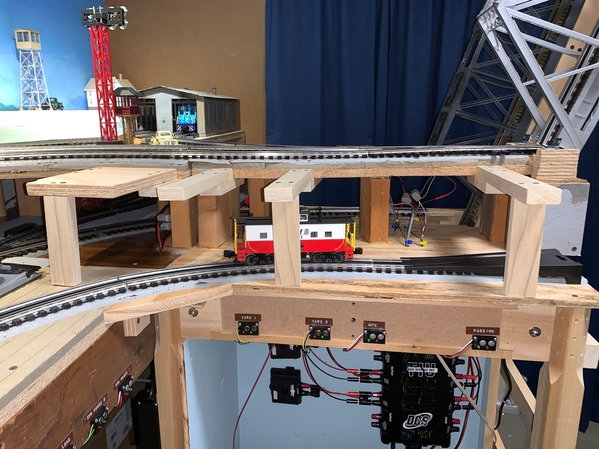
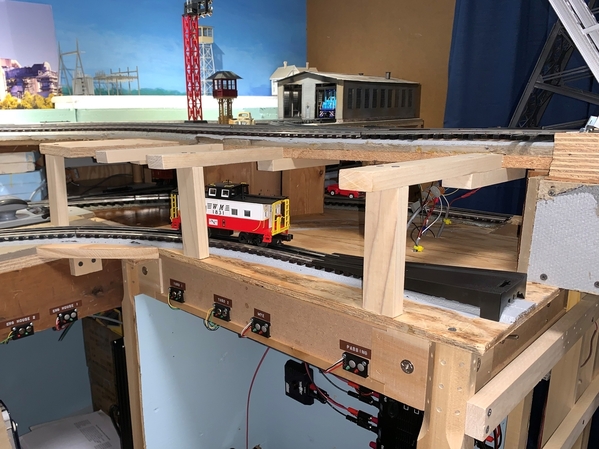
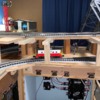
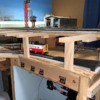
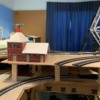
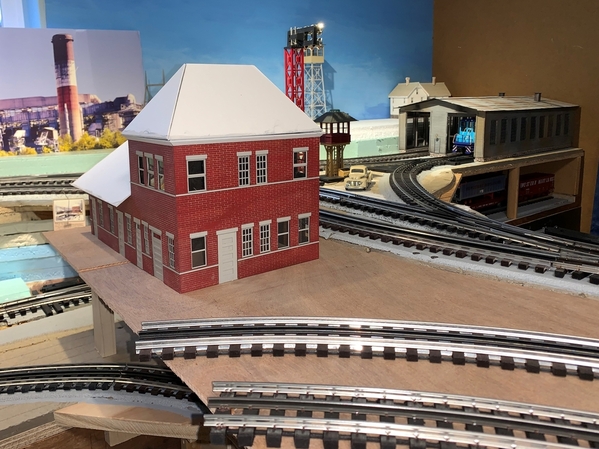
This afternoon, I clamped an extra wide piece of lauan onto the brackets I put in last evening. Then I positioned the station different ways with photographs so I can decide where the cutout and railing will be. Here are a couple photographs to show the general position for the station, though it could be flipped with the two story section facing the camera. You can see why I picked lauan, so I have enough room to put cars on the staging track. A caboose is just visible under the lauan in the first photograph.
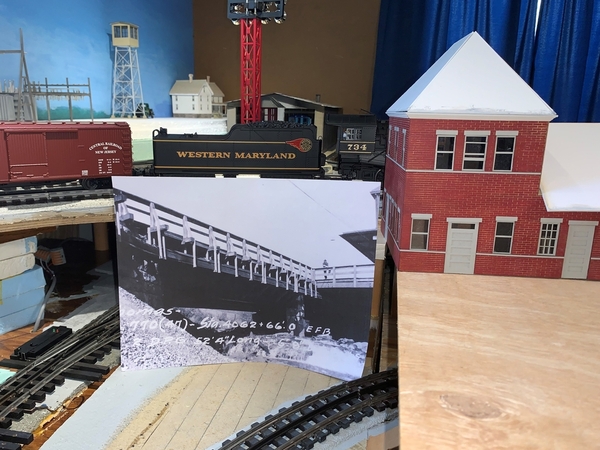
This would make the most sense with the layout as is, where instead of the Black Fork running under the bridge and railing, I just have it keeping pedestrians from falling onto the tracks below. However, you won't see much of the railing until you get up close to the layout. I don't want to cover over very much lower level area here since that is where the switch from the mainline to the short staging yard is. I see I need to reposition the lintel on the big door as it is a little cockeyed. This is the original wooden railing, and you can just see that awning I mentioned last night on the right of the photograph. I have another photograph with a small portion of the later metal railing.
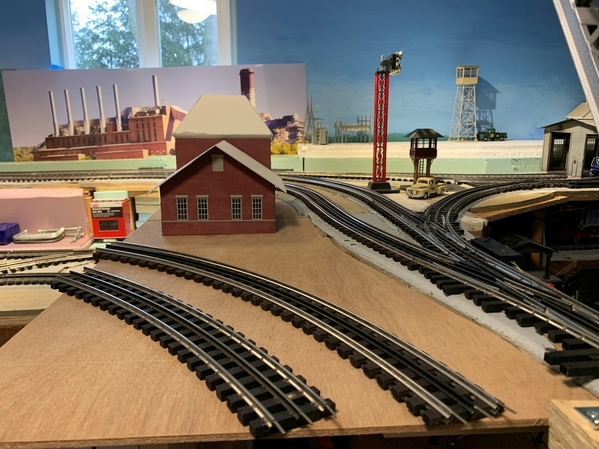
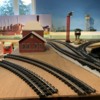
This is what the reverse side of the station looked like on the prototype. There are tracks going to the Blackwater Canyon and on to Elkins, and the other tracks are for the Francis Branch to nearby Davis. I could put in dummy tracks if I use this orientation for the station.
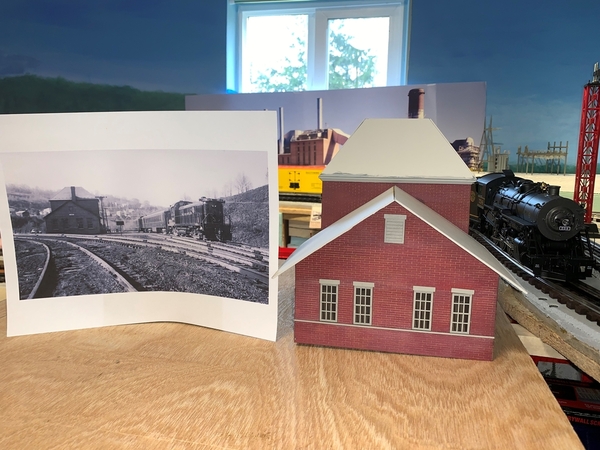
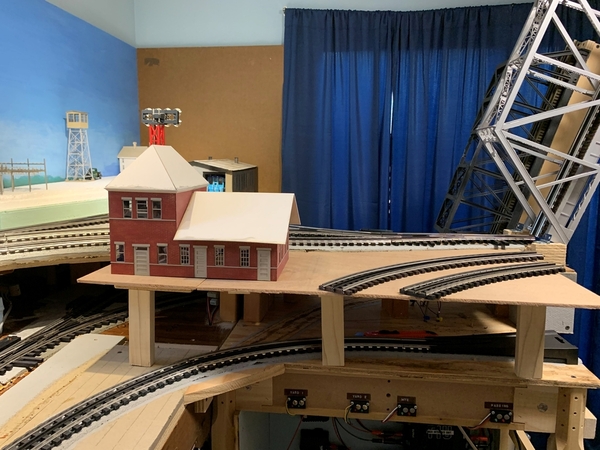
Last, if I flipped the station around so you can see the railing well, it would look like this. If I did it that way, I think it would be better to make a mirror image of the photograph so the railing is along the tracks. This way, I could leave more area for access to the staging track below, but that might take away from the overall effect.
I posted all these photographs and discussion of the options to ask all of you for your opinions on how you might do it. You will come up with, questions, ideas, and reasoning I didn't think of. Thank you ahead of time for your interest and participation!!!!!!!!
Attachments
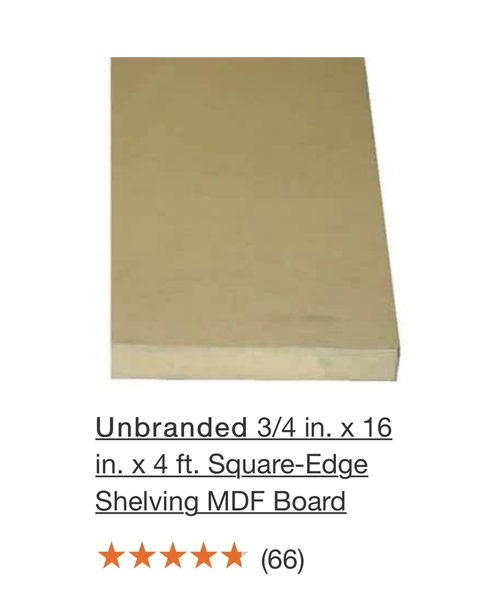
Mark, if your looking for a good sturdy base have you considered MDF shelving. Lays flat and doesn’t have a tendency to ever warp. If your modeling any platforms around the station. You can carve expansion joints in it. Takes paint well. The big box stores all seem to carry it. You can get it fairly wide and usually in a 4 ft. Length. Relatively inexpensive. This ones from Home Depot. Best to check stores on line. Not all Home Depot’s carry the same products.
Attachments
Mark, wow, this is going to be some unique feature! I like the position in the first four pictures best. You wouldn’t see the railing from far away, but I think the building looks good situated this way in this space as long as you have access to the switch below. The railing looks better too because as you said it is protecting from a fall to the tracks. To add on to what Dave said, you can get ultra light MDF. Very lightweight and won’t warp.
Andy
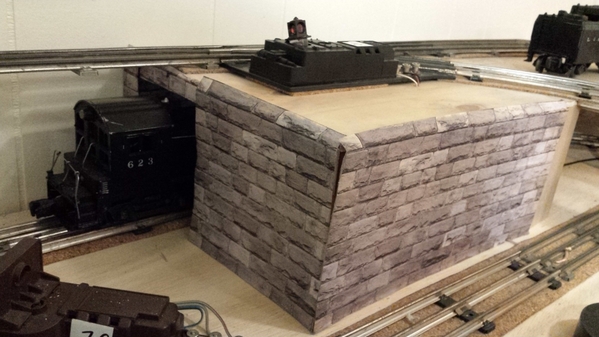
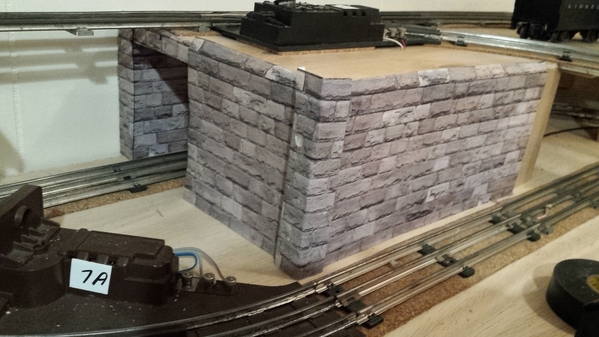
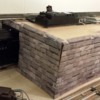
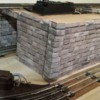
These photographs show how I constructed a base for the station. It serves as a floor and the foundation wall. Its make of 1/8 thick styrene for the floor with 1/8 thick strips that are glued around the perimeter. The stone work is glued to the sides. I added small blocks of wood glued to the inside walls for the top of the floor to sit on. This design allows me to remove the floor from the structure.
Attachments
Wow Mark and David and I'm sure many more members... your modeling talent is awesome! GREAT JOB for sure. Holy cow! You have me speechless.
Mark I like the first two pics. Are you planning to make this a removable setup?
@David Eisinger David - Beautiful work - I am going to steal your idea of the base and the foam lintels on my Twin Pines Hotel/Resort building.
@Mark Boyce Mark, I would position the building so you will see its best "face" most of the time. I kind of thought you were going to let it overhang the rails like the real building overhangs the creek?
Thank you for the replies, Dave C, Andy, David E, John, RJ, Jeff!!!
Dave C, Andy, I had some MDF left over but after searching, I must have used it all building the layout! I haven't heard of the light weight MDF. That may be a good choice.
David E, You did a beautiful job on your station!! The styrene floor and foundation looks great! I didn't think to cut in doorways between the one story and two story sections until I already had glued them together. That is something I am going to have to do. I like the window and door frames inside and the raised relief lintels and sills on the outside. Thank you for sharing the photographs! Very nice ideas.
John, Thank you. My modeling talents have been kind of resting dormant for a lot of years while our girls were growing up, college, weddings, etc. I am rusty in some areas, and my eyes and hands aren't what they used to be, but I am getting it back together. One product line that has come along over the years, are these nice laser-cut kits. I never worked with any until this winter. Getting practice on some skills turn out some really nice models that I couldn't have built from scratch. I used to be pretty good scratch building with styrene in N-scale 30 years ago. I need to apply that to O scale.
Andy, RJ, I do think I like the first arrangement best, also.
Jeff, Best face forward is a good rule of thumb.
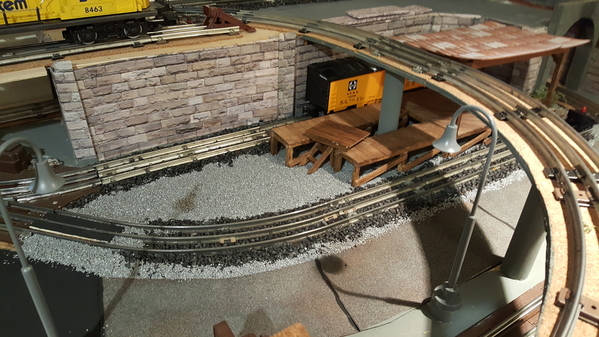
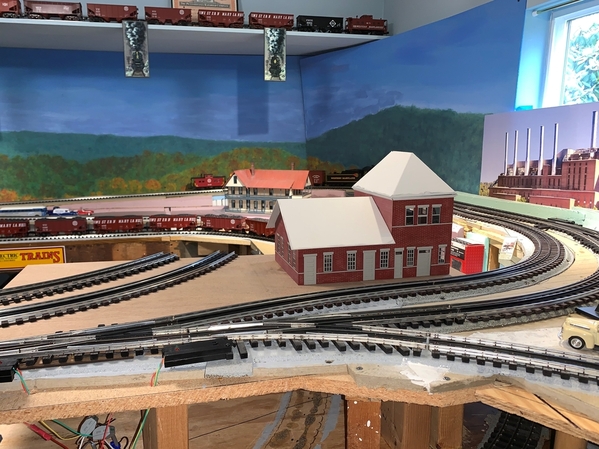
I hadn't mentioned if this whole scene would be removable. I think it does need to be removable to access some wiring connections and the tracks underneath. Here is a photograph of the whole section of the layout. I could position the station anywhere along this area, perhaps more to the left of my previous mockup as Jeff asked. I don't have to use all 4 braces I put in the other day, or I could use them all.
Also Jeff; I haven't forgotten your suggestion about the raised town and lower tracks in the 'canyon' instead of raised track above town as it stands now. That will be an issue for another time.
Attachments
I finished the supports and removable top for the station site. Here are the supports that will be exposed when the top is removed. I made them so there is plenty of overhead room for the hand operated staging track below.
Here is the lauan cut and fitted to the roadbed. I have marked the bottom of it to add centering brackets so I can put it back in the exact position every time I take it off. I still have plenty of lauan plywood if I decide to extend it in any direction. I made it long enough to make room for the dummy tracks as in the photograph from the prototype.
I received the peal and stick shingles in the mail today. They look like they will work out well. I also ordered some 1/4" sheet styrene and 1/4 x 1/4 strips to do something like David did. So, I will probably go back to finishing the station next. Thank you everyone for the ideas.
Attachments
Looking good.
Question, will the space below the station remain open or will you build a tunnel?
GOOD LORD MARK! For a guy not feeling 100% you sure are kicking a**!
Nice Work!!!
Thank you Bill and Dennis!
Bill, I hadn't thought about that much. Since you mention it, it may be good to put a removable panel on the front that hides the opening and tunnel portals on each end. More and more ideas!! ![]() Who needs a big layout? It is true, I will never finish this small one!
Who needs a big layout? It is true, I will never finish this small one!
Dennis, I was able to do all this standing up with an extra high surface to support the wood when cutting, so I didn't have to bend over. I built a lot of the two stations and signal tower standing up, and will probably do the shingling, foundation, and other trim work mostly standing. Standing isn't bad; it's walking, laying down, and sitting that are the problems. I think I will get up from the computer chair now; it's starting to hurt. ![]()
![]()
Mark,
This is looking great. I can't wait to see how the shingles turn out.
Mark, I second what you said. A removable panel(s) will allow you to create another scenic element and provide access when needed.
Andy
Thank you, Chris and Andy!
I too look forward to seeing the shingled roof. Andy, Bill's question lead to the thoughts of making a cover for the lower level staging track. It just shows the value of being able to post what you are doing and getting more ideas from other folks!
Here is another view of the area.
@Mark Boyce posted:
Mark- The station is looking good. I like the platform too. I see that this view matches the photo, but I'm sure you'd rather have the tall side facing you when you enter the room. What's your thought?
Removable panels on the lower level would work. I did a simple one on the face of the wall for my upper level. It's held in place with a couple velcro dots. I have wiring hidden behind and can reach into the tunnel if I need to retrieve a wayward car. The long panel on the right side comes off. I hid the seams with the columns on the corner and on other end. All of this is paper prints mounted to cardstock.
Bob
Attachments
That looks great Bob!
Andy
Thank you, Bob! You brought up an interesting point. I’ve been toying with which is the most interesting end. The way I have it now only corresponds to the way the prototype was situated. That doesn’t mean I have to do it that way. I am inclined to agree the two story end has more windows, a door, and a more interesting hip roof.
Your stone wall looks great and is easy to remove for access.
Here is the opposite side view I took last evening. I was going to post it when I was up at 3 am, but had forgotten to download it off the phone that was charging upstairs.
Bob, here is the view with the two-story section facing out, compared to yesterday's photograph. Yes, it is more interesting.
I started on the peal and stick shingles. They are nice to work with, though all shingles can be tedious. Thank you for the tip, @Dave_C
Attachments
One access question.. Now that you have added the station platform, how recessed are the switch buttons beneath that staging track? If too far, could they lead to possibly bumping the station platform? The pictures just might be messing with depth perception.
Greg, That is an excellent observation, and thank you for asking. The switches are about 10 inches below and recessed about 5 inches under the station. There is plenty of room...as long as I don't get careless as in trying to push one at the last minute. However, it does bring up a point I haven't mentioned. I have found it confusing to have the switches in a row, but controlling turnouts on two levels. I intended them to only be where they are temporarily until I put in a nice fascia, then make a nicer looking permanent installation. Now I think I need to either make two rows, the upper level switches above the lower or make a bit of a track plan panel for each level.
I also have them wired into the AIUs for control from the remote. I have found that too cumbersome to access on the remote considering how closely spaced the turnouts are. I have not even looked at setting up routes with the remote to select all the necessary switches at one time. There have been more exciting things to do on the layout. I guess I have finally hit the point where there are lots of things to do, and I can pick whatever I feel like doing. So yes, the switches will be moved at some point.
Sounds like you’re getting more clarity as far as future projects. And yes, it’s nice to be able to pick what you’d like to work on.
Andy
Thank you, Andy. I worked on the shingles for a while longer. One side of the gable is done. The instructions said to line them up at one edge cutting off half a shingle every other row and staggering the seams like you should. I could never line them up right. Since the strips are slightly longer than the roof, I finally just let them overhang on both sides so my fingers weren’t in the way of lining them on the edge. That worked better for me. Sorry I didn’t get a photograph.
@Mark Boyce posted:Thank you, Andy. I worked on the shingles for a while longer. One side of the gable is done. The instructions said to line them up at one edge cutting off half a shingle every other row and staggering the seams like you should. I could never line them up right. Since the strips are slightly longer than the roof, I finally just let them overhang on both sides so my fingers weren’t in the way of lining them on the edge. That worked better for me. Sorry I didn’t get a photograph.
my kit came with shingles but they were not the peel and stick type. I applied thin double sided tape to the roof first and then added a row of shingles starting from the bottom up.
@David Eisinger posted:my kit came with shingles but they were not the peel and stick type. I applied thin double sided tape to the roof first and then added a row of shingles starting from the bottom up.
David, you did a great job with the shingles. I was afraid I would be getting the thin paper shingles stuck where they weren't supposed to and not be able to reposition them without tearing the paper, so I bought the peal and stick ones. Here it is right now.
@David Eisinger What do you call the pieces on the roof that I assume breakup ice that is sliding off the roof. The prototype had them, and you included them on your model. I want to buy some for my model. Thank you!!
Attachments
The shingles look great Mark! Really adds a nice detail.
Andy
they are called snow birds and you can get them from Tichy Train group.
Thank you, Andy and Dave. Do you need to drill holes for mounting the snowbirds, or do they just glue on the roof surface?
Nice Job Mark! That is coming out terrific. That has to take a steady hand and lots of patience for sure.
I drilled little holes for all the Tichy show birds. Tichy did not allow much of an extension on the snow birds to allow then to be inserted into a hole. so their is barely enough of an extension to glue them in place but I still was able to get them to stay glued in place.
Thank you, John and Dave!
Yes a steady hand helps. Mine aren’t as steady as they used to be. I had to reposition a lot of strips, and some I ended up leaving not quite even from strip to strip. I don’t notice except on close examination, so I moved on.
Dave, thank you; I was hoping there was a little bit of material to get in a hole to glue. I can measure and drill well enough, but without a guide, my unsteady hand would have difficulty even resting my hand on something.
@Mark Boyce posted:David, you did a great job with the shingles. I was afraid I would be getting the thin paper shingles stuck where they weren't supposed to and not be able to reposition them without tearing the paper, so I bought the peal and stick ones. Here it is right now.
@David Eisinger What do you call the pieces on the roof that I assume breakup ice that is sliding off the roof. The prototype had them, and you included them on your model. I want to buy some for my model. Thank you!!
@Mark Boyce ! Ohhhh, I love it ! Where did yu but this?
Thanks !
Leandro, thank you. Did you see Dave's finished model of the same kit farther up this page? The kit is made by Carolina Craftsman Kits. I only see HO kits on his Web site. I searched for the Thomas WV kits https://carolinacraftsmankits....ucts?keywords=thomas I have the O scale two stall engine house built. He only does limited runs, so You would have to email or call and ask what he has available.
wow Mark, Your doing an outstanding job! The station and what you have done on the roof look superb! I really like the placement with the 2 story section facing towards you I think it really adds a lot to your layout! Keep up the wonderful work and I hope to check in more often then I have in the past! It has been a hectic couple weeks for me!
Thank you, Mike! I'm glad you are back!! I am liking the station positioned with the 2-story section facing the viewer/operator as well. I think the station will look better with the snowbirds like David put on his wonderful build. The railroad wouldn't want sheets of ice and snow falling on passengers waiting to board! ![]() This is certainly snow country!!
This is certainly snow country!!
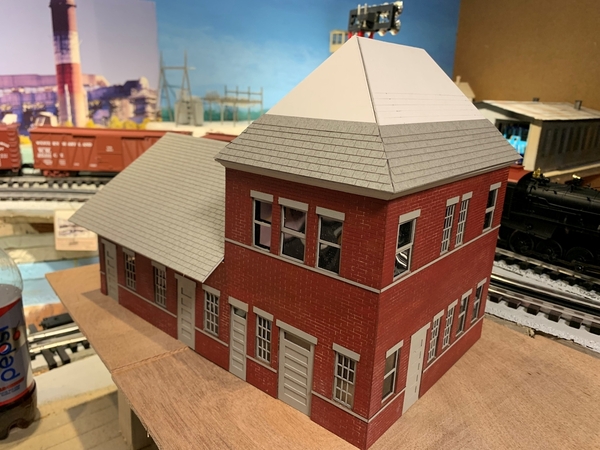
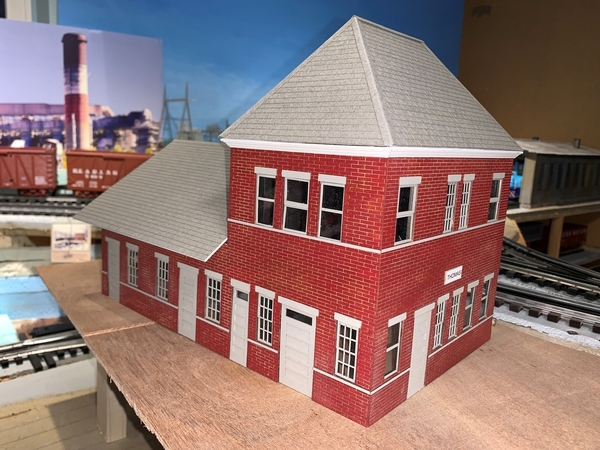
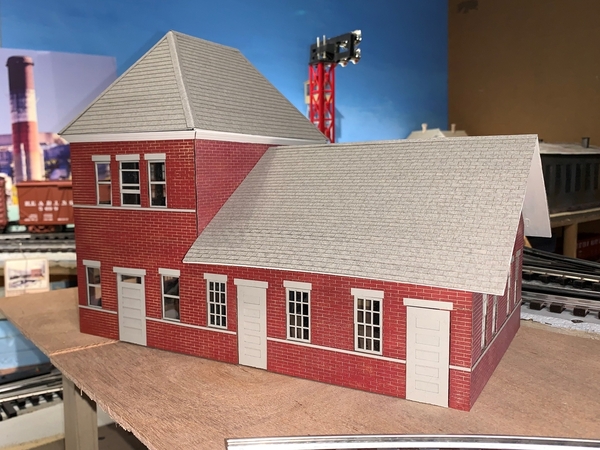
Here are a couple views of the station with all the shingles in place. I'm pleased with the overall look. I still need to add a chimney. The one provided in the kit is way too short in my opinion. Since I don't know the exact size, I didn't cut a hole for it. I did order the snowbirds last evening. Thank you David! I have material for the foundation like David used on his station, so that is the next part to do.
Attachments
Such beautiful creative work Mark! What are you planning to do about a foundation?
Looking at all you’ve accomplished, I can’t wait till August when my trains and new train room will be liberated from construction.
Now if I only found RR Track easier to learn…
keep the good work coming.
Nice work Mark. Keep it up.
Bob
Mark, Nice job on the shingles. I had no idea what the snowbirds where. Modeling the northeast I’ll have to check out prototype buildings a little closer.


