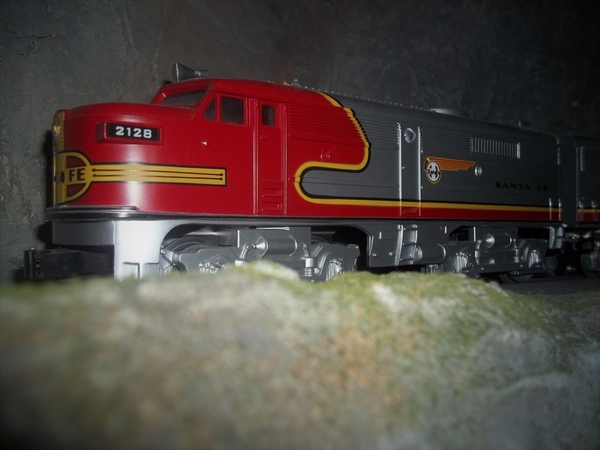
Everyone, great work, RSJB18 Bob, looks like you have things cornered, and talk about Files, you’ve got great cabinets, and yes the Cat, looks so good, John Rowlen, your car floor color is great, your such a patient painter, and the furniture will really set the cars personality, Johan, I love the Sante Fe switcher with weathered effect, cool scene, P51 Lee, your the best, that little steamer, the setting, your artful weathering, simply awesome, Mark Boyce, your upbeat comments are always in tune with what’s happening on lots of threads, great morale builder, Mike G., your hard work on painting the crane and innovation with electronics is fantastic, SIDEHACK, 3D printing parts, Amazing, a way to make what you want, technology keeps us happy. Geysergazer Lew, your innovative way of pictures, model building and scenic photography, like window shots, so neat... Everyone here has a story to tell, it’s Fun watching your thoughts in action. Happy Railroading 


 That is the coolest idea I’ve seen in a long time!!