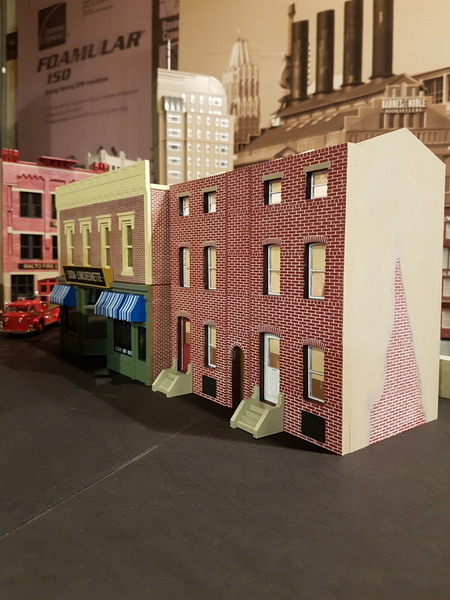
Wow!  You guys have been busy!  BRAVO!  

It's been a while since I've posted.   I did weather a couple of new freight cars, installed and wired some telephone poles.  

It's amazing at all the "new" stuff I find whenever I crawl underneath my layout and explore what's stored in those boxes.  ( I guess for now this will have to suffice as my York experience. LOL! )  My latest 'crawl under the layout expedition' led me to find some Life Like O scale telephone poles and some Weaver scale telephone poles.  I really like both, but decided to begin with the Life Like poles since they have transformers and the insulators are already painted.   I will use the Weaver poles on another part of my layout later, after I paint the insulators. 

For wires I used EZ line which is also EZ to use  I like that it has give/stretch and really doesn't put any tension on the poles.  When reaching for something beyond the wires, the wires stretch if my hand accidentally touches them.  

The weathered N&W boxcar is a Weaver which I got off the Bay for $10.00 plus a modest shipping fee.  All in all it's what I would have been willing pay for the car at train show.  It was in like new condition.  I needed to beef up my N&W boxcar fleet. LOL! 

The weathered MTH B&O work caboose, I bought brand new, also off the Bay.  It has an air whistle and is great to run behind my William scale camelback loco, which does not have any sound.  

Although, I'm not quite finished with the weathering process of both cars, I've included photos.  Here are also a couple photos of the LL poles.  The EZ line is a bit hard to see. 

IMG_1582IMG_1583IMG_1585IMG_1586IMG_1597IMG_1600

Attachments

Images (6)
  • IMG_1582
  • IMG_1583
  • IMG_1585
  • IMG_1586
  • IMG_1597
  • IMG_1600

Before I get into posting today I have to give a big thank you to my old nemisis Bryan LOL.  He went the distance for me sizing up the plank floor for my machine shop and it now looks a lot better then the one I was going to put in. He saved me the aggravation of trying to figure out how to do it, even if I could. Thanks buddy.

Super chief, that is one nice looking icing station and a great birthday present to boot. 

Today, thanks to Bryan, I glued in the wooden floor to the machine shop. So while that was drying I cleared off the table area and started laying in the switches I got from Ross Saturday. And I thought I had figured out what I would need but I am one switch short. But fr the time being though I can start to lay down cork and do most of the track work. Pics show a basic plan of the track. The only part I can't do is by the bakery silos where I want to put in two storage sidings for hopper cars by the unloading shed. Pics..................Paul 2

DSCN0192DSCN0193DSCN0194DSCN0195DSCN0196DSCN0197


Attachments

Images (6)
  • DSCN0192
  • DSCN0193
  • DSCN0194
  • DSCN0195
  • DSCN0196
  • DSCN0197
sidehack posted:

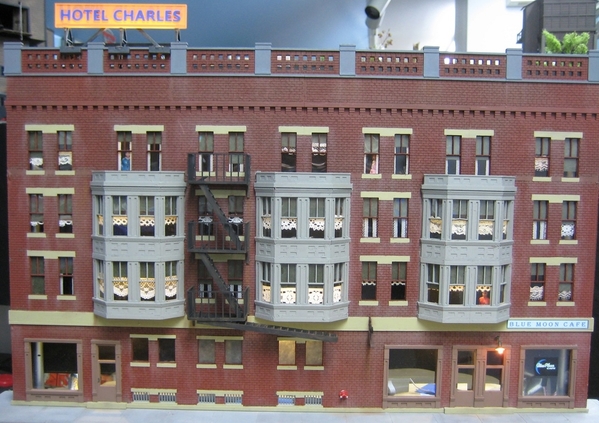
Finally have storefronts leased out, the one on the end will be "Lyman's Cigar and News Room" and the one next to the Blue Moon Cafe will be a Shoe Repair (good prices, half soles 98 cents)

Painters to be here this week to letter the windows but at least the shoe sign is up.

Gosh!  I remember my dad getting heals and half soles on his shoes way back when!  I would say the half soles were more than 98 cents, but still a nice trip in the Way Back Machine!!

Well, I couldn't leave well enough alone.  Specifically, I thought I would avoid bodywork on one of the off-set vista dome cars and leave alone its sole groove at the top of the roof line, rather than fill it as I'd done on the other two identical LIONEL UP cars.  And, if I did leave it alone, I'd have been finished with the tedious bodywork (fill with putty/sand/primer and repeat) at which I am so bad.
But, I decided I didn't want to risk the groove interfering with the decal lettering ("Empire Builder") so I have undertaken filling the grooves as well.   Initial results are promising--fingers crossed,

Also, took all of the plastic parts for the pax cars (vestibule ends, plain ends, etc.) outside and primed them.

Attachments

Images (2)
  • GN EB 2
  • GN EB 4
Last edited by Pingman

Spent an extremely frustrating afternoon looking for printable interiors for the walls of my building kit. Sometimes the internet is an amazing tool....sometimes not. Finally threw in the towel, with my laptop wrapped inside, and went with paint. I have a nice warm white latex from a recent house project that was chosen. One coat down...one or two more to go. The lights I made received a coat of black paint to kill the light bleed through the plastistrut tube, and two coats of green.
Hope to get a second coat on the interior after dinner.

Everyone has been busy. Looks good!
Mitch- glad you didn't have to call the glazier to fix your window.
Paul- The floor print with Bryan's help looks great. One day I need to master editing photos and prints. Your track work is always top shelf.
Superchief- what a great gift for your Pop.
B&OFan- very nice buildings
Ray- Hope the paint crew can make it to work.
Pennsyfan- The switch tower in nice. Who says plasticville can't look real.
Patrick- always love photos of your layout. The weathering is coming along.
Brewcrew- (Brewers fan?) That cart looks like it was made for a Z-4000.
Pingman- you will be glad you took the extra time to get it right.

Hard to mention everyone's posts on this thread when you get near the bottom of a page.

Bob

Last edited by RSJB18

Wow, Paul paid me a compliment!!! lol Although I see you failed to mention that I personally drove it 40 miles to your house because you don't know how to print on card stock or legal size so I had to do that myself.  I must say it is great to have a train friend though because Paul thought of me also and ordered some better wingnuts for our modules and ordered me a set also.  He found some that had the washer attached so when we take the legs apart it is one less piece to worry about.   

As for me today I put side leg supports on the module so the legs are move stabilized.  My smoke effect worked great at our first show however the incense cone burned out too quickly and didn't go all the way down.  I figured it was due to the copper cap I had it sitting in so when it got to the top of the cap there was no air flow and it died out.  So I went out and purchased a small glass mason jar and drilled 3 air holes on the side of it.  I filled the bottom with sand so I can just place the incense cone on that and get airflow to the entire cone.  Mounted that underneath and gave it a try and it works even better (smoke consistency and time burning) than the old pill jar.  I heated the person coming out of the car so I could bend them down onto the hood of car instead of them just sticking out of the windshield.  Added about 10 more people to liven up the scenes and finally added lines between the telephone poles.  Don't know if I will be able to do that each show because it takes a little bit of time to wrap them around each pole.  Other than adding some sound effects, which my friend Lou is working on, I am done. 

DSC_0522DSC_0523DSC_0526DSC_0527DSC_0528DSC_0529DSC_0530DSC_0531DSC_0532DSC_0533DSC_0534DSC_0535DSC_0537DSC_0539DSC_0540

Attachments

Images (15)
  • DSC_0522
  • DSC_0523
  • DSC_0526
  • DSC_0527
  • DSC_0528
  • DSC_0529
  • DSC_0530
  • DSC_0531
  • DSC_0532
  • DSC_0533
  • DSC_0534
  • DSC_0535
  • DSC_0537
  • DSC_0539
  • DSC_0540

Recently I replaced my Lionel CW-80 transformer with a Lionel GW-180 transformer, to add the needed amperage for my small to medium sized layout. I could tell there were little things that demonstrated to me I needed to make the upgrade. Power is never as cool as getting a new engine or rolling stock but it is an important part of a smooth running layout.

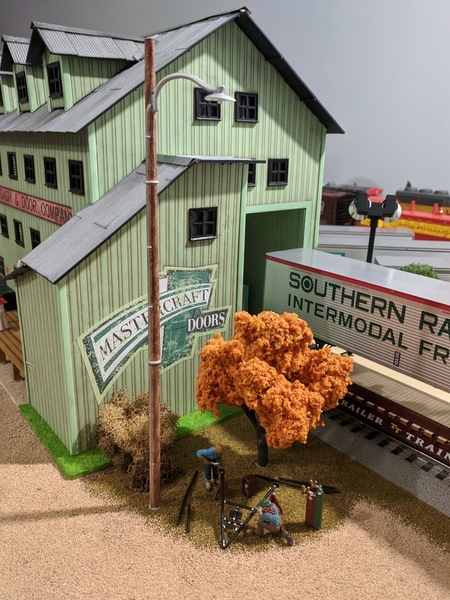
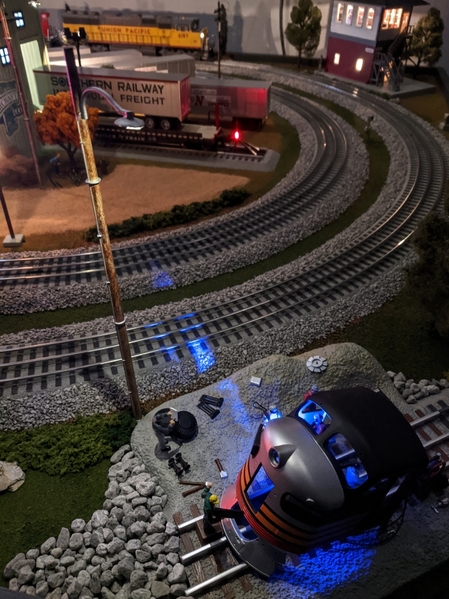
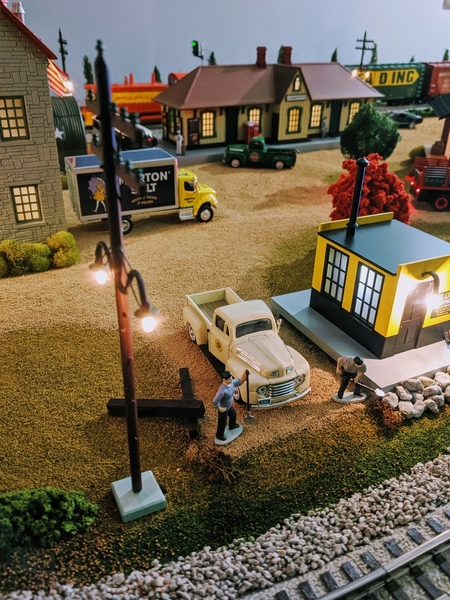
I also installed a pair of Woodland Scenic wooden light poles with the extensions, plus some more Lionel lighted telephone poles. I also picked up an Arttista Flagman figure.

IMG_20200323_090913

IMG_20200323_092416

IMG_20200323_094442

IMG_20200323_094404

Attachments

Images (4)
  • IMG_20200323_090913
  • IMG_20200323_092416
  • IMG_20200323_094442
  • IMG_20200323_094404
Last edited by NS1975

Been self quarantining as Mrs. 'Ski's friend wound up in the hospital last week with the coronavirus, she is on a respirator.  It is now 10 days since Mrs. 'Ski last her saw her, this Thursday will be two weeks.  So far we are feeling fine - I think we will be OK.

Sooo, I've been spending a lot of time workin' on the railroad downstairs. Last evening and today I re-did a small area. I never liked the black bridge I had there and I replaced it with a short silver one that matches a longer one nearby. As I did with the longer bridge, I had to trim 1/4 inch off of the crossbeams at each end for 6414 Autoloader clearance.

I picked up that beauty of a Postwar Denver & Rio Grande F3 at Allentown Spring Thaw meet last month - it was the last F3 that I was looking for

Before and after pics:

IMG_6110IMG_6114

Attachments

Images (2)
  • IMG_6110
  • IMG_6114

The latest from the ET&WNC car shops. On30 IMA kits, they are a bear to build, and I have two more getting ready for this condition.

0323202210-01
I have trucks and screws and spacers already for them, I just need to test measure them for couplers. Then, it's the paint shop, decaling, then a lot of weathering. The one in the foreground is going to be run as an empty car, the rest of them will have coal loads.

Attachments

Images (1)
  • 0323202210-01

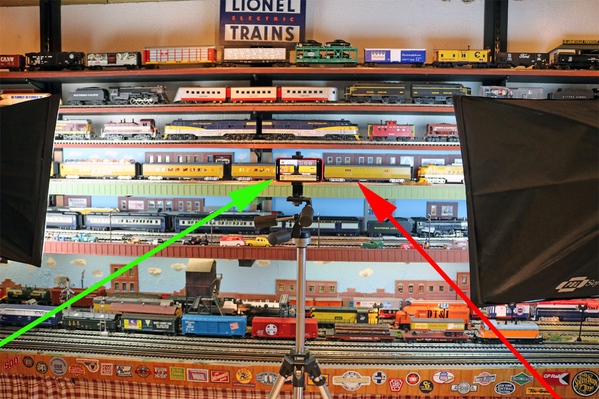
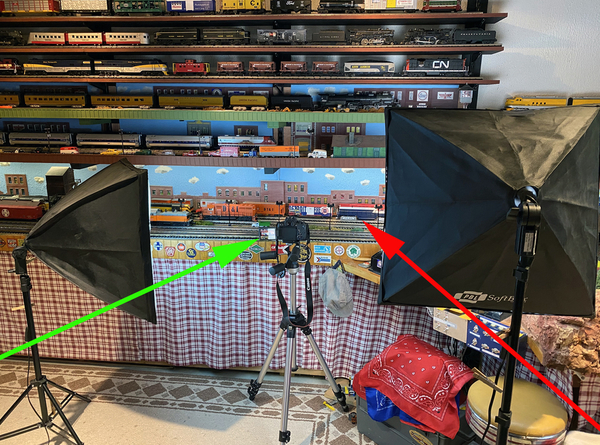
Been in the train room testing two video cameras at 60 frames per second. (fps)

The objective is to see which camera performs the best at 60 fps.

1 D&M fps Test v2

In this photo I am testing a Canon DSLR T6i (Green arrow). Subject is a Lionel Detroit & Mackinac Diesel. The locomotive is moving at freight yard speed.

2 iPhone Test

In this photo I am testing an iPhone 11 Pro at 60 fps. (Green Arrow). The subject is a Union Pacific Passenger Train moving at station speed.

After editing both videos in Final Cut Pro, I have come to this conclusion: They are both usable and are clear and the detail at 60 fps is incredible. The Canon is better for managing the camera's aperture, (f stops). Keep in mind that the default settings for most video cameras is 30 fps in HD.

Hope you find this information helpful. Gary

Attachments

Images (2)
  • 1 D&M fps Test v2
  • 2 iPhone Test
Rockershovel posted:

Fettled the track on my O27 “door layout”. Tried a couple of electric points, but decided they were more trouble than they were worth in such a small space and re-fitted the original, manual units. 

Even if you changed point settings by twisting the lamp vs wiring the controller, you'd may oñly have to set one turnout now.  The automatic anti-derail does the the other turnout (passing sidings etc  anyhow)

I put my manuals close to me; electrics where I must stretch to reach or walk to. (4.5x9')   I have controls but rarely, if ever, really need them.


Jushavnfun posted:

Raining outside, hunker down for ordered lockdown, thankfully  its warm enough outside to open basement so I can spray paint base coat for new layout, next step adding landscape material.20200324_111039

That looks like a dog at the bottom. Maybe you're an artist and didn't know it.

Last edited by NJCJOE
third rail posted:
third rail posted:

It's been a while since I last posted any work. 

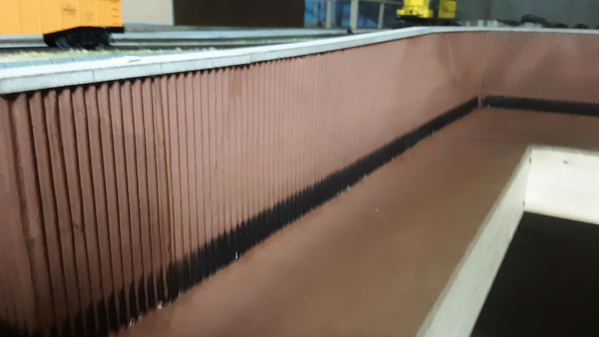
Started construction on the warf and ore boat slip.Lake front seawall20200305_141254

In the background you can see the start of the electric arc furnace and annex building. To the right is the framework for the ore pile.

Maybe with these imposed stay-at-home orders I might be able to get some of the projects done.

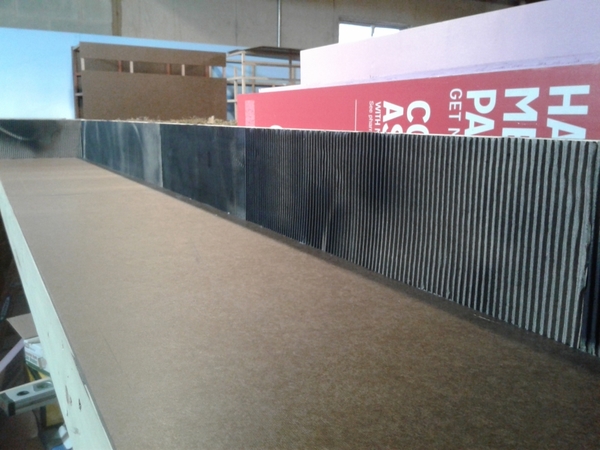
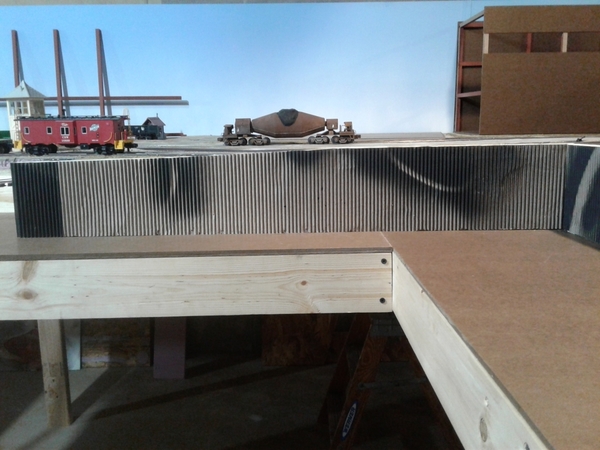
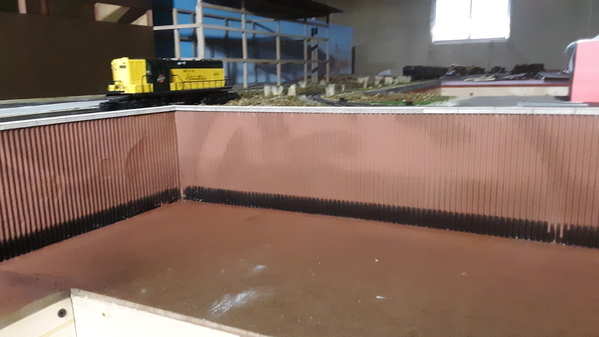
I still need to paint the seawall which was made from corrugated cardboard.  First will be a coat of gloss black for about the lowest inch to represent water then a layer of rust colored paint then the upper part will be probably a red oxide color to represent sheet pilings. 

Painted the sheet pilings with red oxide primer from a rattle can but it looks too bright.  I  will have to darken it with a little black weathering powder. 20200323_13284120200323_132902

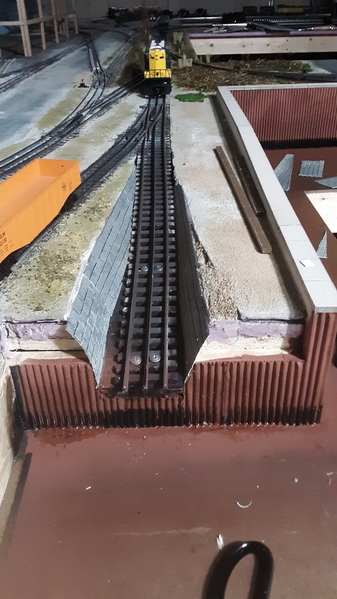
Also had to widen the approach to the float bridge I am building. 20200323_132649

Bad case of measure once then cuss twice. 

Attachments

Images (3)
  • 20200323_132841
  • 20200323_132902
  • 20200323_132649

Hi everyone, sure is alot of great work being done here. I handed out some likes and offer no comment at this time. Just wanted to stop on and let you all know I'm still alive! Lol

I wish you all the best on your layouts and will post something as soon as I have something new to share.

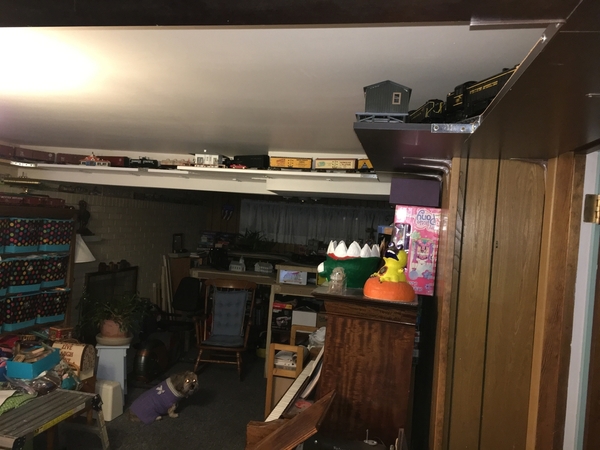
Yesterday I finished taking down the passenger train and putting up a freight train on the Ceiling Central Railroad.  I had been looking into the lights in the passenger cars since October before I had my knee replacement.  The freight is 20 cars long, pulled by two RS3s.  I'm sorry no video because I haven't been able to get videos off my old phone for some reason, so here is a photograph trying to show how long the train is.  Yes, you can still see our older daughter's piano and some of her stuff in the room.  I just noticed Annie has light bulbs for eyes. 

2020-03-23 20.01.22

All I did on the layout build is pre drill cut and a lot more cleats for the roadbed.  I had used some 1x1 stock earlier, but went with 2x2 this time.  It's much easier to work with, and besides I had it on hand.

Attachments

Images (1)
  • 2020-03-23 20.01.22

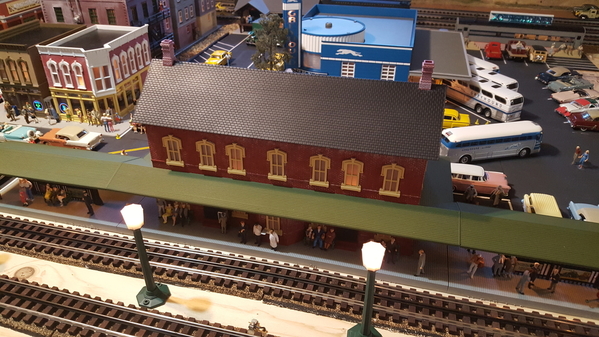
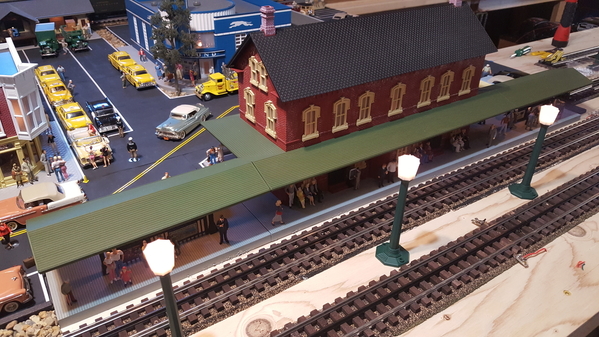
Spent most of the day working under the table wiring the six lanterns in front of the station...also wired the gas station, but the lights don't work...can't imagine what's wrong...not complicated as you all know  Needless to say, working under the table is not may favorite pass time and it's tough on the back...ouch!!


City 69City 70City 71

Attachments

Images (3)
  • City 70
  • City 71
  • City 69
Last edited by Capetrainman

Finally moving forward on the Canadian Pacific Dining Car.  I spent five hours grinding people to fit under and at the tables.  I am only half done, but it is the difficult half: the center table section.

Update:  The interior placement of Seated People is finished after four more hours.  I need to put Atlas O louvered window shades over the kitchen windows to hide the sound system.

Dremel Handheld with Recharging Base:  This small pencil shaped Dremel Tool holds a sanding drum that I use to grind the bottoms of the people.  I try to keep the people level by checking the pitch of the new plain/bottom I am grinding.  Hold on tight to the figure or it will go flying.  It takes a little practice, but small bites out of the plastic will let you inspect the grinding.  I have trashed a couple of figures by being aggressive.  (The Dremel Tool can be seen in the top right corner of the 1st full picture of the car.)

Sincerely, John Rowlen 

IMG_1765

Attachments

Images (8)
  • IMG_1764
  • IMG_1765
  • IMG_1766
  • IMG_1767
  • IMG_1768
  • IMG_1769
  • IMG_1770
  • IMG_1765
Last edited by John Rowlen
John Rowlen posted:

Finally moving forward on the Canadian Pacific Dining Car.  I spent five hours grinding people to fit under and at the tables.  I am only half done, but it is the difficult half: the center table section.

Sincerely, John Rowlen

John, what do you use to "grind" the people; and, how do you do it?

Add Reply

Post

OGR Publishing, Inc., 1310 Eastside Centre Ct, Suite 6, Mountain Home, AR 72653
800-980-OGRR (6477)
www.ogaugerr.com

×
×
×
×
Link copied to your clipboard.
×
×