Today, I didn’t get to run trains or work on the layout, but I’m getting ready to wire up some MTH Passenger stations that make the folks disappear like there boarding the train. Anyone have advice on these accessories?
Mike G, thanks for your kind comments, come in over to Tennessee, it would be nice to have you and your family visit, this is a great part of the country, middle Tennessee. Be sure and keep us posted on your layout progress, it’s a great layout.
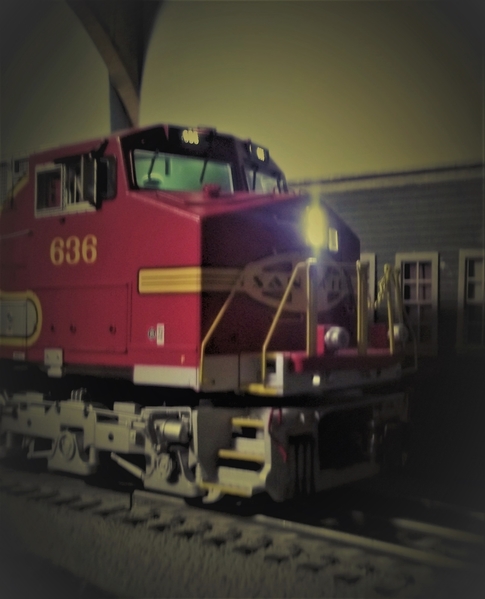
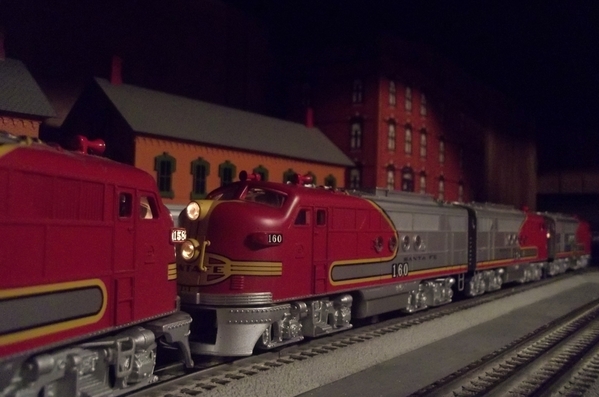
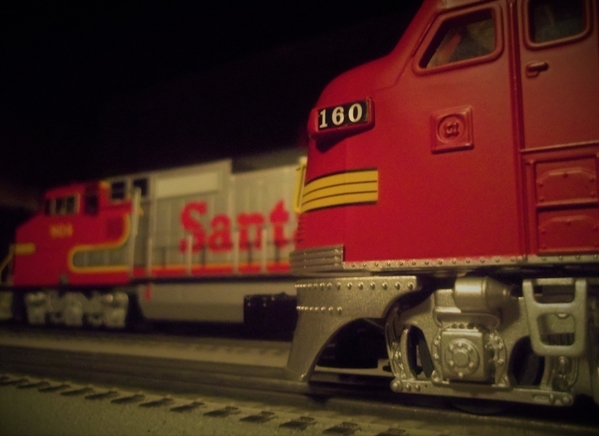
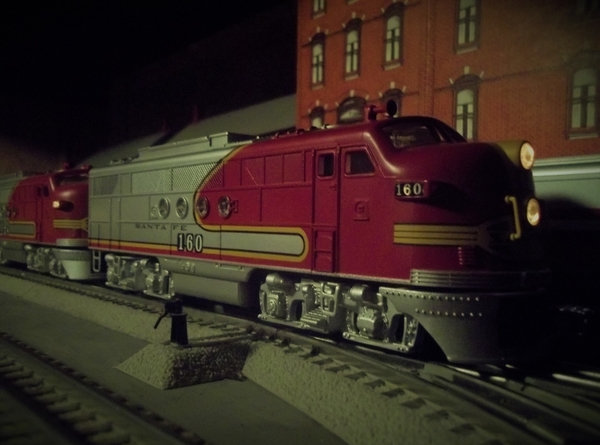
Briansilvermustang, Wow, you have the Diesels, Steamers, and Simply a great Collection. Congratulations on a job well done. I love those Santa Fe diesels!
Vincent Massi, I like your unique trains, are they LEGO? They are very colorful and fun to see. Give a little more information. Thank you.
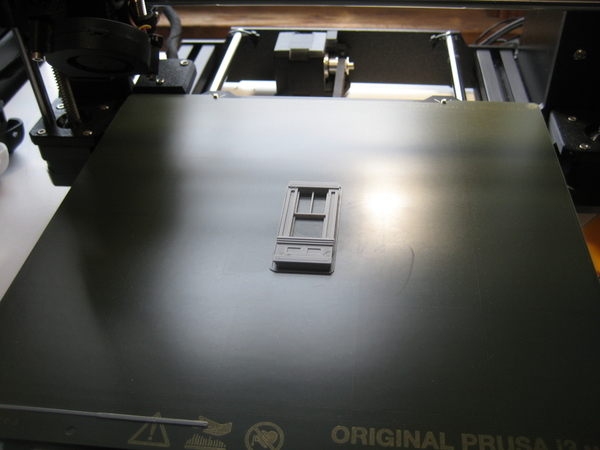
Strap Hanger, I like the idea of making pallets, cool looking.
B&O Fan, I like your construction project and the pictures of your layout, keep them coming. I like the buildings in the corner scene, very nice.
P51, Lee, I like your pictures very much, a really nice layout and great scenic detail. Simply awesome. Thank you.
John Rowlen, I like the way you work on your new train cars. Amazing. I do not do any repainting or taking apart, my dealer installs my passengers, I admire your work and you must have a lot of patience. Great work.
Keep the great pictures coming, have a great week everyone. 


")
")


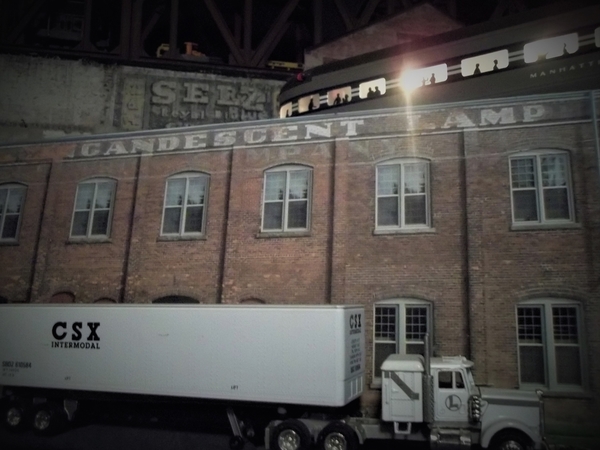
 The crew at Vetter Storm and Dash have just received a new drill press and they are transferring it from the Lexington Park and Savannah flat that just brought it in from Milwaukee. The truck will take it around the back to the loading door where she will be set up in the shop and working before 2nd shift tonight.
  The RR maintenance dept got called by the Freight Station crew that the "necessary" needed some repair. So they dispatched a crew to do the job.


")
")


")
")
")
")
")
")
")
")
")
")
")
")


")
")
")
")
")
")


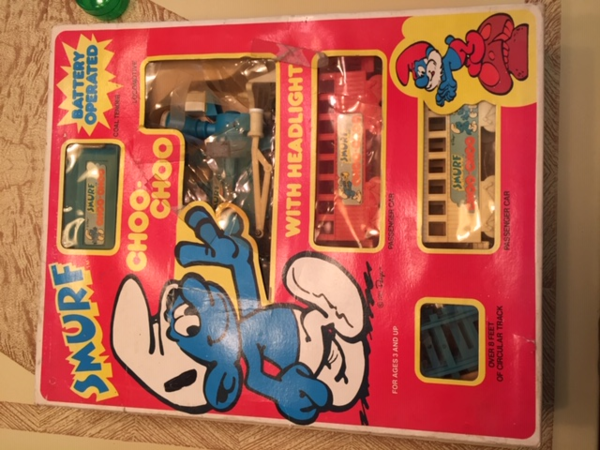
 In view of the "Thomas the Tank Engine" layout shown by Vincent I thought I would share one of my more recent "junk" finds...a SMURF Train, complete with Smurf blue engine and tender and track!! Battery operated, approximately O gauge or perhaps a little smaller, works, and was complete with box as shown. Its most certainly not high value but who among us can resist a full up operating train set in the box for 5$ !!
 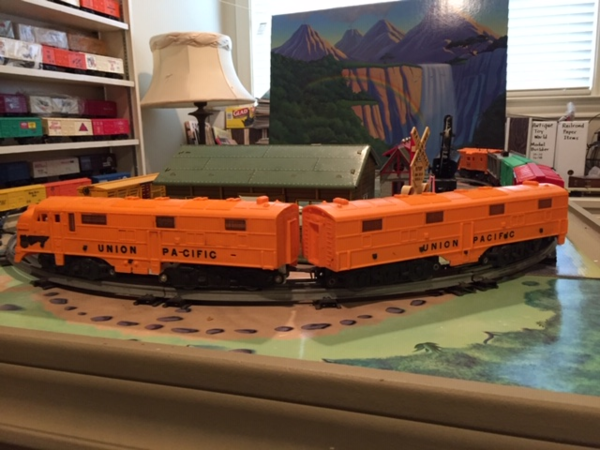 Finally, in my "Grandson's" layout is my new Marx Union Pacific F-3 A / B pulling an all Marx freight. Note it is passing a Marx "Frontier" litho tin log cabin in use as a station. Like most all Marx, train was picked up for a modest price at a train show, put on track, immediately goes to work pulling trains!


_Large")