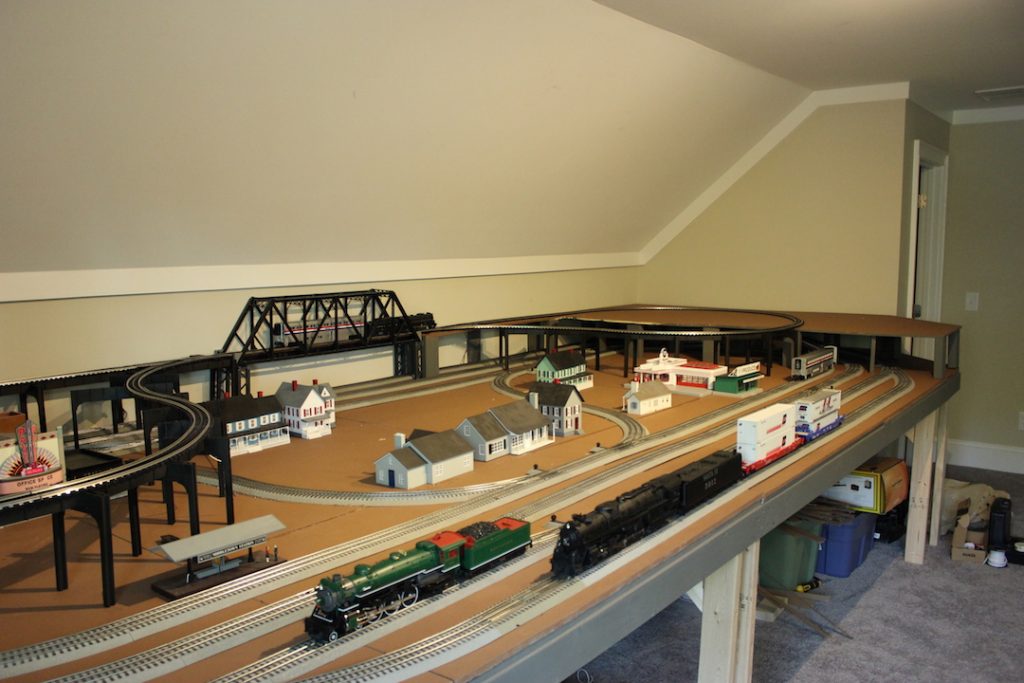
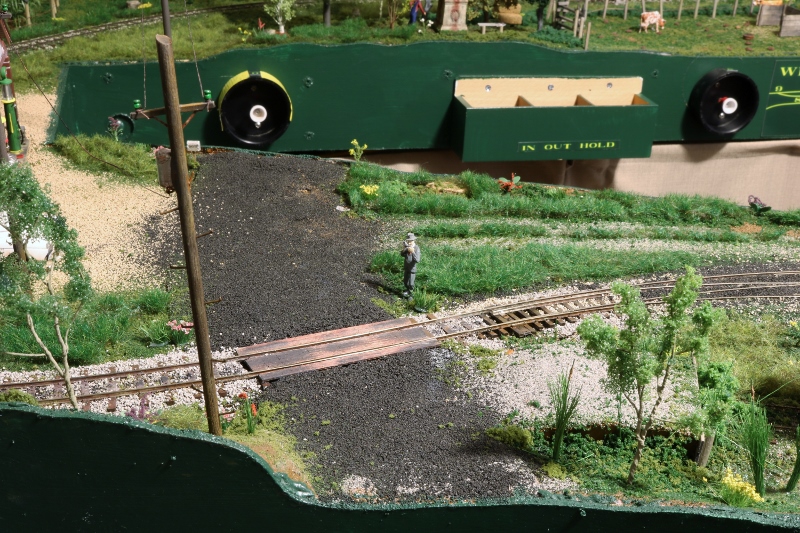
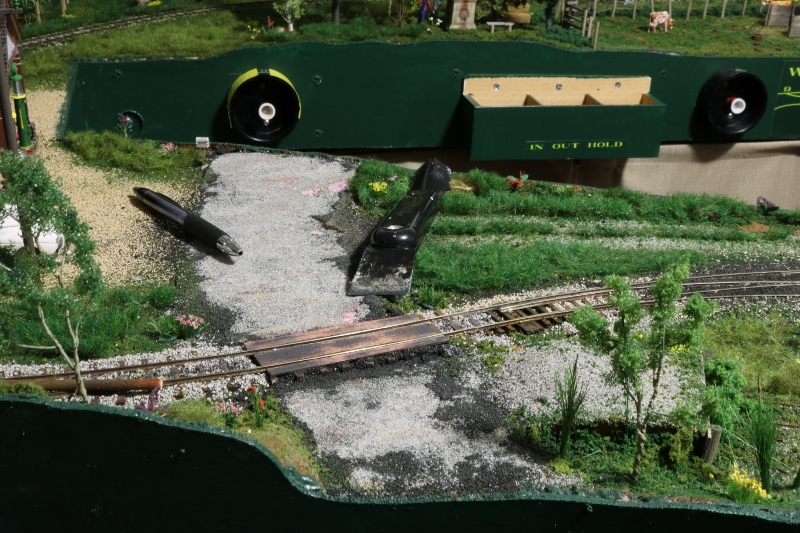
p51 posted:I’m working on changing the “Stoney Creek Road” on the layout. It never looked right to me, and I recently read where someone made a decent looking paved/gravel road with 100-grit sandpaper. I bought some a couple of nights ago and gave it a try. I did all the work with a couple of uncut sheets of it on the table, working on it with paints and such.

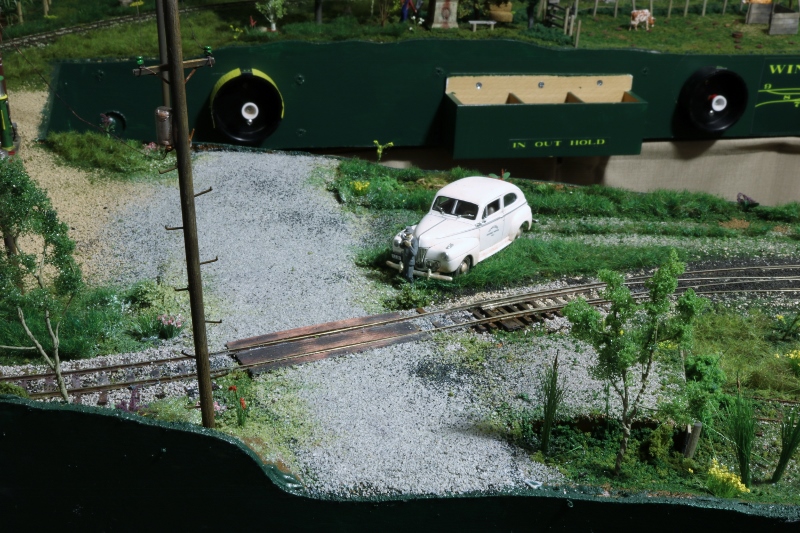
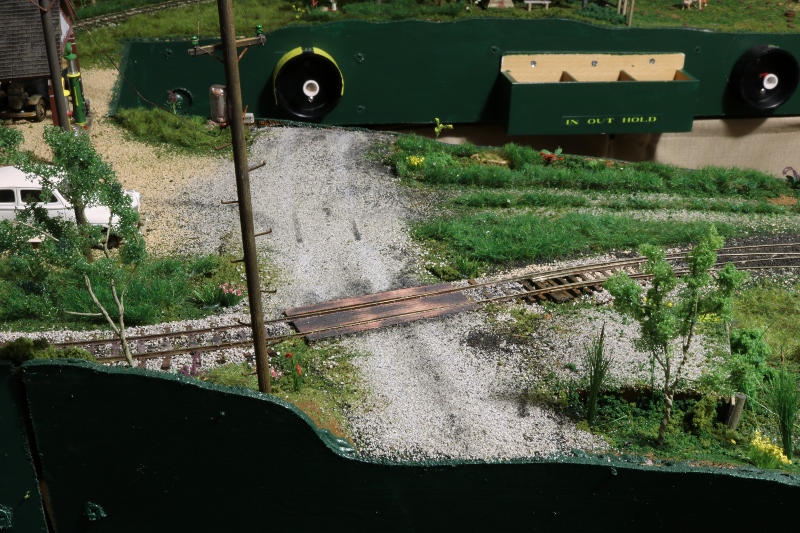
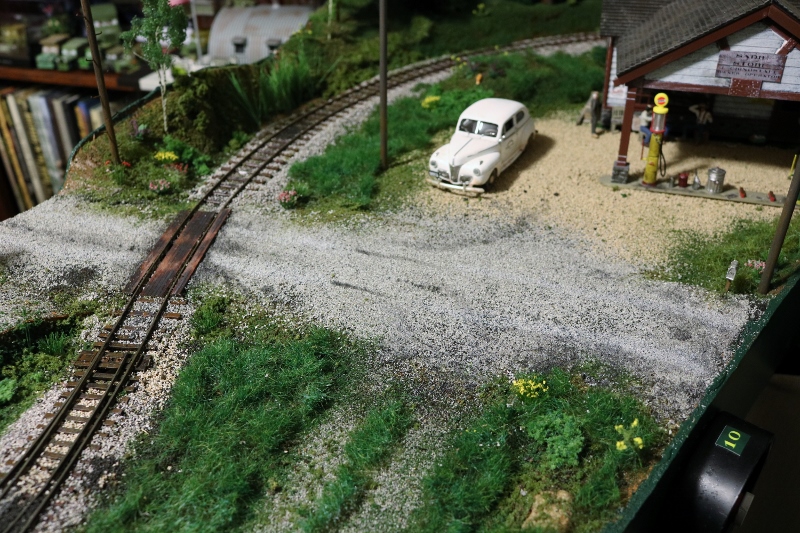
Well, the Sandpaper idea failed miserably. I put the paper down, weighted it, and something about the backing didn't want to stick to anything. Then, it looked exactly like what it was, a flat piece of something with relief painted on it. So, I scraped everything clean again and put a very thin layer of fine ballast down in it's placs. It looks a lot like the tar and gravel roads that were there anyway. I will eventually put some weathering, for exhaust stains and oil spills, and some cracks in the surface after the glue dries, sometime tomorrow or later. In other terms, the normal debris on a country road. But still, it looks a lot better than it did earlier today.
The white car is where it is in the shot to keep the photographer figure upright while the glue dries. I had to remove him during this project.

This is actually the look I was looking for, anyway. The actual road this represents was not paved at the time the layout takes place, and instead was a gravel road held together with oil and tar.