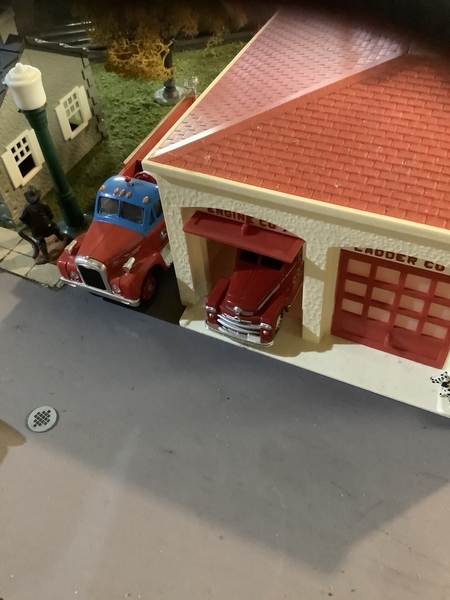
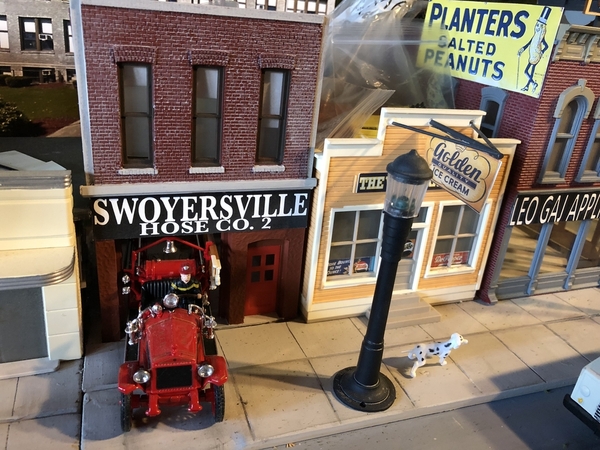
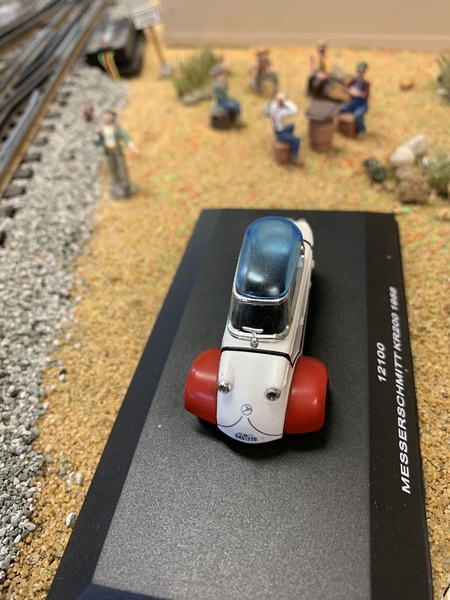
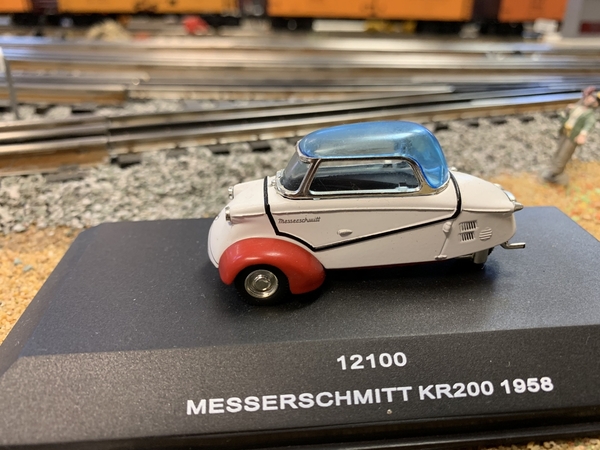
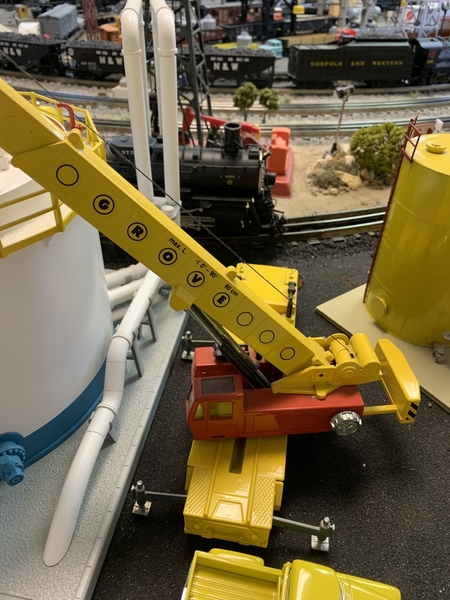
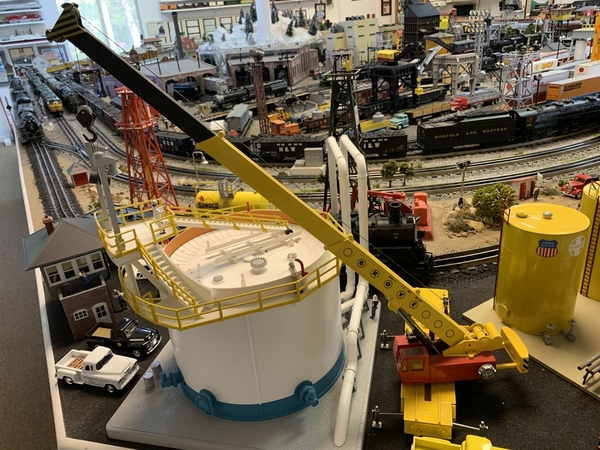
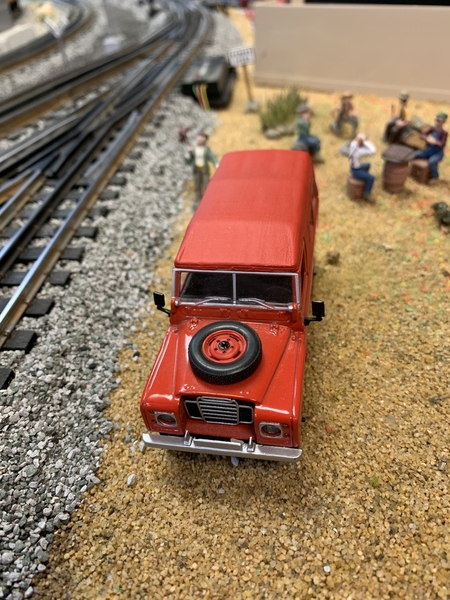
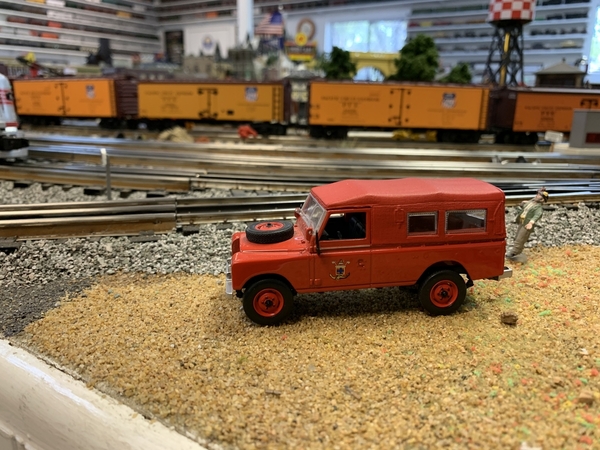
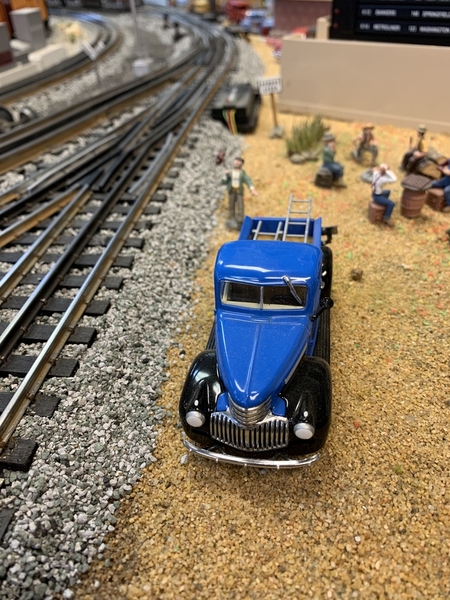
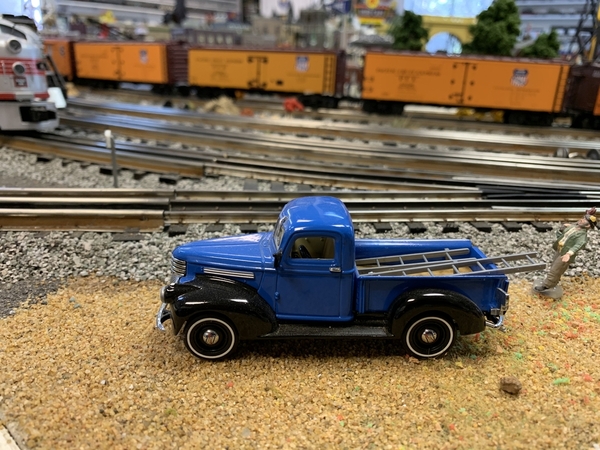
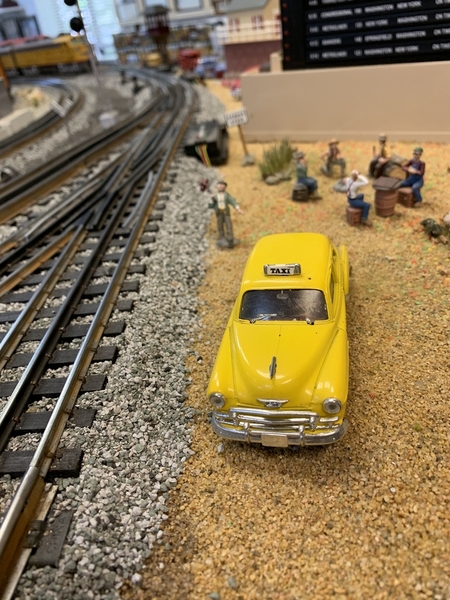
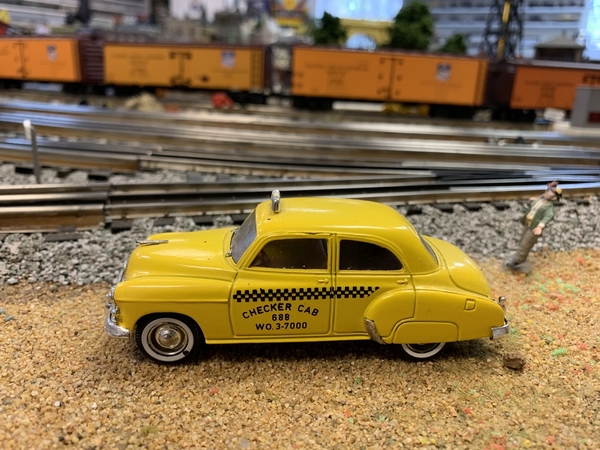
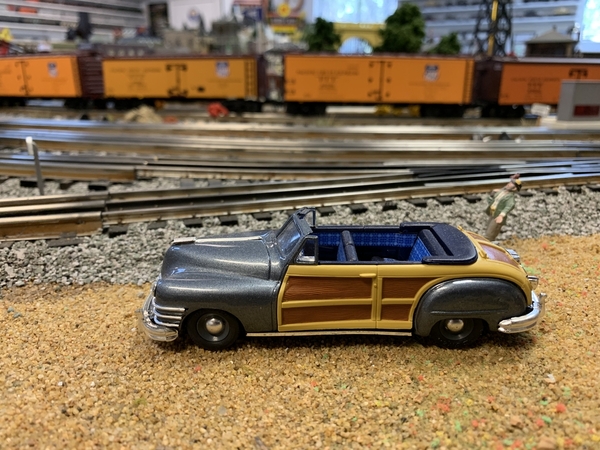
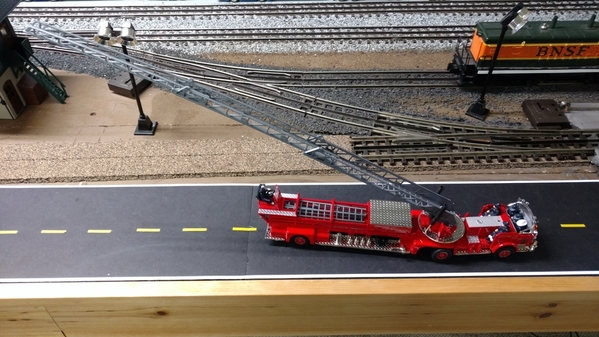
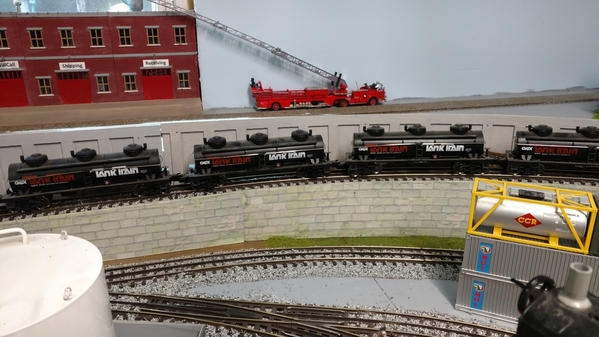
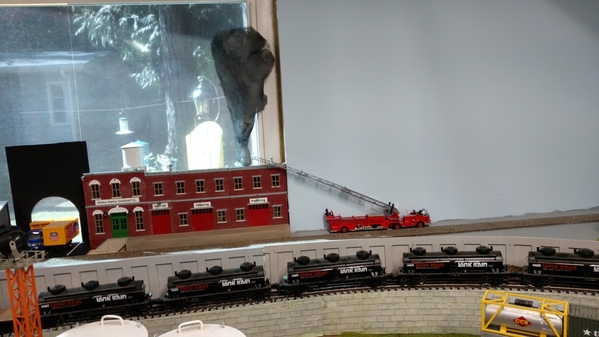
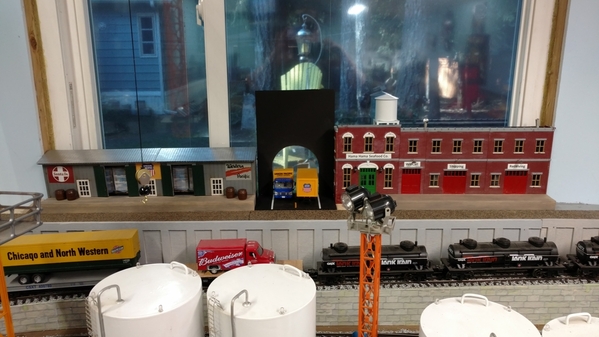
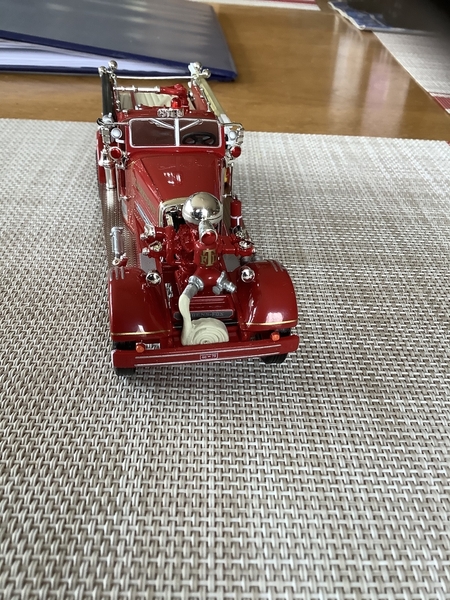
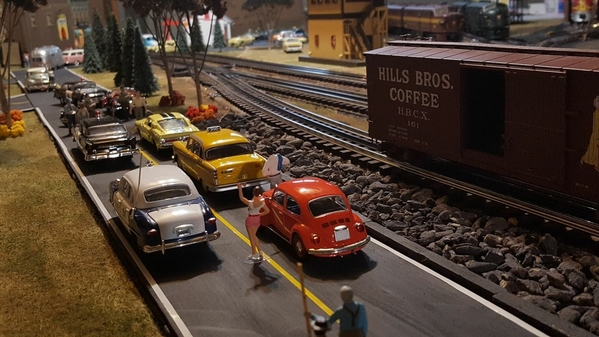
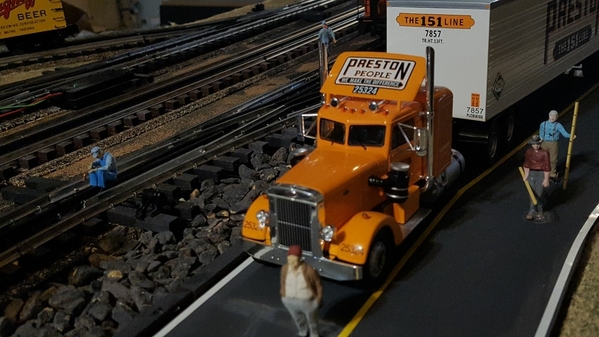
I'm considering putting the Corgi "hook and ladder" on North Main Street with the ladder extended up on an MTH large office building with a fireman on the ladder attempting to rescue an office worker in distress...we'll see.  The truck is brand new and in perfect condition...the seller I bought from did not pop-up in a direct search on the big auction site, but was displayed under the search results in a small square with a picture and short description...this often happens.  Seller mentioned having 10 of same item?  

Sounds like the same one I bought mine from. I threw my box away it was a little nasty but the truck was on pretty good shape

@DaveP posted:

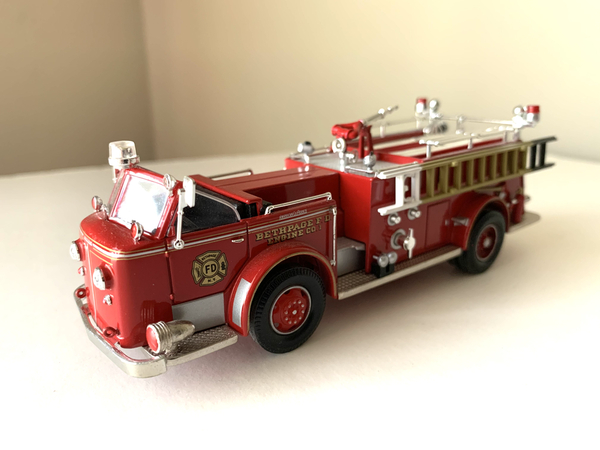
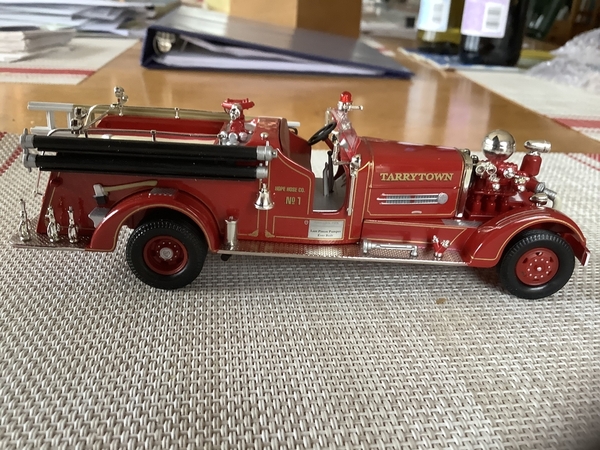
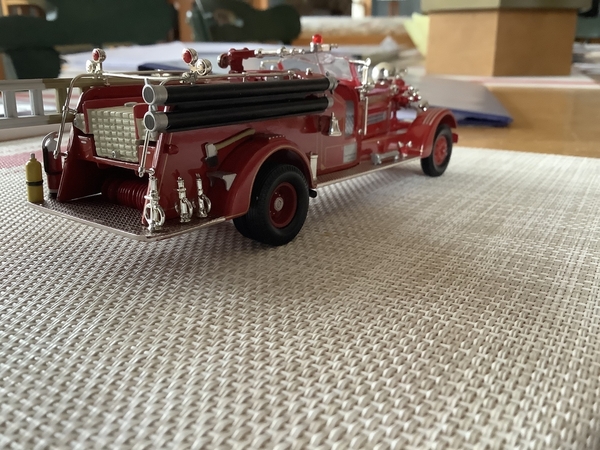
This is a work in progress - need to change over the beacon on the roof, strip the lettering, add a compartment box to the driver side. Mirrors will have to get changed out and booster reels added to match.

IMG_5445

IMG_5446Blu-3003

IMG_6919

Dave, that's a good looking pumper truck in your collection...is it die cast or did you build a plastic kit from scratch?  What brand is it??

Last edited by Capetrainman
@DaveP posted:

This is a work in progress - need to change over the beacon on the roof, strip the lettering, add a compartment box to the driver side. Mirrors will have to get changed out and booster reels added to match.

IMG_5445

Blu-3003


Dave,

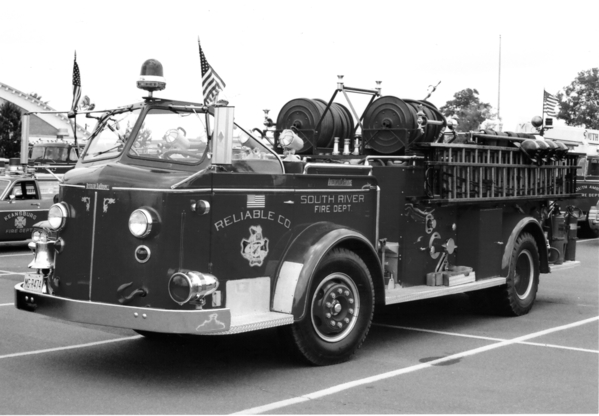
Great model and great photograph of the prototype.  As I'm new to fire trucks, can you tell me the name of the manufacturer of the 1:1 version?  That's a sharp-looking front end and open canopy style but I can't read the logo.

Thanks and looking forward to your upcoming modifications.

Tomlinson Run Railroad

You've got the makings of a nice project there, Ted...I amazed how you take down the finish to a smooth bare metal...nice job!

It is time consuming paul'.. A good two hours of steady polishing with 0000 steel wool.  The metal on the Hudson is different from all the others I've restored. Maybe Joel knows what it is made of... The Dikys and Corgis made in England, and not the Chinese copies, are really made of very strong metal that will last a lifetime or longer...

Dave, nice looking fire truck. Can I ask you who is the maker of that fine machine? Corgi? Or?

Ted, looking good on the restos, can’t wait to see them painted up. I found another dinky 259 fire truck at a decent price so I have that coming. I’m going to take some artistic freedoms with this one. As I was enjoying working on the last one, I had some new ideas, but did not want to sway too far from an original restoration. Now that that one is done, time for some creativity.......but first it has to arrive. Supposed to be here next Thursday or such.

joel, or if Ted is referring to me, Jowel.    Ha!😅

Dave,

Great model and great photograph of the prototype.  As I'm new to fire trucks, can you tell me the name of the manufacturer of the 1:1 version?  That's a sharp-looking front end and open canopy style but I can't read the logo.

Thanks and looking forward to your upcoming modifications.

Tomlinson Run Railroad

The 1:1 is a 1956 American LaFrance 700 Series engine. The truck is special to me as it's the one I my dad drove when I was growing up. It was replaced in 1972 with a new American LaFrance Dominion engine, that was painted Chrome Yellow - dubbed the 'Yellowbird' as Lafrance's logo at the time was an eagle.

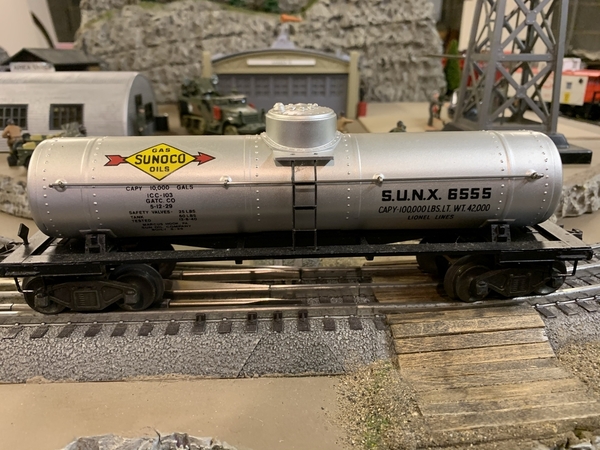
Here’s my contribution to the firetrucks. The larger Corgi I bought in a hobby shop in the Steamtown Mall when it opened. (It didn’t last, probably because we had Scranton Hobby and Grzyboski’s practically on the same block!). The smaller one is a 1/64 Corgi. Not only does it actually fit in the Plasticville firehouse, but it was a gift from my mom before she passed several years ago. Finally, here’s the tanker ready for Sunoco decals. To be continued....

D25D1044-CA9B-4A4D-8B94-7E0927A205513C1E201A-7C65-4D6E-B06D-AB89123DA1C900F284B3-CF29-4F0F-B36D-554B5F4F037990EF6EFD-F3A3-4A8D-89E1-69A79BEF6423

Attachments

Images (4)
  • D25D1044-CA9B-4A4D-8B94-7E0927A20551
  • 3C1E201A-7C65-4D6E-B06D-AB89123DA1C9
  • 00F284B3-CF29-4F0F-B36D-554B5F4F0379
  • 90EF6EFD-F3A3-4A8D-89E1-69A79BEF6423

       👩🏽‍🚒                    Help Wanted          👨🏽‍🚒

O Gauge Volunteer Firemen'  Needed . Apply to Chief, Lee Drennen.  Due to the increase in fire apparatus donations, we now have four ladder Trucks and four brand new Pumpers, requiring new Firemen to man the equipment'... We are diverse, Atrista, Pizer, Woodland Scenics, Model U and all others welcome to apply'...🚒

Ted, great opportunity with super benefits!  Three on and four off...plenty of spare time to work on the O Gauge hobby

Ted, great opportunity with super benefits!  Three on and four off...plenty of spare time to work on the O Gauge hobby

So true Paul,  One of older brothers was a LT, on the FDNY'... Loved it'... In those days, you were on NYPD for 1 year, then transferred to the Fire Dept'... Fires are dangerous, but police officer was even more dangerous.....

Morning guys, its been a couple days since I have been on as I had not access to my computer.

Ted, Really looks like you have a great start on your 3 project cars! I can't wait to see the finished products!

Dave that's a great fire looking fire engine! I remember back when I first became a volunteer fire fighter you were able to ride the tail board and a year later that was nixed do to new OSHA rules! LOL

I don't know who started this Fire Engine craze but I sure love all the photos of all the engines! I have been looking for a modern day Tiller truck but everyone wants an arm and a leg for them! But I will keep looking!

I hope you all have a great weekend!

Mike, I too was a volunteer firefighter. From ‘82 to ‘98, worked my way to captain. I too rode the tailboards and had the time of my life! Wouldn’t trade that experience for anything. My son went on to being a firefighter/paramedic. We often talk about our experiences. Can’t believe how much things have changed since I was on. Had long rubber boots we pulled up and rubber gloves. Now the turnout gear is unbelievable. Good times.

My dad was a career fireman in Hoboken, and eventually went on to run the Signal and Traffic Division. He repaired radios in the police and fire trucks. When he was stationed at headquarters for the fire department, they had a nice (functional) Ahrens-Fox pumper with a huge chrome sphere in the front. I sure would like to find one in scale. I remember it being an open cab.

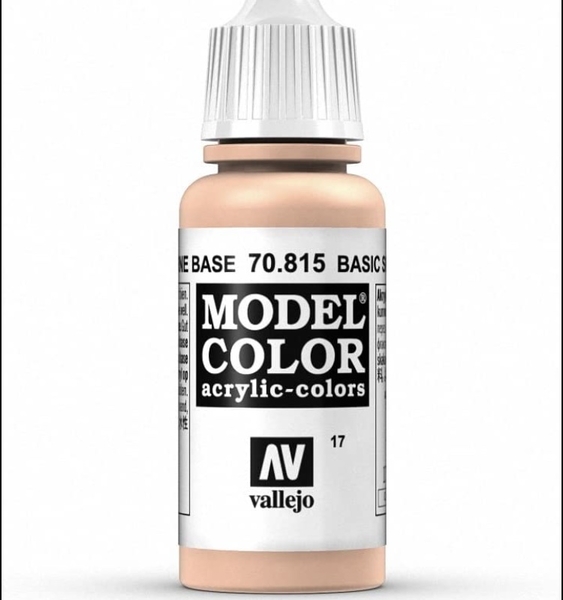
Ok guys, I know this is Automobiles/Trucks but I have a question for you expert people painters! Ted/Paul, I watched many videos on painting little people but none of them state what kind f paint they use and what color for skin colors. You two put some amazing people in your photos! Any Help would be great!

Ted, I took your advice on the paint! Come to find out you and Lee use the same paint. I tried to order just a couple from the big  A but after an hour searching for just 3 colors I bought the 8 pack! LOL

Lee Great job on the infantry painting! You seem to be a very well rounded person when it comes to this hobby! My wife says I getting well rounded but that's ok I have a tilt wheel in my truck ! LOL

Shasta, Great call you never know when you are going to need those guys!

I hope everyone is having a great weekend!

Mike I sent you the Vallejo web site.  That's where you can get the single bottles of their paint in every color.. Even though the AIR paint is for air brushes, it is also applied by brush, and works the best on figures,  The best viscosity is 1 drop of paint and one drops of water....and you'll get great results...........

Mike I sent you the Vallejo web site.  That's where you can get the single bottles of their paint in every color.. Even though the AIR paint is for air brushes, it is also applied by brush, and works the best on figures,  The best viscosity is 1 drop of paint and one drops of water....and you'll get great results...........

Thanks Ted, my wife must have 100 bottles of paint from Walmart so I thought I would give that a try first and if I have to move up to better paints! I will be sure to remember1 drop to 1 drop!
Thanks again!

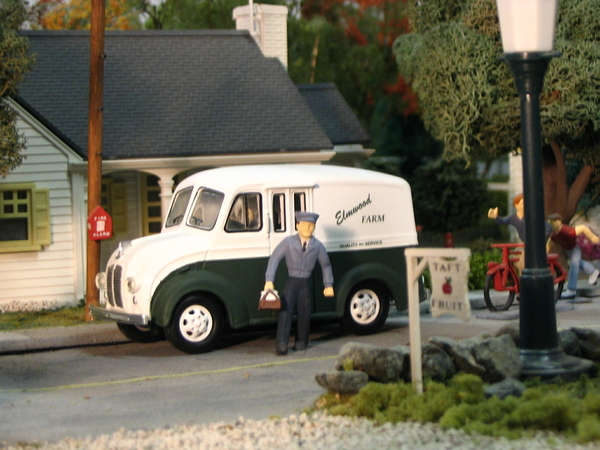
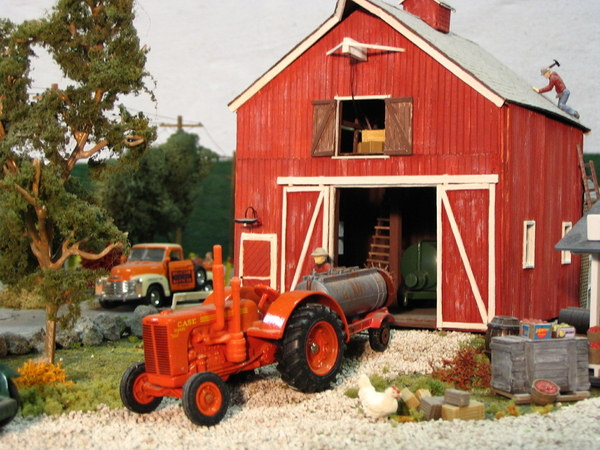
Some pics from around the farm on my old layout.  I custom painted and decaled the Divco truck from a photo of the farm my dad worked at before WW2.  Also scratch built the barn based on another local-to-me farm which is now preserved in a state park.  The farm is named after the orchard i worked at while in high school.divco trucka-fruit-stand-farmall-1barn

Attachments

Images (3)
  • divco truck
  • a-fruit-stand-farmall-1
  • barn

Paul, your landscaping folks are doing a wonderful job making things look great! I am not to sure about letting them Ford folks in as you know they can be hard to get them to go home at the end of the night! LOL

Farmall-Joe, Outstanding work and I love the life story and lesson that goes with it! If the young folk read it they might learn something. But then again if there into trains then I am sure there parents have already schooled them in life already! LOL

Dan, sure looks like your going to be busy for a while! Looks like you have 4 going on there right now. I cant wait to see the progress as they come to life!

Mike G. thanks for the compliments.  I found the photo i used for the divco truck.  Attached both for comparison.  At the time i had access to Adobe Illustrator and a laser jet printer at work to do the decals.  The farm's milk bottles and barn trim were green so i went with that for the colors.  Many stories from dad of his time working there sparked the idea.  Dad and that farm are both gone but the memories live on. Elmwood farm Divco [2)divco truck

Attachments

Images (2)
  • Elmwood farm Divco (2)
  • divco truck
@Farmall-Joe posted:

Mike G. thanks for the compliments.  I found the photo i used for the divco truck.  Attached both for comparison.  At the time i had access to Adobe Illustrator and a laser jet printer at work to do the decals.  The farm's milk bottles and barn trim were green so i went with that for the colors.  Many stories from dad of his time working there sparked the idea.  Dad and that farm are both gone but the memories live on. Elmwood farm Divco [2)divco truck

Joe, It is so cool you still have that photo to enjoy! But IMOP even better is the memories you have to build from! I really like the scene with the Fordson  waiting to saw up some firewood! Great shot!

Well guys for me I was all excited as I had bought a Fire engine tiller off the bay and it arrived today.  When I got home form the Dr. I opened it and was totally let down, Now I am going to have to resale it as I love the engine, but it is to small for me and my layout. Now I know to be more hard nosed and not to think 1/50 will be just fine! Here are a couple photos and a comparison of what I am talking about! Hope you all enjoy!

IMG_20210412_144726948_HDRIMG_20210412_144451213IMG_20210412_144539009

I will sell this one and look for a 1/43!

Attachments

Images (3)
  • IMG_20210412_144726948_HDR
  • IMG_20210412_144451213
  • IMG_20210412_144539009

It certainly looks small next to the TT but i think if you really like the engine, you have some ways around keeping it.  Try grouping it around vehicles of a similar era and size, or further in the background where things naturally look smaller.  And, even the largest most modern equipment in that era are dwarfed by todays vehicles (unless youre looking at a Smart Car).

Mike, Joe is correct'.. Make a fire scene way back on the layout'.. It will look fine from a distance'..  The truck you have it next to, may be 1/43, however, it is a giant of a truck, and could very well be a 1/40 scale as many of these new modern trucks are.  Remember the smaller the scale number, the larger the vehicle... Crazy I know, should be the opposite.........🤪

Mike, like Ted mentions, it'll look fine back aways on the layout from other vehicles...stand alone maybe?  The only time the size difference would be noticed is if the 1/50th was right next or near to a 1/43 especially.  You could always "station it" next to the nuclear plant just in case something was to go wrong there. I play the illusion game with my little people...a 1/43 Preiser can look gigantic next to an Artista or similar...put them in the appropriate place and the larger ones look fine!  That's a good looking fire unit though...an obideaant Dalmatian would look good sitting on post...

Last edited by Capetrainman

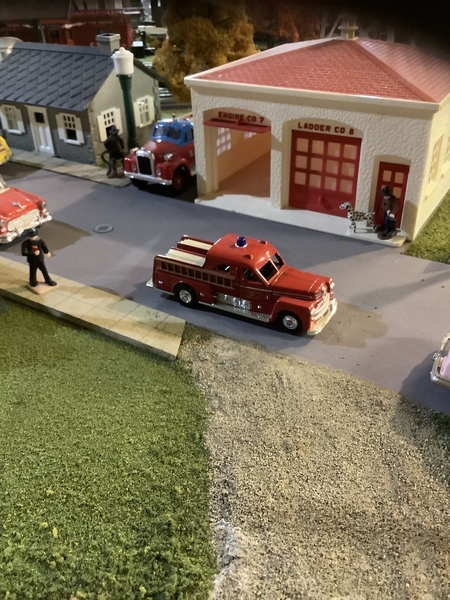
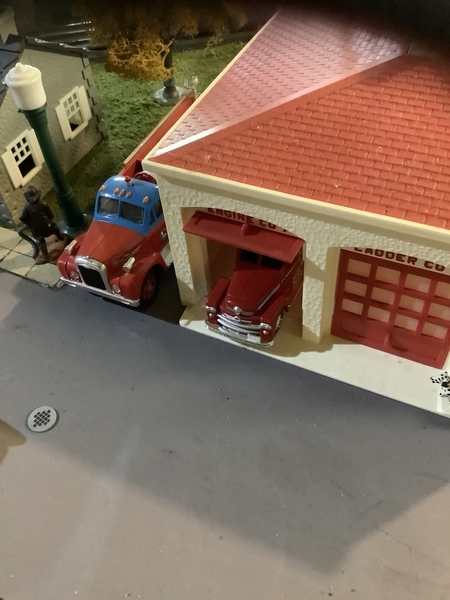
Mike, I agree with the others, find a spot in the background. I mix up vehicles, and sometimes people on the layout, but if there’s no close size tie, it holds up well. Here’s my 1/50 Corgi outside the firehouse, and just the nose of the 1/64 Seagrave sticking out of the bay. It doesn’t look bad to me.2E9550E8-3C3C-4986-BFE8-65E7E02BDBCB

Attachments

Images (1)
  • 2E9550E8-3C3C-4986-BFE8-65E7E02BDBCB
@JDFonz posted:

Dewman, the Sargento truck looks very familiar, the many Sargento cheese factories are about ten miles away from me in Plymouth WI. The cheese capital of the world. Nice work!

My wife is from that area.  She has cheese shipped to us by the boxful from Gibbsville. Growing up in New England i said whats wrong with Vermont cheese? Needless to say our cheese is still all WI cheese!  LOL!

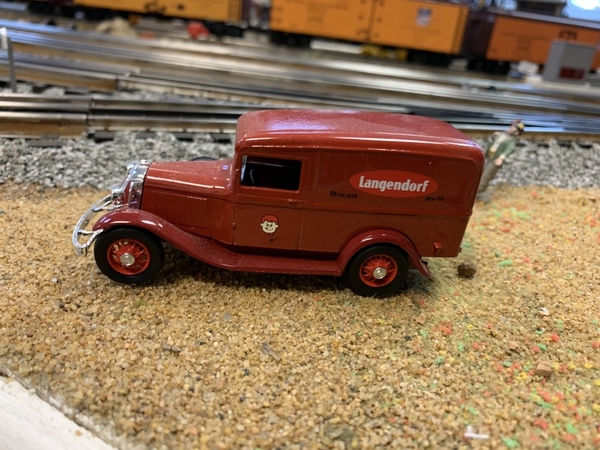
Picked up a 1930 Agway diecast truck recently, but didn't realize it was a bank. I'm not fond of diecast banks for my layout and had to figure out a way to convert it to a smooth roofline. Obviously, the problem is that there's nothing for any filler to adhere to in the slot and it would just fall to the bank floor.

I used an old drywall patch technique and cut a small piece of .060 styrene a little thinner than the slot and about 1/4" longer at each end. I then reamed a hole in the middle with a hobby knife and inserted a tiny screw for a small pair of vise grips to grab onto.

After a couple of trial insertions of the styrene into the slot to make sure everything fit, I put a small dab of fast setting epoxy at each end of the styrene piece and, using the vise grips to securely hold it and not drop onto the truck floor, I inserted the styrene into the slot and pulled it tight up against the underside of the roof of the truck. I then carefully turned the truck over so that the weight of the vise grips held the styrene piece in place against the underside of the roof and waited 5 minutes for the epoxy at each end of the strip to set. Once set, I released the vise grips and removed the screw and let the truck sit overnight.

I then started applying filler into the hole (I used Testor's model putty) and kept filling and sanding (up to 1000 grit) to get the slot perfectly smooth and level with the surrounding roof.  When I was satisfied that it was level and smooth, I applied a coat of grey primer and re-sanded any high/low areas and primed again. I then applied two (2) coats of Rustoleum Gloss White paint.

P.S. - the white "ring" in some of the pic's is just a reflection from the overhead LED light.

AGWAY 1AGWAY 2AGWAY 3AGWAY 4AGWAY 5AGWAY 6

Attachments

Images (6)
  • AGWAY 1
  • AGWAY 2
  • AGWAY 3
  • AGWAY 4
  • AGWAY 5
  • AGWAY 6

Richie, Great job! I will have to keep that one in the back of my mind!

Well guys I took your advice and place the engine on the upper level where I placed the new flat. But it just didn't seem right so I tried to make it a little better. It needed a reason to be there so I made it a smoke investigation! I hope you all enjoy!IMG_20210414_104945033IMG_20210414_104951652

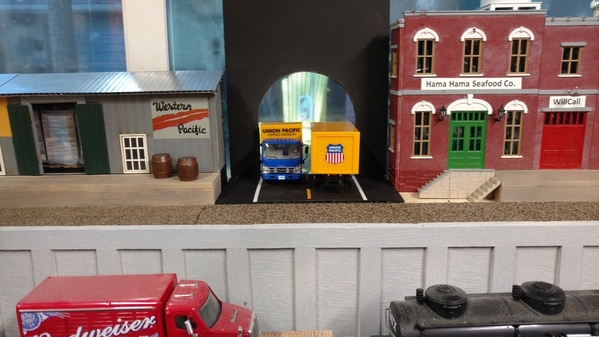
Oh and you might notice the new tunnel between the building with the UP truck!IMG_20210413_090908112IMG_20210413_090903563

Attachments

Images (4)
  • IMG_20210414_104945033
  • IMG_20210414_104951652
  • IMG_20210413_090908112
  • IMG_20210413_090903563
@Richie C. posted:

Thanks, guys - it was a fun project to work on - about the only thing I would have done differently is use a stiffer/thicker piece of styrene so it wouldn't flex quite as much when pulled up against the underside of the roof.

Richie,  Do you think one hole near each end with one piece of thread(loop to the inside) would work?  After the epoxy dried the string could be pulled through one end and the two small holes could be filled in.  John
Last edited by rattler21

Hi Rattler,

I'm sure it would, but I like the screw and vise grips method better for a couple of reasons.

One, the screw and vise grips seem a little more solid and less danger of the string breaking or slipping through my fat fingers and falling to the truck floor. The vise grips certainly won't fit through the slot.

Two, it seems like you can exert more pressure on the underside of the roof with the vise grips than with the string; and 

Three, with the string, you'd have to hold the truck with one hand and pull upwards on the string for 5 minutes while the epoxy set (not my idea of a fun way to spend 5 minutes). With the vise grips I just turned the truck upside down and let the weight of the grips do the heavy work. In fact, I could have rigged up a system where the ends of the truck rested on two tall boxes and the grips just hung down between them for 5 minutes while I did something else or hung the underside of the truck from a lamp or something similar and done the same thing.

I'm sure there are other ways to skin the cat - this one just worked for me.

@mike g. posted:

Richie, Great job! I will have to keep that one in the back of my mind!

Well guys I took your advice and place the engine on the upper level where I placed the new flat. But it just didn't seem right so I tried to make it a little better. It needed a reason to be there so I made it a smoke investigation! I hope you all enjoy!IMG_20210414_104945033IMG_20210414_104951652

Oh and you might notice the new tunnel between the building with the UP truck!IMG_20210413_090908112IMG_20210413_090903563

Mike looks right at home back there great job

Thanks again guys!

Ted the smoke is cotton batting used for quilting, I just pulled it apart and put a coat hanger in the middle to hold it up then sprayed it with gray primer then a light coat of flat black. Drilled a hole in the roof and slid the hanger in the hole! Cheap and easy, That's how I build! LOL

First posting here in a long time.

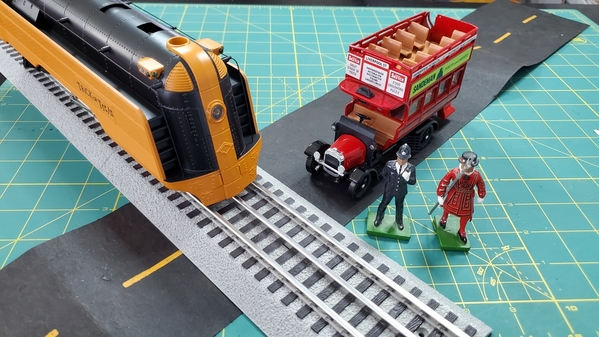
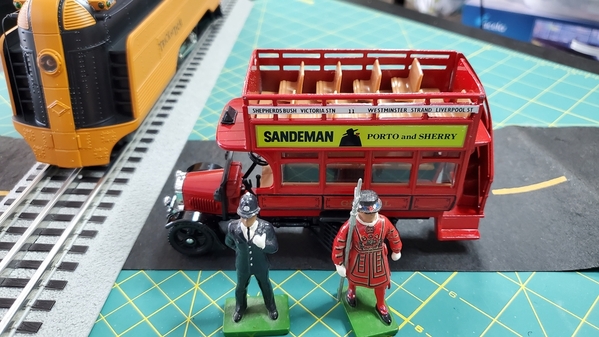
Here we have two of the purchases that I made last week that arrived at my doorstep this week.  A Corgi 1:43 British Thornycroft J Type bus that plied the streets of London town in the early 20th Century, driving on the left (of course) at the railroad crossing.  Brought over my Beefeater and Bobby from another display in the house.  The bus is waiting for my other purchase, the MTH Halloween Crusader, to cross the road.

The Thornycroft bus brings back some memories deep in the cobwebs of my mind as a youngster in Jamaica in the early 70s.  Not the actual bus, but images I recall in books or paintings that belonged to older grand and great-grand relatives)

20210416_17473920210416_174830

I really need to create a small diorama with a railroad crossing so that I can have more frequent entries to this thread.

Attachments

Images (2)
  • 20210416_174739
  • 20210416_174830
Last edited by Amfleet25124

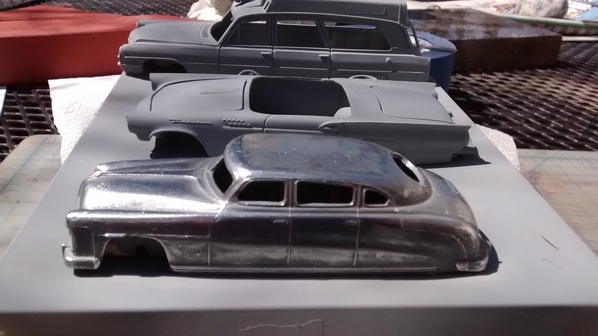
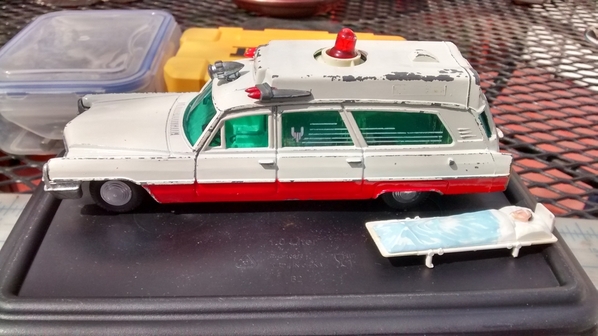
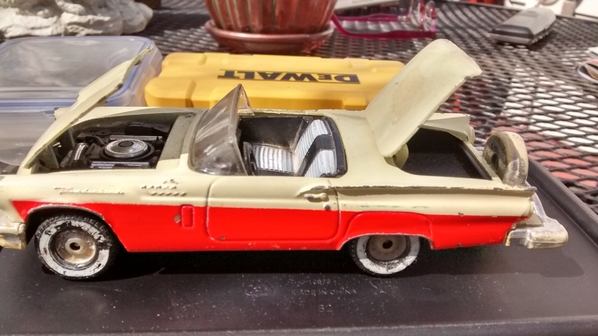
I finally had the time to finish up my last three restores. 66 Caddy Ambulance, 56 T Bird, and  48 Hudson'...  Before and after shots'

IMG_20210327_131822946_HDRIMG_20210327_131902875_HDRIMG_20210407_133236353

And fresh out of the  "JD Fonz, LLC, Restoration Shop" and up for auction: 😃

P1020540

Talk about a Lead Sled'.. "Moon Equipped" 👀

P1020538

P1020545P1020546P1020568P1020563P1020547P1020562

And for your Fire Departments'.. Rescue Response'... Special Taymia tinted glass, and super air conditioning''🌬

P1020550

P1020556P1020554P1020551P1020558

Attachments

Images (16)
  • IMG_20210327_131822946_HDR
  • IMG_20210327_131902875_HDR
  • IMG_20210407_133236353
  • P1020540
  • P1020538
  • P1020545
  • P1020546
  • P1020568
  • P1020563
  • P1020547
  • P1020562
  • P1020550
  • P1020556
  • P1020554
  • P1020551
  • P1020558

Add Reply

Post

OGR Publishing, Inc., 1310 Eastside Centre Ct, Suite 6, Mountain Home, AR 72653
800-980-OGRR (6477)
www.ogaugerr.com

×
×
×
×
Link copied to your clipboard.
×
×