I thought I'd share a bracket I built to mount a Z transformer on the front of a layout. I made one of these a couple of years ago when I added a yard to our museum's Standard Gauge layout. This summer we added another loop of track and I had to install another transformer, so I thought I'd document the process and post it. I happen to have a fully equipped wood shop, but with minor changes, the bracket could be built with nothing but a saw, a drill, and a sander.
The bracket was built out of scrap 3/4" plywood left over from an old shelving unit that was junked. This caused a few problems due to gaps in the inner plies and a less than perfect surface, but the price was right (free). If I were building one for myself I probably would use furniture grade birch plywood, sanded both sides. You could also use poplar or common lumber. I ran the wood through a drum sander a few times to get a half decent surface, a step that could be omitted by using better wood in the first place.
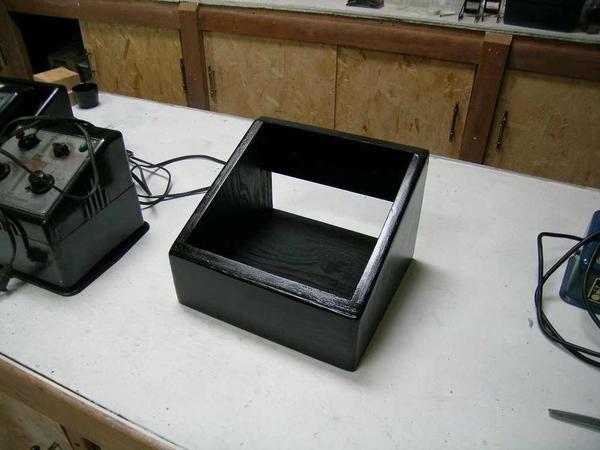
The cool visual feature of this bracket is that the sides and front are cut at an angle to parallel the sloping front of the Z. The angle on the Z is close to 22.5 degrees, which is a preset stop on most miter gauges. The back is open to make it easy to wire.
The first step is to cut out the pieces. Dimensions aren't critical except for the base which is about 9" square to fit the Z. I cut the front piece about 3-1/2" high and the sides in proportion.
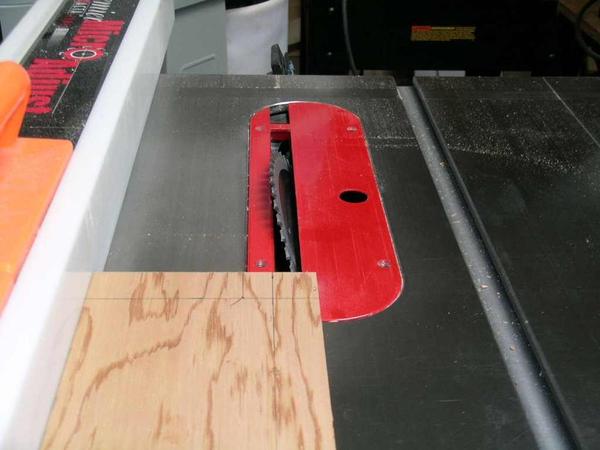
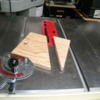
Pic 1: Cutting the sides. The miter gauge is locked in the preset 22.5 degree slot. The blade guard is off the saw to show the setup better; don't do your cuts without the guard!
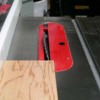
Pic 2: Cutting the angle on the front piece. The saw has been rotated 22.5 degrees to match the angle of the sides. The rip fence ensures a straight cut.
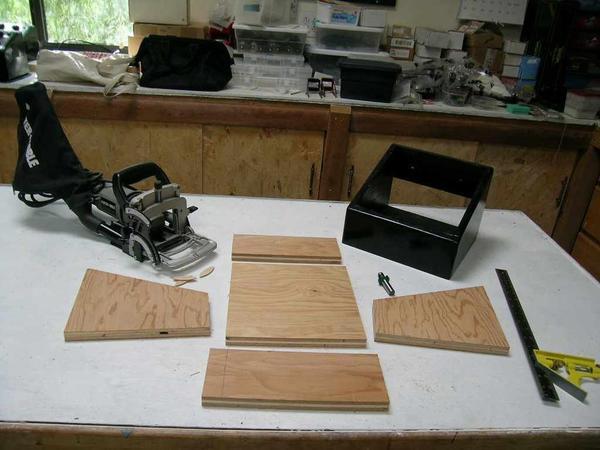
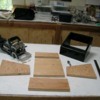
Pic 3: The cut parts laid out. The old bracket is in the background. The tool on the left is a plate joiner, commonly called a biscuit joiner.
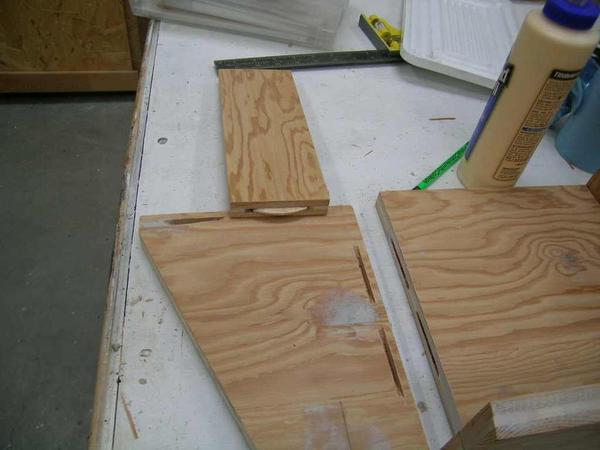
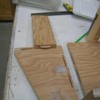
Pic 4: Pieces with biscuit slots cut, and a biscuit in one slot to illustrate how it works. A biscuit joiner is a really slick way to build something without having to fill in screw heads. If you don't have a biscuit joiner you can use dowels, but doweling is a very fussy process and it's hard to get all the holes perfectly aligned unless you make a jig. A biscuit joiner gives you enough slop in the joint to align it perfectly in assembly.
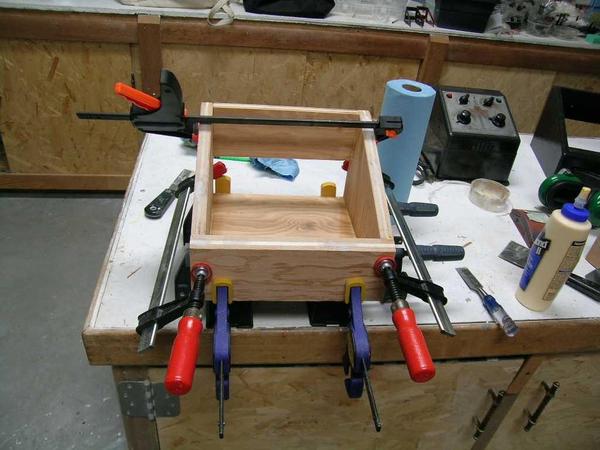
Pic 5: Jig for gluing. The blocks holding the clamps are made by Bessey. I got them free in a package deal with some Bessey clamps at Woodcraft, but it would be easy enough to make something similar on the table saw.
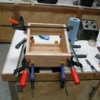
Pic 6: The glue-up. The key to a good glue-up is to have everything set up and all the parts and clamps at hand BEFORE you start to glue. Like most furniture projects, this one has to be glued all at once. I use Titebond, a yellow woodworker's glue that sets up very quickly. It cleans up with water while it is wet. The clamps are a mixture of Bessey, Irwin Speed-Grip, and some cheap ones from Harbor Freight. You can't have too many clamps!
After gluing, I rounded the side edges on a router table, using a 1/4" roundover bit. A 5/16 bit would give a more rounded edge; just a question of personal preference. I neglected to take a picture of this step. If you don't have a router table, the rounding can be done with a hand-held router or a sander. In any case, the beveled edge on the front has to be routed by sanding.
The unit was spray painted with Krylon, a coat of black primer followed by gloss black. Four coats on the outside, two coats in the back and inside. If necessary, you can sand between coats with 320 wet or dry.
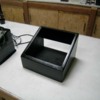
Pic 7: The results. Here's the completed unit next to a Z.
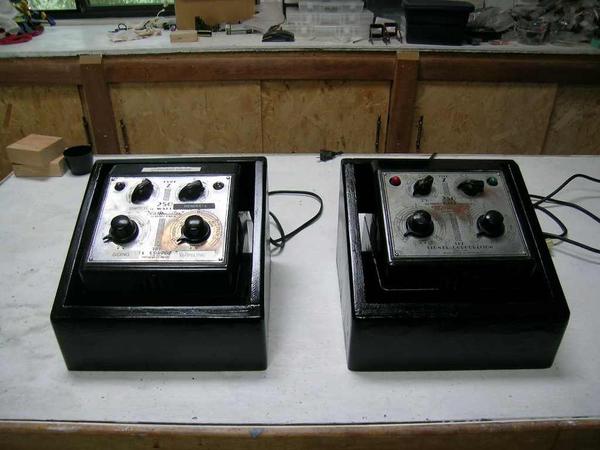
Pic 8: The two Z transformers in their brackets.
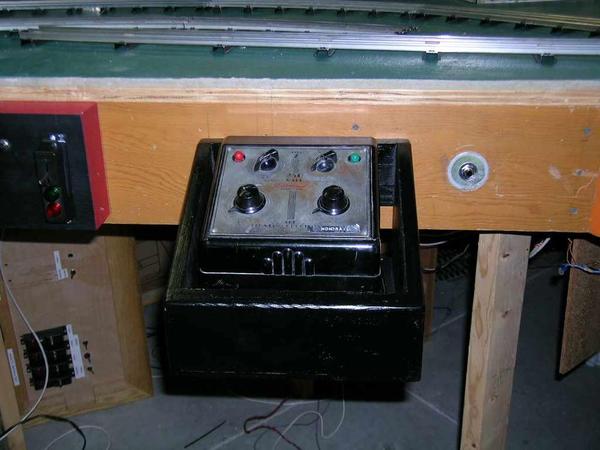
Pic 9: The new bracket, with transformer in its (almost) final location. The bracket is mounted with two #8 flathead wood screws through countersunk holes in the rear crosspiece. It will have to be reinstalled when I install the fascia.
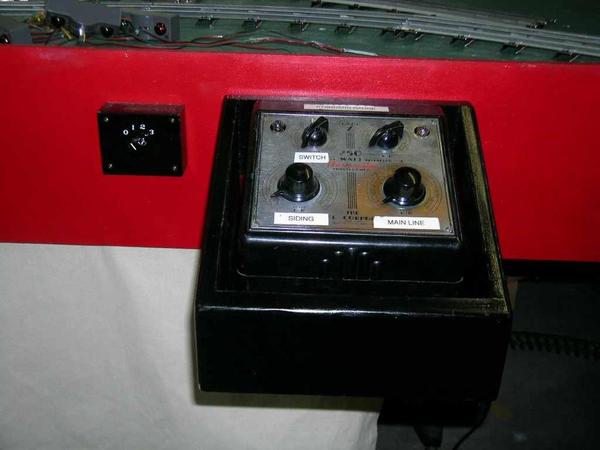
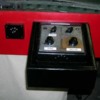
Pic 10: The other transformer in place, mounted on the fascia. The rotary switch box to the left controls power to the three yard tracks.
This was a fun project and not very difficult, although it was time consuming because I wanted everything to fit perfectly. Comments or questions are welcome.


