Dave,

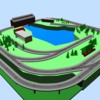
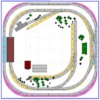
The only problem I see with this plan is that if one train tries to use a crossover to change tracks, it will have a head-on collision with the other train before the other train can also change tracks.  Unfortunately, with the required elevation, there is no way to avoid this scenario and still allow track changes by trains unless all trains run the same direction.

Chuck

@DoubleDAZ looks great! I like the yard part. I did not even have that as an option in my mind, because of the small constrained layout. My wife and I were thinking rural area with a house and lake for the family, a farm area, and a downtown. Then small train pickup stations throughout for the Sante Fe. With the information from @RickO a tad more can be done. Our thought is to have our house, lake and personal space elevated half way up the mountain, with a river running down to the main layouts floor (small). Having small curves mean we can do more than just a city scene on the bottom of the layout. We both like this a lot. If I could bother you with the parts list for whatever you finish with, that would be great!

@Dave Ripp. I know!!! I appreciate all the feedback from everyone! I literally just started in this hobby 3 weeks ago. 🥴 I researched many forums and this one was the best in getting actionable feedback and expertise. I am a retired senior leader and certified Life Coach, so helping people is my thing. Which is why I wholeheartedly appreciate @DoubleDAZ @RickO to name a few from this post. Just a side bar for all, although I am retired from the corporate sphere, the last 5 years I have been a FT actor. Feel free to Google me... Google Ken Parrish actor

Chuck. I knew that when I set them in opposite directions. One train will have to stop when the other train uses the crossover. Then it will have to back through the crossover as shown in the sequence of photos. Of course, both trains can run in the same direction and use the crossover a bit easier, but what's the fun in that?

1234

Attachments

Images (4)
  • 1
  • 2
  • 3
  • 4

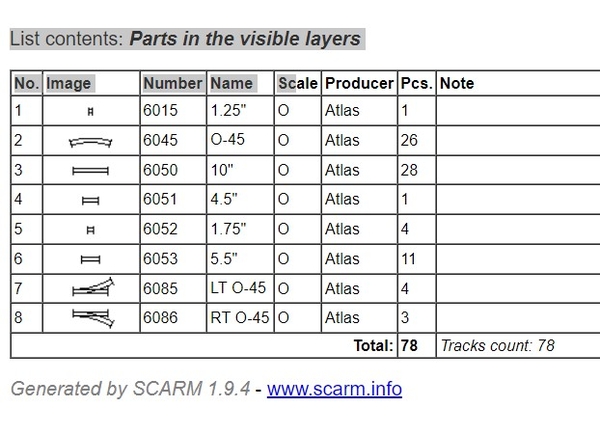
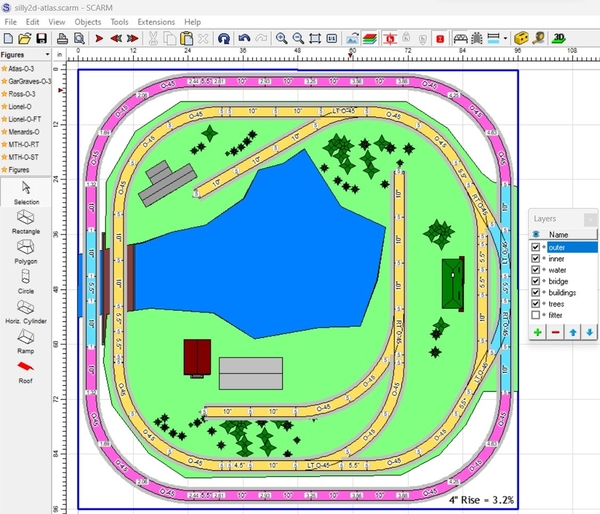
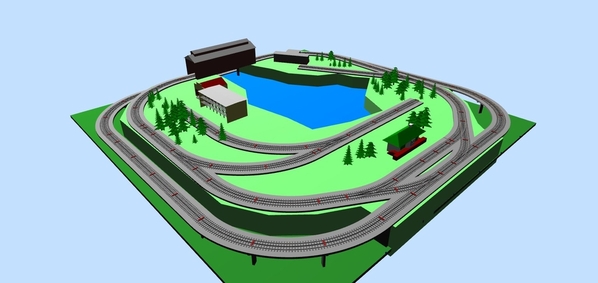
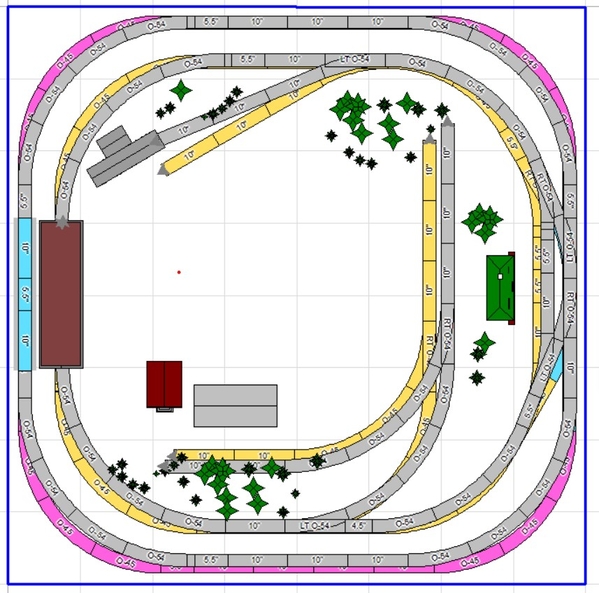
Okay, here you go. In the photo, the water is 1" deep, so the tracks start at 1" elevation and rise 4" to a 5" elevation for a 3.2% grade. If you rise 6", the grade would be 4.8%. As you can see in the last photo, you don't really lose much using O-54 curves/switches (gray). I tried O72, but that doesn't work. You can also see that going with Atlas doesn't offer any more "creativity", but it will be a lot quieter and should stay cleaner longer. And if you're looking for something to make the grades easier, check out Woodland Scenics incline kits (https://woodlandscenics.woodla...how/item/INCLDECLSET).

silly2d-atlas parts

silly2d-atlas

silly2d-atlas 3D

silly2d-atlas o54

Attachments

Images (4)
  • silly2d-atlas parts
  • silly2d-atlas
  • silly2d-atlas 3D
  • silly2d-atlas o54

@DoubleDAZ appreciate you!! My father-in-law was so excited this past weekend. We drove out (surprised them) to Cleveland for Xmas and I setup both the Santa Fe that he gave to my wife (his daughter) and the new L1. He loves the sounds of the new trains. He would run the Santa Fe before going to bed and waking up all weekend. We left Santa Fe up Xmas eve and went by to get it Xmas morning to drive home. Engine was warm, he ran it xmas morning too! Lol! I told him I had a great retired Airforce man helping us with the layout. He is also former Airforce and turns 90 this year. Again, appreciate you, Dave!

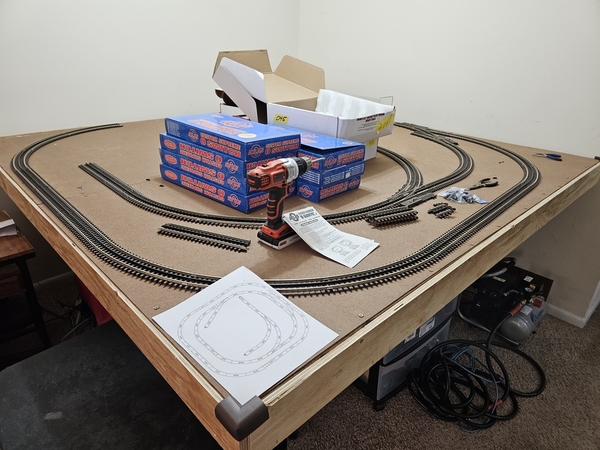
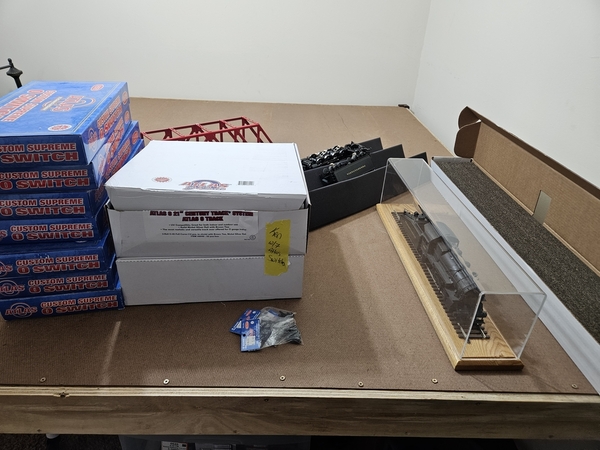
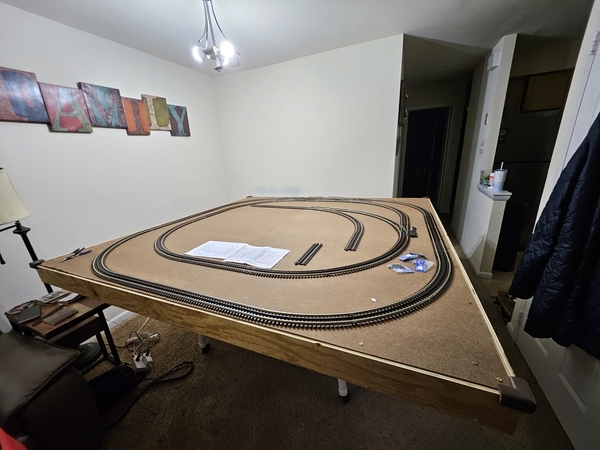
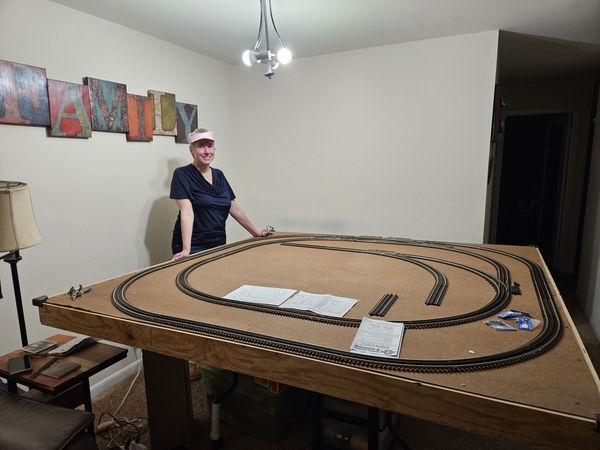
Alright @DoubleDAZ decided to scrap the small spur. They gave me too many 6086 and not enough 6085. I would have to get a small switcher anyways and decided against that for now. I just used a 6050 there and finished the loop on the inside. Here is the final (🤣🤣🤣) of the start, lol. Taking back the extra. OK paper I would be saving $130, but not really as I will just trade it for other stuff...lol. Once you lay the track, then the fun really starts. A lot of work to go, but we are off! I am eternally grateful for your help!!!20240118_19024920240118_185824

Attachments

Images (2)
  • 20240118_190249
  • 20240118_185824

@DoubleDAZ and etall, here is a minor update (so to speak)  The maiden voyage of the layout. Testing power, before tackling the scenery challenge. It will probably be 6 months before next update. I am not sure if anyone is familiar with Atlas switches. I attached a photo of the hook up, based on the diagram that came with them. There are 6 and 4 are wired together then 2 inner loop on bottom. The switches work fine manually, but not through power? Any insight would be great. Dave, I wanted to show you how the plan you did for me is progressing. All the power is working perfectly, except the switches (NO IDEA what is up there)  Enjoy and TYVM for all your time and help with this project! Check out the tunnel portal, I made that on my new K1 Max 3D printer. 💪🏾

Attachments

Videos (2)
1333d802-ecc7-4b5f-a0a8-74052204d107
Maiden voyage I

Hi Ken, thanks for the kind words. The tunnel portal looks great. Not sure what’s up with the switches, but I didn’t see a photo of the connections, just the 2 videos. Either way, I’ve never wired Atlas switches, so I’m not any help, but hopefully someone with experience will comment.

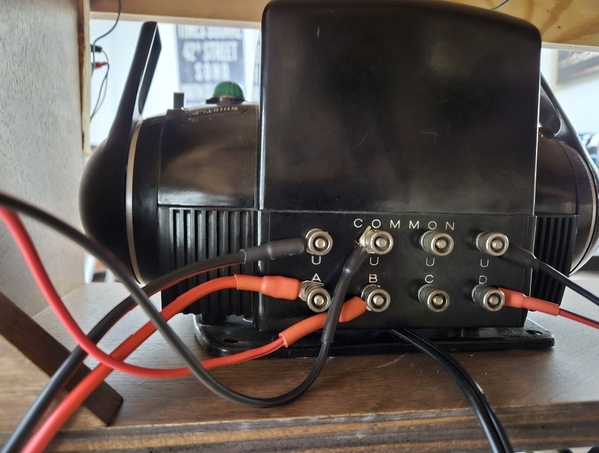
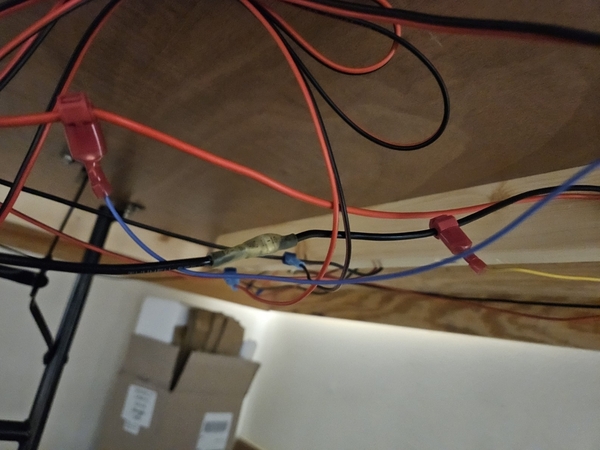
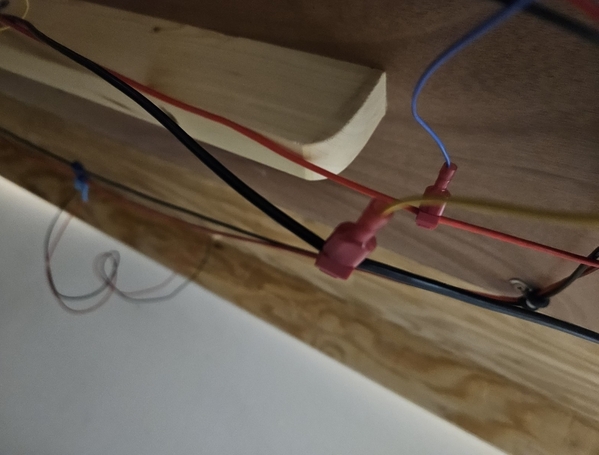
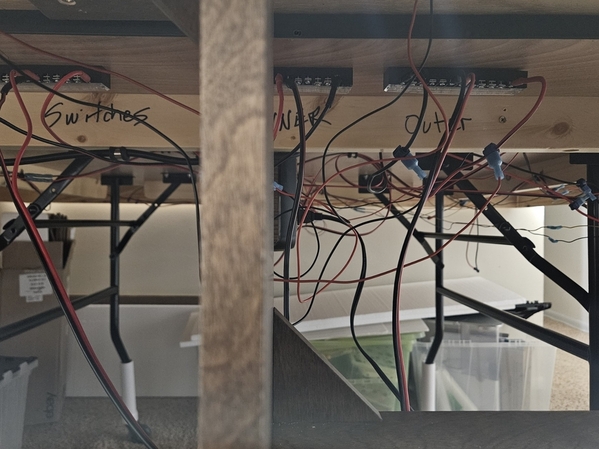
@DoubleDAZ  @Mark Boyce @Norm Charbonneau and anyone else, here are the photos of the hook-ups. I have 3 bus lines. 1 for inner loop, outer loop, and switches/accessories. The blue line is jumped to power bus and yellow to ground bus.  Before anyone says anything, I am well aware the wiring is overkill, but I wanted to be ready for growth as we are discussing relocating to another state and this small layout (80x80) will grow.  It is more about practicing technique, etc. According to the Atlas directions you can add additional switches together via the little connectors that come with it. So, the photo of the switch wiring has 4 up top (ran out of space and did not want the connectors to run up over the top ones, so I flipped the bottom two upside down and wired accordingly, so they would exit out the bottom of the wood. I decided to use the B (Lionel transformer) power terminal for switches and any accessories we decide to install as the voltage is similar. Just to level set, I am using the ZW (for now - looking at ZW-L or Z-4000, convo20240318_22194320240318_22202620240318_22212820240318_22215620240318_222224 for another day and post), A and D arms run the loops, and B runs switches and accessories.  There is a bus line for Inner, Outer, and Switches/Accessories. The track power is working great (as I have WAY TOO many drops, but again it was more for practice to see if I could get it to work.  And, this novice did, in large part to this forum and other sources like YouTube, etc. Shout out to The great @Norm Charbonneau for your inspiration!
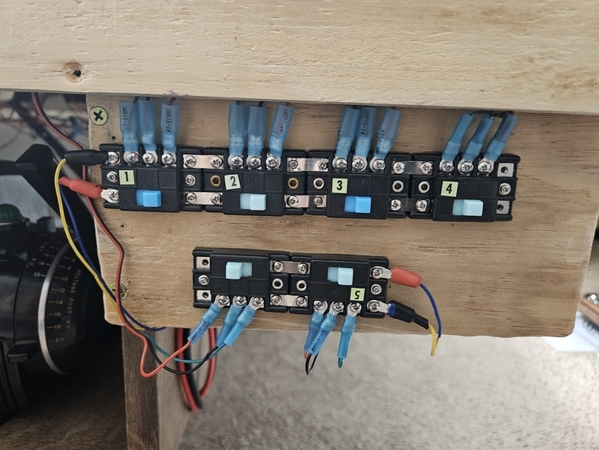
Attachments

Images (5)
  • 20240318_221943
  • 20240318_222026
  • 20240318_222128
  • 20240318_222156
  • 20240318_222224

Sorry @DoubleDAZ for not posting the photos initially. I guess I was tired ....lol. I was clearly thinking about it as I wrote it out...lol. Also, here are a couple more of the wall in the living room with 60% of the fleet. The Sante Fe is in the bedroom and the cars are now in storage as my wife kept them in pristine condition, so trying to keep them that way. We plan to run the engine periodically to keep it in good shape mechanically.

Attachments

Images (2)
  • 20240225_112812
  • 20240225_112844

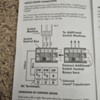
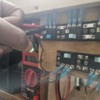
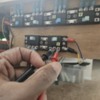
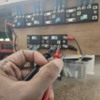
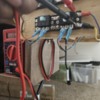
Alright @Everyone I checked the power into the switches (see photos) and it is setup properly and the volts the transformer is set to is reading perfectly. Now the leads leaving the switch are reading 0. I have it wired exactly as the diagram says. However, for poops and giggles I did switch the green and red to see if that was the issue and still 0. It appears power is not leaving the switch. Could all 6 switches be bad? They are brand new and never had power or were used until yesterday. Seems weird. Or am I making a rookie mistake? Again, I attached the wiring diagram from Atlas and I do not see what is wrong. I am a novice and could be missing something simple. Any help would be appreciated. @DoubleDAZ @Mark Boyce help🥴🥴🥴

Attachments

Images (9)
  • 20240319_213935
  • 20240319_213312
  • 20240319_213304
  • 20240319_213244
  • 20240319_213212
  • 20240319_213148
  • 20240319_213138
  • 20240319_213048
  • 20240319_213020

I think Rod and Ron are onto something.  Having never used Atlas slide switches, I would not have thought of sliding and then momentarily pushing the button.  🤷‍♂️  However, the momentary button push has to be done to give momentary voltage to the switch motor.  I should have thought of it.  That is exactly what happens with my Z-Stuff double push buttons.  Duh!  No wonder they pushed me out the door after 43 years working in electronics!  😬  I hope you have been like me, @Dntbsillynow and this solves your problem.

Last edited by Mark Boyce

Thanks everyone.  I figured it out.  Everything was wired properly.  When I tested the power with help tonight, it must have been the extra power of 3 hands against the body of the terminals as 1 switch terminal read on the meter.  It was not the wiring per say, it was the ring connectors. I cut them off, wire to screw, and the switches work.  I cannot believe I made this work on the 1st try, other than the ring connectors not being a great choice.  My soldering skills are pedestrian at best and I am not practicing on these expensive items.  Although, I will get where I need to be on that subject.  I will say, for such expensive switches, they are extremely "cheap" on so many levels. I saw someone had a railroad and used Atlas switches, but used pneumatics to control them. I may actually get there too, as I have an awesome very quiet small California Air tools compressor that we only use for air brushing.  But I wanted to just get this going so we can tackle the monumental task of scenery. This setup is designed for easy adding or subtracting, so pneumatics is definitely in the future and a cool design choice.  @DoubleDAZ I cannot thank you enough for doing this plan for me! It will probably be months before the next update.  Hopefully, before York in October. We wont be there in April.  Again, thanks for all the help and insight, RockStars!

Add Reply

Post
The Track Planning and Layout Design Forum is sponsored by

AN OGR FORUM CHARTER SPONSOR

OGR Publishing, Inc., 1310 Eastside Centre Ct, Suite 6, Mountain Home, AR 72653
800-980-OGRR (6477)
www.ogaugerr.com

×
×
×
×
Link copied to your clipboard.
×
×