Replaced a couple broken stanchions on the Polar Giraffe Express.  Not having any factory stanchions on hand, I scrounged some postwar stanchions...


GEDC1803

Also repaired a couple of giraffe cars.  One was narcoleptic, and would duck down and go to sleep; that one responded well to chiropractic treatment (bending the internal arm over a bit).  The other one had a cam follower which had contracted a bit with age and wasn't hitting the ramp reliably; I removed the steel band and substituted a longer one made of 1/4" aluminum tubing.


Mitch

Attachments

Images (1)
  • GEDC1803
Last edited by M. Mitchell Marmel

I did it, they're both done!!!


I finished the second turnout relay panel today. Then I hung and populated it.


IMG_6029

That was one thick bundle of wires. The other panel didn't have that, because I was able to route some of them around the left end. This panel had to be trimmed to fit between the layout legs, which didn't leave any room for the wires.


IMG_6030

It took about a month and a half working part time to do this project. I'm going to work on some different projects, but I will need to get temporary control panels made then hook everything up.

Attachments

Images (2)
  • IMG_6029
  • IMG_6030
Originally Posted by AGHRMatt:

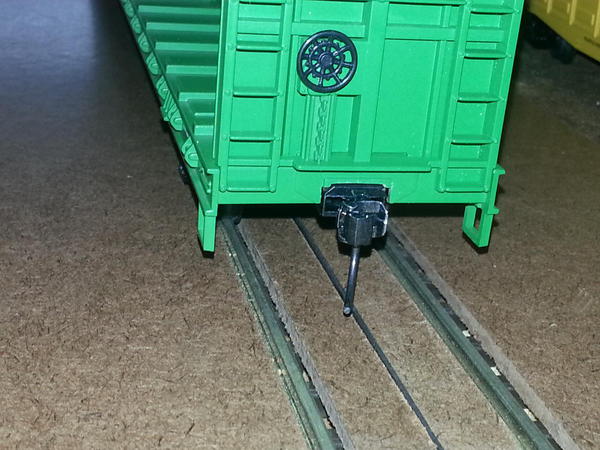
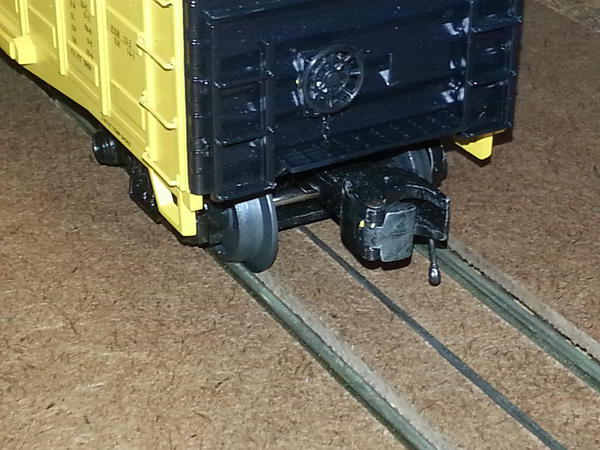
Had a break from the rain (first we get a heat wave, then we get rain) and decided to test fit the "street" surface for the street-running section of my corner switching layout. The narrow blade MTH uses for ScaleTrax leaves nice narrow flangeways if you use 1/2" wide strips but they're wide enough to clear the hi-rail flanges of the equipment I use.


2-rail. (flange is hard to see on this converted car.

2015-10-04 16.48.05


3-rail MTH box car.

2015-10-04 16.47.38 


Matt - Glad to hear you guys are getting some rain in California!  We are getting plenty here in Maryland for sure.  But then again California needs it a lot more than Maryland.


I LOVE your street running work!!  Great job!!

Yesterday I stayed out of the rain here in Maryland and went to fair weathered Patsburg!


I worked on installing some Gargraves pig tails to take care of a power drop on my outside main line.  


I also worked on getting Patsburg Junction ( Patsburg Junction connects my lower two track loops forming a wye ... and allows me to reverse direction of trains and locos running on either the outer or inner loops)  operational by installing a new K line 027 automatic non derailing switch and a Gargraves manual switch machine on 

my GG 042 switch.  Most of my MTH locos and Williams locos navigate the junction ( going thru two Gargraves 042 switches ) fine with no derailments.... even my Williams scale

GG-1 and Trainmaster.  My MTH SW 9 switcher goes dead on the switch.  I still need to test my Railking Y6b and see if she makes it.  If so hooray!!


My Lionel TMCC steam locos ( all scale 0-8-0, 4-4-2, 2-8-0, and J class 4-8-4 ) however are another story.  They either go dead on the switch ( both Gargraves switches at Patsburg Junction are manual because they are directly in front of my control stand and are in very easy reach ) or they do craziness such as jerk, run sporadically, run real fast, or go dead on the switch. Plus some of these scale TMCC Lionels derail as well.  So go figure?  Frustration is all part of the fun!!


 Soon I will be changing over to DCS and running all my trains with this format.  I'm looking forward to this!


Fun times in Patsburg AND still making progress!  

Last edited by trumpettrain

Drove to my LHS for two more pieces of 36" Standard gauge straights. Fooled around and finally got it all to fit under my O gauge layout. The layout wasn't built to have an 11 ft.x 11 ft. squared loop of Standard gauge track there. But it works, nice and smooth and quiet. The loop is 8 sided with 36" straights and two curved pieces at each corner. Nothing nailed down so I can take it up easily if I want to put it in the basement.

Originally Posted by p51:

I hadn't done much as I was on the East coast for 2 weeks.
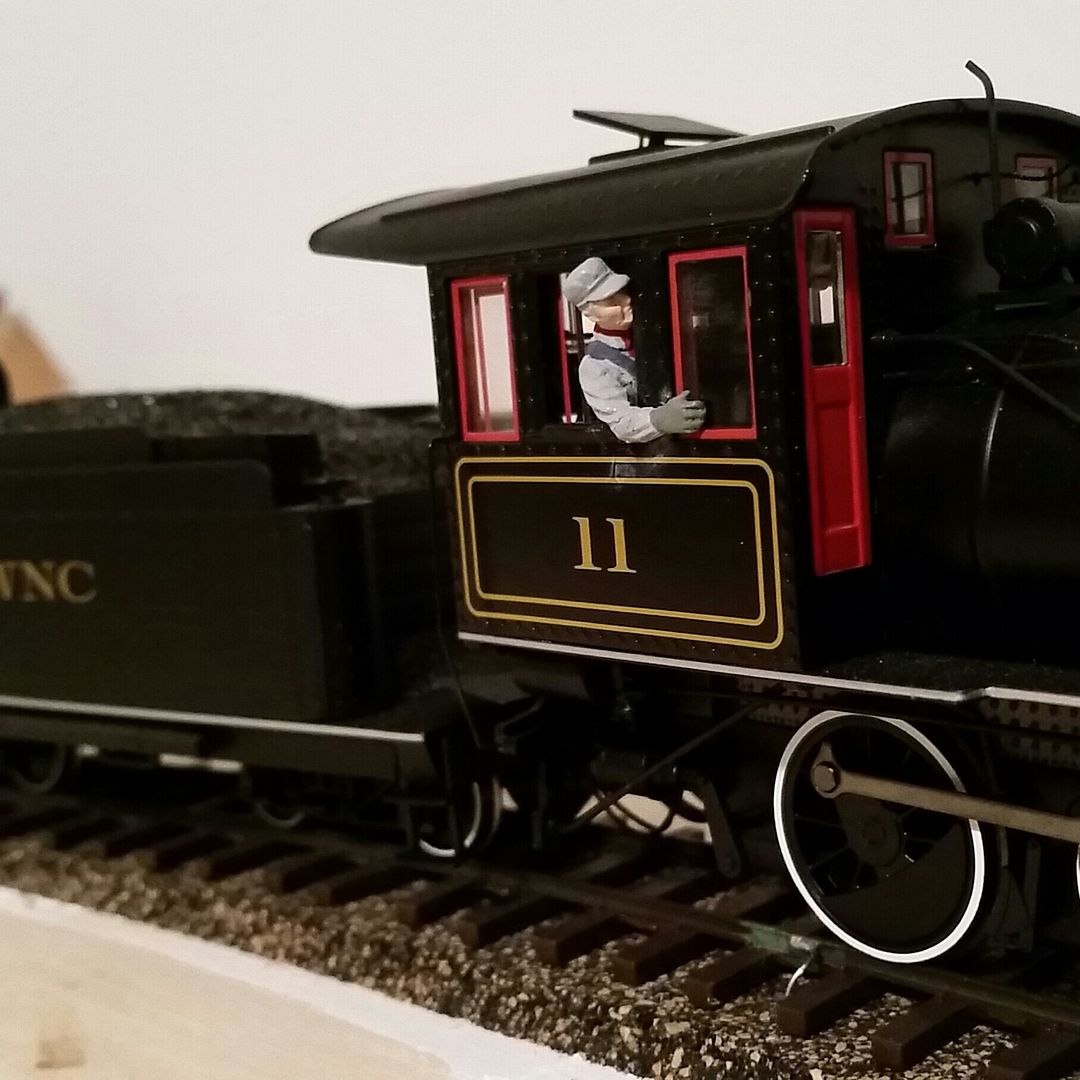
Getting back, I cut down an Arttista engineer figure and mounted it in the last empty cab.

Hmm, the photo didn't post. The figure was their # 1175 with the legs sawed off to get it into the very tight cab:

I love the look of their figures!

Last edited by p51

A recent train show produced numerous subjects for modification, perfect as a distraction from room construction.  Beginning with a Lionel 6-17617, all the over sized plastic grab irons and end railings were replaced with galvanized wire.  The ladders received a dash of matching orange and black plastic bits and pieces got a coat of silver.  Aluminum duct tape simulates metal door handles and kick plates.  I also used it on the under car compartments but I'm still unsure whether I like it there.  A surprise feature, not listed on the box, was the flashing tail light.  The opaque window treatment was removed in favor of clear plastic and a second interior light added


Bruce

Made progress on building up the tower to kit bash the Menard's feed mill into a grain

elevator.  Clapboard siding gets cut into odd shapes to go on the mill, for the base of

the tower,  That is done and the walls are rising.  Total height with tower will now be

about 17 inches, well short of my tallest scratch built elevator at 22".  I was afraid I'd

run out of 1/8" spaced clapboard, but I found I had a few more sheets.  It matches the

Menard's mill walls perfectly, IF I can match the color when I get to the painting.  Signs I weathered and installed look good.

Today I made good progress on the Menards feedmill to elevator kitbash...all walls are

up, openings for windows and filler pipes are cut, and some of the corner trim went

on just before I quit.  Need to design roof support to match the Menard's, and build

the roof.  May use very fine sandpaper or just plain paper to match the Menards

roofing material. There is to be a filler pipe for the front for trucks and one for the

rear for rail cars.  I am sure I am going to have to experiment to come close to the

Menards finsih on the original building.

Finally got finished with the rest of the side fences last night. (gluing and painting)  Drilled holes tonight and put the fences in along with a maintenance shed.  This was a fun project but I am glad it is finished as I am looking to move onto other parts of the layout now.  I really appreciate all the positive comments both on and off the forum.  This is really the greatest place to talk/learn/share anything train related.


DSC_0580

DSC_0584

DSC_0585

DSC_0586

DSC_0587

DSC_0589

DSC_0590

DSC_0591

DSC_0592

Attachments

Images (9)
  • DSC_0580
  • DSC_0584
  • DSC_0585
  • DSC_0586
  • DSC_0587
  • DSC_0589
  • DSC_0590
  • DSC_0591
  • DSC_0592
Originally Posted by Bryan in Ohio:

Finally got finished with the rest of the side fences last night. (gluing and painting)  Drilled holes tonight and put the fences in along with a maintenance shed.  This was a fun project but I am glad it is finished as I am looking to move onto other parts of the layout now.  I really appreciate all the positive comments both on and off the forum.  This is really the greatest place to talk/learn/share anything train related.


DSC_0580

DSC_0584

DSC_0585

DSC_0586

DSC_0587

DSC_0589

DSC_0590

DSC_0591

DSC_0592

AWESOME!!!! Brian YOU WIN the WORLD SERIES here!!!!!!!

Started having a problem with Standard gauge cars derailing on one part of the loop, both Ives and Lionel. Finally laid on the floor and moved the cars through by hand. Discovered an outside rail had been bent outwards just enough to allow the car's wheels to drop but not the engine's. Straightened it out enough to let them run but finally replaced it with another section of 36" straight I had.  Took awhile to figure it out but they hum along now.

I got lucky on this Menard's feedmill into elevator kitbash, and made great progress.

I finished the building and masked it, and found I had a big box store rattle can of

paint that matches the brown on the feedmill (Before white weathering, which I may do

with acrylics), and I found some dark gray fine sandpaper that matches the Menard's

roofing, for the elevator tower.   I got one side of roof covered with it tonight.  I am

sure there will be touchups to do after I pull the newspaper and masking tape off of

it tomorrow.  With that and the other half of the tower roof, plus the weathering, I

am home free.

I had the itch to run trains last night before going to bed.  I put a new consist of Pennsy passenger cars on the outer main and let my Williams scale GG1 number 4876 do the honors!   


I put a new consist of an all boxcar Western Maryland consist on the inner main and let a Western Maryland 44 toner ( actually William version of the old Lionel 44 ton which on the FSJR is designated as a 90 toner ) do the honors. 


I just sat there trackside on a low stool, so I could observe at eye level, and got lost in the fantasy.  BIG FUN!!!


AND I did the same as soon as I got out of bed this morning too!

Last edited by trumpettrain

I had the itch to run trains last night before going to bed.  I put a new consist of Pennsy passenger cars on the outer main and let my Williams scale GG1 number 4876 do the honors!   


I put a new consist of an all boxcar Western Maryland consist on the inner main and let a Western Maryland 44 toner ( actually William version of the old Lionel 44 ton which on the FSJR is designated as a 90 toner ) do the honors. 


I just sat there trackside on a low stool, so I could observe the action at eye level,  and got lost in the fantasy.  BIG FUN!!!


AND I did the same as soon as I got out of bed this morning too!

Originally Posted by trumptrain:

Spent a few minutes testing my GG1 going over the Gargraves switches into Patsburg Junction.  This time Ms. 4876 was not as cooperative as the other day. She derailed every other time I ran her over the switch.  Did I ever say that model railroading can be frustrating  Just a step backwards in making progress on the Free State Junction Railway!


4876 just seems to be more accident prone than most GG1's.


Bruce

Originally Posted by brwebster:
Originally Posted by trumptrain:

Spent a few minutes testing my GG1 going over the Gargraves switches into Patsburg Junction.  This time Ms. 4876 was not as cooperative as the other day. She derailed every other time I ran her over the switch.  Did I ever say that model railroading can be frustrating  Just a step backwards in making progress on the Free State Junction Railway!


4876 just seems to be more accident prone than most GG1's.


Bruce

She sure does!!  Thanks for the photo and the humor Bruce

Spent a pretty good afternoon working on the layout yesterday. I finished wiring up a switched outlet. This circuit will turn on the relay power, turnout power and C/MRI power.


With that in place, it was time to plug in the relay power and test it for the first time in 22 years. I took my meter to it looking for 24VDC, but I kept getting negative values. Then it hit me, the panel must have originally been plugged into to an outlet on the opposite phase. The quick fix was to swap the blue and green leads going into the rectifier, on the right.


IMG_6031

With relay power established, it was time to test the first panel that I just built. I connected the plus side to the fuse bank and used the ground side to touch to the control terminals. Poke, poke, poke, poke, poke, pop, and suddenly the first 20 units didn't work. Two fuses later, I had isolated the problem to number 6.


IMG_6032

I pulled the relay, thinking it was bad, but then I noticed the problem. I have no idea how it happened, because these had been used in the past. That diode was installed backwards. Instant short. Flipped it the right way, changed the fuse a second time, and perfect.


IMG_6033

After that, it was on to hanging more fascia. I started the lower deck.
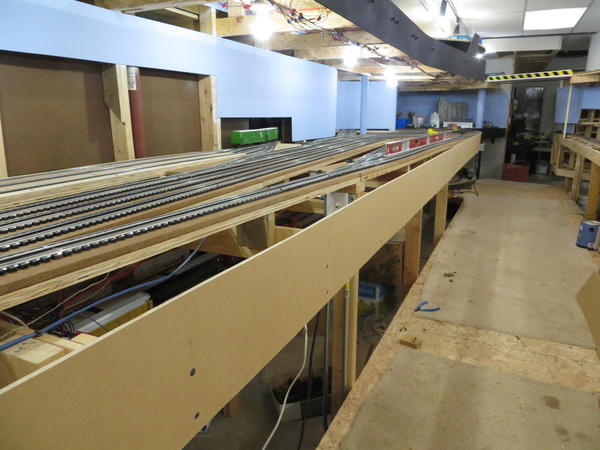
 

IMG_6034

I got half way around the curve before calling it a day.
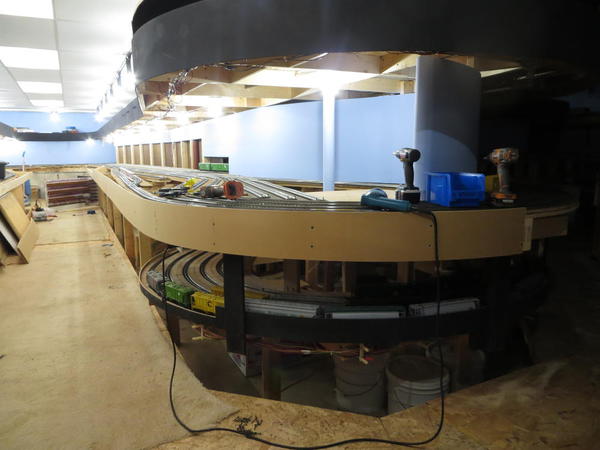
 

IMG_6035

Attachments

Images (5)
  • IMG_6031
  • IMG_6032
  • IMG_6033
  • IMG_6034
  • IMG_6035

Ironically, I'm heading to the doctor later this morning. Shouldn't be too much poking, though.


It's not weeks away, it could be months. I still have to build the temporary control panels, wire the Tortoises back to the relay panel and bring the control wires back to the  relay panel. It's a lot of wiring. Gotta head to Menards for a big spool of cat 5 wire. I'll just keep chipping away at it.


Last night I finally finished the Menard's feedmill/grain elevator kit bash....adding the

last details, with glue problems....not happy with weathering of the tower to match the

rest of building, but, am with overall appearance.....will post photos later.  American Std. Car Co. gas electric, just begun, still awaits a power chassis, to I will have to think of something else to work on until I track one down.  Given I did this whole job

and a loco standpipe kit while waiting, it could be a while.

I ran trains when I got home from work today.  Ran GG1, a 44 toner, and Docksider on the Mountain Division.  


Stages some scenes and took some photos.


The muse hit me and i crawled underneath the layout to do splicing and hooking up a power connector.  Got to get back under the layout tomorrow as well and hook up more connectors.


Here are some pics from today

Docksider coming atcha

Reffer Car Apple picking time

Work train

Patsburg Pumpkin Harverst i

Docksider crossing Bollman Bridge

Attachments

Images (5)
  • Docksider coming atcha
  • Reffer Car Apple picking time
  • Work train
  • Patsburg Pumpkin Harverst i
  • Docksider crossing Bollman Bridge

Add Reply

Post

OGR Publishing, Inc., 1310 Eastside Centre Ct, Suite 6, Mountain Home, AR 72653
800-980-OGRR (6477)
www.ogaugerr.com

×
×
×
×
Link copied to your clipboard.
×
×